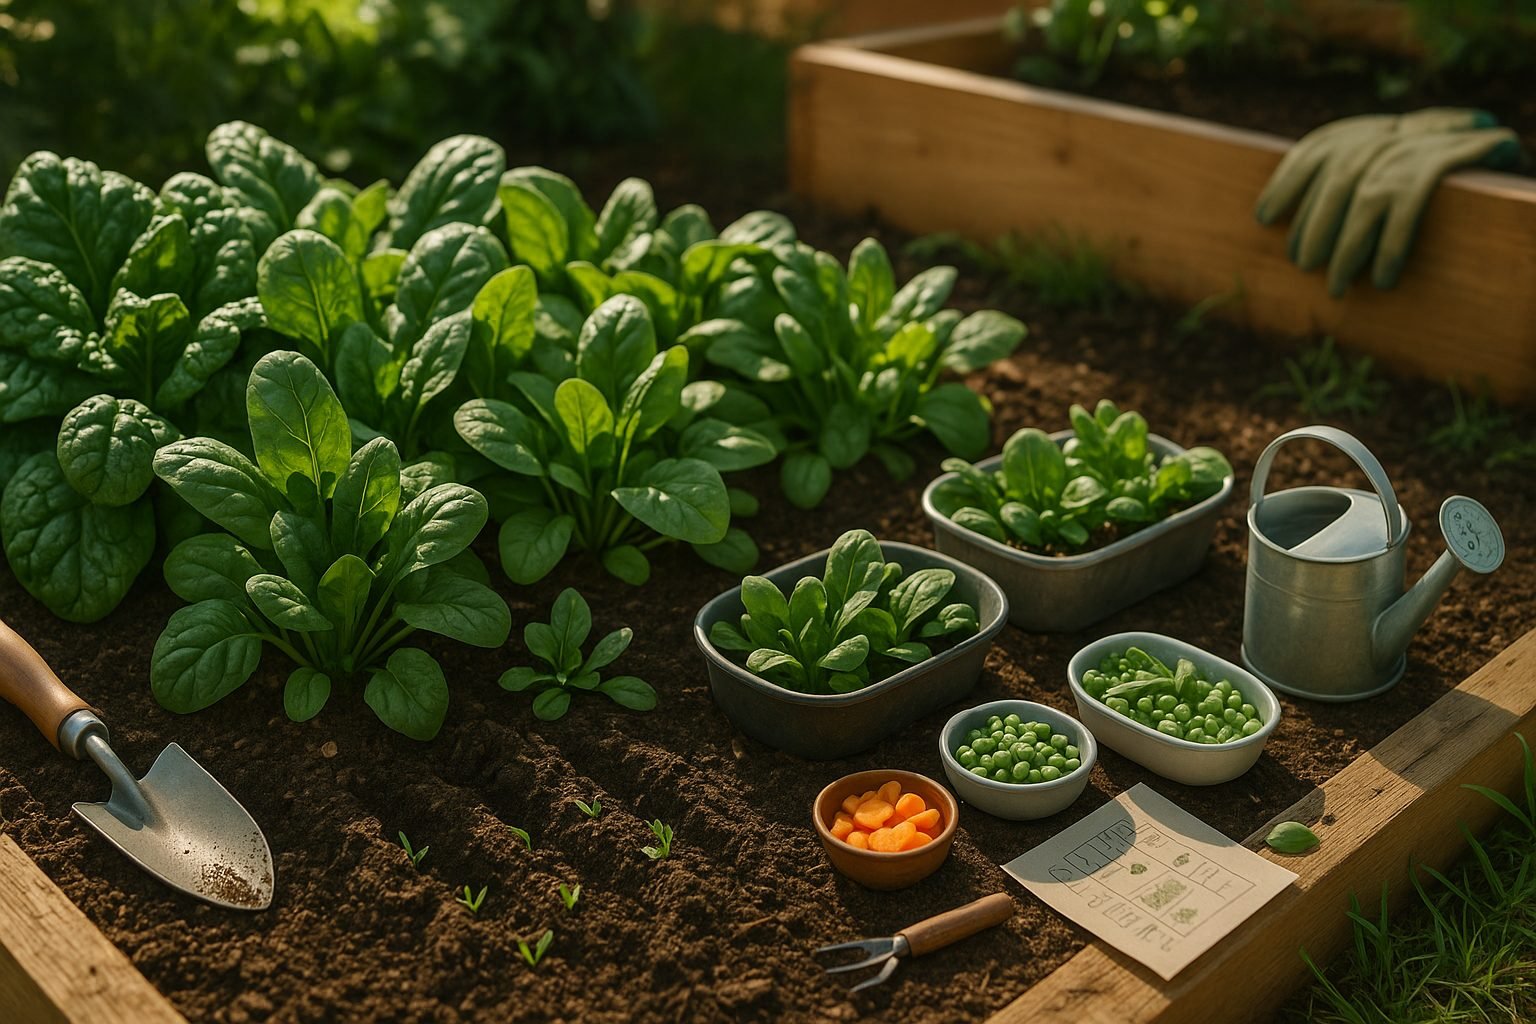
Introduction to Growing Spinach
When it comes to cultivating your own salad greens, one of the biggest questions new gardeners ask is about spinach growing time. Spinach has become a beloved staple in home gardens and on windowsills, thanks to its quick growth, versatility, and ability to thrive even in containers. There’s something incredibly rewarding about snipping off a handful of tender, deep-green spinach leaves you grew yourself, knowing they’ll be fresher, tastier, and packed with more nutrients than anything you’d find at the store. Whether you’re dreaming of baby spinach for smoothies, hearty leaves for sautéing, or simply want a fresh boost of vitamins A, C, and iron right outside your door, homegrown spinach delivers on all levels.
If you’re short on gardening space or new to growing your own food, spinach is especially forgiving. Its relatively short growing time means you can enjoy multiple harvests in a single season—even in small urban containers. Plus, the flavor and texture of just-picked leaves are unbeatable, far surpassing their store-bought counterparts. This guide is your companion through every phase of the spinach journey: from choosing the right variety and sowing seeds, to caring for tender seedlings and timing your harvest perfectly. Along the way, you’ll also get practical troubleshooting tips for common problems, ensuring your spinach crop thrives with minimal fuss. By the end, you’ll know exactly how to grow your own spinach successfully, making your next meal healthier and more delicious with every fresh handful.
When and Where to Plant Spinach
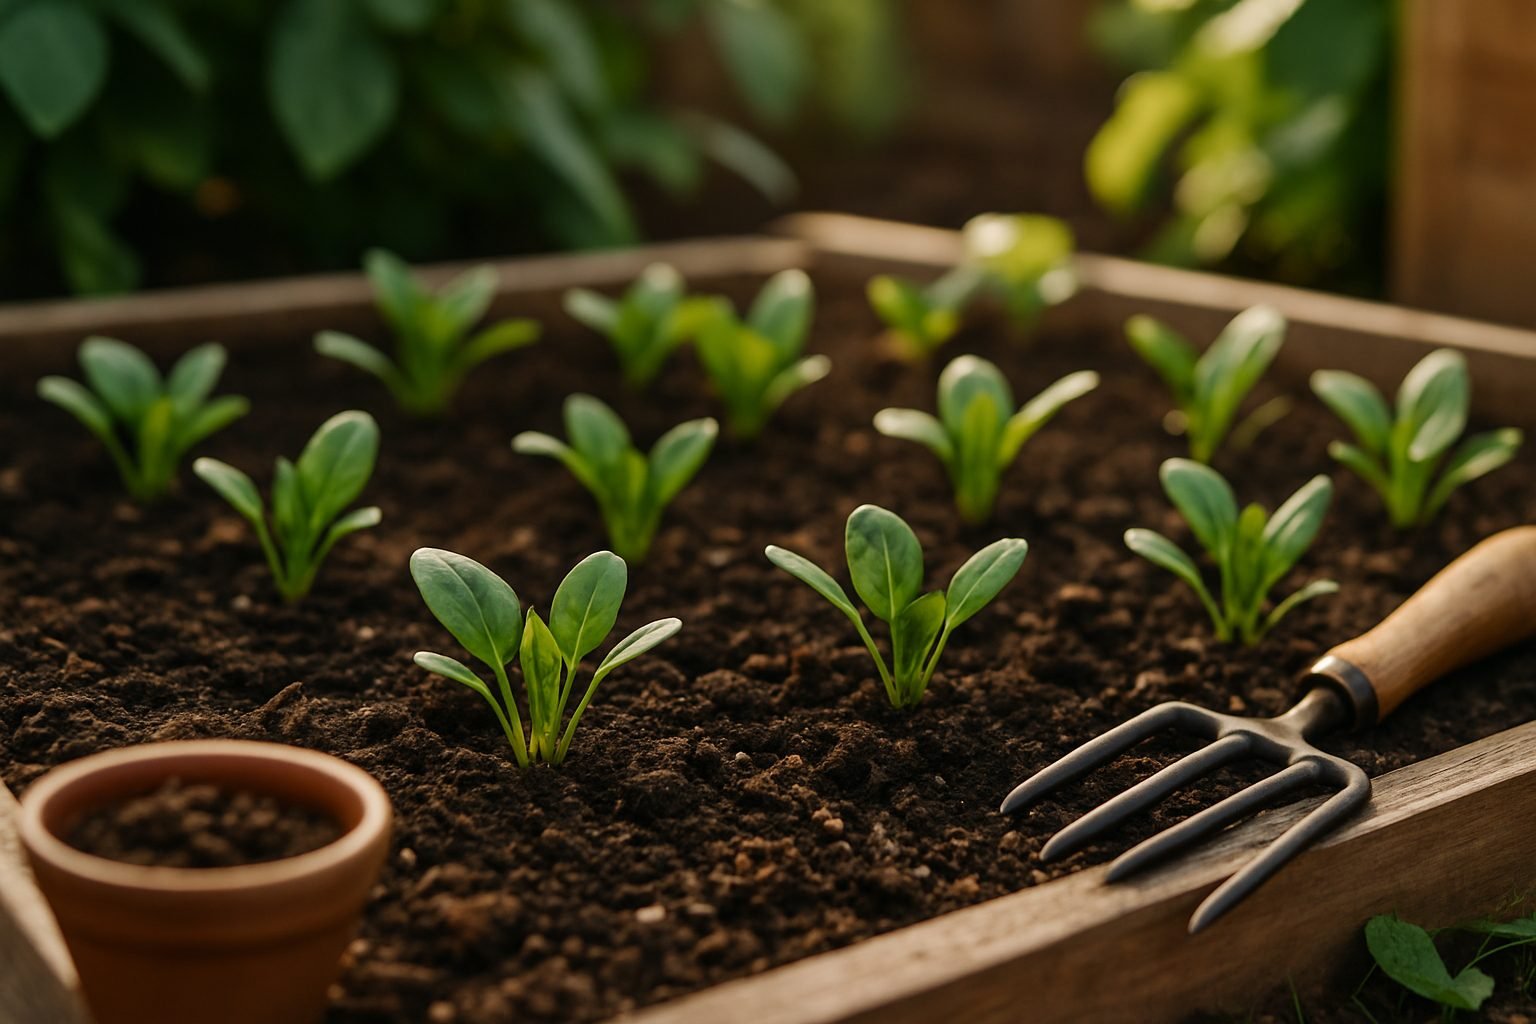
Planting spinach at the right time and place is key to a healthy, productive crop. For most gardeners, spinach is a cool-season crop—it thrives when temperatures are between 45°F and 75°F (7°C to 24°C).
In cooler climates, sow seeds outdoors as soon as the soil can be worked in early spring, usually 4 to 6 weeks before your last predicted frost. For fall harvests, plant spinach roughly 6 to 8 weeks before the first expected frost.
In warmer climates, look for heat-tolerant or “slow-bolt” spinach varieties and try planting in late fall or late winter for a spring harvest; hot weather can cause spinach to bolt, or go to seed quickly.
When choosing a spot, remember that spinach prefers full sun, but in areas with very hot afternoons, partial shade can help keep the plants from wilting or bolting. Aim for at least 4 to 6 hours of sun daily.
For in-ground planting, pick a spot with rich, well-draining soil—add compost before sowing to boost nutrients and retain moisture. If planting in containers, pick pots at least 6 to 8 inches deep and wide so the roots have room to spread; place containers where they’ll get some morning sun but can be moved or shaded during hot afternoons.
Container spinach may need more frequent watering as containers dry out faster, so keep an eye on soil moisture. With the right timing and setting, you’ll enjoy fresh, homegrown spinach to enliven your meals.
Choosing the Right Spinach & Preparing the Soil
Selecting the right spinach variety is the first step to a successful harvest, whether you’re planting in a backyard garden or a small container. Savoy types, known for their crinkled leaves and cold tolerance, thrive in cooler weather and are perfect for fall or early spring planting—try ‘Bloomsdale’ for robust flavor and durability in frosty conditions.
Flat-leaf varieties like ‘Space’ excel in containers and warmer climates since their smooth leaves are easier to wash and quicker to mature; they’re a popular choice for summer crops or patio gardens. For mild winters, semi-savoy types such as ‘Tyee’ blend cold resistance with ease of cleaning. When choosing seeds or young starts, match your local climate to the variety—if you live in an area with hot summers, opt for bolt-resistant types, as traditional spinach can quickly go to seed in heat.
Once you’ve picked your spinach, focus on soil preparation: spinach prefers well-drained, loamy soil with a neutral pH between 6.5 and 7.0. For garden beds, loosen soil to at least eight inches and mix in plenty of compost or well-rotted manure to boost organic matter, as spinach is a heavy feeder. In containers, use a high-quality potting mix supplemented with a bit of organic fertilizer.
Before planting, test your soil’s pH with an inexpensive kit; if it’s too acidic, amend with garden lime. Well-prepared, nutrient-rich soil will help your spinach produce lush, flavorful leaves, giving you a vibrant crop whether you grow in rows or window boxes.
Sowing & Planting Spinach
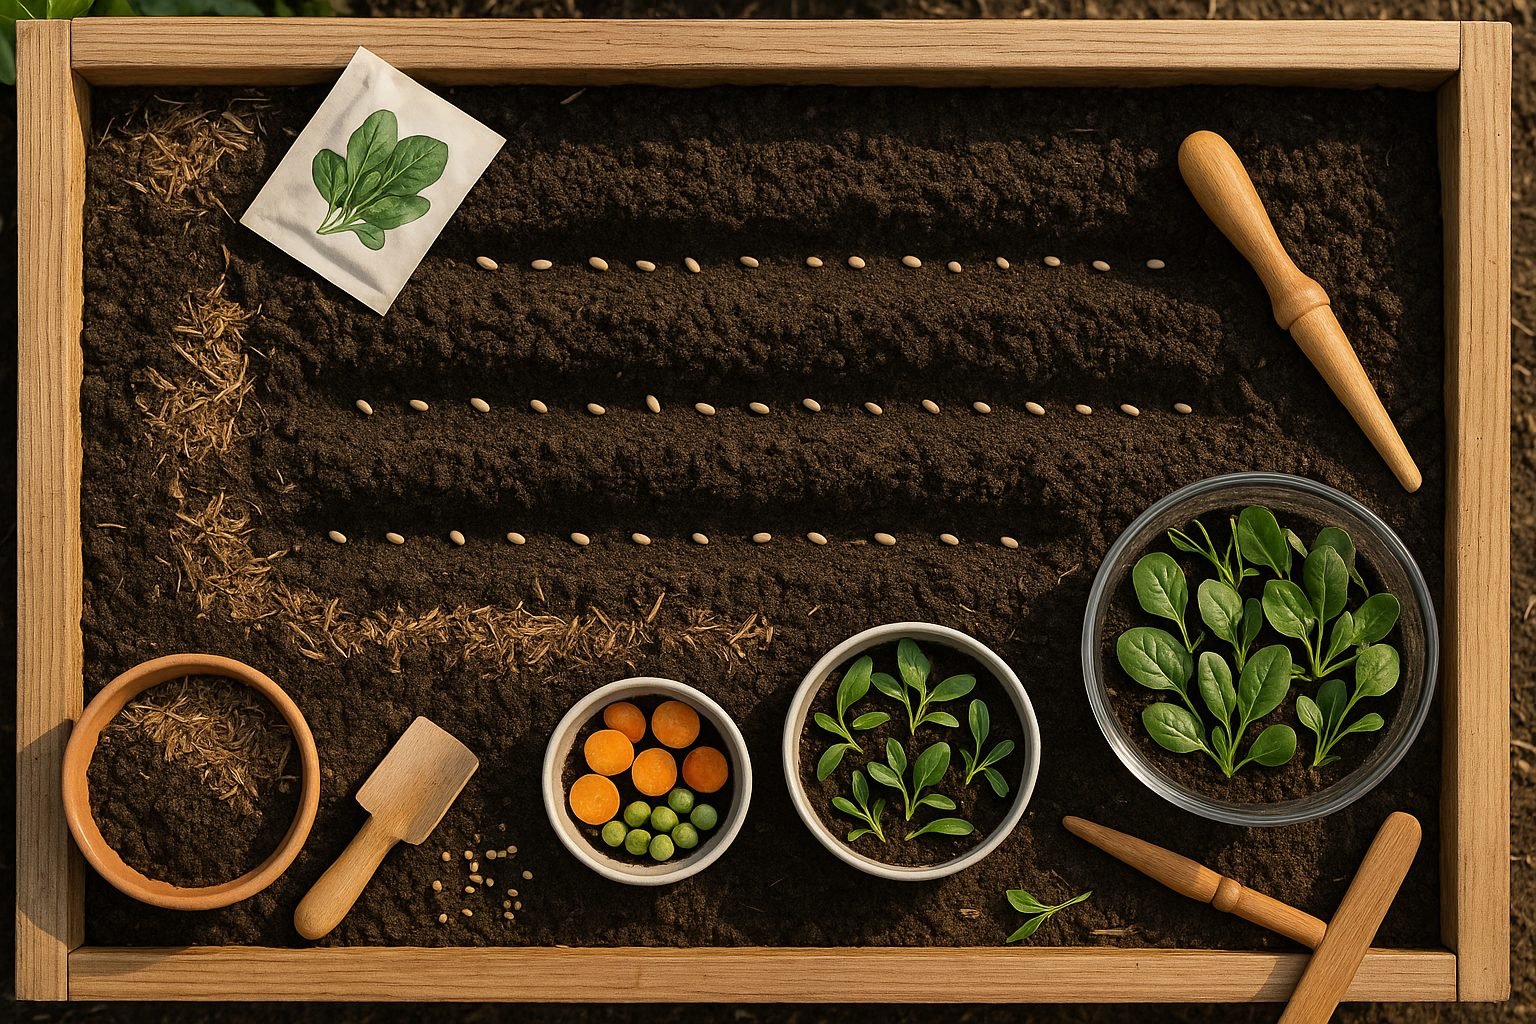
To successfully grow spinach, start by deciding whether to direct sow or transplant your seeds. For direct sowing, wait until soil temperatures reach at least 40°F (5°C) in early spring or late fall, as spinach prefers cooler weather. Loosen your soil and sow seeds half an inch deep, spacing them one inch apart in rows 12 to 18 inches apart to ensure good airflow—this helps prevent fungal diseases.
If you prefer to transplant, sow seeds indoors about 3–4 weeks before your last expected frost. Once seedlings have two true leaves and the outdoor soil is workable, harden them off for a few days, then transplant with at least 3 inches between plants in each row.
Whether planting in containers, raised beds, or traditional garden beds, use well-draining, fertile soil. Ensure containers are at least 6–8 inches deep. For containers, choose a wide, shallow pot and thin seedlings once they sprout to avoid crowding. In raised beds, maintain the same row and plant spacing, but be extra vigilant about watering, as these beds tend to dry out faster.
To enjoy a continual spinach harvest, practice succession planting: sow a new row every two weeks for several weeks in spring, and again in late summer for a fall crop. Remember to mulch after planting to retain moisture and reduce weeds, and water regularly—especially during dry periods—to keep leaves tender and vibrant.
By following these spacing and planting tips, you’ll set yourself up for healthy, robust spinach plants throughout the growing season.
“`html
Caring for Growing Spinach
Caring for growing spinach is all about providing steady, attentive care throughout the season. Spinach thrives when its soil stays consistently moist, but take care not to overwater—soggy ground can quickly lead to root rot. Aim for a light, regular watering schedule, letting the top inch of soil dry slightly between sessions.
To boost lush leaf growth, apply a balanced, all-purpose fertilizer or compost once seedlings have two true leaves, and again about a month later. Quick-release granules or liquid organic feeds both work well, but avoid high-nitrogen formulas that can make leaves bitter.
Companion planting can give your crop an extra edge—radishes mature quickly and help loosen the soil, while chives or garlic can ward off aphids and leaf miners, two pests common to spinach beds.
For the healthiest patches, thin seedlings when they’re two inches tall, spacing plants three to five inches apart to prevent overcrowding and damp environments that attract disease. Mulching with compost or straw keeps soil moisture stable, suppresses weeds, and cools roots when temperatures climb.
Pay attention to pests by inspecting leaves regularly, and consider floating row covers for pest and frost protection—both can spell disaster for a vulnerable crop. By blending these care techniques, you’ll give your spinach every chance to thrive from seedling to harvest.
“`
Harvesting Spinach for Maximum Yield
Timing is key when harvesting spinach to ensure both great taste and continuous regrowth. For the sweetest and most tender leaves, harvest spinach early in the morning before the sun gets too hot; this helps preserve moisture and flavor.
If you prefer baby spinach, start picking individual leaves when they reach about 2–3 inches long. Use sharp scissors or pinch them at the base, being careful not to damage the central growing point. Harvesting this way encourages the plant to keep producing new leaves, letting you enjoy multiple cuttings over several weeks.
For mature spinach, wait until the outer leaves are dark green and about 6 inches long. Cut the outer leaves, again leaving the center intact. Or, if it’s the end of the season, you can cut the entire plant about an inch above the soil for one big harvest.
As soon as you pick spinach, immerse the leaves in cool water to remove dirt and help keep them crisp. Then gently spin or pat dry. Store spinach unwashed in a container lined with paper towels in the refrigerator; this prevents moisture buildup and extends shelf life up to a week.
For immediate use, toss fresh leaves into salads or smoothies, or quickly sauté them for a simple side. Spinach loses nutrients fast after picking, so enjoying it soon after harvest gives you the best flavor and health benefits.
Solving Common Spinach Problems
Spinach is a hardy green, but it’s not immune to common garden woes. Aphids and leaf miners often target spinach, causing curled or hole-punched leaves—check the undersides of leaves regularly for clusters of tiny green aphids or winding trails from leaf miner larvae.
If you spot aphids, a quick blast with a hose or an application of insecticidal soap can help, while picking off affected leaves and rotating crops discourages leaf miners.
Downy mildew is another frequent issue, leaving yellow patches and fuzzy growth on leaves, especially in damp, crowded beds. To prevent this, water early so foliage dries quickly, space plants for airflow, and remove infected leaves promptly.
Bolting (premature flowering) cuts short your harvest and is triggered by lengthening days and heat. To avoid bolting, plant spinach early in cool spring or late in summer for a fall harvest, use bolt-resistant varieties, and provide shade during hot spells.
Always monitor your spinach patch closely—catching problems early means easier fixes and healthier plants. Using floating row covers protects against pests, while mulching and compost boost plant resilience.
Healthy soil and consistent watering are your best insurance against most issues, ensuring your spinach patch remains productive and vibrant all season long.