Introduction
If you’re dreaming of a thriving vegetable garden, learning about the best soil for onions is a great place to start. Onions are a staple in kitchens around the world, loved for their versatility and flavor, and they’re surprisingly easy to grow at home—if you set them up for success. The secret to healthy, well-formed bulbs begins beneath the surface with quality soil.
Whether you’re a first-time gardener or an experienced grower eager for better yields, choosing and preparing the right soil can make all the difference. In this guide, we’ll cover exactly what makes the best soil for onions, from ideal pH levels and texture to drainage and amendments.
You’ll learn how to transform ordinary garden beds or containers into onion-growing powerhouses using simple, real-world tips—like the benefits of raised beds for drainage or mixing in organic compost for better fertility. By following these steps, you’ll give your onions the strong start they need for a harvest you’ll be proud of. Let’s dig in and unlock the secrets to the lushest onion patch you’ve ever grown!
Understanding Onion Varieties
When it comes to onions, choosing the right variety can make a big difference in your garden and your recipes. The most common type is the yellow onion, which has a robust, slightly sweet flavor that mellows with cooking—making it a staple for soups, stews, and caramelizing.
Red onions are milder and great raw in salads, sandwiches, or salsas thanks to their vibrant color and crisp texture. White onions are sharp and pungent; they’re popular in Mexican cuisine and excellent for salsas and pickling due to their clean bite.
Sweet onions, like Vidalia or Walla Walla, have a higher sugar content and low sulfur, delivering a delicate flavor ideal for eating raw or lightly cooked—think burgers, onion rings, or salads. Green onions, also called scallions, have small white bulbs with long green stalks, both of which are edible and perfect for garnishing dishes or adding a mild onion flavor to stir-fries and soups.
Your choice of variety also influences when to plant: the U.S. is divided between regions suitable for long-day and short-day onions. Long-day onions (requiring 14-16 hours of daylight) are best for northern gardeners, while short-day varieties (10-12 hours) thrive in southern climates. Planting the wrong type for your location can lead to small bulbs or poor yield, so check seed packets for this detail.
Additionally, the onion’s water and sunlight needs can affect its taste and storage ability; for instance, sweet onions with their higher moisture don’t store as long as pungent yellow or red types. Picking the right onion for your region and recipes ensures you get the most flavor and best results, whether you’re topping tacos, tossing a salad, or simmering a hearty stew.
Choosing and Preparing the Best Soil
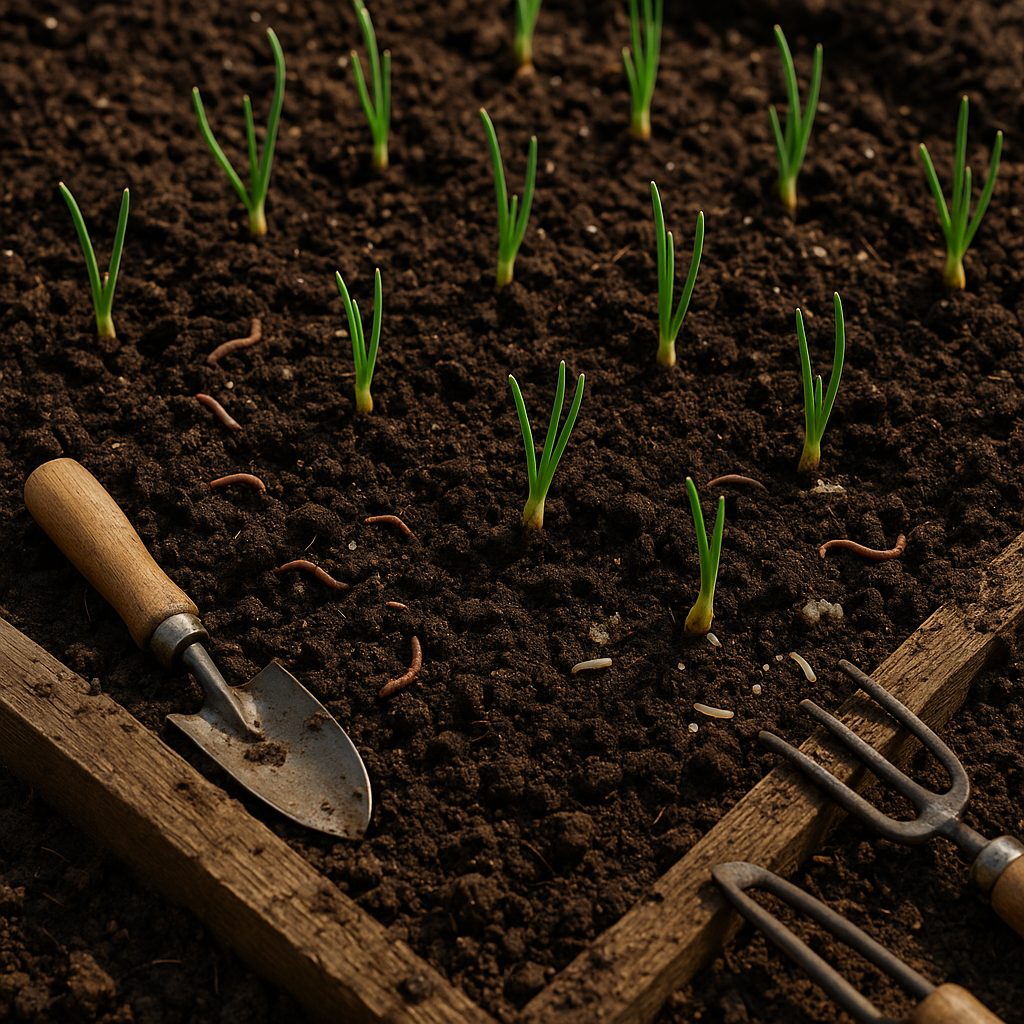
When it comes to growing healthy onions, starting with the right soil makes all the difference. Onions thrive in soil that is loose, crumbly, and well-draining to prevent waterlogged roots and stunted growth.
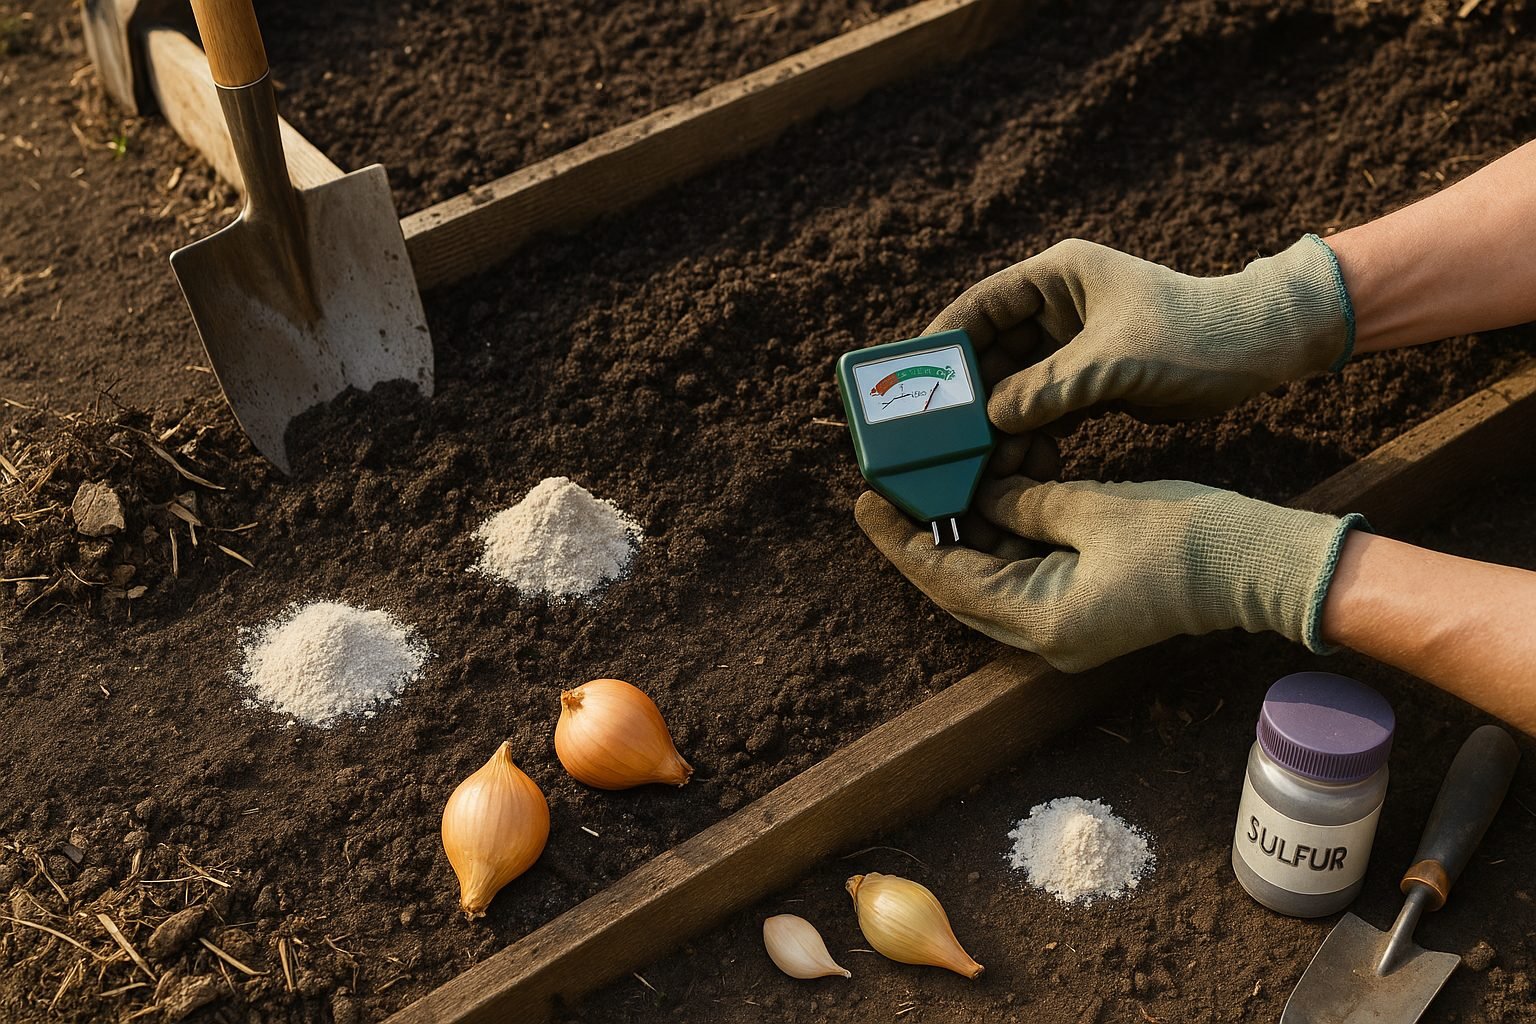
The best soil also contains plenty of organic matter, such as compost or well-rotted manure, which enriches nutrients and supports robust bulb development. Aim for a pH level between 6.0 and 7.0—this slightly acidic to neutral range helps onions absorb essential nutrients efficiently.
It’s easy to check your soil’s pH using an inexpensive home test kit from a garden center. If your results fall outside the ideal range, you can amend acidic soil by mixing in garden lime, or lower the pH with sulfur if the soil is too alkaline.
Practical preparation begins by clearing the area of any rocks, old roots, and plant debris so onion roots can spread easily. Loosen the soil to a depth of at least 8–10 inches using a shovel or rototiller, breaking up compacted clumps as you go.
Next, work in several inches of compost or decomposed manure—this boosts organic content and improves moisture retention without making the soil soggy. Taking these steps now pays off later with strong, flavorful onions and an easier garden experience overall.
Sowing or Planting: Sets, Seeds, or Transplants
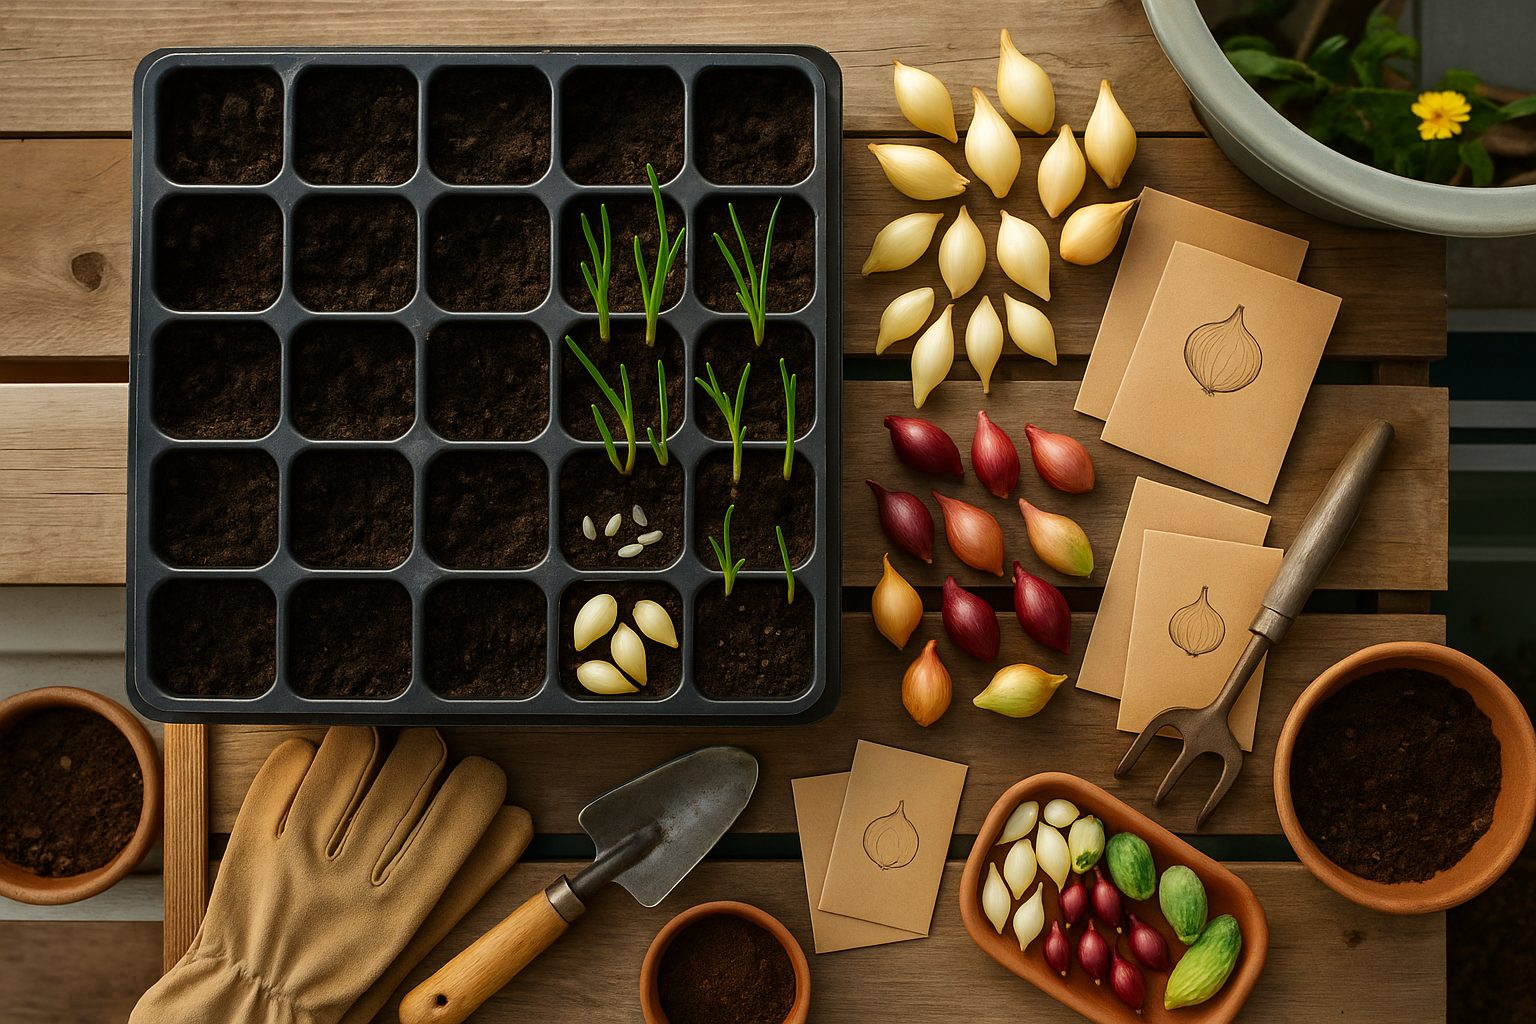
Choosing how to start your onions—whether from sets, seeds, or transplants—can make a big difference in your harvest. Onion sets (small, pre-grown bulbs) are the fastest, easiest option for beginners. Sets should be planted 1 inch deep and 4 inches apart, usually in early spring as soon as the soil is workable. They’re less fussy about temperature but can bolt (flower prematurely) if the weather fluctuates.
Seeds are the most affordable option but require patience. Sow them shallowly (about ¼ inch deep, 1 inch apart) indoors 8-12 weeks before your last frost, then thin or transplant them outdoors later. This method lets you choose from more varieties and often produces more robust bulbs in the long run, but it requires more time and care.
Transplants—young seedlings started either at home or purchased from a nursery—offer a middle ground. Plant them outdoors when they’re about pencil-thick, roughly 1 inch deep and 4-6 inches apart, after the danger of hard frost has passed.
If your region has a short growing season or hot summers, sets and transplants are more reliable because they give onions a head start on the weather. In mild climates, directly sowing seeds outdoors in early spring or even late fall can work well.
For most beginners, starting with sets offers the least hassle and fastest results, while more experienced gardeners might opt for seeds to enjoy greater variety and bigger yields. Whichever method you choose, be sure to plant onions in well-drained, fertile soil and keep the rows weed-free—healthy starts now mean bigger, better onions later on.
Onion Plant Care: Watering, Feeding, and Mulching
Proper watering is crucial for healthy onion growth, but it’s easy to get it wrong. Onions like consistent moisture, so aim to water deeply about once a week, providing around one inch of water each time, especially during dry spells. The biggest mistakes are overwatering, which causes bulbs to rot and leads to diseases, and underwatering, which results in small, underdeveloped onions. Always check the soil—if the top inch feels dry, it’s time to water.
For feeding, onions are heavy feeders and benefit from a balanced or nitrogen-rich fertilizer, particularly early in the season. Start by mixing a general-purpose granular fertilizer into the soil before planting, then side-dress with a nitrogen fertilizer (like blood meal or a high-nitrogen synthetic) every few weeks until the bulbs start to swell. Stop fertilizing once you see the tops begin to fall over, as this means the onions are nearing maturity.
Mulching is another game-changer: a two-inch layer of straw, shredded leaves, or grass clippings helps keep the soil evenly moist, suppresses weeds, and regulates soil temperature. Mulch also prevents dirt from splashing onto bulbs, keeping them cleaner and reducing disease risk. Avoid using thick, heavy mulches like whole leaves that can smother young seedlings—lighter materials let air and water through while still doing the job.
With the right combination of careful watering, timely feeding, and smart mulching, you’ll give your onions their best shot at a big, healthy harvest.
Managing Common Problems: Pests & Diseases
When growing onions, a few common pests and diseases can quickly become a headache if not managed early. Onion flies, for example, lay eggs near the base of young plants, and their maggots tunnel into bulbs, causing stunted growth and rot—watch for wilting seedlings and holes at soil level.
Another widespread pest is thrips: these tiny, slender insects feed on onion leaves and leave silvery streaks, stunted growth, and deformed bulbs in their wake.
On the disease front, downy mildew strikes during humid weather, appearing as pale yellow patches on leaves, quickly followed by fuzzy gray or purple mold. Early identification is vital to stop its spread.
Onion rot, caused by soil-borne fungi, is just as insidious; it begins with yellowing, wilting leaves and often results in soft, watery bulbs that decay in the ground.
Organic Protection Methods
To protect your crop organically, practice crop rotation, use floating row covers to block adult flies, remove plant debris, and encourage beneficial insects like ladybugs.
Neem oil or insecticidal soap can help manage thrips, while copper-based sprays are a common organic defense against mildew.
Chemical Controls
In severe cases, chemical options like pyrethroid insecticides or fungicides may be necessary. Always follow label directions and use them only as a last resort to minimize environmental impact.
Regular Inspection
Early vigilance—inspecting plants regularly and removing affected leaves or bulbs—goes a long way in nipping problems in the bud and keeping your onion patch healthy.
Harvesting and Curing Onions
Knowing when to harvest onions is crucial for long-lasting storage and great flavor. Look for yellowing and floppy onion tops as your main signal—this usually happens in late summer, about 100-120 days after planting.
Once most tops have fallen over naturally, stop watering for a week to help the bulbs mature. Choose a dry day to harvest, as wet onions are prone to mold. Loosen the soil with a garden fork—avoid stabbing the bulbs—and gently lift onions by their necks, never the tops, to prevent bruising.
Brush off loose dirt but don’t wash; moisture invites rot. Spread the onions in a single layer on screens, racks, or even cardboard in a warm, well-ventilated, shaded space like a garage or covered porch. Let them cure for at least two weeks, until the outer skins are papery and the necks are fully dry and tight.
If rain threatens during curing, bring the onions inside to keep them dry. To avoid spoilage, discard any bruised or damaged bulbs immediately, and always handle onions gently.
Once cured, trim stems to one inch and cut roots close, then store the onions in mesh bags, baskets, or crates somewhere cool and dry. By following these simple steps and keeping an eye on moisture and bruising, you can enjoy homegrown onions for months.
Storing and Using Homegrown Onions
Storing homegrown onions properly helps preserve their flavor and texture for months. For best results, cure your onions first by letting them dry in a warm, airy place for two to three weeks until the necks are tight and papery.
After curing, trim the stems and roots, then store the onions in a cool, dry, and well-ventilated spot—ideally around 32–40°F (0–4°C)—such as a basement or unheated garage. Avoid storing them in plastic bags or near potatoes, as trapped moisture or gases can speed up spoilage. Mesh bags, baskets, or pantyhose work well for airflow and save space.
When it comes to use, fresh onions can elevate everything from salads and salsas to soups and stir-fries. For longer preservation, try pickling sliced onions in vinegar with spices for a tangy topping, or dice and freeze raw onions in airtight bags for easy use in cooked dishes later.
Red, yellow, and sweet onions each have unique flavors—don’t be afraid to experiment with different types in recipes or for storing. Whether raw, cooked, pickled, or frozen, homegrown onions are incredibly versatile, so play around with storage techniques and recipes to find what you like best.
Conclusion
Growing onions can be a truly rewarding experience when you start with careful preparation, from choosing the right spot to enriching your soil. Pick a variety that’s well-suited to your local region and soil type—this small step makes a world of difference in your onion harvest.
Don’t be afraid to experiment with different types, planting techniques, and recipes as you go. The effort you put in will pay off with fresh, flavorful onions that elevate your meals and give you a sense of accomplishment. Enjoy the process and the delicious results from your very own garden!