Introduction
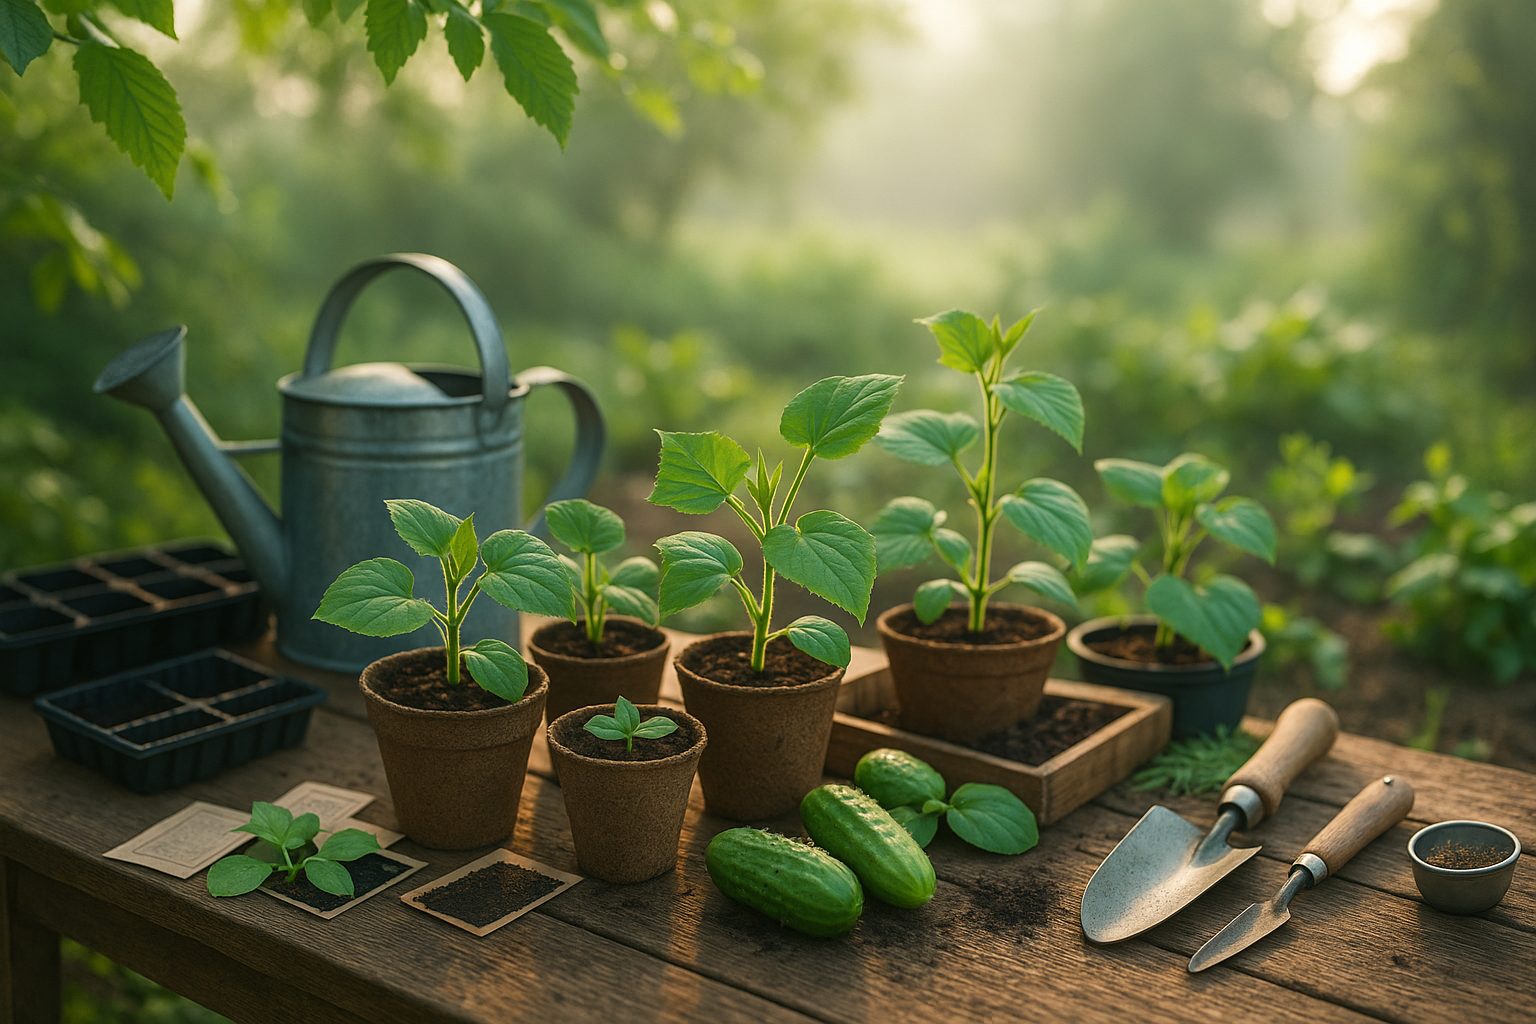
If you want healthy, productive plants, learning how to harden off cucumbers is essential for every gardener growing from seed. Hardening off seedlings means gradually adjusting them to outdoor conditions—like wind, cooler temperatures, and direct sunlight—after they’ve been pampered indoors.
Skipping or rushing this process is a common beginner mistake that often leads to sunscald, wilting, or even losing your cucumber plants altogether. Many new gardeners get excited to move their seedlings outside as soon as the weather warms up, but a bit of patience goes a long way!
In this article, we’ll break down the simple steps to harden off cucumbers successfully, from timing and location tips to a daily adjustment schedule. You’ll also get real-life advice on spotting stress in seedlings and how to protect them during unpredictable weather, so your cucumbers hit the ground running and thrive all summer long.
What Is Hardening Off and Why Is It Important?

Hardening off is a simple but essential gardening practice that prepares your indoor-grown seedlings for life outdoors. When you start plants inside, they’re sheltered from harsh weather, direct sunlight, and wind, so their leaves and stems are often tender and unaccustomed to those tougher outdoor conditions.
If you move them directly from the cozy indoors to the garden, they can easily suffer from transplant shock—a stress response that stunts growth or even kills young plants. Sunburn is also common, as delicate indoor plants aren’t equipped to handle full-strength sunlight and might develop bleached or scorched patches on their leaves.
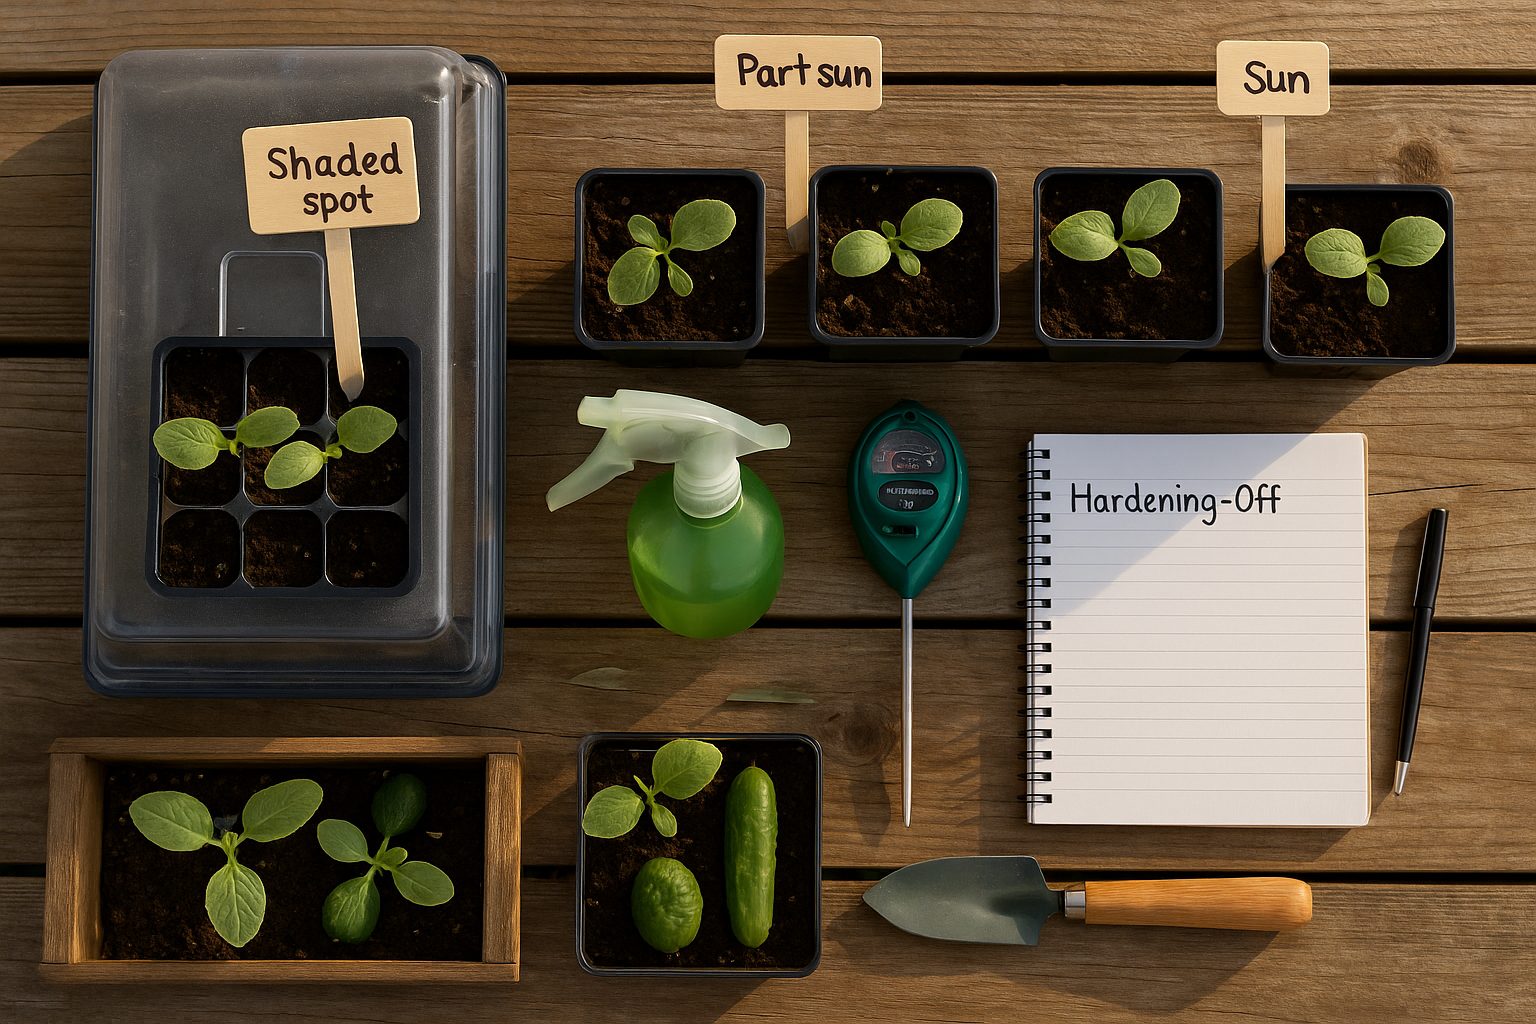
That’s why hardening off matters: it gradually introduces seedlings to the realities outside by exposing them to increasing amounts of sun, wind, and cooler temperatures over a week or two. For example, you might start by setting your trays outside for an hour in the shade, then slowly increase their exposure each day, moving them into sunnier spots and leaving them outside longer as time passes.
This gradual adjustment toughens up plants, making them sturdier and less vulnerable once transplanted into the garden. Skipping or rushing this step is risky—plants can wilt, fail to thrive, or, in extreme cases, perish. By taking the time to properly harden off your seedlings, you give them the best chance to grow strong and productive all season long.
When and How to Know If Your Seedlings Are Ready
Knowing when your seedlings are ready for the next step is crucial to their long-term success. Look for clear signs of maturity: seedlings should be sturdy with at least two to four true leaves—not just the initial seed leaves. Check the roots by gently tipping the plant out of its container; a healthy, developed root system will hold the soil together.
For most vegetables like tomatoes, peppers, and lettuce, this stage is usually reached three to six weeks after sowing, while fast-growing annual flowers such as marigolds and zinnias might be ready in as little as two to three weeks.
Before starting the hardening-off process, always monitor your local weather forecasts and wait until daytime temperatures consistently stay above 50°F (10°C), with no risk of nighttime frost. Use online tools or local gardening centers to find your average last frost date—starting hardening off about a week after this date means your seedlings are less likely to encounter sudden cold snaps.
Choose a calm, cloudy day for their first trip outdoors to minimize shock, and gradually increase their outdoor time over a week to help them adjust smoothly.
Step-by-Step: How to Harden Off Seedlings
Hardening off your seedlings is all about easing them into the outdoors so they aren’t shocked by the sudden change in environment. Start about a week to ten days before transplanting.
On day one, place your seedlings outside in a sheltered, shady spot for 1–2 hours, then bring them back indoors. Each following day, add an hour or two and gradually introduce them to more sunlight, eventually giving them full sun for part of the day by day four or five.
Keep a close eye on their water needs—outdoor conditions usually dry soil faster than indoors. Be mindful of wind, which can quickly stress young plants; use a cold frame or cloches to buffer breezes if needed, or simply place seedlings near a wall for protection.
If the temperature dips below 50°F (10°C) or there’s an unexpected frost or heavy rain, skip exposure that day and resume when conditions improve. Should seedlings wilt or show signs of stress—like leaf curl or discoloration—scale back their outdoor time and let them recover indoors before resuming the process.
With patience and a gradual approach, you’ll give your seedlings their best chance to thrive in the garden.
Common Mistakes to Avoid
One of the most common mistakes during the hardening off process is exposing seedlings to full, direct sunlight too quickly. This shock can cause delicate leaves to scorch or even kill young plants.
Another issue is skipping days or being inconsistent with your schedule. When seedlings don’t get gradual exposure each day, they can’t build the resilience they need for outdoor conditions, leading to stunted growth or transplant shock.
Many gardeners also overlook the impact of wind; even gentle breezes can damage or dry out unacclimated seedlings with fragile stems and leaves.
To avoid these pitfalls, always start with just an hour of morning sunlight, gradually increasing the time and intensity over a week to ten days. Be consistent, even if just for a few minutes each day, and don’t be tempted to rush the process on sunny weekends.
Shield young plants from strong winds by placing them near a wall or in a sheltered spot during their first few outings outside. Keeping a simple checklist or setting daily reminders can also help you stick to your hardening off schedule, ensuring your seedlings transition smoothly from windowsill to garden bed.
Aftercare: Planting Seedlings Outdoors Successfully
Transplanting seedlings outdoors is a key step in successful gardening, and a little care during this stage goes a long way. Start by picking a cool, overcast day for transplanting—this reduces transplant shock and gives your seedlings the best start.
Dig holes slightly bigger than the root ball, gently loosen the roots, and set each seedling in at the same depth it was growing before. Firm the soil around each plant and water thoroughly to help them settle in and remove air pockets.
For the first week, keep the soil consistently moist—not waterlogged, but never dry. Mulch around your seedlings with straw or shredded leaves to retain moisture and suppress weeds, being careful to keep the mulch an inch away from the stems to prevent rot.
Check seedlings daily for signs of transplant shock, such as drooping, yellowing, or scorched leaves. If you spot stress, provide some shade with a light cloth or cardboard and mist the leaves lightly in the morning.
Avoid using fertilizers until the plants start showing new growth. With attentive aftercare during these crucial first days, your transplanted seedlings will be well on their way to thriving in their new outdoor home.
Conclusion & Further Resources
Properly hardening off your seedlings is essential for helping them adjust to outdoor conditions and thrive after transplanting. While it may be tempting to rush the process, taking the time to gradually expose your plants to sun, wind, and temperature changes will pay off with healthier, more resilient growth. Practice patience and follow each step closely for the best results.
For more detailed advice, check out guides from local gardening extension offices, books like The New Seed Starter’s Handbook, and online resources such as the Old Farmer’s Almanac or gardening forums where experienced growers share helpful tips.