Introduction
If you’ve ever wanted to grow your own vibrant, leafy greens with minimal fuss, raised bed Swiss chard might be the perfect addition to your garden. Swiss chard is packed with vitamins, minerals, and offers a burst of color—plus, it thrives in a wide range of climates. For both beginner gardeners and seasoned pros, raised beds provide a big advantage: they improve drainage, allow you to customize soil quality for optimal plant health, and help keep weeds under control.
Even in small spaces, raised beds give you the structure needed for a lush, consistent Swiss chard harvest all season long. Whether you’re planting your very first seeds or looking to upgrade your current setup, this post will guide you through every step of growing Swiss chard in raised beds—from selecting the right soil mix and organizing seedlings to daily care, troubleshooting, and harvesting tips. Stay tuned for simple strategies, practical advice, and creative ideas to help you enjoy a continuous supply of this nutritious green right outside your door.
Choosing the Right Raised Bed Location and Setup
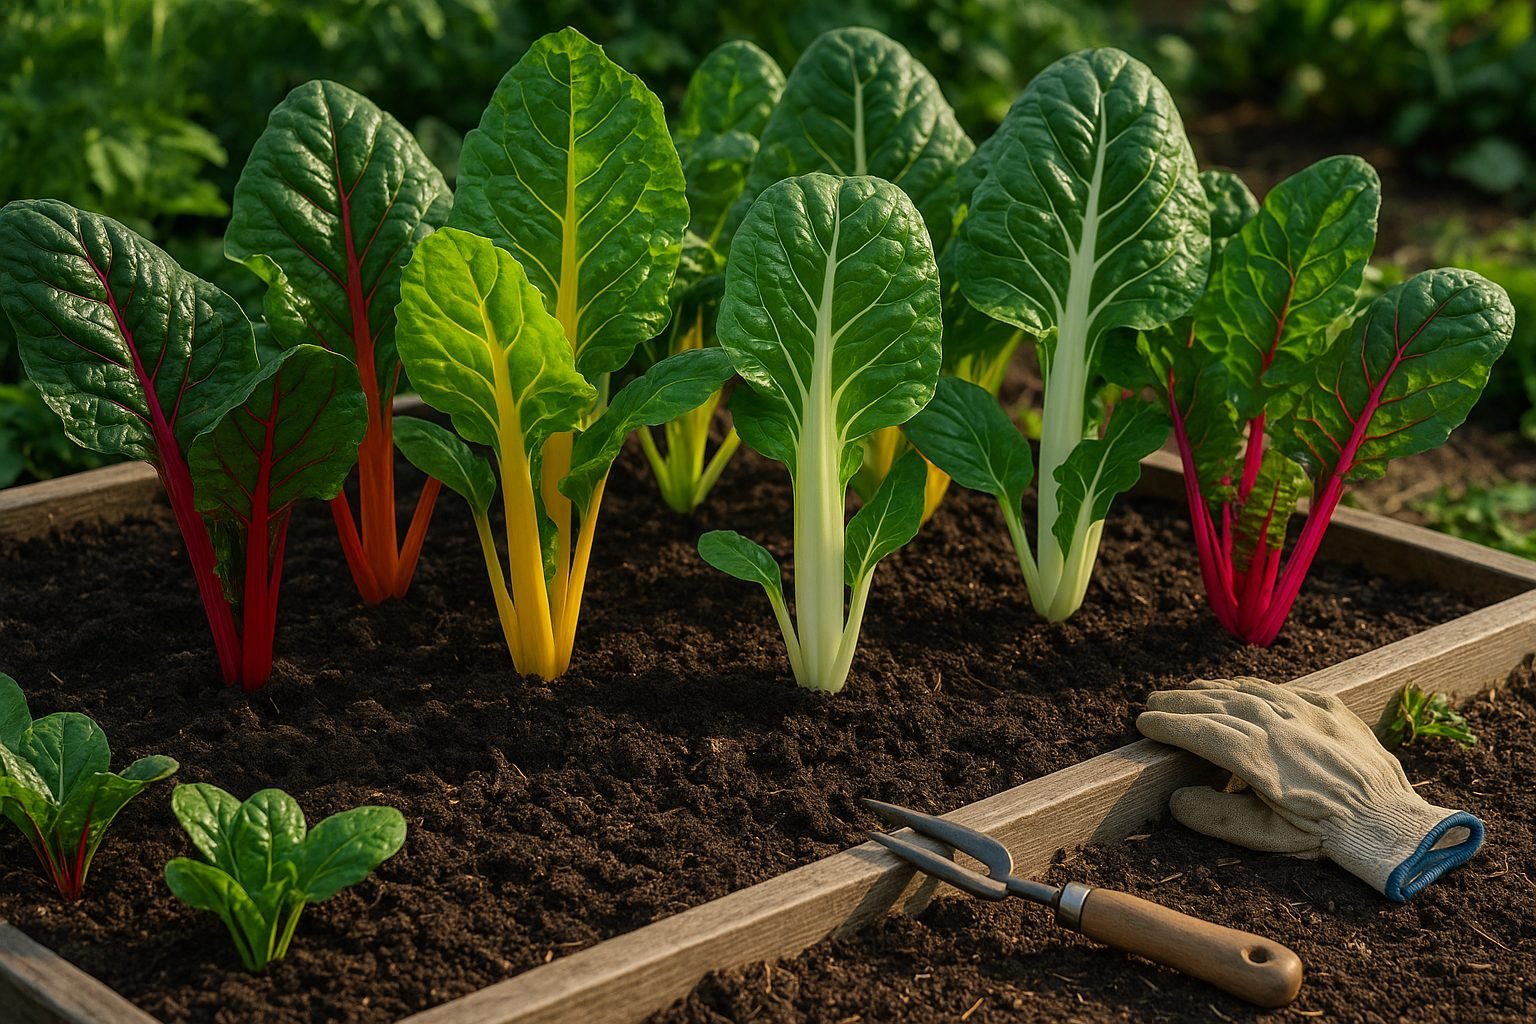
When planning to grow raised bed Swiss chard, selecting the ideal spot for your bed is crucial for healthy, productive plants. Swiss chard thrives in full sun, so choose a location in your yard that receives at least six hours of direct sunlight daily—preferably morning to early afternoon sun, as it’s gentler and helps reduce heat stress. While partial shade can be tolerated, especially in hot climates, avoid placing your bed in consistently shaded areas or near tall buildings and trees that block sunlight.
For the raised bed itself, aim for a width of three to four feet—this allows easy access to the center of the bed from either side without stepping on the soil, which can compact it and restrict root growth. A length of six to eight feet works well for most gardeners, but feel free to adjust based on your available space. Swiss chard requires a soil depth of at least 12 inches to accommodate its robust roots and ensure access to nutrients.
When building your raised bed, use untreated cedar or redwood lumber, as these woods are naturally rot-resistant. Recycled composite boards or stone blocks are also good alternatives. Before assembling the bed, clear weeds and grass from the site, level the ground, and consider laying down cardboard or weed barrier fabric to keep unwanted plants at bay. Fill the bed with a well-draining soil mix rich in compost, providing your Swiss chard with the nutrients it needs for lush, flavorful leaves all season long.
Soil Preparation and Amendments for Raised Bed Swiss Chard
Starting with the right soil mix is key for growing healthy, productive raised bed Swiss chard. This leafy green thrives in loose, fertile, well-draining soil—aim for a blend of equal parts high-quality garden soil, compost, and coarse sand or perlite. The compost adds organic matter that helps retain moisture, supports beneficial microbes, and provides a slow-release source of nutrients that Swiss chard loves.
Before planting, work at least two inches of finished compost into the top six inches of your raised bed. To boost fertility, incorporate a balanced organic fertilizer, such as one with an N-P-K ratio close to 5-5-5, following the package directions. If your soil test reveals deficiencies like low nitrogen or potassium, add amendments like blood meal or greensand accordingly.
Swiss chard prefers a slightly acidic to neutral pH, ideally between 6.0 and 7.0. Testing your soil with a simple home kit ensures you’re in the right range and lets you know if you need to add lime (to raise pH) or elemental sulfur (to lower pH). Since raised beds can dry out faster, good moisture retention is essential. Once seedlings are established, applying organic mulches like straw or shredded leaves helps conserve moisture and keeps roots cool.
By prioritizing soil structure, fertility, and ongoing testing, you’ll create the ideal environment for your raised bed Swiss chard to flourish all season long.
Planting Raised Bed Swiss Chard: Seeds, Seedlings, and Spacing
When planting raised bed swiss chard, you have two simple options: direct seeding or transplanting seedlings. For direct seeding, wait until soil temperatures consistently stay above 50°F—usually about two weeks before your area’s last expected frost. Prepare your raised bed by loosening the soil and mixing in compost to ensure good drainage.
Sow seeds about ½ inch deep and 2 inches apart, then cover lightly with soil. Once seedlings reach about 3 inches tall, thin them so the remaining plants are spaced 8–12 inches apart. This spacing is essential for healthy leaves and strong airflow, which reduces the risk of powdery mildew and other fungal diseases.
If you’re starting with nursery seedlings or have grown your own indoors, harden them off for a few days by gradually exposing them to outdoor conditions. Transplant them when they’re about 4–6 weeks old, planting at the same depth they were in their containers. Space the plants 8–12 inches apart in rows that are 12–18 inches apart.
For a continuous supply of fresh leaves, practice succession planting by sowing a new batch of seeds every 2–3 weeks throughout spring and early summer. In cooler climates, you can even enjoy a fall harvest by sowing seeds again in midsummer. With careful spacing and regular replanting, your raised bed will provide a season-long supply of tender, vibrant swiss chard—perfect for salads, sautés, and more.
Watering, Mulching, and Care Throughout the Season
Proper watering is key to growing healthy raised bed Swiss chard, as soil in raised beds tends to dry out faster than in traditional garden beds. Aim to keep the soil consistently moist but not waterlogged. A good rule of thumb is to water deeply once or twice a week, depending on the weather. Early morning watering is best because it allows the foliage to dry during the day, reducing the risk of disease.
Drip irrigation or soaker hoses work great for raised beds since they deliver water directly to the roots while minimizing evaporation. Adding a layer of organic mulch—like straw, shredded leaves, or compost—around your chard plants has multiple benefits. Mulching helps retain soil moisture, so you’ll need to water less often, and it also suppresses weeds that compete for nutrients. Plus, it keeps soil temperature steadier during hot spells and improves soil structure as it breaks down over time.
Once your Swiss chard seedlings reach a few inches tall, thin them to stand about 6–8 inches apart. This spacing gives each plant enough room to grow strong, healthy leaves. Keep an eye out for bolting, which happens when the plant sends up a flower stalk—usually triggered by high heat or long daylight hours. If you notice your chard starting to bolt, harvest the leaves right away and try providing light shade during heat waves.
Regularly check for nutrient deficiencies too. Yellowing leaves often signal a lack of nitrogen; in this case, side-dress with compost or a balanced organic fertilizer. With attentive care, your raised bed Swiss chard will reward you all season long with crisp, colorful greens.
Pest and Disease Management for Raised Bed Swiss Chard
Growing raised bed swiss chard can sometimes attract unwanted pests like leaf miners and aphids. Leaf miners tunnel inside the leaves, leaving behind winding, unsightly trails, while aphids cluster on tender new growth, sucking sap and potentially stunting your crop. Diseases such as downy mildew and leaf spot may also affect swiss chard, showing up as yellow patches, fuzzy mold, or dark spots on the leaves.
One of the best organic ways to manage these issues is by physically removing affected leaves and regularly inspecting your plants—especially the undersides where pests often hide. Insecticidal soap sprays can help control aphids, while removing and destroying leaves infested by leaf miners is essential. To prevent diseases, avoid overhead watering to keep foliage dry and ensure good air circulation by spacing your plants properly.
Raised beds naturally improve drainage and make it easier to manage weeds and soil health, both of which help prevent disease. Consider companion planting with aromatic herbs like dill and mint to repel pests, or use nasturtiums as trap crops. Regular inspections—walking through your garden every few days—allow you to catch problems early, keeping your raised bed swiss chard healthy and thriving throughout the season.
Harvesting and Ongoing Raised Bed Maintenance
Harvesting raised bed Swiss chard is simple, but timing is key for maximum yield and flavor. Start picking leaves when they reach about six to eight inches tall by snipping the outer leaves at the base with sharp scissors or garden shears. This allows the center of the plant to continue producing fresh growth. This “cut-and-come-again” method encourages a continuous harvest over weeks or even months.
For the sweetest and most tender leaves, harvest in the morning, especially in hot climates. After each picking, promptly remove any yellowing or damaged foliage to prevent pest buildup and keep your bed healthy. Once the main harvest is done or when plants bolt in hot weather, clear out remaining plant material and roots to discourage disease.
Sweep away fallen leaves and debris, as these can harbor slugs and other pests over winter. To prepare for the next crop, lightly turn the soil and add a layer of compost or well-rotted manure. Rotate your Swiss chard with other crops—like beans or carrots—to maintain soil health and reduce disease risks.
In colder regions, using floating row covers or mini hoop houses can extend your Swiss chard season into late fall, while also keeping beds warmer and reducing frost damage.
Conclusion & Quick Troubleshooting FAQ
Growing raised bed Swiss chard offers gardeners many benefits, including improved soil drainage, fewer weeds, and easier access for planting and harvesting. This setup encourages Swiss chard to thrive with healthy root development and vibrant leaves.
If you notice yellow leaves, the most common causes are overwatering or nutrient deficiencies—try watering less often and consider adding a balanced organic fertilizer. Slow growth often indicates cool soil temperatures or insufficient sunlight, so make sure your raised bed receives at least six hours of direct sun and has a quality soil mix.
Raised beds also warm up faster in spring, giving your Swiss chard a strong start. Don’t hesitate to experiment—Swiss chard is forgiving and ideal for beginners. Give it a try this season, and if you encounter any challenges or successes, share your story in the comments to help others learn and grow with you!