Introduction
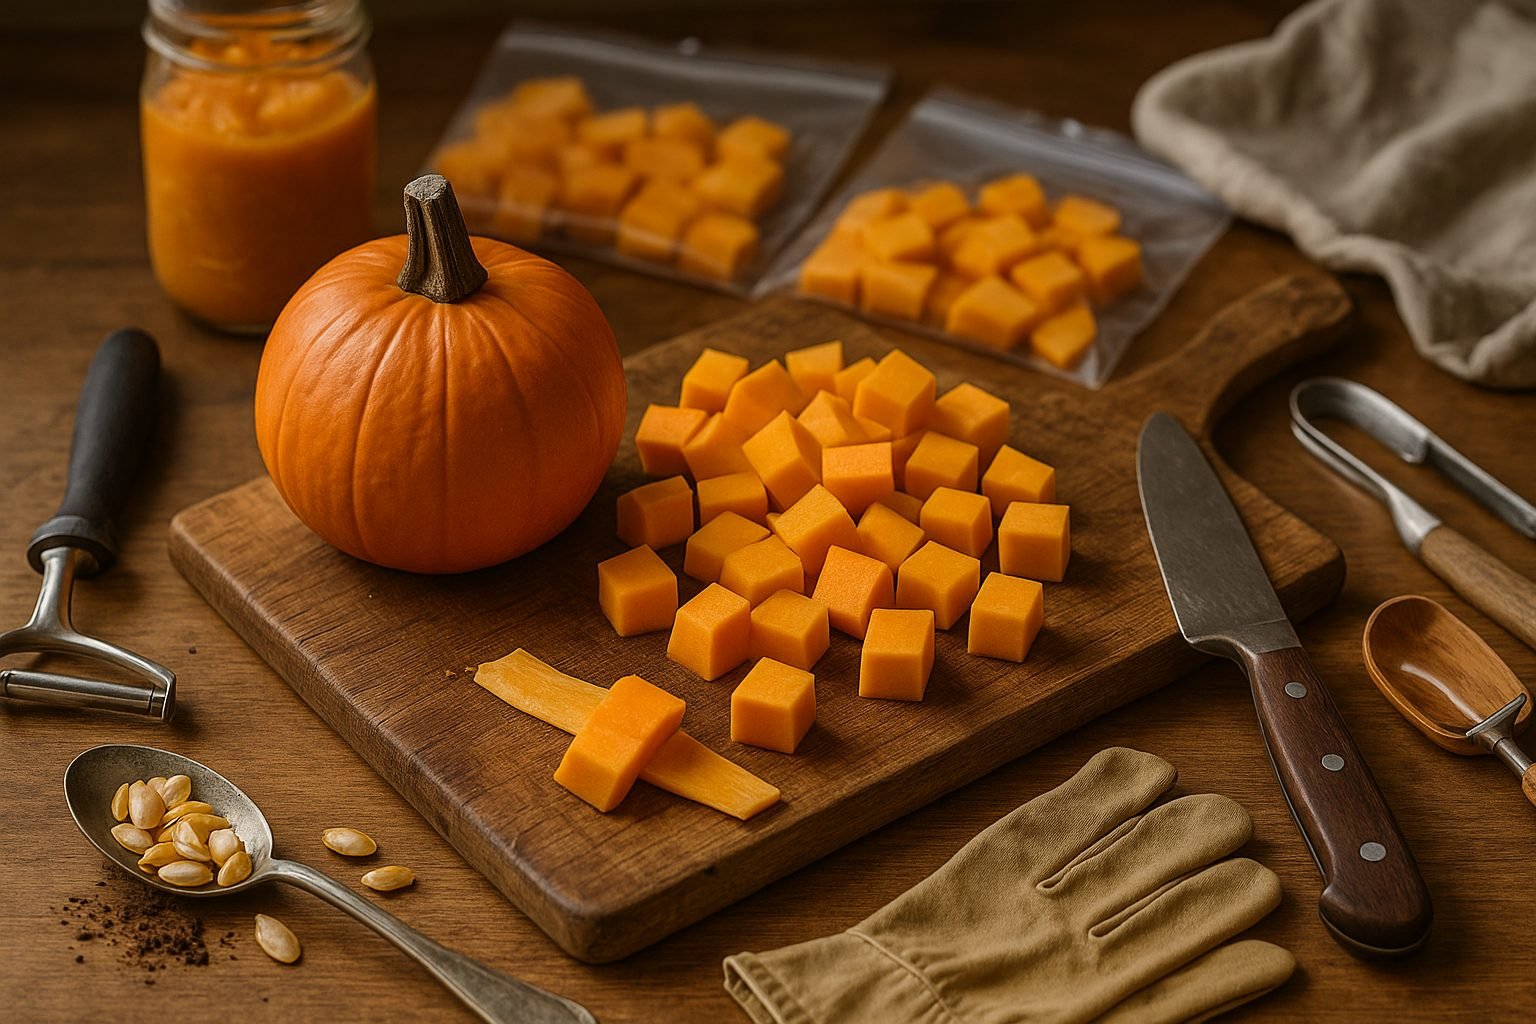
If you’ve ever found yourself with an overload of pumpkins after the fall harvest or Halloween festivities, you might have wondered about freezing them to make the most of this versatile squash. Freezing pumpkins is a fantastic way to preserve their freshness, reduce food waste, and always have recipe-ready pumpkin at your fingertips—whether you’re making soups, pies, muffins, or hearty stews.
Not sure where to start? Good news: you can freeze both raw pumpkin (cubed or sliced) and cooked versions like pumpkin puree, giving you plenty of options for future meals and snacks.
In this guide, you’ll discover exactly how to freeze pumpkins safely and efficiently, including easy-to-follow steps for prepping both raw and cooked pumpkin. You’ll also learn tips for thawing and using your frozen pumpkin in recipes, so nothing goes to waste. Whether you picked up a bunch on sale, are saving leftovers from pumpkin carving, or batch-cooked some homemade puree, this guide will help you keep pumpkin on hand all year long.
Let’s dive in and turn that pumpkin surplus into convenient freezer staples you’ll love using!
Selecting and Preparing Pumpkin for Freezing
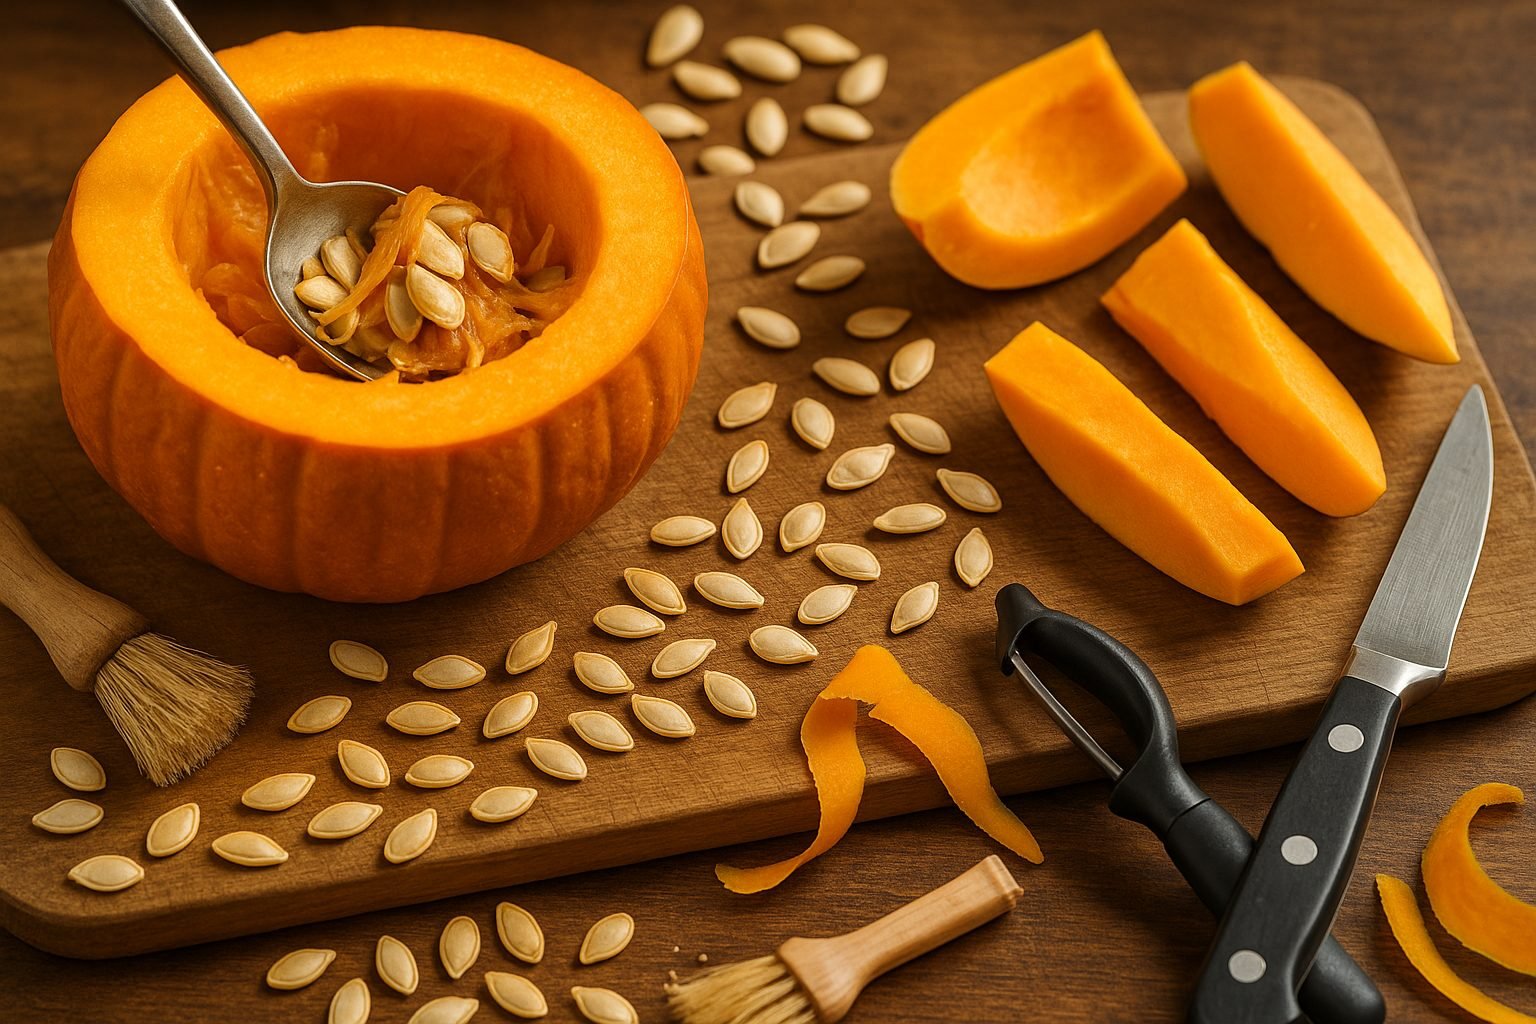
When choosing a pumpkin for freezing, it’s important to pick the right type to ensure great flavor and texture in your recipes later. For the best results, opt for small, dense pie pumpkins (sometimes called sugar pumpkins) rather than the large, watery jack-o’-lantern varieties. Pie pumpkins have a richer, sweeter taste and a smooth, creamy texture, making them perfect for soups, pies, and purees, while jack-o’-lantern pumpkins are bred mainly for carving and tend to be bland or stringy.
Look for pumpkins that feel heavy for their size, have firm, deep-orange skin, and show no signs of soft spots, bruising, or mold; a ripe pumpkin will also have a hard rind that doesn’t give when you press with your fingernail. Once you’ve made your selection, wash the pumpkin thoroughly with water to remove dirt and bacteria—scrubbing gently with a brush works well for tough spots.
Next, slice the pumpkin in half using a sharp, sturdy knife, and scoop out the seeds and stringy pulp with a spoon (save the seeds for roasting, if you’d like). To make peeling easier, cut the halves into smaller wedges; then use a vegetable peeler or a knife to remove the tough outer skin. Chop the pumpkin flesh into uniform cubes, which helps with even freezing and faster thawing later on.
If you want a smoother texture later, consider steaming or baking the cubes before mashing and freezing—raw chunks are fine for some uses, but cooked pumpkin handles baking and cooking better after thawing. This care in selection and preparation ensures your frozen pumpkin remains flavorful, nutritious, and ready for your favorite fall recipes any time of year.
How to Freeze Pumpkin Puree
Freezing pumpkin purée is a great way to save autumn flavors for later, and it all starts with how you cook the pumpkin. Roasting gives the richest, most caramelized taste—just halve your pumpkin, scoop out the seeds, and bake at 400°F until tender.
Steaming or boiling are quicker options: simply cube the pumpkin and cook until fork-soft. Once cooked, let it cool a bit before transferring it to a blender or food processor for a silky smooth purée. If you don’t have a blender, a potato masher works too, though the texture may be chunkier.
Make sure the purée is completely cool before freezing to avoid condensation and ice crystals. For portioning, scoop the purée into measured amounts—a cup per bag is useful for recipes—so you can thaw exactly what you need.
Use freezer-safe resealable bags for space-saving storage: press out as much air as possible before sealing to prevent freezer burn, then flatten the bags for easier stacking. Rigid containers, like plastic or glass, work as well—just leave a little room at the top for expansion and cover with a layer of plastic wrap to reduce air contact.
Don’t forget to label each bag or container with the date and quantity; a bit of masking tape and a marker make all the difference when you’re looking for that perfect portion months down the road. This simple process keeps homemade pumpkin purée fresh and ready for soups, muffins, or pies whenever you get the craving.
Freezing Raw Pumpkin Chunks
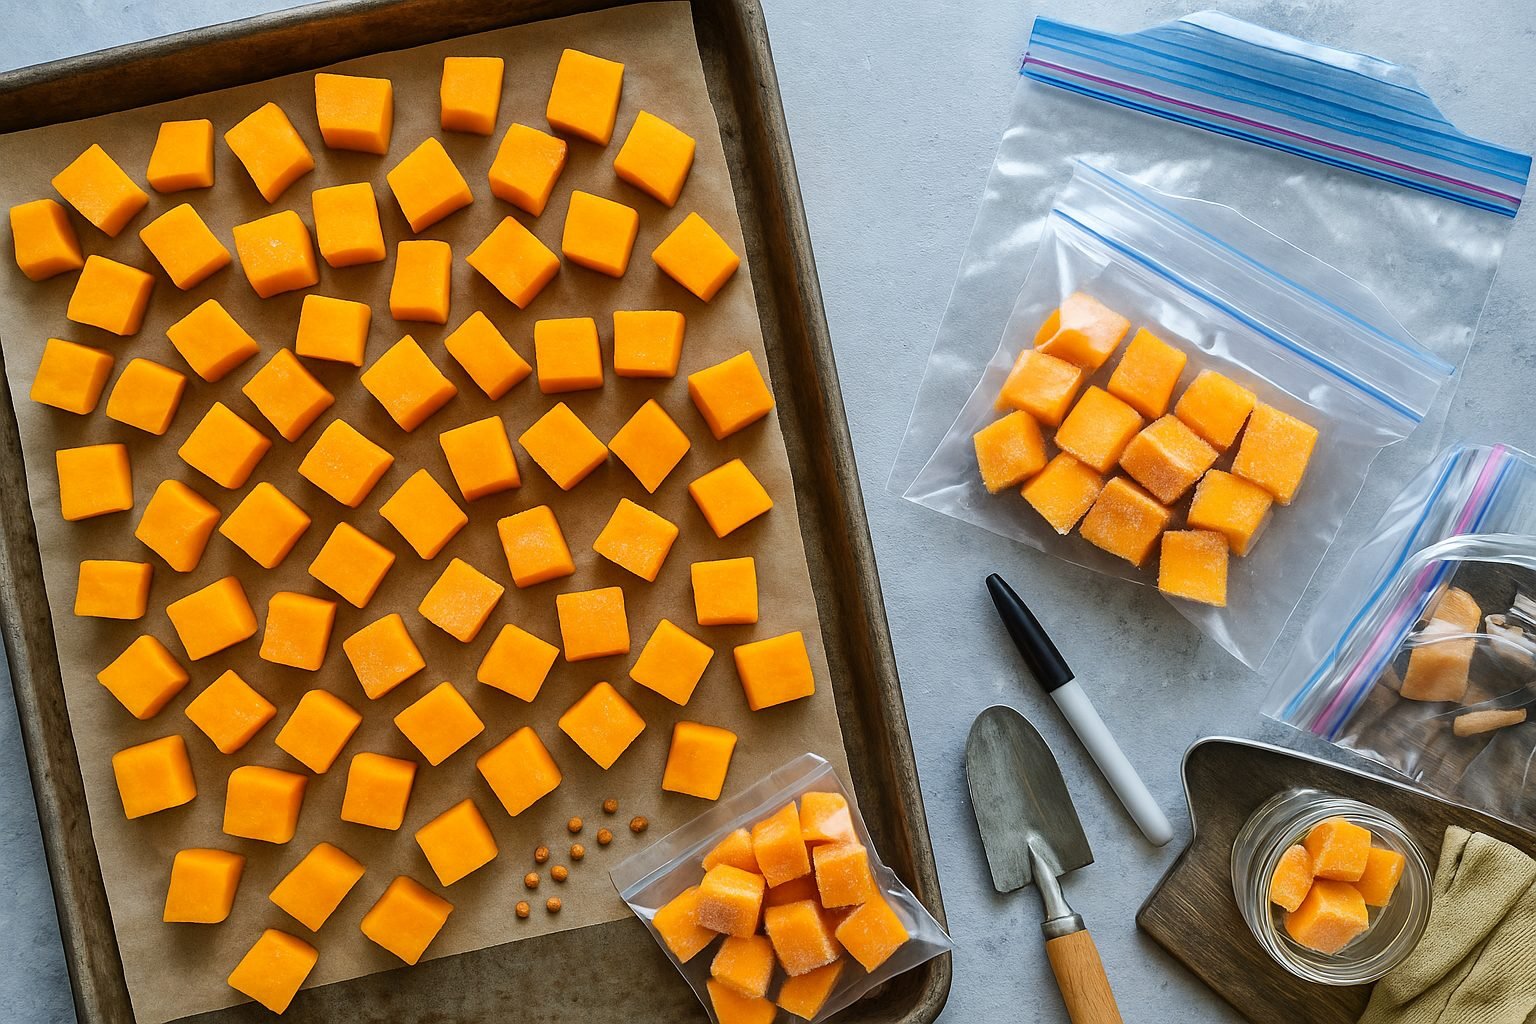
Freezing raw pumpkin chunks is a handy way to have this nutritious vegetable ready for soups, curries, and baking all year round. To get started, wash and peel your pumpkin, then cut it into uniform chunks or cubes, about one to two inches in size. Smaller, even pieces freeze more evenly and are easier to use later.
Blanching the raw chunks—boiling them for two to three minutes, then plunging them into ice water—can help preserve their color, flavor, and texture, as well as extend their storage life. However, if you’re short on time, you can skip blanching; just know that the texture may be a bit softer when thawed.
Pat the cubes dry, then spread them in a single layer on a baking sheet and freeze until solid. This step, called flash freezing, prevents the pieces from sticking together. Once frozen, pack the pumpkin cubes into freezer-safe bags or containers, removing as much air as possible to avoid freezer burn. Label each bag with the date and amount, so you can easily keep track of what you have and use older produce first.
Organize the bags flat in the freezer for efficient storage and easy access. Freezing raw pumpkin is convenient and saves prep time later, but the downside is the texture changes—a bit watery and softer when thawed.
Freezing cooked pumpkin (like pureed or roasted) tends to hold up better texture-wise in dishes like pies and soups. Ultimately, raw chunks are great for tossing into stews or smoothies straight from the freezer, while cooked frozen pumpkin works best for recipes needing a creamy texture.
Whichever method you choose, freezing lets you make the most of those big autumn pumpkins long after the season’s over.
Best Storage and Shelf Life Tips
When storing pumpkin puree or chunks in the freezer, proper handling makes all the difference in preserving taste and quality. Under optimal conditions—a steady freezer temperature of 0°F (-18°C) or below—pumpkin puree will keep for about 3 to 6 months, while pumpkin chunks often last 6 to 8 months.
To maximize shelf life, use airtight containers or heavy-duty freezer bags, pressing out as much air as possible to minimize the risk of freezer burn. For extra protection, double-bagging or wrapping containers in foil can help seal out air and odors. Always label containers with the date so you can keep track of freshness.
When it’s time to use your pumpkin, thaw it in the refrigerator overnight to maintain texture and flavor. If you’re in a hurry, use the defrost setting on your microwave for smaller portions. Avoid thawing at room temperature, as this can encourage bacterial growth.
Keep an eye out for signs of spoilage: freezer-burned pumpkin may appear dry, discolored, or icy, and spoiled pumpkin will smell off or develop a strange texture. If you spot any of these signs, it’s best to discard the portion to ensure food safety.
With these tips, you can enjoy delicious pumpkin dishes year-round without compromising on quality.
Creative Ways to Use Frozen Pumpkin
Frozen pumpkin is a surprisingly versatile ingredient to keep on hand, unlocking a world of cozy, nutrient-packed dishes long after pumpkin season ends. Pumpkin puree, once thawed, is perfect for adding richness and moisture to classic fall favorites like pumpkin bread, pancakes, or muffins—just remember the puree may be slightly thinner after freezing, so reduce liquid elsewhere in your recipe or add a touch of extra flour.
It also blends beautifully into smoothies for natural sweetness or can be used in creamy soups with a pinch of nutmeg and ginger. For a pup-approved snack, mix thawed pumpkin puree with oats and bake into DIY dog treats—pumpkin is great for dogs’ digestion.
When it comes to frozen pumpkin chunks, toss them straight from the freezer into stews, curries, or chili; they’ll soften as they cook and soak up surrounding flavors. Or, scatter frozen chunks on a baking sheet, drizzle with olive oil and spices, and roast—no need to thaw—for a caramelized side dish or hearty salad topper.
Since both puree and chunks take on extra water when frozen, always check their consistency after thawing. Pat chunks dry before roasting or sautéing to encourage browning, and let excess liquid drain from puree before baking. With a little flexibility, frozen pumpkin can shine in sweet or savory recipes all year round.
Frequently Asked Questions About Freezing Pumpkin
Freezing pumpkin is a smart way to preserve both fresh and leftover canned pumpkin for future recipes. If you have leftover canned pumpkin, simply scoop it into an airtight container or freezer bag—be sure to flatten it to save space, label it with the date, and use it within 3-4 months for the best flavor.
You don’t need to peel pumpkin before freezing if you’re starting with canned pumpkin. However, if you’re freezing fresh pumpkin, it’s easiest to peel and cube it first. Blanching fresh cubes in boiling water for 2-3 minutes before freezing helps maintain their texture and color.
When you thaw frozen pumpkin, it may look watery; this is completely normal. Just stir well to reincorporate the liquid, or, if a recipe requires less moisture (like muffins or breads), strain off the excess liquid before using.
To prevent freezer burn, always use well-sealed, freezer-safe containers or bags and try to remove as much air as possible. Finally, label everything clearly so you don’t end up with mystery freezer finds several months later.
With these simple steps, you can cut waste and enjoy delicious pumpkin flavor year-round.
Conclusion
Freezing pumpkin is an easy way to reduce waste and keep this nutritious ingredient handy for soups, smoothies, or baking all year round. Whether you prep cubes, puree, or roasted slices, freezing helps you save time and money while making the most of seasonal produce.
Give it a try next time you have extra pumpkin—it’s easier than you think! If you have questions or want to share your own tips, drop a comment below. Let’s build a community of savvy home cooks helping each other make the most of what’s in our kitchens.