Introduction
Curing pumpkins is an essential step if you want to keep your harvest fresh and flavorful well beyond the fall season. Whether you’ve picked a bumper crop from your garden or stocked up on beautiful gourds from a local market, knowing how to properly cure pumpkins can make all the difference between enjoying sweet, firm flesh for months or watching your hard-earned produce go to waste.
Many people find themselves needing to store pumpkins after autumn festivals, holiday decor, or when preserving ingredients for winter recipes like soups and pies. Curing is more than just letting pumpkins sit out; it’s a simple but specific process that allows their skins to harden, heals minor surface wounds, and reduces the chance of decay. This not only protects the flesh inside but also enhances the flavor as the pumpkin matures.
By mastering a few straightforward techniques—like providing the right temperature and humidity—you can remarkably extend the shelf life of your pumpkins. In the following guide, you’ll learn why curing works, when it’s necessary, and how to do it so your pumpkins look and taste their best deep into the colder months.
Harvesting at the Right Time
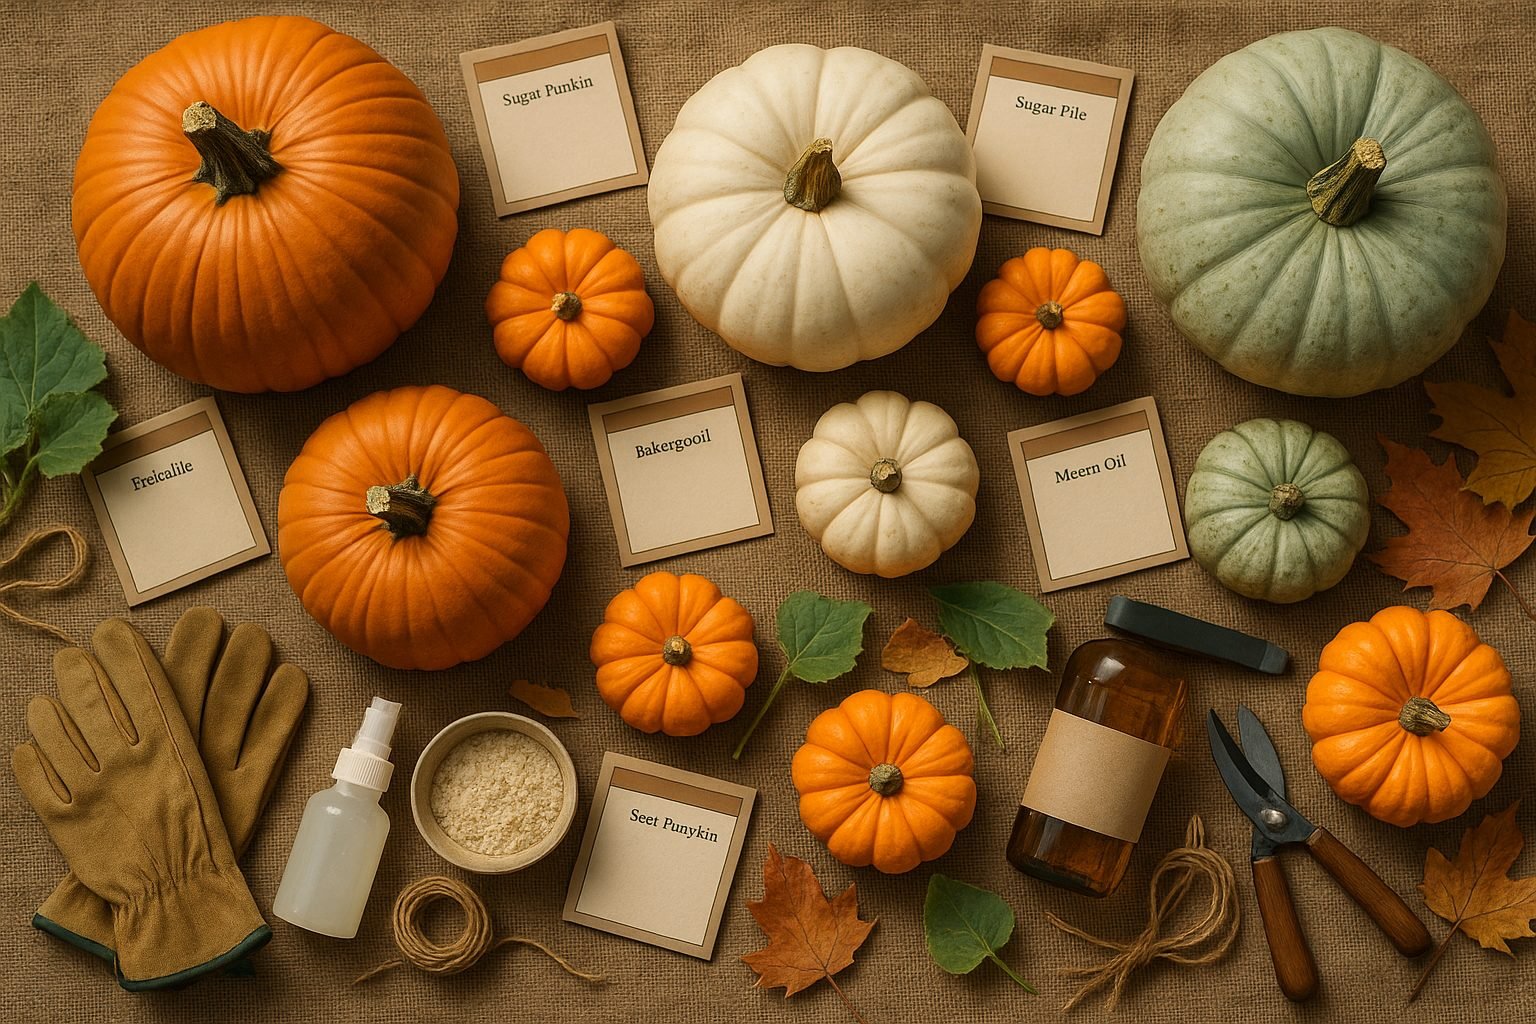
Knowing exactly when to harvest is the first step to effectively curing pumpkins and ensuring they last well into the winter months. Look for key signs that a pumpkin is mature: the skin should be hard, matte (not glossy), and resist puncture from a fingernail; the color should be deep and uniform, with no green streaks remaining. The vines themselves also provide a clue—when they start to dry out and turn brown, your pumpkins are likely ready for harvest.
Picking too soon can cause problems—immature pumpkins are more prone to rot, never develop full, sweet flavor, and may shrivel quickly. On the other hand, waiting too long increases the risk of frost damage, which can lead to soft spots or mold during storage.
For the best results, use a sharp pair of pruning shears or a sturdy garden knife to cut the pumpkin from the vine, leaving about 2 to 4 inches of stem attached. This “handle” helps prevent disease and decay. Always handle pumpkins gently—dropping or bruising them can create entry points for rot. Carry pumpkins by the base, not the stem, to keep that important seal intact.
If you notice any nicks or wounds on a pumpkin after harvest, set it aside for immediate use instead of long-term storage. By harvesting at the proper time and using the right techniques, you’ll set yourself up for a successful curing pumpkins process with fewer losses.
Cleaning and Inspecting Your Pumpkins
Cleaning your pumpkins before curing is an essential first step that should never be overlooked. Any soil, debris, or plant matter stuck to the pumpkin can trap moisture against its skin, creating the perfect environment for rot or mold. Additionally, dirt left on pumpkins can introduce bacteria and fungi into your storage area, quickly spreading to healthy squash.
To safely clean pumpkins, avoid submerging them or washing under running water, as excess moisture can seep through microscopic cracks and lead to premature spoilage. Instead, use a soft-bristled brush, dry cloth, or your hands to gently remove dirt and debris from the surface. For stubborn spots, a slightly damp cloth can help, but be sure to dry the pumpkin thoroughly afterward.
Handle each pumpkin with care to prevent bruising, as even small nicks or dents can become entry points for decay. While cleaning, inspect each pumpkin for soft spots, cracks, blemishes, or signs of disease like mold or fuzzy growth. Pay special attention to the stem area, which is especially prone to harboring rot.
Any pumpkins showing damage, open wounds, or questionable areas should be set aside and used first. Healthy, blemish-free pumpkins can be stored for curing, while those with minor flaws may be better suited for cooking, canning, or decoration in the near term. Taking the time to thoroughly clean and inspect your pumpkins ensures your best fruits make it through the curing process and into long-term storage, minimizing waste over time.
Curing Conditions: Temperature, Humidity, and Duration
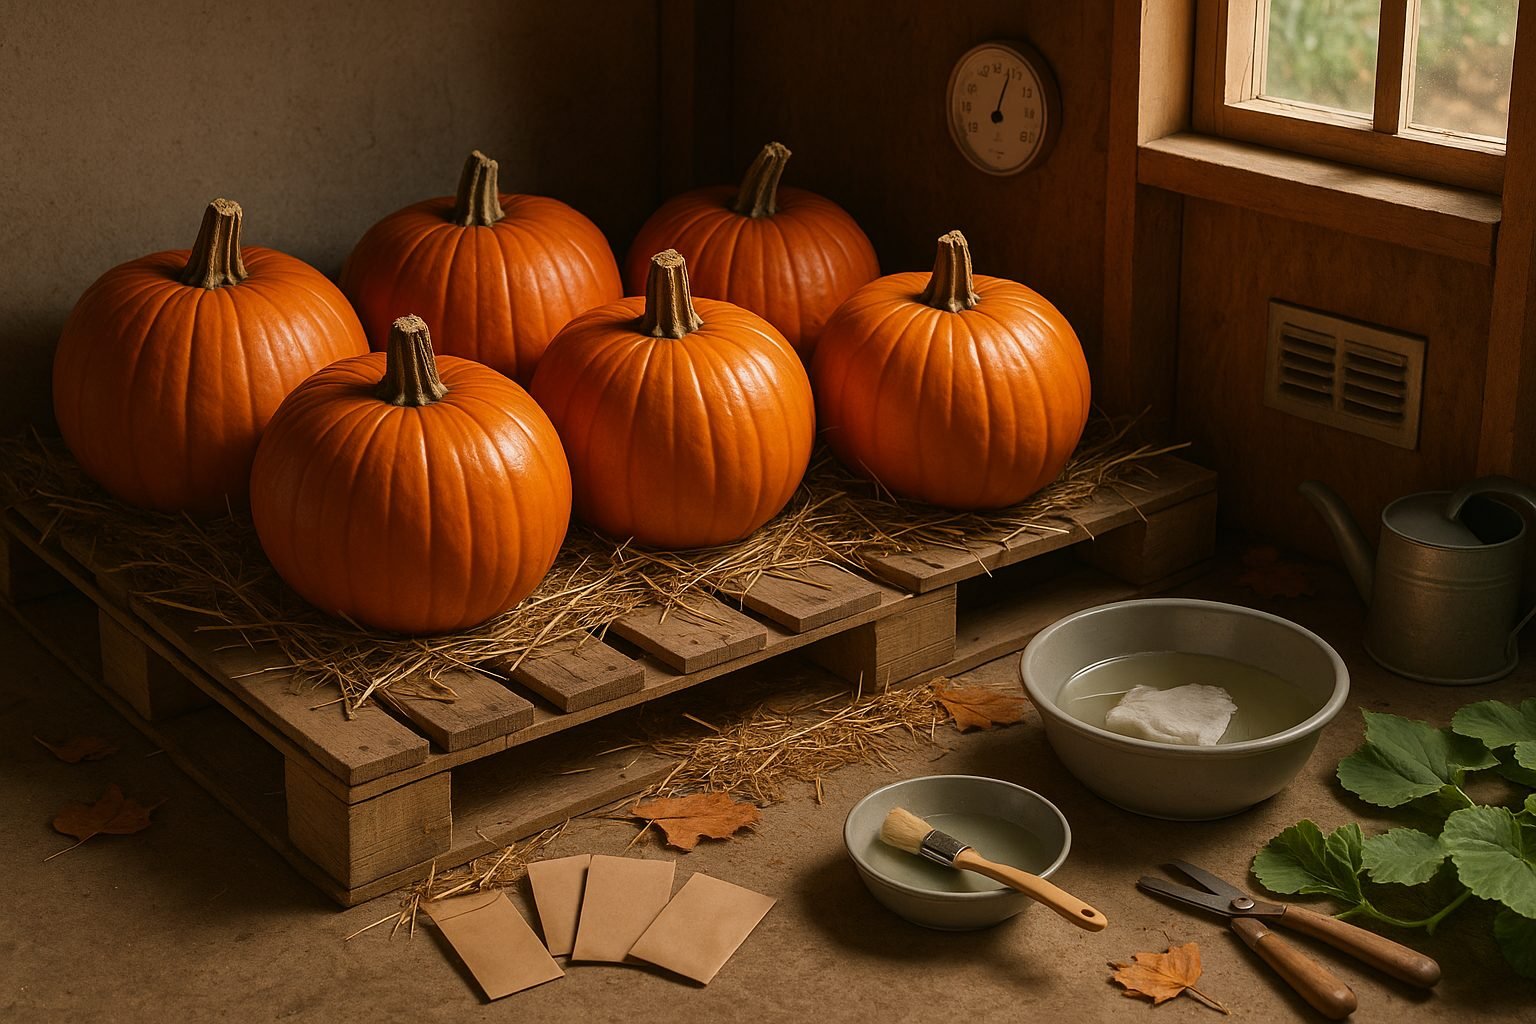
Curing pumpkins is a crucial step for anyone wanting to extend the shelf life of their harvest. The process begins by creating the right environment. Ideally, pumpkins should be cured in a space with temperatures between 80°F and 85°F (27°C to 29°C) and relative humidity around 80–85%. This warm, humid setting helps the outer skin, or rind, to harden while allowing excess moisture inside the pumpkin to evaporate—both essential for preventing rot during storage.
Good ventilation is also important because it helps moisture dissipate and keeps mold at bay. When choosing a spot, options like a heated garage, covered porch, greenhouse, or even an unheated spare room (weather permitting) can work well for curing pumpkins.
Greenhouses are near ideal since they trap warmth and maintain humidity, but watch out on sunny days—temperatures can soar too high, risking sunscald or premature spoilage. Garages offer shelter and stable temperatures but often lack humidity, so you might need to mist the air or use a humidifier. Covered porches provide good airflow and shade but can be risky if outdoor conditions are too cool or unpredictable.
The curing process usually lasts 10 to 14 days. During this time, arrange your pumpkins in a single layer with space between each one, turning them occasionally so all sides get air exposure. You’ll know curing is complete when the rind feels tough (you should be able to press a fingernail into it without leaving a mark), the pumpkin’s color deepens, and the stem looks dry and shriveled.
Properly cured pumpkins, stored afterward in a cool, dry place, can last for several months—well into winter and beyond—making sure your hard work truly pays off.
Post-Curing Storage: Creating the Right Environment
After curing pumpkins, it’s essential to create the right storage environment to preserve their quality throughout the winter. The ideal spot should be cool, dry, and dark—aim for temperatures between 50°F and 55°F (10°C to 13°C) with relative humidity around 50-70%. Garages, basements, or unheated spare rooms work well if they stay above freezing and avoid excess moisture, which can encourage rot.
Avoid storing pumpkins in direct sunlight, as this can cause uneven ripening and premature decay. For practical setups, wooden shelves or slatted racks allow you to keep pumpkins off cold floors and promote airflow around each fruit. Alternatively, use shallow crates or cardboard boxes lined with newspaper for cushioning, but leave space between each pumpkin to prevent contact—rot spreads easily at contact points.
Never stack pumpkins; a single, spaced-out layer is best for longevity. Good ventilation is key, so don’t overcrowd rows or seal storage containers completely. Some gardeners even place a small rotating fan in larger rooms to keep the air gently moving.
Make a habit of inspecting your pumpkins every week. Look for soft spots, mold, or signs of shriveling, and promptly remove any pumpkins showing decay to prevent it from spreading. With these storage habits, a healthy pumpkin can last anywhere from two to six months.
By taking the time to monitor and fine-tune your curing pumpkins storage conditions, you’ll enjoy the rewards—firm, flavorful pumpkins ready for roasting or baking that last all season long.
Common Mistakes to Avoid When Curing Pumpkins
Mistakes during the curing process can significantly shorten the shelf life and reduce the quality of your pumpkins. One of the most common errors is washing pumpkins too thoroughly after harvest. While it’s important to remove visible dirt, excessive scrubbing or soaking can introduce extra moisture, increasing the risk of mold. Instead, gently brush off dirt and use a lightly damp cloth only if necessary.
Another pitfall is curing pumpkins in the wrong environment—too much humidity encourages fungal growth, while very dry air can cause shriveling. Aim for a curing space with good air circulation, moderate humidity (about 50-70%), and temperatures between 80-85°F (27-29°C).
Storing pumpkins on hard surfaces or stacking them can cause soft spots, bruises, or uneven drying. Always place pumpkins in a single layer with space around each fruit to allow airflow.
If you notice mold during storage, promptly remove the affected pumpkin and check others for spots. Light surface mold can be wiped off with a solution of one part vinegar to ten parts water. For pumpkins with soft spots, it’s best to use them first, as deterioration can spread. To prevent shriveling, periodically check that your storage area isn’t too dry and consider adding a shallow pan of water nearby if needed.
Conclusion & Quick Reference Tips
Curing pumpkins is a simple but essential step to ensure they last throughout the winter months, staying flavorful and free from rot. Harvest pumpkins when their skin is hard and the color is deep, leaving a few inches of stem attached. Cure them in a warm, dry place (around 80–85°F) for 10 days, then transfer them to a cool, dark area with good air circulation for storage.
Handle pumpkins gently during the entire process to avoid bruises or cuts, which can lead to decay. Here are some quick dos and don’ts:
- Do: Harvest with care, cure at the right temperature, inspect regularly, and store off the ground.
- Don’t: Stack pumpkins, store them in damp spots, or skip the curing step.
Taking your time with these steps helps maximize shelf life and preserve quality. Be patient and invest the effort—your future recipes will thank you!