Introduction to Growing and Regrowing Spring Onions
If you’re looking to grow spring onions right in your own kitchen or garden, you’re in great company—they’re among the most popular and rewarding crops for home gardeners and enthusiastic cooks alike. Spring onions, with their crisp stalks and mild, sweet flavor, often become the unsung stars of salads, stir-fries, and garnishes, making them a must-have ingredient for both everyday meals and special recipes. Growing spring onions at home isn’t just easy and inexpensive; it’s also a fantastic way to enjoy fresher, tastier greens than you’ll ever find in the supermarket.
Many people are surprised to learn that you can grow spring onions in two simple and sustainable ways. The first is to start from seeds, giving you the satisfaction of nurturing plants from their tiniest beginnings. The second—perhaps even more fun for kids or novice gardeners—is to regrow spring onions from kitchen scraps, recycling the white root ends that usually end up in the compost. This method offers almost instant gratification, as those lifeless-looking roots sprout vibrant green shoots in just days when placed in water. Both methods save money, reduce waste, and guarantee a constant supply of this handy vegetable.
In this post, we’ll walk you through what spring onions are and why they’re so beloved in home gardens. Then, you’ll discover a step-by-step guide for both sowing spring onion seeds and regrowing from scraps. Along the way, you’ll pick up practical care tips, harvesting tricks, and troubleshooting pointers so you can enjoy homegrown spring onions all year round.
How to Start – From Seed or By Regrowing
When deciding whether to grow spring onions from seed or by regrowing leftovers, both methods have their perks. Starting from seeds gives you more control over plant health and variety, but it takes longer—expect to wait around 8–10 weeks before harvesting.
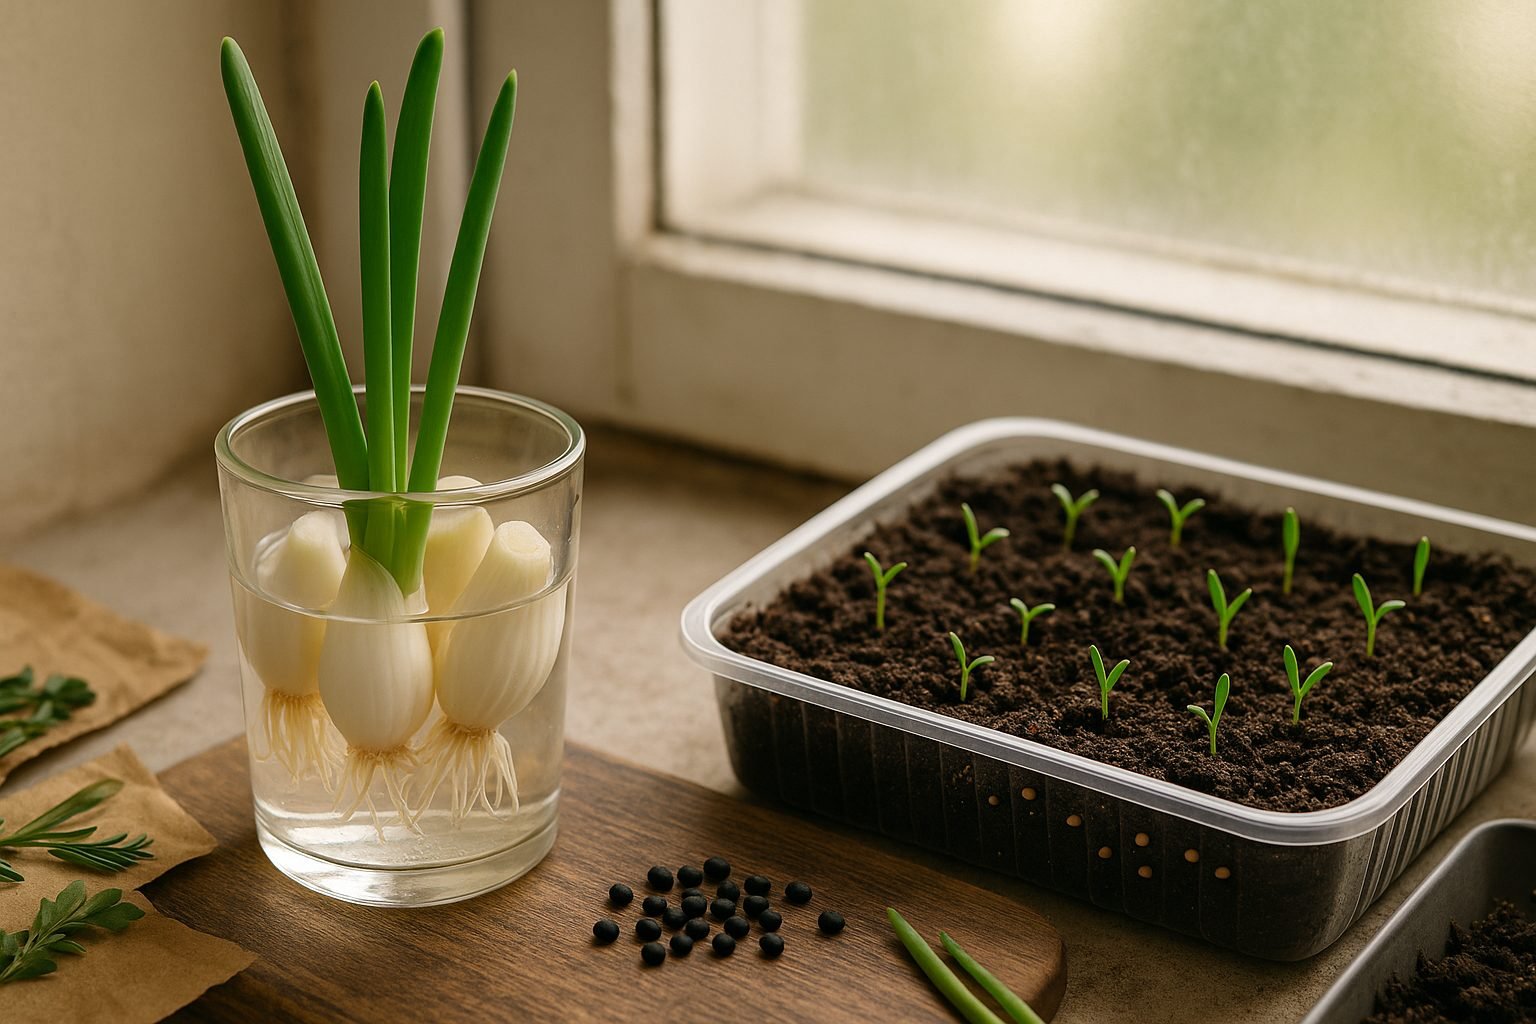
For seeds, you’ll need a container with good drainage, seed-starting soil, seeds, and a sunny windowsill or grow light. Fill the container with moist soil, sprinkle the seeds evenly, cover lightly, and keep the soil damp but not soaked.
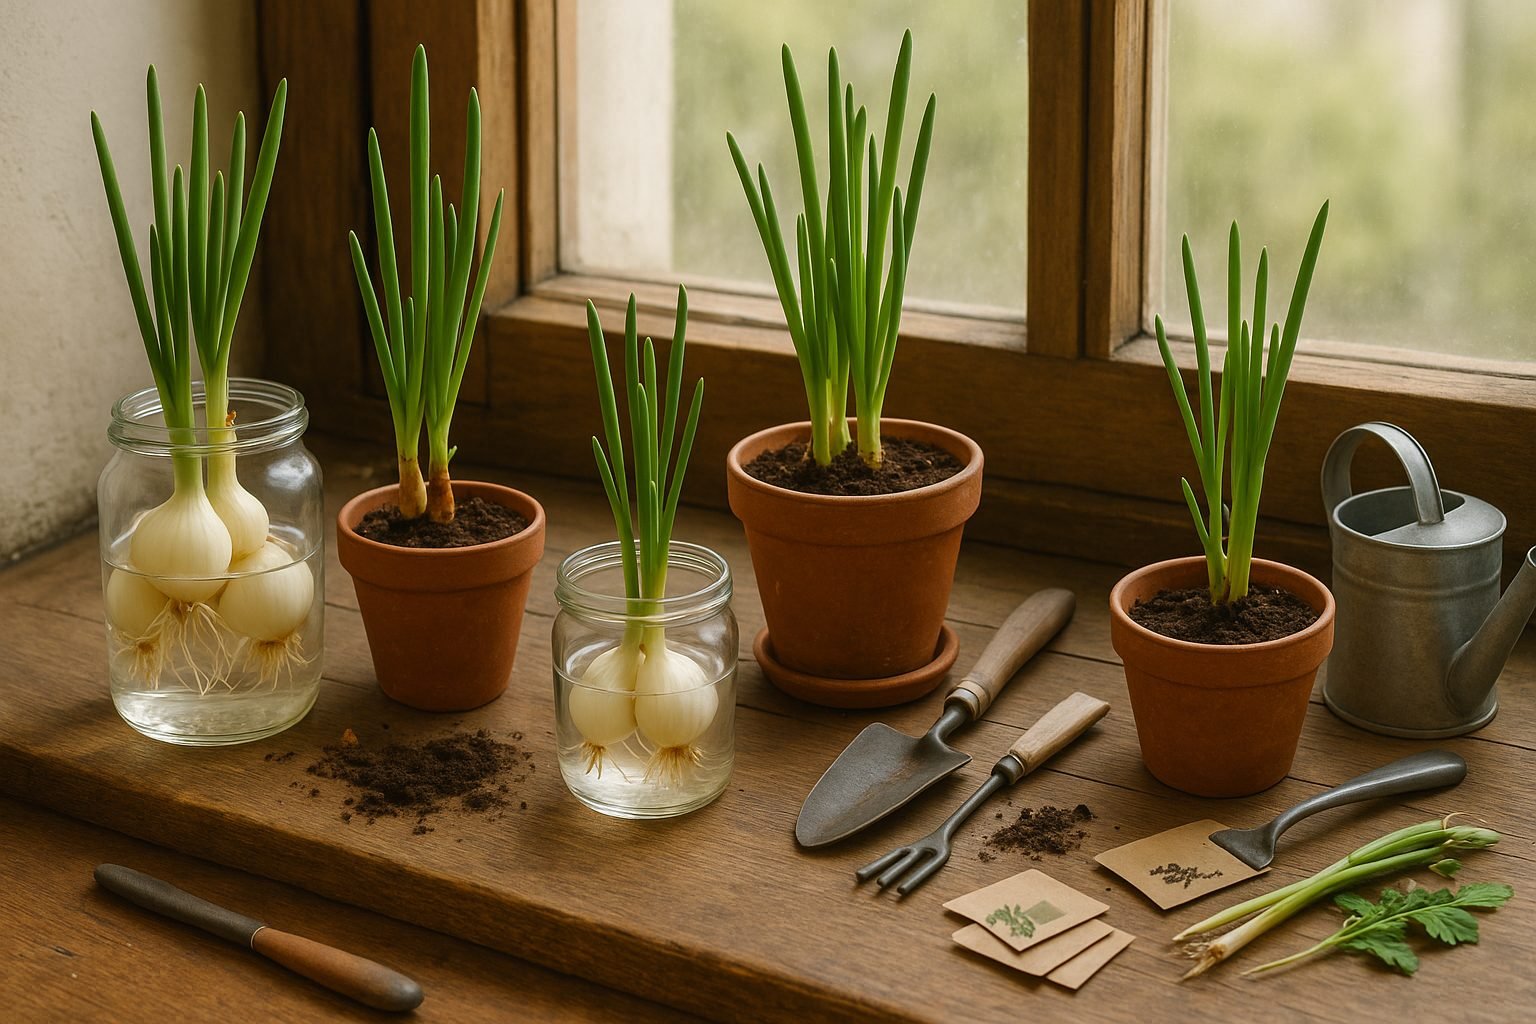
On the other hand, regrowing from kitchen scraps is faster and incredibly easy—just save the white bulb ends of store-bought spring onions with roots attached. Place the bulbs in a glass with enough water to cover the roots (but not the top of the bulb) and set it on a bright windowsill. Change the water every couple of days to prevent odor or slime.
Once new green shoots appear and roots thicken, you can transfer them to a pot with soil for stronger growth. No seeds are needed, just kitchen scraps, a glass, water, and optional potting soil.
For both methods, prep by trimming any mushy or unhealthy parts and selecting a spot with at least six hours of daylight. With seeds, pre-soaking for a few hours can speed up germination, while with regrowing, ensure the bulbs are firm and roots are intact.
For small spaces, windowsills or even balconies work great. Whether you prefer the satisfaction of growing from seed or the convenience of instant regrowth, start with what’s on hand and enjoy homegrown spring onions in no time.
Sowing and Planting Spring Onions
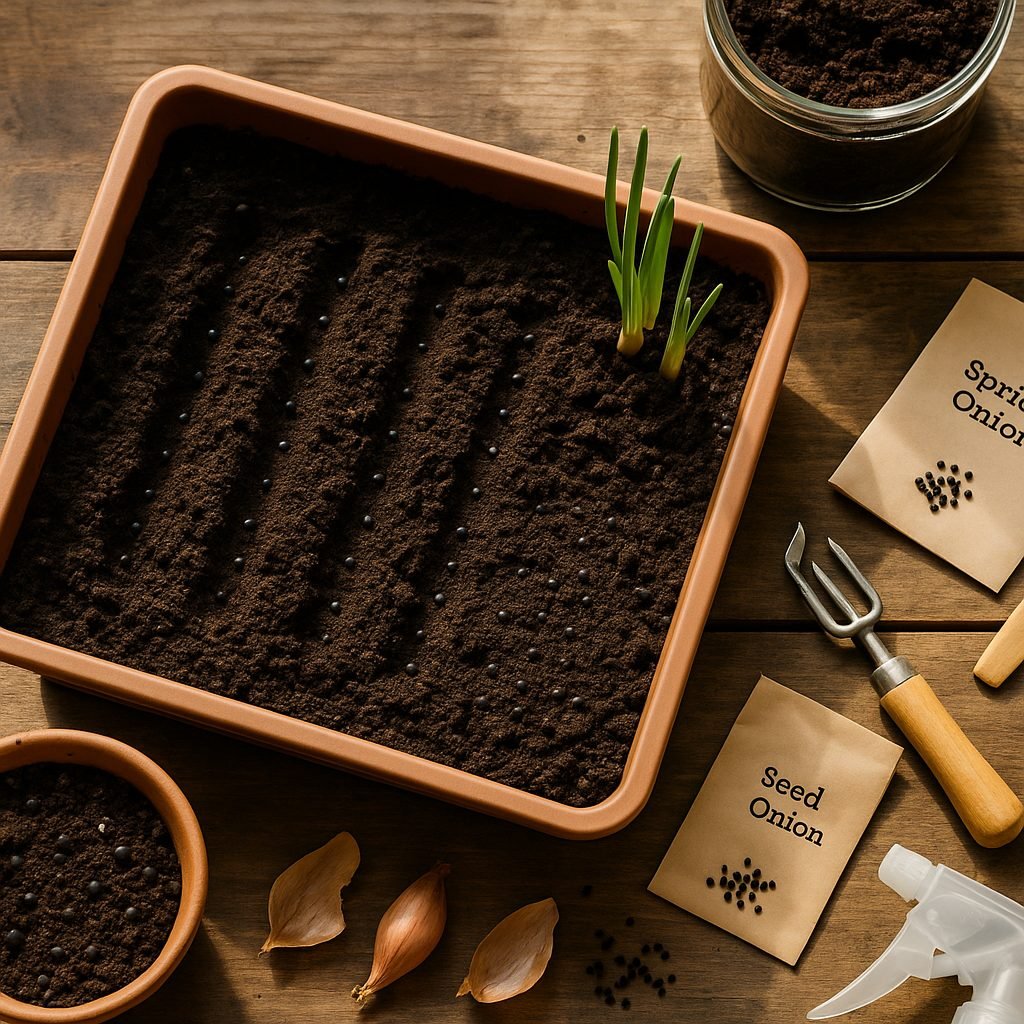
Starting spring onions from seed is a rewarding and simple project, whether you’re a beginner gardener or just short on space. To begin, sow seeds directly outdoors about 4-6 weeks before your last expected frost—spring onions tolerate a bit of chill. Prepare your soil by loosening it thoroughly and mixing in compost or well-rotted manure, since onions like rich, well-draining soil.
Draw shallow rows about half an inch deep, and sprinkle seeds thinly, spacing them one inch apart. If you’re tight on garden space, spring onions thrive in planters or window boxes; just make sure the container is at least 4-6 inches deep and has drainage holes. Water gently to moisten the soil, and keep the area lightly damp until the seeds sprout. Once seedlings appear, thin them to about 2-3 inches apart so each plant has room to grow.
If you’re planting regrown onion bases, simply save the white root ends with about an inch of bulb. Place the base upright in a glass of water, making sure only the roots are submerged, and set it on a sunny windowsill. Change the water every few days, and you’ll notice green shoots emerging within a week.
When roots are robust and greens are a few inches tall, transfer the base to moist, prepared soil outdoors or in a pot. Bury it just enough to cover the roots, then firm the soil around it.
Whether using seeds or scraps, choose a sunny spot—spring onions need at least 6 hours of sunlight daily for best results. Garden beds are great if you want a sizeable harvest, but planters offer flexibility and are easier for balconies or patios. Just remember to keep soil moist but not soggy, and you’ll be snipping fresh spring onions in no time.
Spring Onion Care and Maintenance
Caring for spring onions is simple but requires regular attention to help your plants thrive and produce crisp, flavorful stalks. Water your spring onions consistently, aiming to keep the soil moist but not waterlogged—check the top inch of soil with your finger and water whenever it feels dry. In hot weather, you may need to water lightly every other day to prevent the plants from wilting.
Fertilize every three to four weeks with a balanced, all-purpose fertilizer, or opt for a liquid seaweed solution for an organic boost. Spring onions love sunlight—plant them in a spot where they’ll get at least six hours of direct sun daily to encourage strong, upright growth.
Once seedlings reach 2-3 inches tall, thin them out so there’s about an inch between each plant. Overcrowding can lead to poor air circulation and increase the risk of disease.
To keep your spring onions healthy, regularly remove any yellowed or damaged leaves and watch for pests like thrips or aphids. Rinsing leaves with a gentle spray of water often keeps pests at bay.
For a continuous harvest, try the “cut-and-come-again” method: snip the leaves about an inch above the soil instead of pulling the entire plant. This encourages quick regrowth—some gardeners report fresh shoots in as little as a week.
Apply a thin layer of compost or mulch around the base to retain moisture and suppress weeds. With these simple routines, your spring onions will provide a steady supply of fresh greens, perfect for salads, garnishes, or stir-fries all season long.
Harvesting Spring Onions
Knowing the right time to harvest spring onions is key to enjoying their crisp, mild flavor. Typically, spring onions are ready to pick about 8 to 12 weeks after planting, once the stems are about as thick as a pencil and the green tops look vibrant and healthy.
To harvest, use a small trowel or gently wiggle each onion from the base to loosen the soil before pulling, being careful not to bruise the tender stems.
If you’d like continual harvests, try the cut-and-come-again method: snip the green tops about an inch above the soil, leaving the white base and roots intact. With regular watering and a little compost, these stubby remains will regrow, often giving you two or three more harvests from a single planting.
After harvesting, shake off excess dirt and rinse the onions gently under cool water. Let them air-dry on a towel before refrigerating.
Store spring onions in a breathable bag or wrapped in a damp paper towel and sealed in a plastic bag in the crisper drawer—they’ll stay fresh for up to a week. For longer storage, slice and freeze them in an airtight container.
Remember, the fresher your spring onions, the sweeter and crisper their flavor, so harvest as needed and enjoy them right away!
Common Problems & Solutions
Gardening can bring a few headaches, but most common problems have simple, natural solutions. Aphids and spider mites often show up on tender plants; you can dislodge them with a strong spray of water or introduce ladybugs, which feed on these pests.
Fungal diseases like powdery mildew thrive in damp, crowded spaces, so water your plants early in the day and leave enough space for good airflow—neem oil spray can help, too.
If you notice yellowing leaves or stunted growth, check the soil; poor drainage or nutrient depletion can slow your garden down. Regularly add compost and mulch to enrich soil and retain moisture.
Overcrowding is another culprit for poor regrowth, so thin seedlings or divide overgrown plants to give roots room to thrive.
Remove dead or diseased material as soon as you spot it—this keeps pests and illnesses in check. Keep a close eye on your plants and note any changes early; most issues are much easier to correct when caught right away.
Remember, healthy plants naturally resist pests and diseases better, so consistent watering, sunlight, and soil care are your garden’s best defense.
Creative Uses & Getting More Involved
Homegrown spring onions are a kitchen gem—snip them fresh for salads, stir them into scrambled eggs, or toss them into noodle dishes and soups for a mild, bright flavor. You can use them as a garnish on pizza or blend them into creamy dips.
Don’t toss the roots—replant them in a glass of water, and they’ll regrow for another harvest.
If you’re eager to learn more and connect with fellow growers, consider joining a community garden where you can swap tips and seeds with neighbors. Online, forums like Reddit’s r/gardening and local Facebook groups are full of creative ideas and troubleshooting help.
Once you’ve mastered spring onions, why not branch out to other beginner-friendly crops? Lettuce, radishes, and cherry tomatoes are equally rewarding and don’t need much space or equipment.
Gardening is a journey, and even a few pots on your balcony can become a launchpad for growing your own fresh, delicious food year-round.