Choosing the Best Kale Varieties for Indoor Growing
Growing kale indoors can be a game-changer for those wanting fresh, nutritious greens year-round, but not all kale varieties thrive equally in indoor environments. The key to successful indoor kale cultivation lies in selecting types that adapt well to limited space, artificial lighting, and container conditions.
For example, dwarf kale is a standout choice—its compact size makes it perfect for windowsills or small apartments, while still delivering robust flavor and tender leaves. Baby kale is favored for its rapid growth and mild, slightly sweet taste, making it an excellent option for quick harvests in salads or smoothies. Curly kale, with its eye-catching ruffled leaves, also performs well indoors due to its hardiness and ability to rebound from repeated harvests.
While dwarf and baby kale can be ready to pick in as little as 25-30 days, curly kale generally takes a bit longer but rewards patience with a richer, peppery flavor. These varieties also differ in leaf texture and color:
- Dwarf and baby kale are tender and bright green.
- Curly kale offers a deeper green hue and a slightly tougher bite, ideal for chips or sautéed dishes.
By choosing the right kale varieties for your indoor garden, you not only maximize your yield and space but also enjoy a broader spectrum of flavors and nutritional benefits without ever setting foot outside.
Setting Up Your Indoor Kale Garden
When starting your indoor kale garden, location is key. Choose a bright windowsill that gets at least six hours of sunlight daily—south-facing windows are best, as they tend to offer maximum light throughout the day. If your space lacks natural sunshine, supplement with LED grow lights placed about 6 to 12 inches above the plants to mimic sunlight; set a timer for 12–16 hours daily to encourage lush growth.
Next, select containers that are at least 6 to 8 inches deep, giving kale’s roots enough space to expand. Use pots with drainage holes at the bottom and place a saucer underneath to catch excess water—good drainage prevents waterlogged soil and root rot. For those with limited space, rectangular window boxes or vertical planters can help maximize planting area without crowding your home.
When it comes to climate control, kale thrives in cooler temps; aim to keep your indoor garden between 60–70°F (15–21°C). Avoid placing containers near heaters, radiators, or drafty windows, which can stress the plants. Maintain moderate humidity by grouping plants together or setting a shallow tray of water nearby, which helps prevent the leaves from drying out. A small fan on a gentle setting can boost airflow and reduce the risk of fungal problems.
Finally, check your plants regularly—if leaves look droopy or the soil feels dry, it’s a signal to adjust your care routine. With the right spot, containers, and conditions, your indoor kale garden will flourish—even in the heart of winter.
Preparing Soil, Sowing, and Planting Kale Seeds
Kale thrives in loose, well-draining soil that’s rich in organic matter, with a slightly acidic to neutral pH between 6.0 and 7.0—use a simple pH test kit to check. To get the right texture, mix compost or well-rotted manure into your garden bed about a week before planting. This helps boost nutrients and improve soil structure.
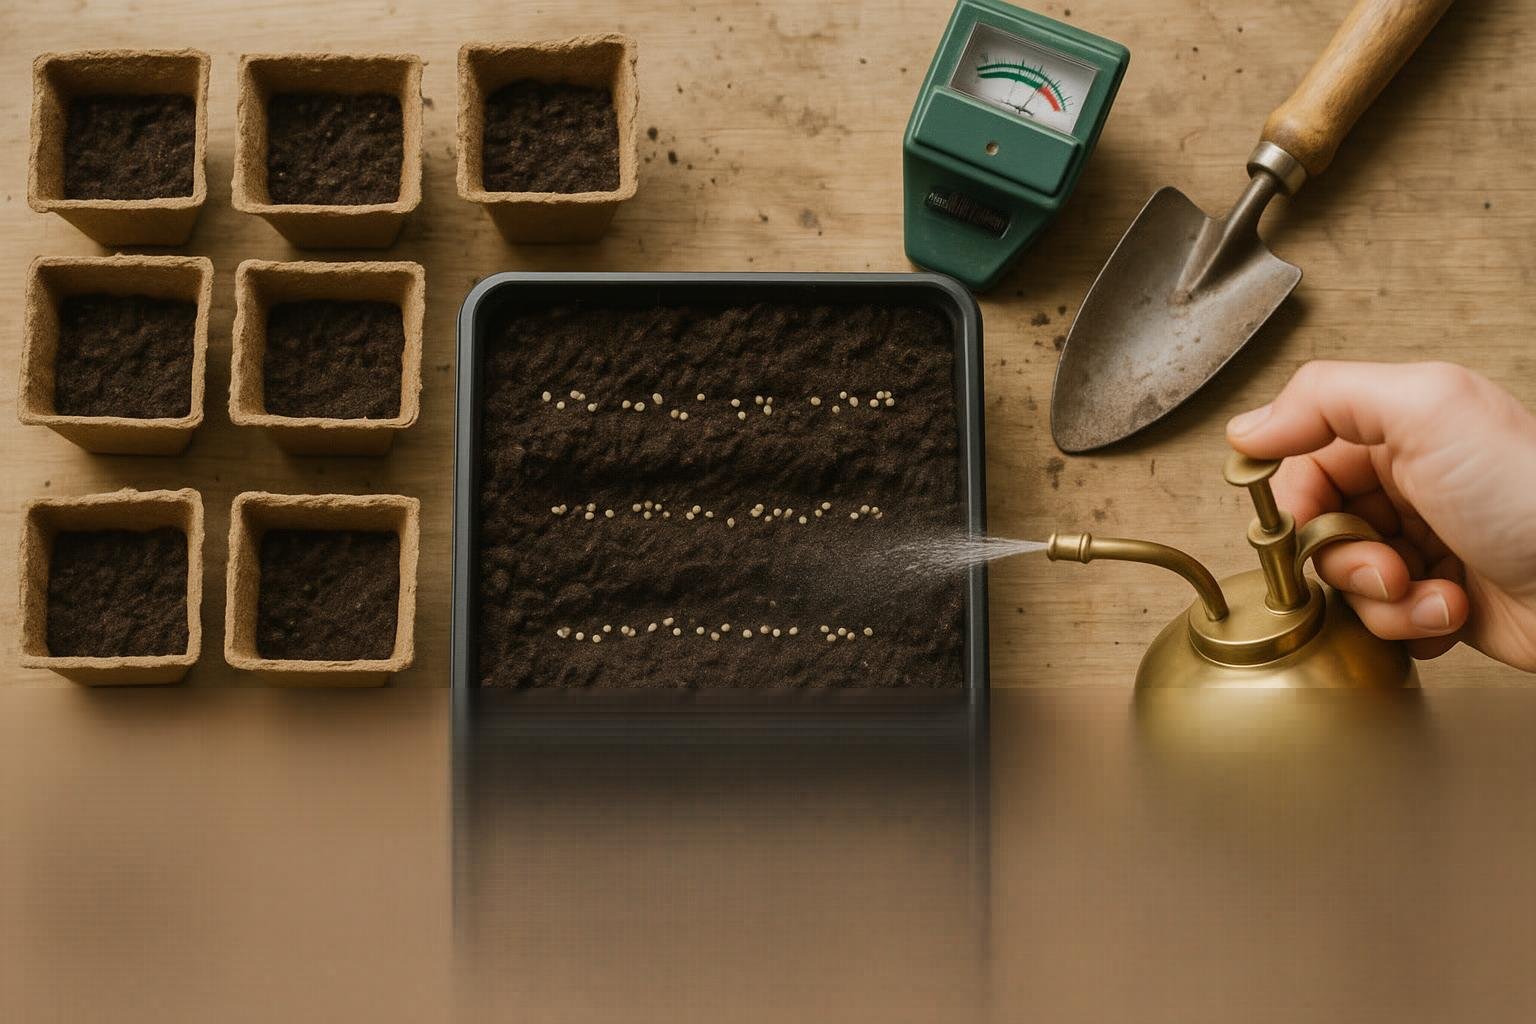
If you plan to sow kale seeds directly outdoors, wait until soil temperatures reach at least 45°F (7°C). Make shallow rows about half an inch deep, place seeds roughly 1 inch apart, then gently cover them with soil. Lightly water the area using a fine spray—avoid strong streams that can dislodge the seeds.
For transplanting, start seeds indoors in seed trays or small pots about six weeks before your region’s last expected frost. Fill containers with quality seed-starting mix, sow seeds ¼ to ½ inch deep, and keep the soil evenly moist but not waterlogged. Once seedlings have two sets of true leaves and outdoor conditions are stable, harden them off by gradually exposing them to outside air and sunlight over a week.
Transplant the seedlings into the garden, spacing them 12 to 18 inches apart to allow room for mature growth. Whether you’re direct sowing or transplanting, consistent moisture is key—mulch after planting to retain soil moisture and suppress weeds.
Following these steps gives your kale the best start, whether in garden beds or containers, leading to a stronger and more productive crop.
Light, Watering, and Nutrient Needs Indoors
Kale thrives on abundant light, so giving your indoor plants at least 6 to 8 hours of bright, direct light daily is crucial for lush, leafy growth. If you don’t have access to a very sunny window, a quality full-spectrum LED grow light is a game-changer—place it about 6 to 12 inches above your kale and keep it on for 12 to 16 hours a day, using a simple outlet timer to mimic natural daylight.
When it comes to watering, aim to keep the soil consistently moist but not soggy. Water thoroughly once the top inch of soil feels dry to the touch, and always use pots with drainage holes to avoid root rot. Watch for signs: drooping or yellowing leaves can signal overwatering, while wilting or crispy edges usually mean your kale needs a drink.
Nutrition is key indoors, since regular potting mix doesn’t provide ongoing nutrients. Every 2 to 3 weeks, feed your kale with a balanced liquid fertilizer, like a 10-10-10 NPK or an organic fish emulsion, diluted to half strength—this provides vital nitrogen for leafy growth. For an extra boost, top-dress the soil with worm castings or compost every month. Avoid high-phosphorus fertilizers, as kale responds best to higher nitrogen for big, healthy leaves.
By staying mindful of light, water, and nutrients, you’ll keep your indoor kale thriving and ready for harvest.
Caring for and Maintaining Healthy Indoor Kale Plants
Caring for indoor kale plants involves a mix of daily checks and weekly maintenance to keep them vibrant and productive. Start by observing your kale each day, looking for dryness in the top inch of soil. Water lightly as needed, making sure pots have proper drainage and never sit in standing water.
When seedlings reach a few inches tall, gently thin them by snipping the weaker ones and leaving only the healthiest to avoid overcrowding. Each week, inspect the leaves and prune older, yellowing foliage at the base to encourage fresh growth and improve airflow.
Wipe down leaves with a damp cloth to remove dust, which helps prevent pests such as spider mites and aphids. If you notice sticky residue or small webs, treat the plants with a gentle spray of diluted neem oil or wipe the leaves with a soapy water solution, repeating weekly until pests disappear.
For fungal diseases like powdery mildew—usually caused by excess humidity and poor air circulation—space plants farther apart and place a small fan nearby to improve airflow. If stems start to stretch or lean, it’s likely your kale needs more light; move them closer to a sunny window or supplement with LED grow lights, keeping the lights a few inches above the tallest leaves.
Yellowing leaves can indicate underwatering, overwatering, or nutrient deficiencies. Check soil moisture carefully, reduce watering if the soil is soggy, and try applying a natural fertilizer like diluted fish emulsion every few weeks.
By building these habits—regular thinning, pruning, cleaning, and careful troubleshooting—you’ll enjoy a steady harvest of healthy, flavorful kale straight from your indoor garden.
Harvesting Your Indoor Kale
Knowing exactly when to harvest your indoor kale makes all the difference for flavor and yield. Most kale varieties, like dwarf blue curled or lacinato, are ready to snip within 50–70 days of planting if grown from seed, or once they reach about 4–6 inches in height. Look for leaves that are deep green, firm, and roughly the size of your hand—they should not yet have yellowed or wilted edges, which suggests age or stress.
For the best taste, opt to pick leaves when they’re young and tender, especially for baby kale, which can be harvested as soon as the leaves are big enough to eat, typically around 3–4 inches long.
To ensure your kale keeps producing, use the “cut-and-come-again” method: gently pinch or snip off the outer, lower leaves with clean scissors or garden shears while leaving the central crown and a few inner leaves intact. This encourages new growth from the center without shocking the plant. Harvesting just a few leaves from each plant every week keeps your indoor garden thriving longer.
Once picked, store harvested kale in a breathable produce bag or wrap loosely in paper towels and tuck it into the fridge—crisper drawers work best—for up to a week. Wash leaves only just before use to avoid premature wilting.
Fresh kale is super versatile: quickly chop for salads, blend into smoothies, add to omelets, or bake into healthy chips. If you’re left with more than you can use right away, kale can also be blanched and frozen for later recipes. This way, your indoor efforts keep nourishing you well beyond the harvest.
Tips for Indoor Kale Success & Expanding Your Indoor Edible Garden
Maximizing your indoor kale harvest starts with giving the plants plenty of light—aim for 6-8 hours each day using a sunny windowsill or LED grow lights if natural light is limited. Keep the temperature steady between 60-75°F, and water consistently, making sure the soil stays moist but not soggy. Regularly remove any yellowing leaves to promote new growth and prevent disease.
To boost flavor, try harvesting the outer leaves when they’re young and tender, as this encourages more leaves to form. For an indoor edible garden that thrives, consider planting kale alongside compatible crops such as lettuce, spinach, or herbs like basil and chives—these all have similar light and water needs, making care easier and maximizing your harvest in limited space.
Don’t be afraid to experiment with different container setups, wall-mounted planters, or even hydroponic systems that allow you to grow more in less area. Join online indoor gardening groups or local clubs to ask questions, get advice on troubleshooting, and swap ideas with fellow growers—shared experience can help you solve problems faster and stay inspired to try new edible crops.
By embracing a bit of trial and error and tapping into the wisdom of a gardening community, you’ll be well on your way to a lush, productive indoor garden filled with fresh flavors year-round.