Choosing the Right Garlic Varieties
If you’re curious about growing garlic in straw, one of the first steps toward success is choosing the right garlic varieties. Garlic comes in two main types: hardneck and softneck. Hardneck garlic boasts a stronger, more complex flavor and thrives in cold climates, especially where winters are harsh. Softneck garlic, on the other hand, has a milder taste and stores longer, making it perfect for warmer or milder regions and for those who want to enjoy their crop year-round.
When using methods like planting garlic in straw or mulch alone, variety matters even more. Hardneck types send up scapes (flower stalks) that can be harvested and eaten—an extra treat for gardeners in cool climates—while softneck types braid nicely and maximize long-term storage. Planting a mix of both not only gives you a broader range of flavors in the kitchen but also increases genetic diversity in your garden. This diversity means your garlic crop is more resilient to diseases and unpredictable weather, so if one variety struggles, others may still thrive, helping guarantee a more reliable harvest.
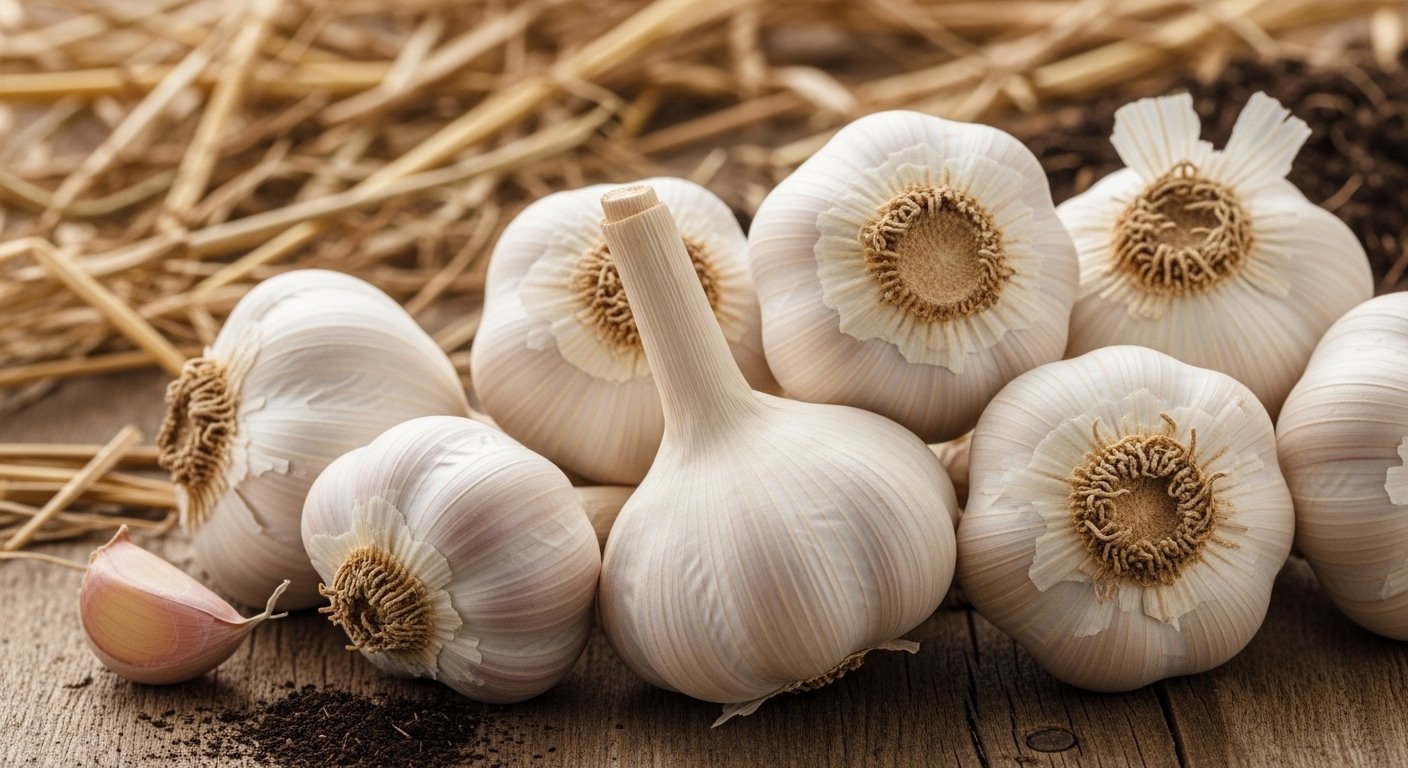
For the healthiest and most productive garlic, always select large, firm bulbs with no visible mold, soft spots, or damage. Avoid cloves that feel lightweight or papery, as these may not sprout well or could harbor disease. Choosing robust, disease-free seed garlic is your best insurance for a vigorous patch, especially when experimenting with methods like growing garlic in straw. With the right varieties and careful selection, your straw-mulched garlic bed can yield a flavorful, diverse, and resilient harvest.
Timing Your Planting for Best Results
Autumn is widely regarded as the best time to plant garlic in most regions because the cool fall weather gives cloves a chance to develop strong roots before winter arrives. This leads to larger, healthier bulbs come harvest time. As the soil cools but before it freezes—typically a few weeks after the first frost—garlic cloves settle in and begin root growth while the tops stay dormant until spring.
However, in areas with mild winters or very hot climates, spring planting can still yield success, though the bulbs may be smaller. Just be sure to plant as soon as the soil is workable.
Preparing your soil is key for a robust garlic crop:
- Start by loosening it to a depth of about 8 inches to encourage root penetration.
- Mix in plenty of compost or well-rotted manure for nutrients.
- Make sure the site doesn’t stay soggy since garlic dislikes wet feet.
Good drainage is crucial, so consider planting in raised beds if your yard tends to be heavy or clay-rich.
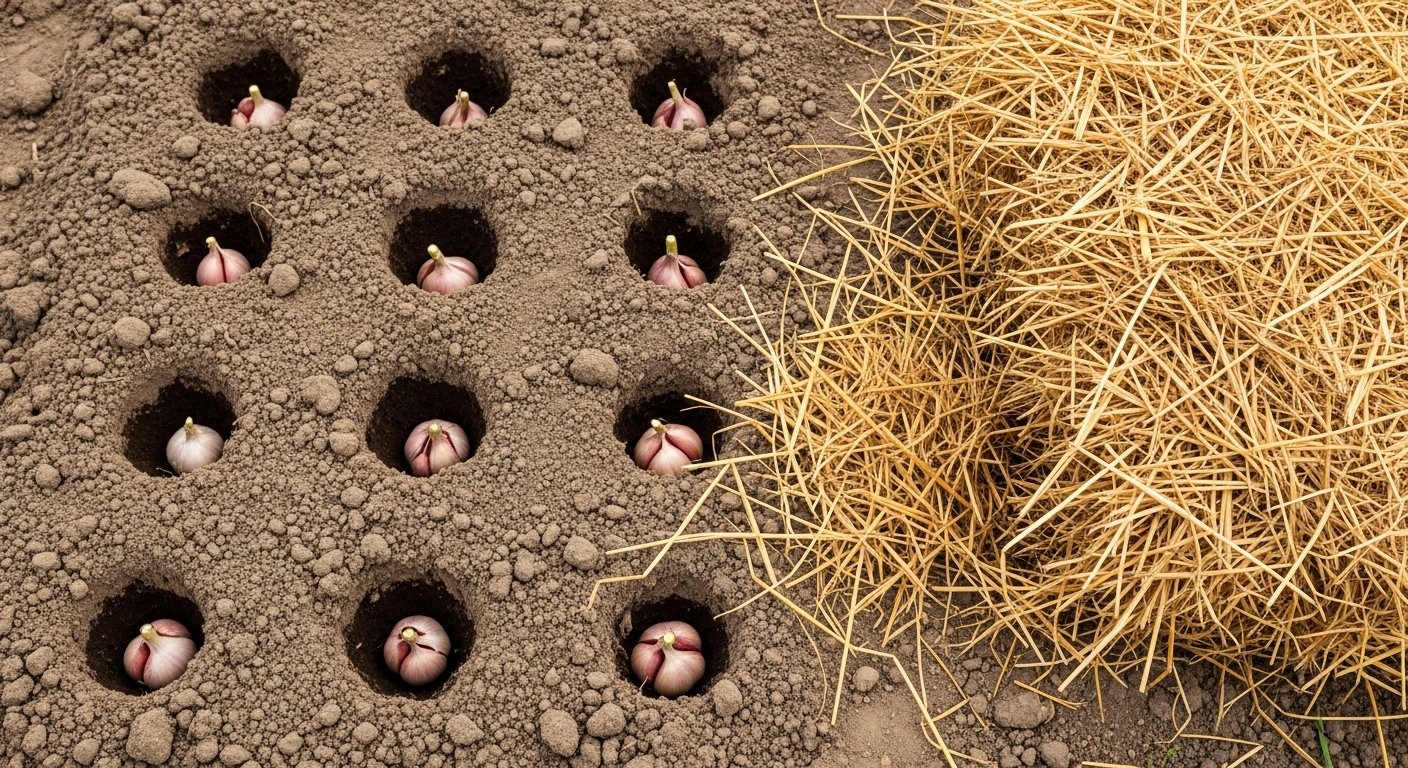
When setting your cloves, space them 4 to 6 inches apart in rows about a foot apart to give each plant plenty of room to grow. Plant each clove with the pointed end up, about 2 inches below the surface. This spacing and depth prevent crowding, reduce competition for nutrients, and help ward off disease, setting you up for a bumper crop of homegrown garlic.
Preparing, Planting & Mulching
To get your garlic crop off to the best start, begin by carefully separating large, healthy cloves from each bulb just before planting. Hold the bulb at its base and gently twist or pull apart each clove, making sure not to nick or break their protective papery skins—damaged cloves are more susceptible to disease and unlikely to sprout well.
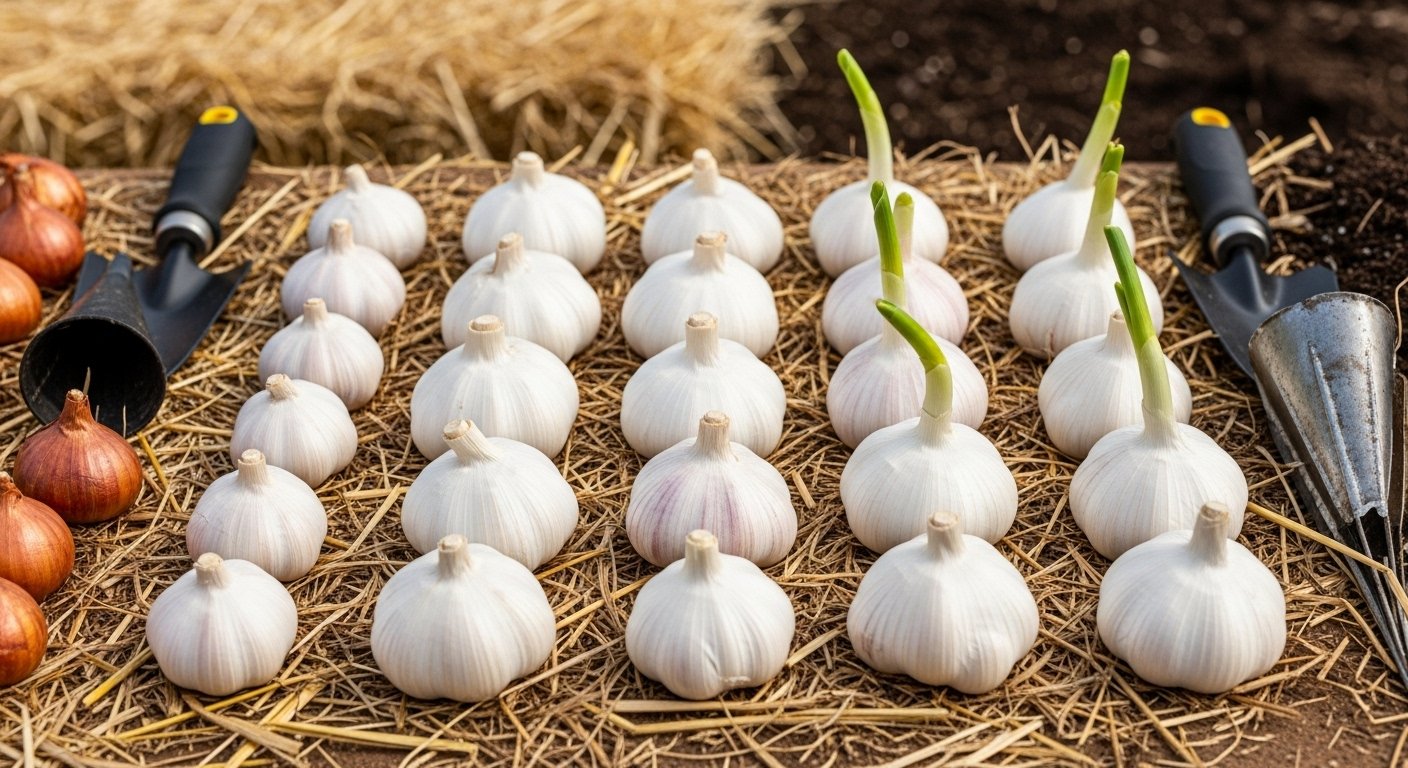
Once separated, select only the biggest and firmest cloves for planting, as these will yield the strongest plants and largest bulbs. Plant each clove upright, placing the pointed end facing up and the flat, root side down, about 2 inches deep into well-tilled soil. Space them with about 5-6 inches between cloves and 10-12 inches between rows to allow room for mature bulbs to expand and for air circulation.
After planting, provide an initial watering to settle the soil, keeping it consistently moist (but never soggy), as garlic dislikes sitting in waterlogged soil. When nighttime temperatures begin to dip close to freezing, apply a generous 2 to 4 inch layer of mulch, such as clean straw or shredded leaves, over your garlic bed. This mulch acts as a blanket, protecting cloves from harsh winter cold while also preserving soil moisture.
Avoid piling mulch too thickly right at planting; wait until the soil has cooled down to prevent premature sprouting. Throughout winter, check the moisture under the mulch and water if necessary, especially during dry spells—the goal is damp, not drenched, soil for healthy root development.
Caring for Your Garlic Throughout the Seasons
Garlic thrives when you pay attention to its changing needs throughout the growing season, with spring being especially crucial. As the weather warms and the plants kick into active growth, check soil moisture regularly—garlic does best with consistent, even watering.
Aim to keep the soil damp but not soggy; a deep soak once a week is usually enough, but dry or windy days may require more frequent watering. Alongside watering, keep beds weed-free to prevent unwanted competition for nutrients and sunlight. Simply hand-pull weeds or gently cultivate the surface every week or so, taking care not to disturb the shallow garlic roots.
Feeding your garlic is straightforward: as new green shoots appear in early spring, sprinkle a balanced fertilizer or work in some well-rotted compost around the base of each plant. This will fuel healthy bulb development.
Lastly, get into the habit of visually scanning your garlic patch every few days for signs of pests, disease, or stress—look for yellowing leaves or sluggish growth—but resist the temptation to fuss. Garlic prefers steady, minimal intervention; avoid overwatering, poking at bulbs, or moving the soil too often, and let the plants work their quiet magic as the months unfold.
Protecting Against Pests & Diseases
Keeping garlic healthy means staying vigilant against common threats like onion maggots, nematodes, and diseases such as white rot and rust. Onion maggots are tiny larvae that tunnel into bulbs, while nematodes are microscopic worms that cause stunted growth and yellowing. Fungal diseases like white rot, which leads to rotting bulbs, and rust, which shows up as orange spots on leaves, can quickly ruin a harvest.
To prevent these problems, rotate your crops and avoid planting garlic in the same spot for at least three years in a row—this breaks pest and disease cycles. Companion planting with crops like carrots or chamomile can also help repel pests naturally.
Before planting, always inspect your garlic bulbs for signs of disease or rot and discard any that look suspicious. If you notice an infestation despite your best efforts, organic treatments such as neem oil sprays for pests or beneficial nematodes for soil-borne issues offer effective control without harsh chemicals.
A little attention and good planting habits go a long way in keeping your garlic bed healthy and productive.
Harvesting, Curing, & Storing Garlic
Knowing when to harvest garlic is crucial for getting plump, flavorful bulbs. Visually, the first sign your garlic is ready is when the lower leaves start to yellow and dry out, while the upper leaves remain green. Typically, you want to wait until about half to two-thirds of the leaves have died back, as harvesting too early or too late can affect both storage and taste.
To harvest, gently loosen the soil around each bulb with a garden fork—take care not to nick or bruise them—and lift the bulbs by their stems. Don’t yank them out by hand, as this can damage their delicate skin. Shake off excess dirt, but don’t wash the bulbs.
Next, cure your garlic by laying the plants (with stems and leaves still attached) in a single layer on racks or screens in a well-ventilated space away from direct sunlight; a covered porch or garage works well. Leave the garlic to cure for two to four weeks until the wrappers are papery and the roots are dry.
Once cured, trim off the roots and cut the stems down to about an inch above the bulb, then gently brush off any remaining dirt. Store your clean, cured garlic in a cool, dry, and dark place—such as a pantry or cellar—in mesh bags or breathable baskets to keep air circulating. Avoid plastic, which traps moisture and can cause rot.
Properly stored, homegrown garlic can last for six months or even longer, ensuring you have flavorful cloves at your fingertips well into the next growing season.
Garlic as a Companion Plant
Companion planting is all about growing different plants together so they can help each other thrive, and garlic is a star when it comes to repelling unwanted pests. For example, planting garlic near tomatoes, carrots, or roses can keep aphids, spider mites, and even Japanese beetles at bay—all without resorting to chemicals.
Many organic gardeners swear by tucking garlic bulbs between their rows; its strong scent acts like a natural bug shield, making these companion plants less attractive to insect invaders. However, not all plants love being near garlic—avoid planting it alongside beans and peas since garlic can stunt their growth and even affect their flavor.
By choosing the right spots for garlic, you’re not just growing a kitchen staple; you’re naturally boosting your garden’s health and resilience, keeping your flowers and veggies happier with far less effort.