Introduction & Brussels Sprout Basics
Hardening Brussels sprout seedlings is a key step to ensure a healthy, bountiful harvest of these mini green powerhouses. brussels sprouts are beloved by gardeners and health enthusiasts alike, offering a rich source of vitamins C and K, dietary fiber, and antioxidants that support immune health and aid digestion.
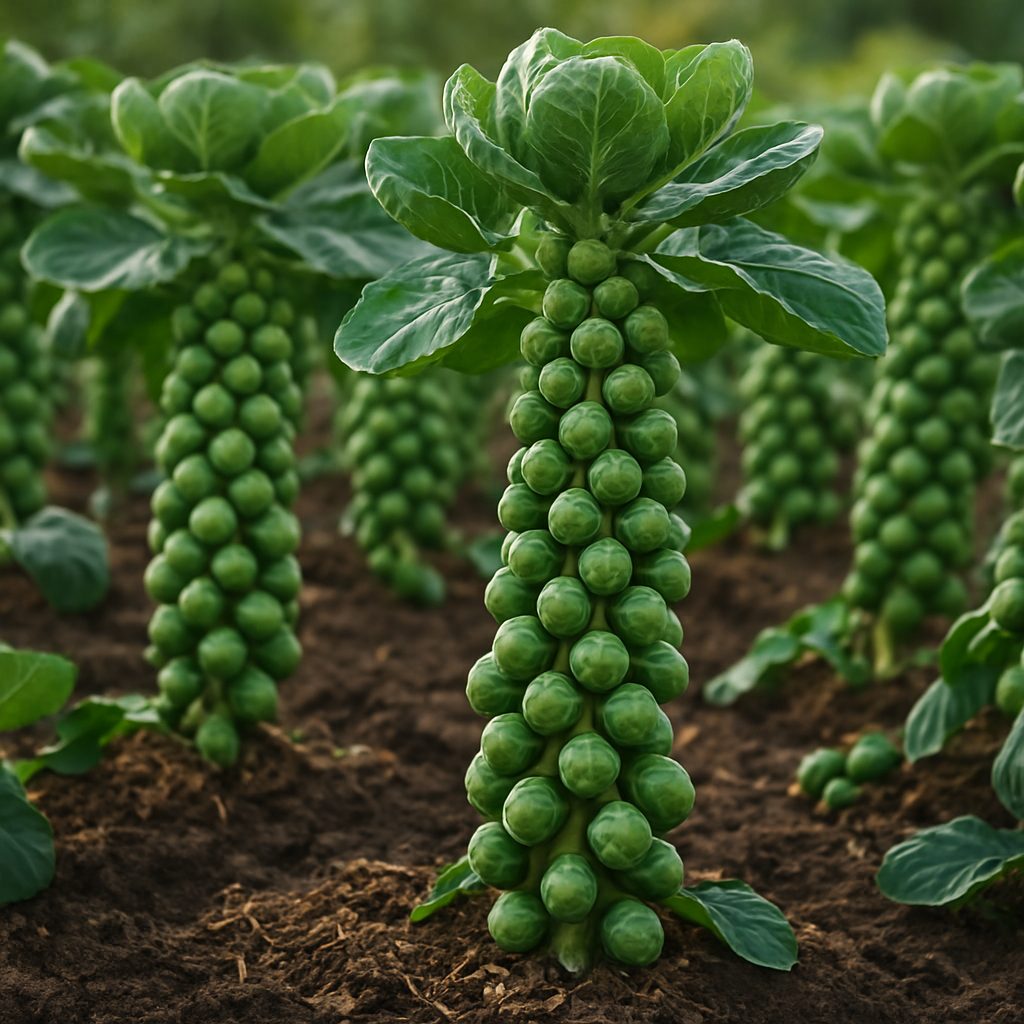
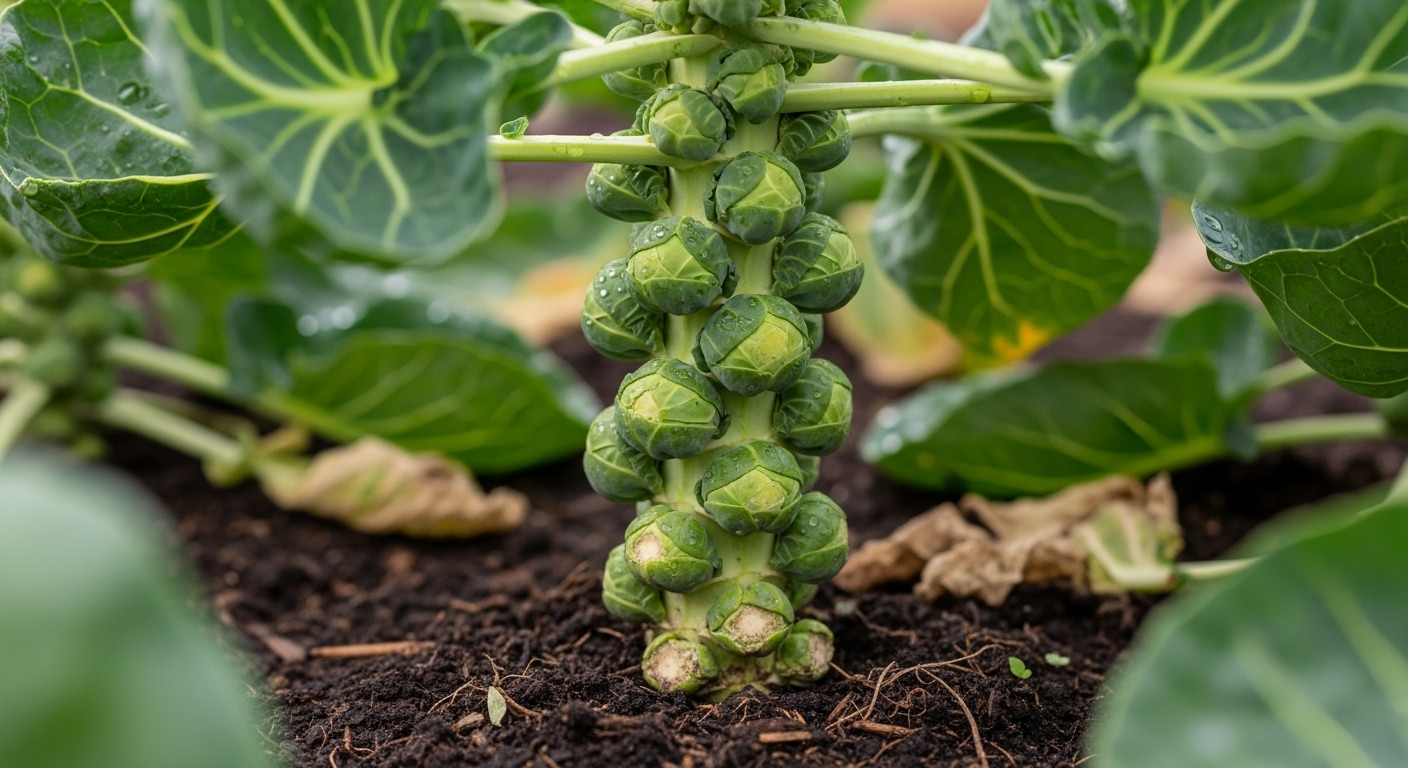
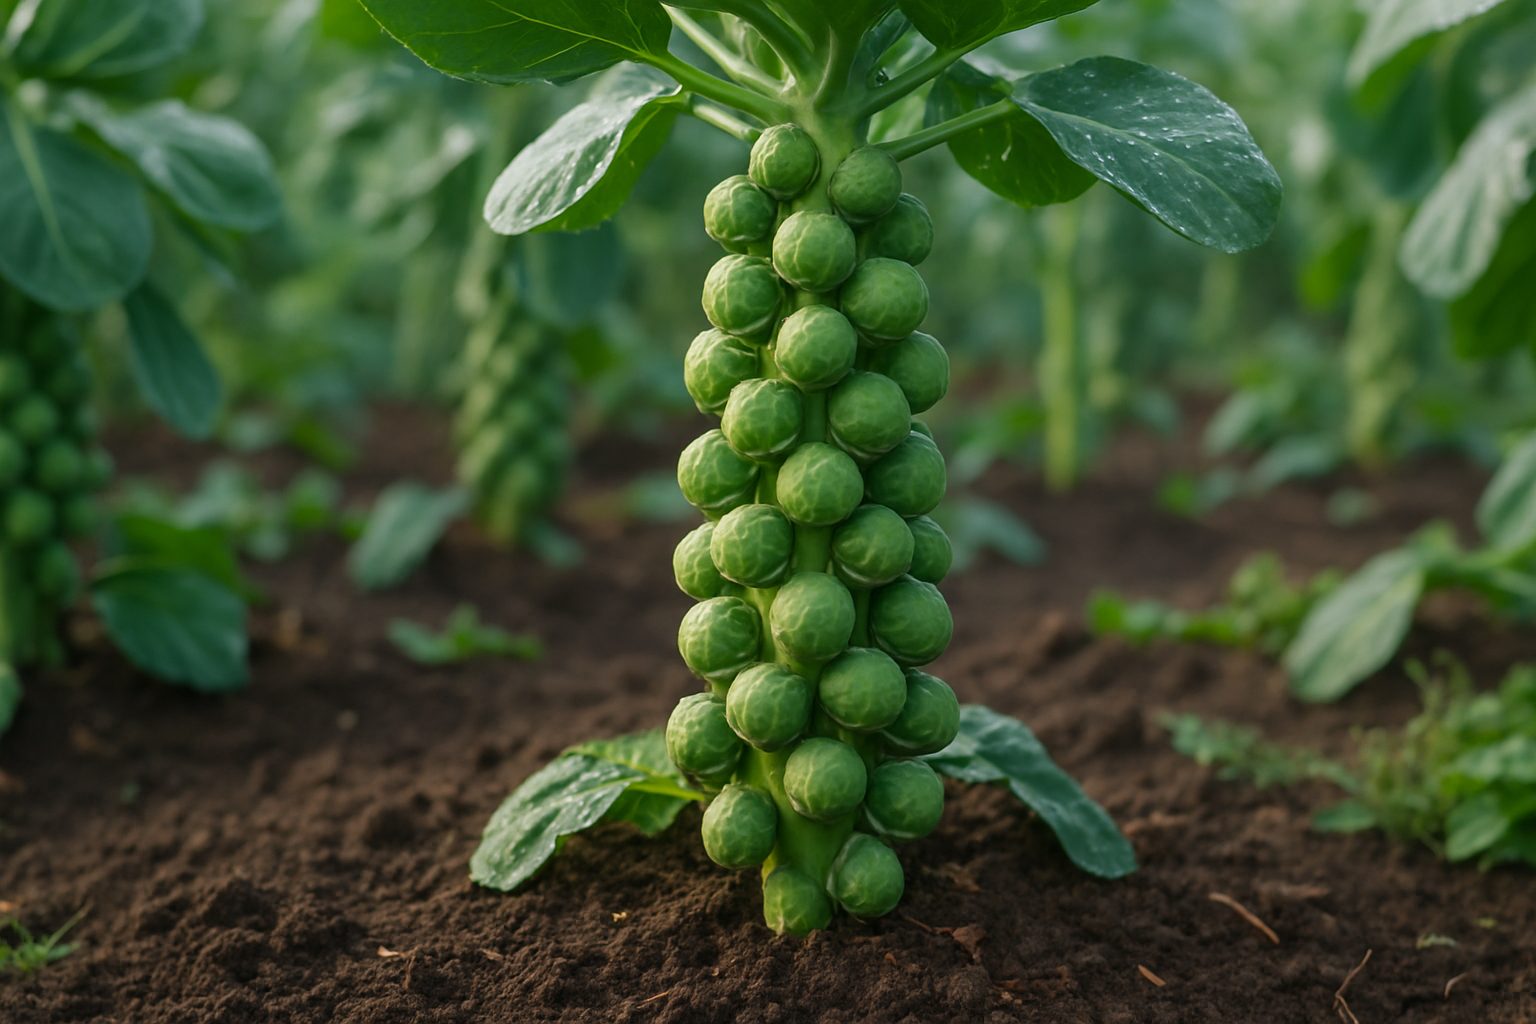
These unique veggies grow up to three feet tall on sturdy central stalks, with dozens of small, tightly packed “sprouts” resembling miniature cabbages forming in neat rows along the stem. As striking in the garden as they are on the dinner plate, Brussels sprouts are cool-season vegetables that thrive when planted in early spring or late summer, avoiding the stress of intense heat.
The typical growth cycle begins with seeds started indoors, followed by a careful transition outdoors as seedlings mature. From planting to harvest, patience is key—Brussels sprouts require several months to reach maturity, rewarding your wait with sweet, nutty-tasting sprouts after they experience a touch of frost.
Understanding this process and properly hardening off your seedlings gives them the best start, allowing them to withstand outdoor conditions and leading to strong, productive plants all season long.
Choosing the Right Variety & When to Plant
Picking the right vegetable variety can make all the difference in your garden’s success. For instance, tomatoes come in early-maturing types like ‘Early Girl’ (about 50 days, reliable in short summers) and robust heirlooms like ‘Brandywine’ (80 days, prized for rich flavor). Some, such as ‘Celebrity’ or ‘Mountain Magic’, offer good disease resistance, making them less risky for humid or rainy areas.
Cool climates benefit from quick-growing crops like ‘Little Finger’ carrots or ‘Bloomsdale’ spinach, while southern growers might choose heat-tolerant varieties like ‘Jalapeño’ peppers or ‘Black Beauty’ eggplant.
Always check your seed packet for days to maturity and match that to your region’s frost dates—northern gardeners with short seasons should look for faster maturing types or plan to start seeds indoors, typically 6–8 weeks before the last frost. In warmer zones, many crops can be sown directly into the ground as soon as the soil warms, but starting seeds indoors can still give you a head start on the growing season.
Use tools like the USDA Hardiness Zone map to determine your planting window; for example, in Zones 3–5, you’ll generally start seeds indoors in early spring and transplant after the last frost, while in Zones 8–10, direct sowing in late winter or early spring is common.
Remember, local extension offices or nursery staff can offer personalized advice for your area and guide you toward varieties that thrive in your climate.
Planting and Essential Growing Conditions
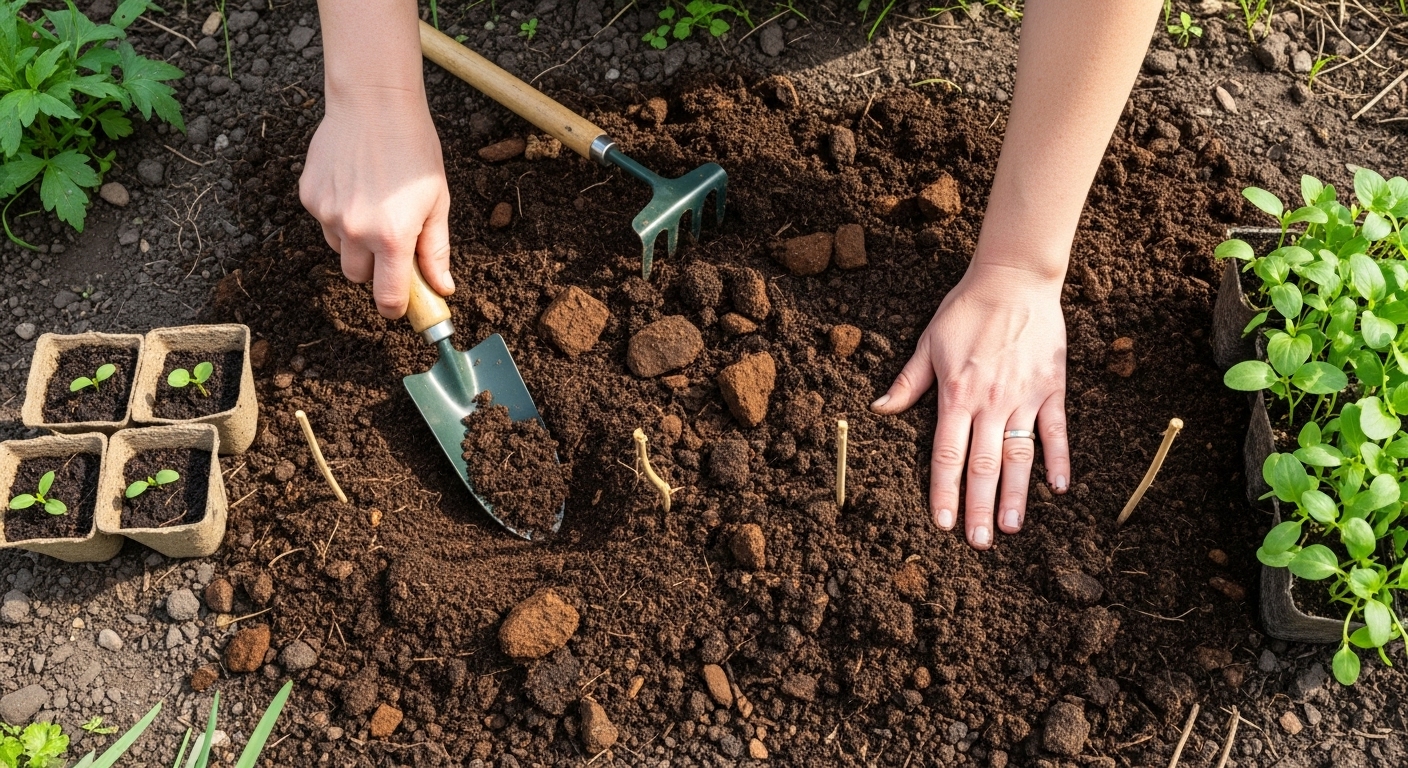
Getting started with planting begins by choosing whether to sow seeds directly or transplant seedlings, but both processes share some key steps for success. First, prepare your garden bed by loosening the soil to a depth of about 12 inches and removing weeds or debris. Work in compost or well-rotted manure to boost fertility and improve structure.
Aim for well-drained soil that is rich but not too dense; you want water to move through easily, but also for roots to access nutrients. Most garden vegetables prefer a neutral to slightly acidic pH—around 6.0 to 7.0. You can test your soil and mix in lime to raise pH or sulfur to lower it, depending on the crop.
For seeds, check the packet for precise planting depths (generally 1/4 to 1 inch deep) and spacing requirements. A good rule of thumb is to plant tiny seeds shallow and large seeds deeper. Space rows widely enough—usually 12-24 inches apart—to let air circulate and give plants room to grow.
When transplanting seedlings, gently tease roots apart if they’re pot-bound, dig holes just deep enough to cover the root ball, and water each plant thoroughly right after planting. Most vegetables thrive in full sun, needing at least 6 hours of direct sunlight each day, so choose an open spot that isn’t shaded.
Throughout the growing season, maintain even moisture by watering deeply when the top inch of soil feels dry. Early growth may need more frequent, gentle watering, while established plants prefer thorough soaks less often. Mulching with straw or shredded leaves can help retain moisture and keep roots cool.
Keep an eye on weather conditions; during heatwaves, a little afternoon shade or extra mulching can prevent stress. By following these steps, you’ll set strong foundations for healthy, productive plants.
Brussels Sprout Care & Maintenance
Consistent care is key to growing healthy, flavorful Brussels sprouts. Start with deep, regular watering, especially during dry spells—a thorough soak once or twice a week keeps the soil evenly moist but not soggy. Mulching around the base helps retain moisture, keeps roots cool in hot weather, and blocks weeds from stealing nutrients.
Feed your plants with a balanced fertilizer or compost when they’re about a foot tall, then every few weeks as they grow. Too much nitrogen can spur leaf growth but not sprouts, so choose a fertilizer with moderate nitrogen and higher potassium.
To promote bigger sprouts, remove the lower yellowing leaves as the stalks develop—this improves air circulation and channels more energy to growing sprouts.
As the season progresses, keep an eye on temperatures: Brussels sprouts prefer cooler climates. During summer heat, provide partial shade with a cloth or plant in a spot that gets afternoon shade.
In early fall, when sprouts are marble-sized, “top” your plants by pinching off the growing tip—this encourages the remaining sprouts to mature faster and larger before frost hits.
If you anticipate an early frost, cover plants overnight with row covers or light sheets. Brussels sprouts are hardy, but a sudden cold snap can halt their growth.
Regular observation, prompt leaf removal, and adjusting care to weather conditions will reward you with a delicious homegrown harvest well into late fall.
Common Problems: Pests, Diseases, and Prevention
Dealing with pests and diseases is a normal part of gardening, but early detection and organic practices can keep your plants thriving. Common pests like aphids and cabbage worms may cluster on leaves, sucking sap and causing visible holes.
To manage aphids, rinse them off with a strong stream of water or introduce beneficial insects like ladybugs. For cabbage worms, handpick them or use a safe, organic spray like Bacillus thuringiensis (Bt).
Disease-wise, clubroot and powdery mildew can stunt growth or discolor foliage—clubroot, often indicated by misshapen roots and wilting, can persist for years in soil. To combat this, practice crop rotation by planting brassicas in a different spot each year and ensure soil drains well.
Powdery mildew appears as white powder on leaves, thriving in crowded, humid conditions; prevent it by spacing plants to promote airflow and watering at the base rather than overhead.
If your plants show stunted growth or low yields, check for compacted soil or overcrowding, which limits root expansion and nutrient uptake. Mulching helps keep soil moisture consistent, and regular feeding with compost encourages robust development.
When troubleshooting, always examine leaves and roots for signs of pests, unusual spots, or texture changes, and adjust your care routine accordingly. By staying observant and using gentle organic methods, you can prevent most issues before they become serious problems, ensuring a healthy and productive garden.
Harvesting and Storing Brussels Sprouts
Knowing when to harvest Brussels sprouts is key to enjoying their best flavor and texture. Look for sprouts that are firm, bright green, and about one to two inches in diameter—generally, the lower sprouts mature first. You’ll often notice they’re ready to pick about three months after planting, or when the leaves just below the sprouts start to yellow.
To harvest, twist or snap the sprouts off the stalk, starting from the bottom and working upward as new sprouts mature. If you want to extend your harvest into colder months, leave the plants in the ground; Brussels sprouts actually taste sweeter after a light frost. In harsh winter areas, cover the plants with straw or horticultural fleece to protect them from deep freezes.
For storage, freshly picked sprouts can be kept in the refrigerator in a perforated bag for up to a week. If you have a bumper crop, consider freezing—simply blanch the sprouts for a few minutes, cool them in ice water, drain, and pack them into airtight containers before popping them in the freezer. Pickling is another popular option: pack blanched sprouts into jars with vinegar, garlic, and spices for a tangy treat that lasts months.
With these methods, you can enjoy the homegrown goodness of Brussels sprouts well beyond their harvest season.
Brussels Sprouts in the Kitchen: Quick Recipe Ideas
Brussels sprouts are incredibly versatile, making them a great addition to busy weeknight meals. Roasting is a favorite—just halve the sprouts, toss them with olive oil, salt, and pepper, and bake at 400°F for 20-25 minutes until crispy and caramelized.
For a faster option, sauté sliced sprouts in a hot pan with a little butter or garlic until golden brown; a squeeze of lemon or a sprinkle of Parmesan finishes them perfectly.
Shredded raw Brussels sprouts also shine in salads. Thinly slice them and mix with apples, walnuts, and a simple vinaigrette for a crunchy, refreshing dish.
Flavor Pairings and Tips
- Brussels sprouts pair well with bold flavors like balsamic glaze, smoked paprika, or a dash of chili flakes for heat.
- Don’t be afraid to experiment: adding bacon, toasted nuts, or dried cranberries can really elevate the dish.
- If eating Brussels sprouts raw, rinse them well and slice thin for the best texture and flavor—raw preparations are safe and nutritious, just easier to digest in small amounts.
Whether you prefer them crispy from the oven or fresh in a salad, Brussels sprouts adapt easily to a variety of tastes and styles, making them a kitchen staple you’ll reach for again and again.