Introduction to Growing Garlic
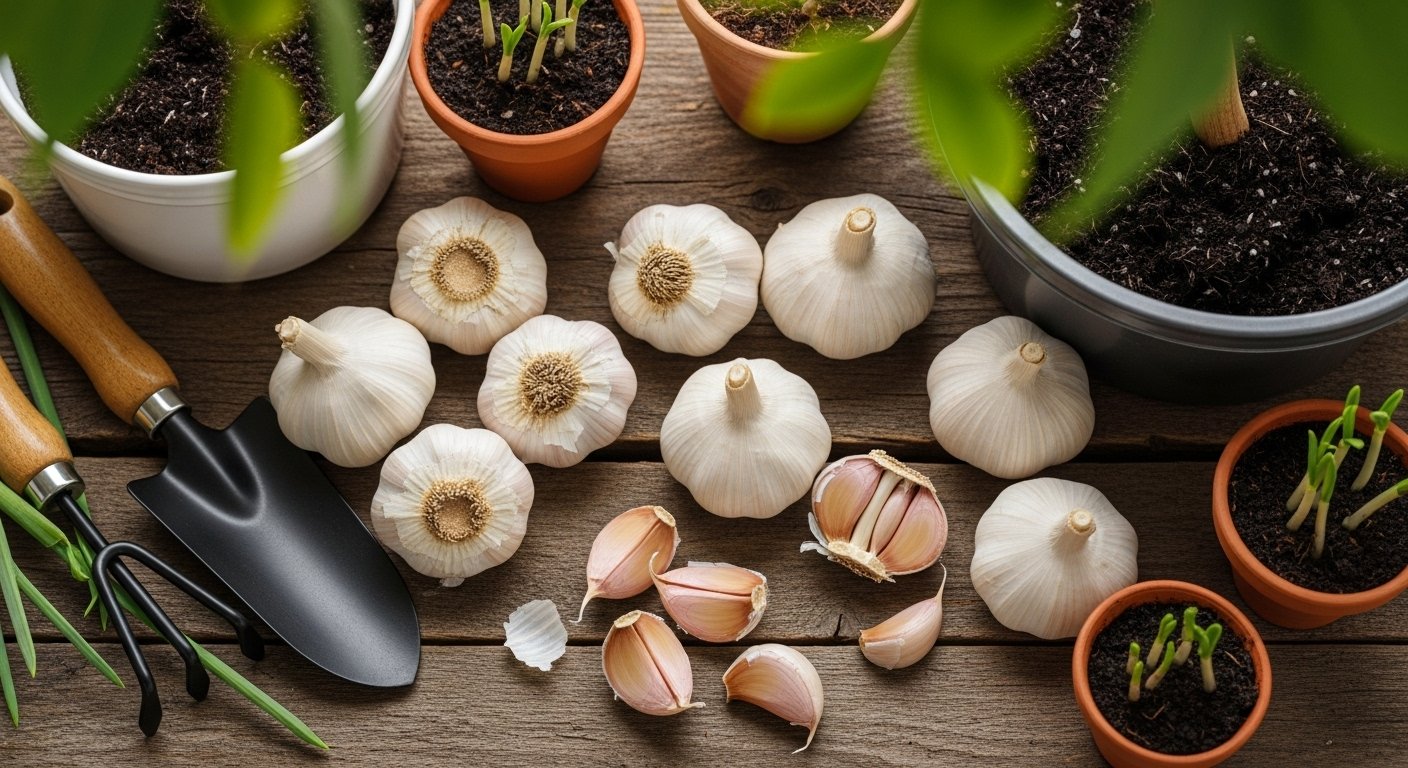
Organic garlic growing is quickly becoming a favorite hobby among home gardeners, and it’s easy to see why. Garlic is one of the most rewarding crops you can plant: it’s hardy, low-maintenance, and doesn’t require a green thumb to produce flavorful harvests. Whether you’re working with a large garden or a few containers on your patio, growing garlic organically offers tremendous benefits. Not only does homegrown garlic deliver a robust, complex taste that beats anything you’ll find in the grocery store, but it’s also packed with health-boosting compounds like allicin, which supports heart health and immune function. Plus, you’ll know exactly how your garlic is grown—free from synthetic chemicals and pesticides.
Before you start your organic garlic-growing journey, it’s important to understand the two main types: softneck and hardneck. Softneck garlic is usually favored in warmer climates and is the variety most often found on store shelves. It stores well and produces lots of smaller cloves. Hardneck varieties, on the other hand, thrive in colder regions, yield larger cloves, and offer unique flavors as well as edible flower stalks called scapes. Your climate and storage goals will help determine which type to plant, so do a little research on what grows best in your region or chat with a local nursery for tailored advice.
Garlic has a straightforward growth cycle. Typically, you’ll plant garlic cloves in the fall before the first hard frost. As the weather warms in spring, green shoots emerge, followed by steady bulb development underground. By early to mid-summer, leaves begin to yellow—your signal that the bulbs are nearly ready. With just a little patience (usually 8–9 months from planting to harvest), you’ll be rewarded with an abundant supply of fresh, organic garlic to elevate every home-cooked meal.
Selecting and Preparing Garlic for Planting
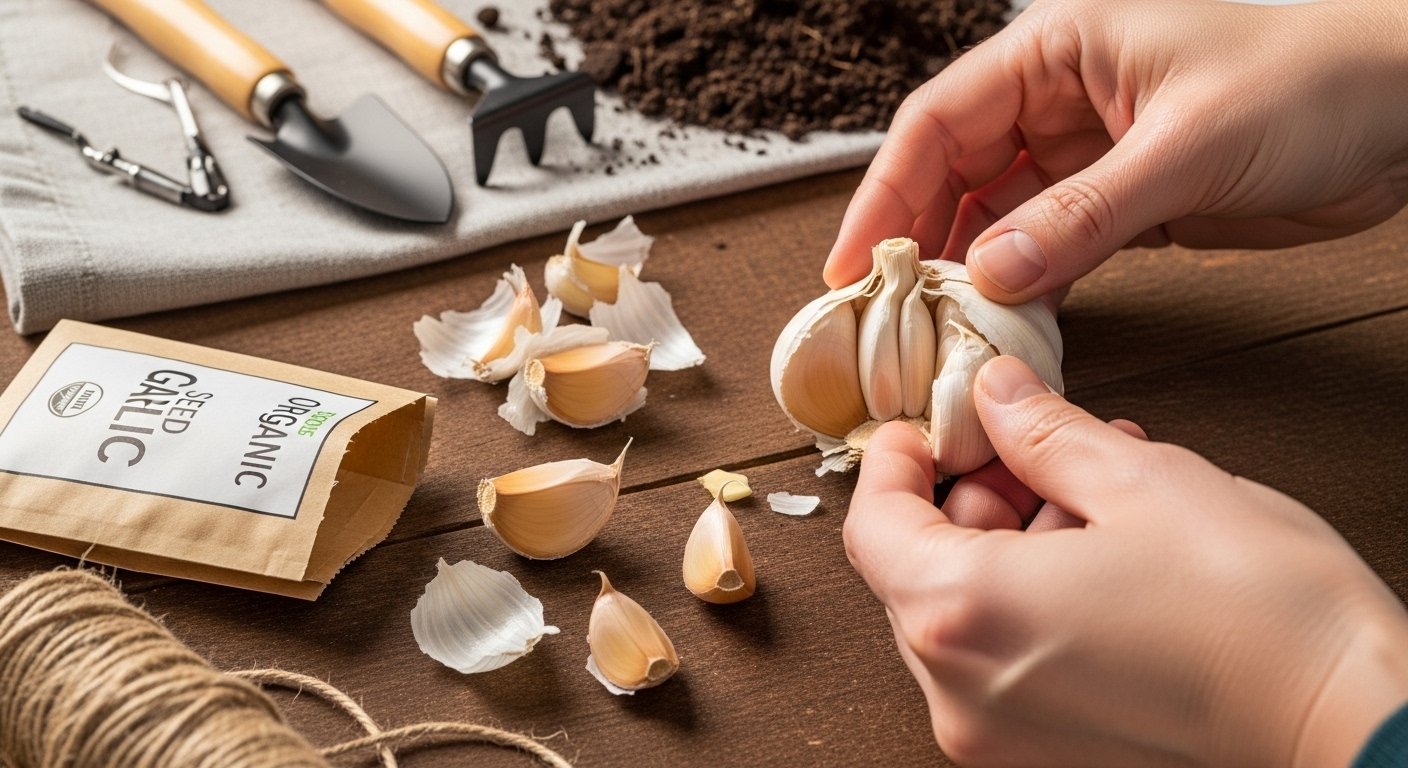
When starting your garlic crop, it’s important to choose the right garlic bulbs or certified seed garlic. Opt for organic sources whenever possible—supermarket garlic may be treated with chemicals to prevent sprouting, while certified seed garlic is bred specifically for disease resistance and vigorous growth.
Inspect bulbs closely: they should be large, firm, and free of mold, soft spots, or shriveling. To get started, carefully separate the bulbs into individual cloves just before planting, making sure not to remove too much of the papery skin that protects each clove. Always discard any cloves that are soft, shriveled, or visibly damaged, as these are more likely to rot or fail to sprout.
When it comes to timing, autumn is generally the ideal season for planting garlic, especially in temperate climates. Planting in the fall allows cloves to establish strong root systems before winter; they essentially “sleep” through the cold months and resume growth quickly in spring, giving you a head start on larger, more flavorful bulbs at harvest time.
In most regions, aim to plant garlic about four to six weeks before the ground freezes. If you live in a very mild-winter area, early spring can also work, but autumn planting consistently yields the best results in terms of size and flavor. By selecting quality cloves and choosing the optimal planting time, you set your garlic up for a healthy, robust growing season.
Soil Preparation and Planting Techniques
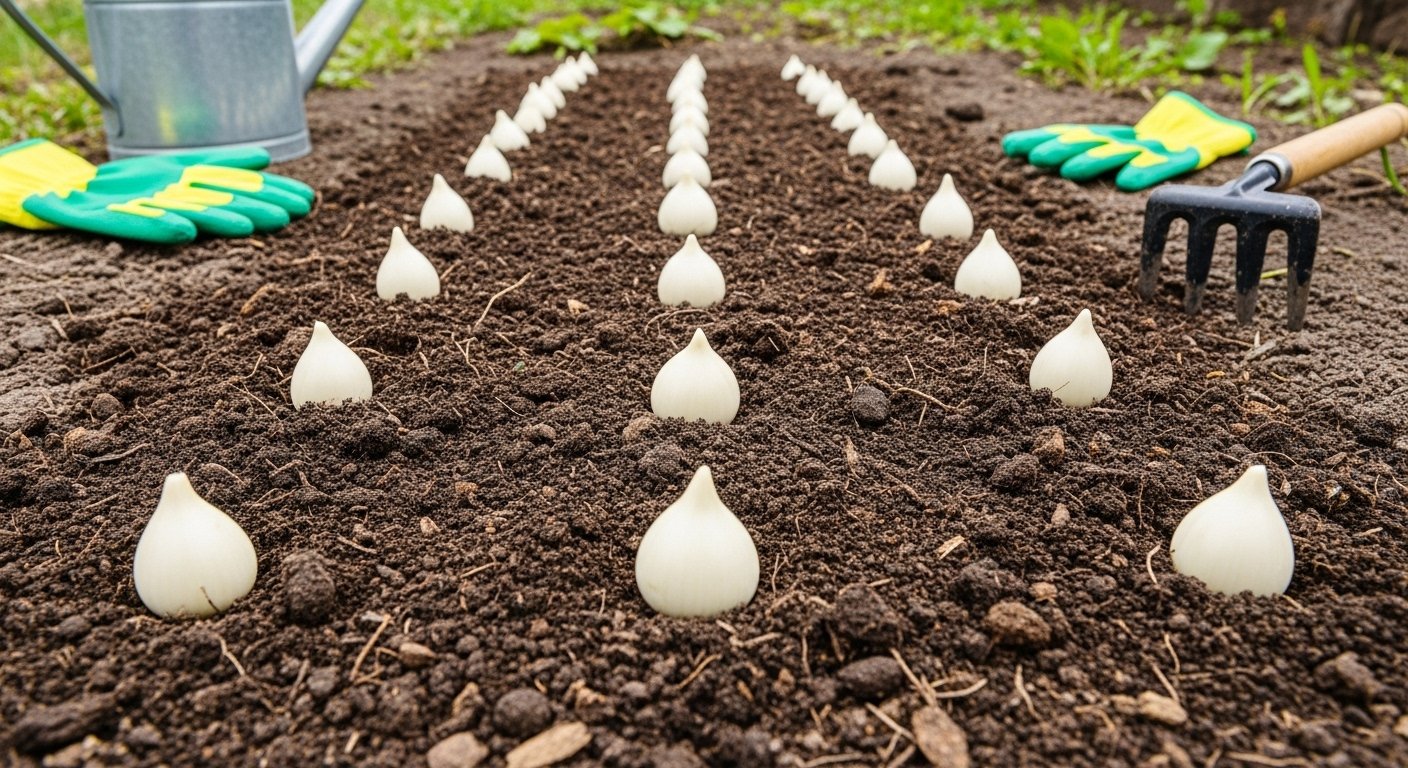
Getting your soil just right is key to a successful garlic harvest. Garlic thrives in loose, crumbly soil that drains well and is rich in organic matter. Before planting, work compost or well-rotted manure into the top 6-8 inches of soil to ensure plenty of nutrients. Avoid heavy clay or compacted ground, as wet, dense conditions can cause bulbs to rot.
If you’re planting in a garden bed, raised beds offer the best drainage, but garlic also does well in pots—just choose containers at least 8 inches deep with good drainage holes.
When ready to plant, break apart your garlic bulb into individual cloves, keeping the papery skins intact. Plant each clove with the pointed end facing up, about 2 inches deep. Spacing matters: set cloves 4-6 inches apart in rows 12 inches apart to give them room to develop into fat, healthy bulbs. In pots, you can plant a few cloves as long as you give each 4 inches of space.
Gently firm the soil over the cloves and water them in, but don’t let the area get soggy. For the best results, try planting in fall before the first hard frost; this gives the cloves time to establish roots before winter.
Whether you’re gardening in the ground, a raised bed, or a container on your balcony, keep soil loose and fertile, watch your drainage, and always plant with the pointy ends up—small steps that make a big difference when harvest rolls around.
Caring for Garlic as It Grows
Once your garlic is in the ground, keeping it healthy is all about providing the right care at the right time. Garlic likes consistent moisture, so water deeply once a week, especially during dry spells. Be careful not to overwater; soggy soil can cause rot. As the bulbs start to mature—usually in the last month before harvest—reduce watering to help the bulbs cure and store better.
To manage weeds and maintain even moisture, mulch around your garlic plants with straw or shredded leaves; this also helps control temperature swings in the soil. Keep beds weed-free, as garlic doesn’t compete well with weeds for nutrients and sunlight.
Watch for common pests like onion maggots and nematodes. Rotate crops, use row covers, and remove affected plants to reduce problems. Prevent diseases such as white rot by planting garlic in a different spot each year and ensuring good airflow between plants.
Companion planting can further help your garlic thrive: plant it near tomatoes, carrots, or fruit trees, as the sulfur compounds in garlic naturally deter many pests. However, avoid growing garlic close to beans, peas, or asparagus since it can stunt their growth.
By combining proper watering, attentive mulching and weeding, simple pest prevention, and smart companion choices, you’ll set your garlic up for a productive, healthy season.
Harvesting, Curing, and Storing Garlic
Knowing when to harvest garlic is key to getting flavorful, long-lasting bulbs. The best time to dig up your garlic is when the lower leaves have turned brown and dry, but the top leaves are still mostly green—usually in mid-to-late summer. Avoid waiting until all the leaves are brown, as the bulbs may split or lose their papery skins.
To harvest, use a garden fork or spade to gently loosen the soil around each bulb. Avoid pulling by the stalk, which can damage the garlic. Shake off excess dirt carefully, making sure not to bruise the bulbs.
Once harvested, curing your garlic ensures it stores well throughout the year. Lay the bulbs (with stalks and roots attached) in a single layer somewhere dry, shaded, and well-ventilated—like a covered porch or shed—for about 2–3 weeks. You can also bundle several plants together with twine and hang them to cure.
When the skins are papery and the roots feel dry, trim the roots to about half an inch. Cut the stalks if you prefer loose bulbs, or leave them intact for braiding.
For storage, keep your cured garlic in mesh bags, baskets, or braids hung in a cool, dry spot out of direct sunlight. Never store garlic in the refrigerator, as humidity promotes sprouting. Braiding softneck garlic not only looks attractive but also saves space and keeps bulbs easily accessible.
Always set aside a few of your biggest, healthiest bulbs for next season’s planting; store them separately so you don’t accidentally use them in the kitchen. With these steps, you’ll enjoy homegrown garlic in your cooking all year and keep your next harvest on track.
Troubleshooting and Advanced Tips
One of the most common challenges when growing garlic is ending up with small bulbs. This usually happens because the cloves were planted too late in the fall or crowded too closely together. For best results, plant garlic cloves 4 to 6 inches apart and make sure they go into the ground before the first hard frost—this allows them enough time to establish roots.
Yellowing leaves are another frequent issue, often caused by overwatering or poor soil drainage. If you notice this, check your soil’s moisture level and ensure it’s not becoming soggy; raised beds can greatly improve drainage.
Pests like onion maggots or fungal diseases can also target garlic. To prevent this, rotate your crops each year and remove any diseased plants promptly.
Tips for Advanced Growers
For more experienced gardeners, experimenting with overwintering—planting hardy varieties in the fall and mulching them through winter—can yield earlier and larger bulbs by spring.
If you want to try something different, consider cultivating elephant garlic. Although it’s more closely related to leeks, it produces mild, softball-sized cloves. Elephant garlic needs plenty of space—up to 8 inches apart—and a longer growing season.
Don’t hesitate to experiment with different garlic varieties, as some are better suited to your climate or taste preferences. Local farmers’ markets are great places to find unique types.
Finally, consider organic methods like using compost mulch and natural pest deterrents to support soil health and create a more sustainable garlic patch.