How to Grow Brussels Sprouts
Starting brussels sprouts seeds indoors is a surprisingly simple way to get a head start on your vegetable garden, even if you’re new to growing your own food. With the right timing and a few easy tricks, you’ll be nurturing your sprouts before the cool weather arrives, setting yourself up for a bountiful harvest.
In this guide, we’ll cover everything beginners need to know—from selecting quality seeds and soil to controlling light and temperature indoors, plus transplanting tips for strong, healthy plants. Get ready to enjoy homegrown Brussels sprouts that taste fresher and sweeter than anything you’ll find in a grocery store!
Choosing the Right Brussels Sprouts & Seeds

When picking Brussels sprouts for your garden, start by selecting a variety that’s well-suited to your climate and growing season. For colder northern regions, opt for hardy types like Jade Cross or Long Island Improved, both known for maturing before harsh frosts hit. If you want an early harvest, Catskill offers a quicker maturity date, while Diablo and Falstaff (an eye-catching purple variety) add color and flavor, along with strong disease resistance against common issues like clubroot and powdery mildew.
When browsing seeds, always check the catalog details for days to maturity and disease resistance. This helps ensure your choice fits local conditions and prevents headaches later. Purchase seeds only from trusted sources like local garden centers, well-reviewed online retailers, or reputable seed catalogs. Avoid seeds with faded packaging or vague labeling, which might indicate poor storage or outdated stock.
If you prefer seedlings to speed up the process, examine the plants carefully. Look for bright green leaves, sturdy upright stems, and no yellowing, wilting, or visible pests on the undersides of the leaves. Healthy seedlings usually come in nutrient-rich potting mix and should not be root-bound or overly tall (which could mean they’ve been under lights too long).
For best results, choose compact, robust plants over stretched and thin ones—even if the taller ones seem more impressive. Don’t hesitate to ask garden center staff when the seedlings arrived or how they’ve been cared for, since fresher, well-tended starts will adapt to your garden much better.
By prioritizing the right variety, seed quality, and seedling health, you’ll set yourself up for a bumper harvest of sweet, nutty Brussels sprouts later in the season.
Preparing Your Soil and Planting Location
Getting your soil and planting location right is the foundation for a thriving garden, and a little preparation goes a long way. For most vegetables and flowers, aim for soil that’s loose, well-draining, and rich in organic matter, with a neutral pH around 6.0 to 7.5—this range allows plants to absorb nutrients effectively.
Start by assessing your soil’s drainage: after a heavy rain, check if water sits in puddles, which signals poor drainage. If it does, consider raised beds or mixing in coarse sand to improve it. Next, test your soil’s pH with an inexpensive home kit. If levels are too acidic, sprinkle garden lime to raise the pH; if too alkaline, add sulfur or peat moss.
Once you’ve sorted pH, enrich your soil with 2–4 inches of compost, which boosts fertility, improves texture, and encourages beneficial microbes. Use a garden fork or tiller to loosen soil to a depth of about 8–12 inches, mixing the compost evenly throughout—this step ensures roots can spread easily and access nutrients.
When choosing a planting spot, opt for an area that receives at least 6–8 hours of direct sunlight daily because most crops need plenty of sun to thrive. Try to find a location shielded from strong winds by a fence or shrubs, as gusts can dry out soil and physically damage delicate plants.
Crop Rotation
Additionally, practice crop rotation: avoid planting the same family of vegetables in the same spot every year, as this helps break pest and disease cycles. For example, don’t plant tomatoes where tomatoes or potatoes grew last season—rotate with leafy greens or beans instead.
In summary, healthy plants start with healthy soil and a thoughtful location—by following these simple steps, you give your garden the best chance for success right from the beginning.
Sowing Seeds and Planting Out
Starting seeds indoors can give your garden a head start, especially in regions with shorter growing seasons. Begin by checking the seed packet for recommended sowing times—most vegetables do best when started 6-8 weeks before the last expected frost.
Use a quality seed-starting mix and plant seeds at a depth roughly twice their diameter; for example, tiny lettuce seeds barely need covering, while larger beans should go deeper. Keep the soil moist but not soggy, and place trays under grow lights or near a sunny window.
Once the seedlings develop their first true leaves, thin them out if they’re overcrowded and gently brush your hand over them daily to strengthen their stems. Before planting outside, you’ll need to harden the seedlings off: about a week prior to transplanting, set them outdoors in a sheltered spot for a few hours each day, gradually increasing their exposure to sun and breeze.
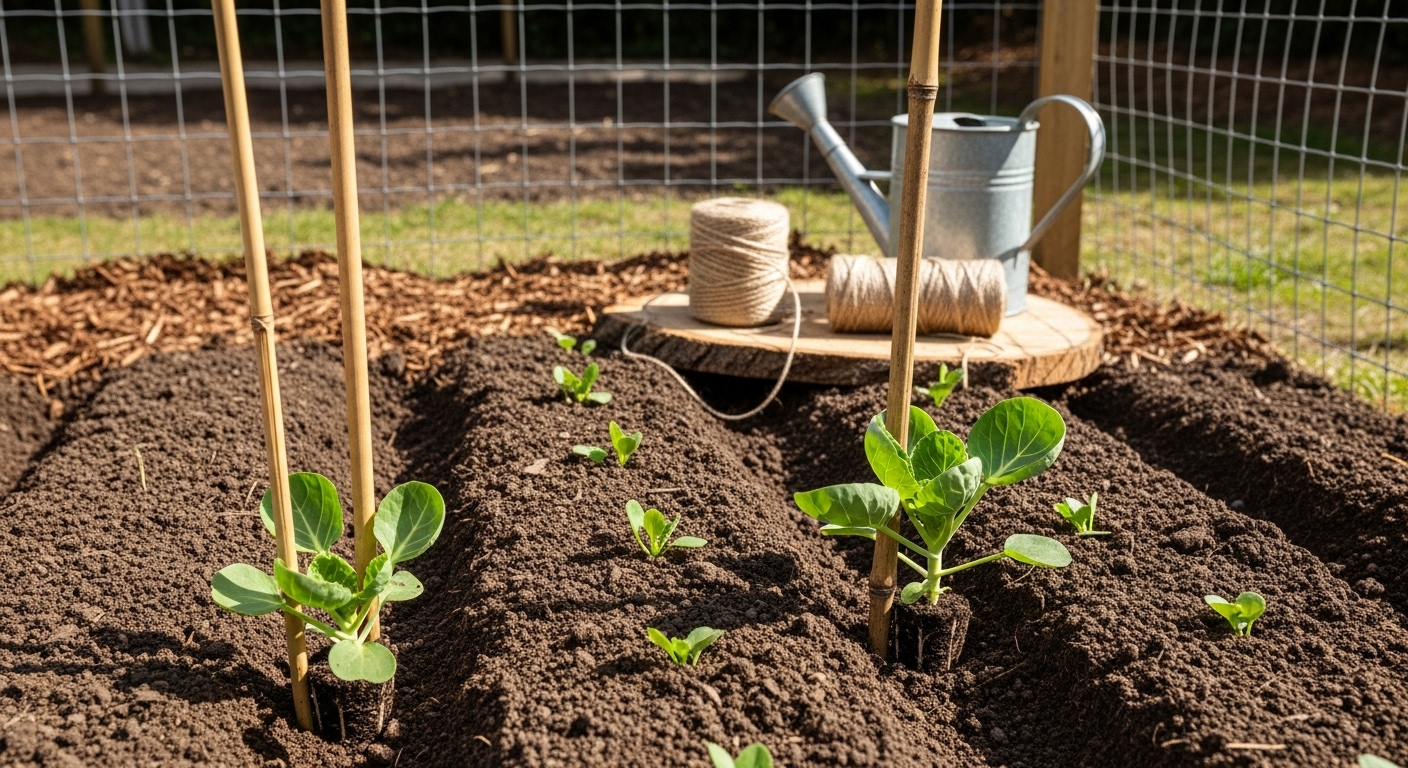
When it’s time to move seedlings to the garden, choose a cloudy day or late afternoon to reduce transplant shock. Dig holes or trenches at the spacing recommended on the seed packet—crowded plants are more prone to disease and poor yields. Firmly press the soil around each plant and water well.
In mild climates, some crops like carrots, beans, and peas do best with direct sowing in prepared beds. Ensure the soil is worked to a fine tilth and raked level, then sow seeds at the correct depth and distance apart; thinner sowing reduces the need for later thinning.
Whether starting indoors or sowing directly, label your rows and keep records—it’s easy to forget what you planted where, and notes help refine your approach for future seasons.
Growing Care: Watering, Feeding & Summer Maintenance
Proper watering is crucial for healthy Brussels sprouts, especially as they mature through the summer. These plants prefer consistent soil moisture—aim to keep the soil damp but never soggy. Water deeply at the base once or twice a week instead of shallow, frequent watering; this helps prevent splitting and root rot, two common problems caused by excess moisture lingering around the roots. Early morning is the best time to water, allowing leaves to dry and reducing fungal risks.
When it comes to feeding, Brussels sprouts are heavy feeders with long growing seasons. Apply a balanced, slow-release granular fertilizer (like 10-10-10) at planting, and supplement with a side-dressing of nitrogen-rich fertilizer (such as blood meal or liquid fish emulsion) every three to four weeks throughout the growing season. Always follow label instructions to avoid over-fertilizing, which can cause lush leaves at the expense of sprouts.
Mulching is another game-changer; a 2-3 inch layer of organic mulch—like straw, compost, or shredded leaves—conserves moisture, regulates soil temperature, and suppresses weeds.
As Brussels sprouts grow taller, especially in windy spots, they may need staking or tying to bamboo canes to prevent toppling. Gently tie stems with soft garden twine to keep them upright and safe from breakage.
For weed control, regular hand-pulling or cultivating with a hoe works best, especially before weeds take hold. Avoid digging too deep near the roots.
With these straightforward habits in place, your Brussels sprouts will stay hydrated, well-fed, and thriving all summer.
Dealing with Pests and Diseases
Brussels sprouts can fall prey to a handful of persistent pests and diseases, so knowing what to watch for—and how to respond—can save your harvest. Common culprits include aphids, which cluster under leaves and sap nutrients, and caterpillars like cabbage loopers, which chew ragged holes in the foliage. Diseases such as clubroot, causing swollen and deformed roots, and powdery mildew, a white fungus that coats leaves, are also frequent threats.
To protect your plants naturally, practice crop rotation by growing brassicas in a different spot each year—this helps break the lifecycle of soil-borne pathogens like clubroot. Introduce beneficial insects such as ladybugs to control aphids, and regularly spray plants with organic solutions like neem oil or a homemade soap-and-water mix for gentle pest deterrence.
Monitor your Brussels sprouts weekly, checking the undersides of leaves and around the base for any unusual spots, yellowing, or curling—these are often early signs of trouble. When you spot damage, remove affected leaves promptly to prevent further spread, or pull up entire plants if an infection is severe. Consistent vigilance and quick action, combined with smart gardening practices, can keep Brussels sprouts healthy and ensure a bountiful, pest-free harvest.
Harvesting and Storing Brussels Sprouts
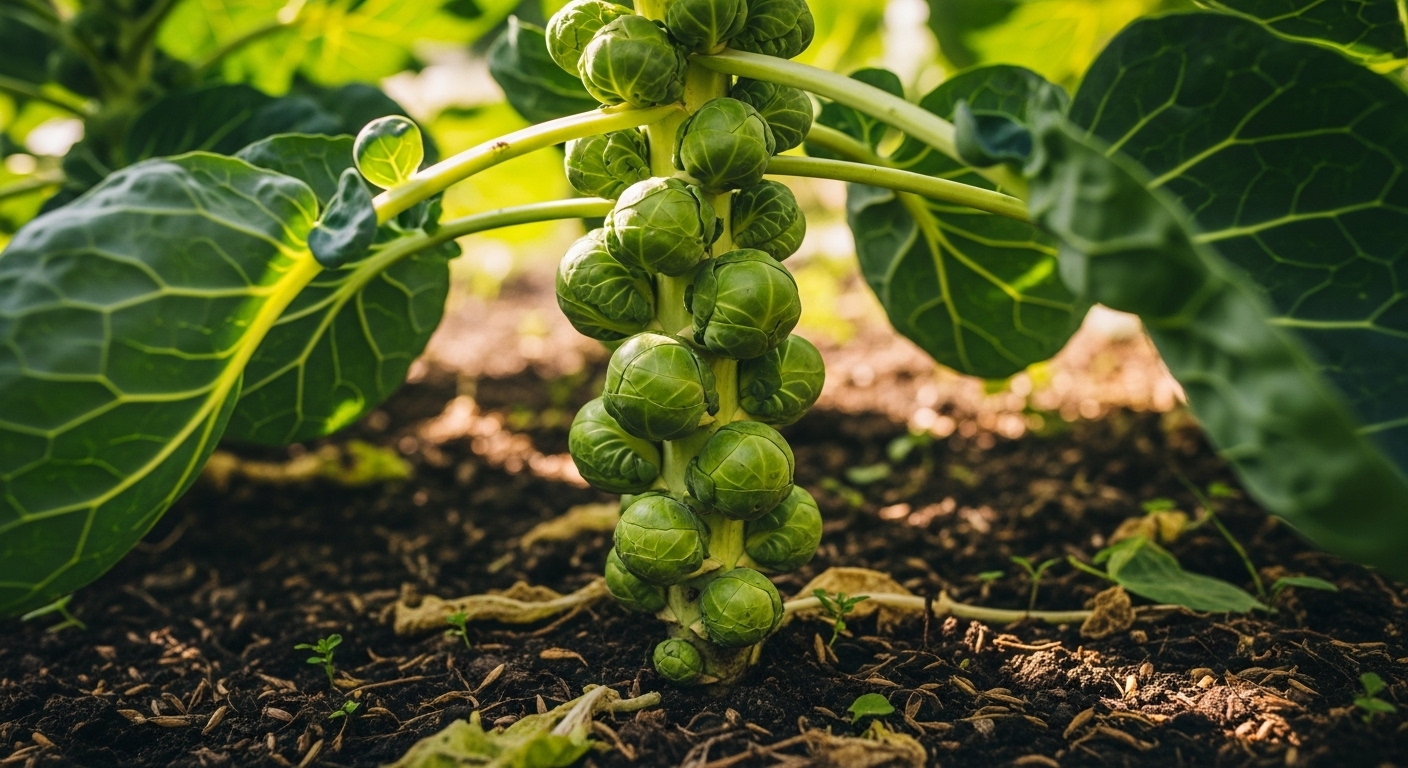
Knowing when to harvest Brussels sprouts can make all the difference in flavor and yield. Sprouts are ready when they reach about one to two inches in diameter—firm, compact, and bright green. They typically start maturing from the bottom of the stalk upwards, so pick the lower sprouts first.
To harvest, twist the buds gently by hand or use a sharp knife to cut them away; avoid tugging, as this can damage the stalk and affect future growth. For the sweetest flavor, try harvesting after a light frost—the chill converts starches to sugars, resulting in a tastier sprout.
Maximizing Yield
To maximize your yield, remove yellowing leaves from the stalk as sprouts develop. This helps the plant channel energy into big, healthy buds.
Storage Tips
For short-term storage, keep unwashed sprouts in a breathable bag in the refrigerator, where they’ll stay fresh for up to a week. If you need to store them longer, blanch the sprouts briefly in boiling water, cool them in an ice bath, dry thoroughly, and then freeze in airtight bags.
Frozen sprouts can last up to a year and retain most of their flavor and nutrients—making them perfect for soups, stir-fries, or roasting straight from the freezer.
Whether you’re stocking up for hearty winter meals or just want crisp, garden-fresh taste, using the right harvesting and storage methods will ensure you get the most from your Brussels sprout patch.
Troubleshooting: Common Issues & Tips for Success
Even the most enthusiastic gardeners can run into challenges when growing vegetables. One common issue is bolting, which happens when plants like lettuce or broccoli suddenly go to seed—often triggered by hot weather or irregular watering. To prevent bolting, try planting heat-tolerant varieties and keep the soil evenly moist.
Another frustration is loose sprouts, especially with crops like Brussels sprouts. This can occur if plants aren’t spaced properly, so make sure there’s enough room for airflow and strong stalk development.
Small yields are often due to poor soil nutrition or insufficient sunlight. Using compost and placing your garden in a spot that gets at least six hours of sun per day can make a big difference.
For beginners, keeping a journal of what you plant and observe helps you spot patterns and improve each season. Don’t hesitate to ask for help: many local university extension offices offer free advice, and national gardening hotlines can answer specific questions.
Trusted websites such as the Old Farmer’s Almanac and your regional Master Gardener Program are fantastic resources for troubleshooting and tailored tips.
Remember, gardening takes patience. If you face setbacks, use them as learning opportunities and keep experimenting—soon, you’ll find what works best in your unique plot.