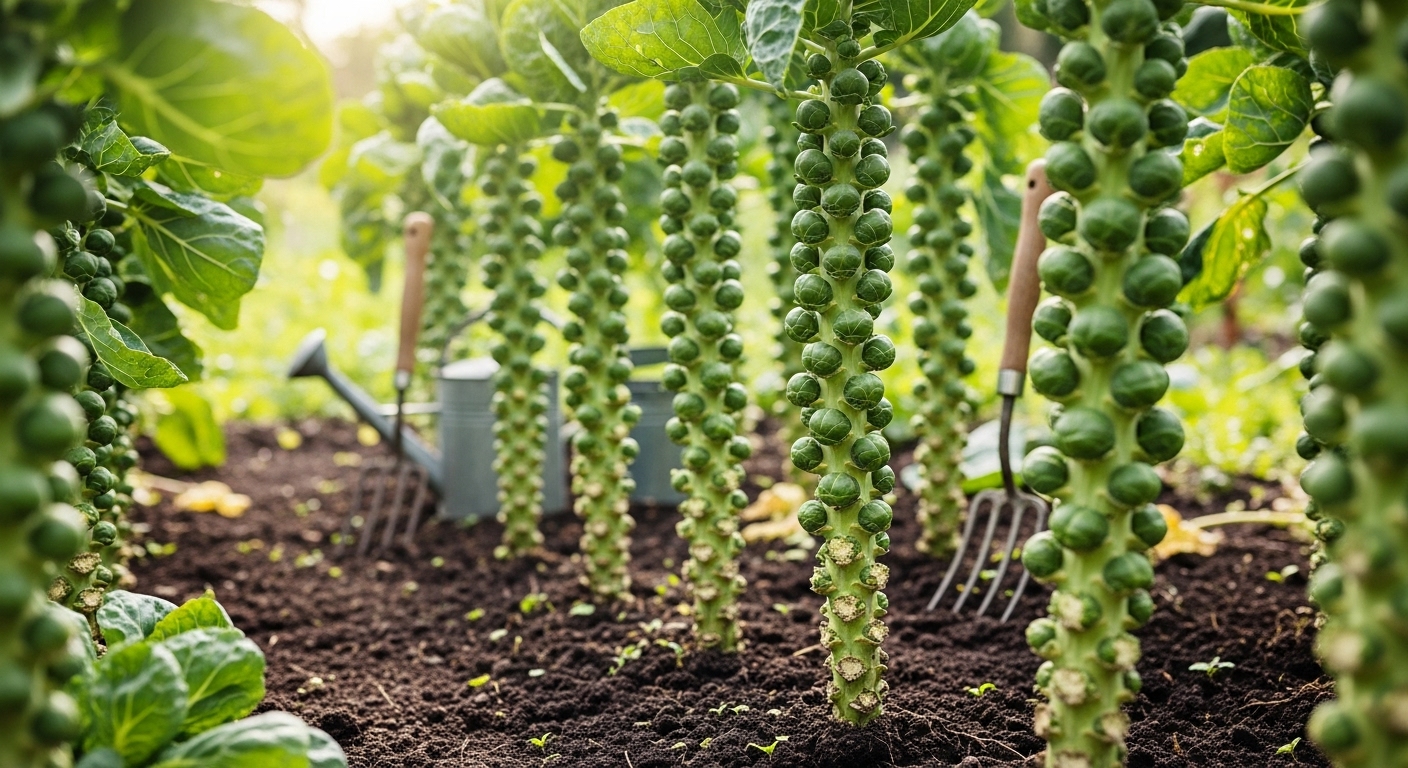
Introduction to Growing Brussels Sprouts
Wondering when to plant brussels sprouts for the best results in your garden? Brussels sprouts are a nutritious and distinctive vegetable, loved for their mini-cabbage appearance and delicious, nutty flavor when roasted or sautéed. However, they’re no ordinary crop—while they can be one of the most rewarding vegetables to grow at home, many gardeners find them a bit challenging due to their long growing season and cool-weather needs.
Timing is everything; plant too early or too late, and you might miss out on those perfectly formed sprouts. In this article, we’ll guide you through the tricks of selecting the right variety for your climate, knowing exactly when to plant by zone, and setting your sprouts up for success. You’ll also learn practical care tips to keep your plants healthy, how to tackle common pests and diseases, and smart strategies for harvesting a bountiful crop.
Whether you’re a beginner eager for your first homegrown harvest or an experienced gardener seeking a few extra tips, you’ll find advice and real-world solutions to make Brussels sprout growing easier and more successful this season.
Choosing the Right Brussels Sprouts and Varieties
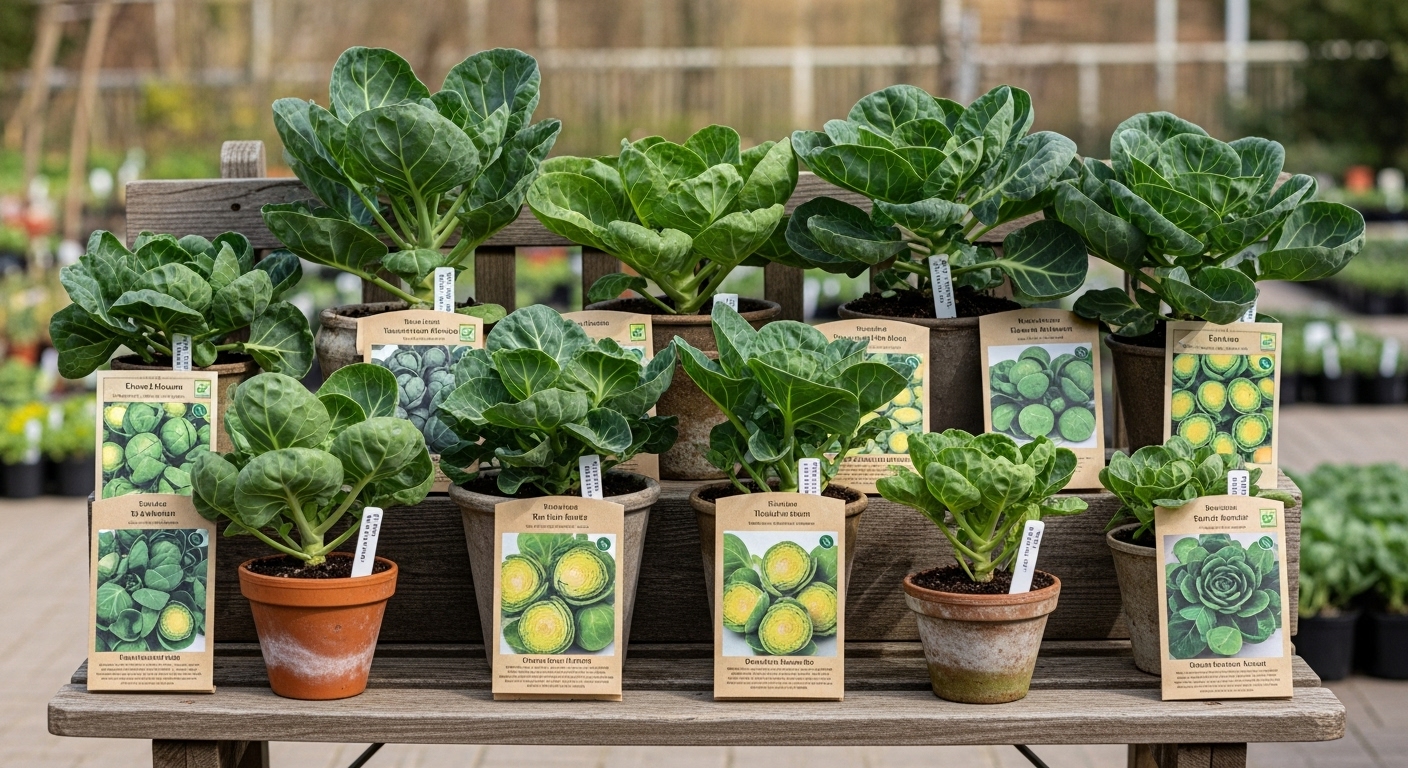
When starting your Brussels sprouts journey, begin by picking quality seeds or seedlings from reputable sources—look for those labeled as disease-free, fresh (current season), and with high germination rates. If buying seedlings, choose plants that are sturdy, deep green, and free of yellowing or spots, as these can signal underlying disease or poor health.
It’s also smart to consider different Brussels sprouts varieties before planting.
For beginners, ‘Catskill’ is a classic choice, known for its large, flavorful sprouts and ease of growth. ‘Jade Cross’ is another popular variety, prized for its compact size and strong disease resistance, making it ideal for smaller gardens or container growing. If you prefer an early harvest, ‘Churchill’ matures faster than many others, while ‘Long Island Improved’ is a reliable heirloom that does well in cooler climates.
Pay attention to your local climate—some varieties do better in short, cool seasons while others tolerate warmer weather. Disease resistance is crucial; varieties like ‘Diablo’ and ‘Jade Cross’ are particularly resilient against common pests and plant diseases, which saves time and reduces the need for chemical treatments.
Finally, consider your flavor preferences: some sprouts, like ‘Bubbles’, deliver a subtly sweet, nutty taste, while traditional types offer classic earthy notes.
Visiting a local nursery and chatting with staff can give you tailored recommendations for your region. Ultimately, balancing disease resistance, climate adaptation, and the flavor profile you enjoy will set you up for a successful growing experience and a delicious harvest.
Preparing to Plant: Timing, Location, and Soil Preparation
Getting your planting off to the best start means paying close attention to when, where, and how you plant. The optimal sowing time varies by region—if you’re in a colder climate (zones 3-5), start seeds indoors 6-8 weeks before the last expected frost to give plants a head start. Gardeners in warmer zones (6-9) can usually direct sow outdoors once nights consistently stay above 50°F. Always read your seed packets for specific timing tips.
Next, choose a planting site that receives at least 6-8 hours of sunlight daily—most veggies and flowers thrive in full sun. Prioritize spots sheltered from strong winds, such as behind a fence or hedge, to help young plants avoid stress and damage. Adequate space is just as crucial; plant your rows or containers far enough apart to allow good air circulation, which discourages mold and pests.
The foundation of a healthy garden lies in soil preparation—aim for well-draining loamy soil rather than heavy clay or sandy patches. Start by removing weeds and old roots, then loosen the top foot of soil with a garden fork or tiller to promote root growth. Mix in compost or well-rotted manure to enrich nutrients, and consider adding organic matter like leaf mold to improve drainage and texture.
A simple way to test drainage is to dig a small hole, fill it with water, and see if it drains within a couple of hours; if not, work in extra sand or perlite. Adjust the pH if needed (many vegetables prefer a slightly acidic to neutral range of 6.0-7.0) by adding lime or sulfur as recommended. Preparing thoroughly now sets your plants up for strong, healthy growth all season long.
Sowing, Planting, and Spacing Brussels Sprouts
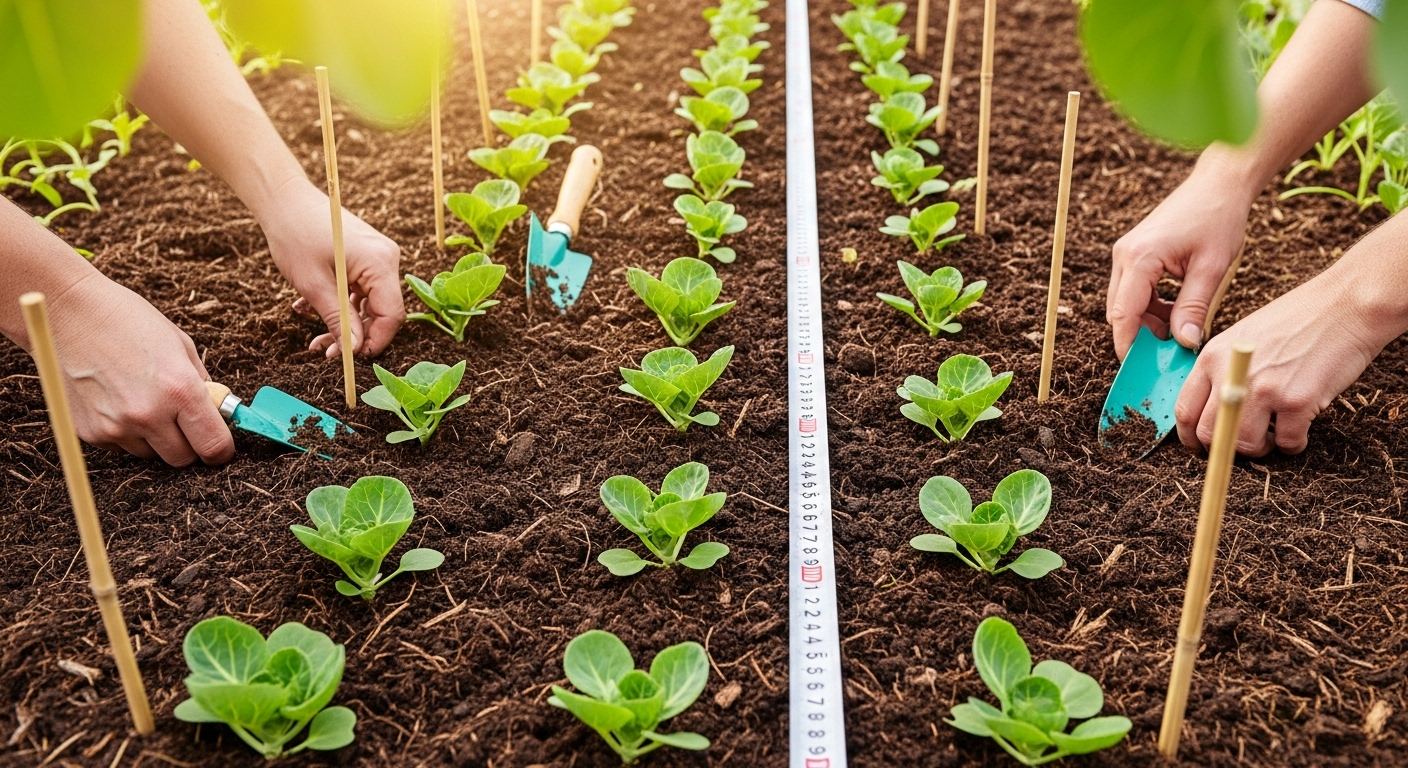
Starting Brussels sprouts involves either sowing seeds indoors or transplanting young seedlings outdoors, depending on your climate. For seeds, sow them indoors about 6–8 weeks before your last expected frost date, planting each seed half an inch deep in seed trays or pots filled with seed-starting mix.
Once the seedlings have grown to a sturdy size—ideally when they have two sets of true leaves—gradually introduce them to outdoor conditions over a week. This “hardening off” process helps prevent shock from temperature changes or sun exposure.
When it’s time to move them outside, choose a sunny spot with well-draining, fertile soil. Space the seedlings about 18–24 inches apart in rows that are 30 inches apart; this spacing ensures each plant gets enough air and room to grow those signature tall stalks.
If you direct sow seeds outdoors, thin the seedlings once they reach about 3 inches tall, leaving the strongest plant every 18–24 inches. Don’t skip this step, as crowded Brussels sprouts struggle to mature properly.
Support is often needed as the plants get taller; gently stake the stems or use small cages to prevent them from toppling over in wind or rain.
To stretch your harvest, consider succession planting: sow a batch of seeds every 2–3 weeks so you have new plants coming up as older ones finish, keeping fresh sprouts on the table into the cool fall months.
With careful attention to spacing, gradual acclimation, and support, you’ll set up your Brussels sprouts for strong, healthy growth and a generous harvest.
Caring for Your Brussels Sprouts Plants
Caring for your Brussels sprouts is all about consistency and a bit of attention to detail. Start by watering deeply once or twice a week—enough to keep the soil consistently moist, but don’t let it turn soggy, as overly wet roots can cause rot and invite pests.
Adding a layer of mulch, like straw or shredded leaves, helps retain moisture and suppresses weeds, which means less work for you and happier plants.
When it comes to fertilizing, Brussels sprouts thrive with a balanced, slow-release fertilizer applied after planting, followed by a side dressing of nitrogen-rich compost about halfway through their growing season; this supports lush leaf and bud growth.
Because these plants grow tall and can get top-heavy, especially in windy spots, staking is a smart move—use bamboo stakes or garden twine to gently secure each stalk and prevent them from snapping in strong gusts.
Keep an eye out for signs of stress, like yellowing leaves or stunted growth, which can signal a nutrient deficiency (often nitrogen or magnesium). In these cases, a liquid fertilizer or a homemade compost tea can give your plants a quick boost.
If growth is slow or heads aren’t forming, make sure the soil isn’t compacted and that your plants are getting at least six hours of sunlight daily.
By staying proactive and giving your Brussels sprouts the support they need, you’ll encourage steady, healthy development and maximize your harvest.
Dealing with Common Pests and Growing Problems
Battling pests and diseases is a normal part of gardening, but knowing what to look for makes a big difference. Aphids—tiny green or black bugs that cluster on stems—can sap plant juices and cause curled leaves. Cabbage worms, small green caterpillars, often leave ragged holes in leafy veggies like kale and cabbage. Fungal diseases show up as powdery white patches or dark spots on leaves, while wilting or yellowing can signal root issues or nutrient deficiencies.
For safe pest control, try washing aphids off with a strong spray of water or introducing ladybugs to your garden—they love to eat aphids. Handpick cabbage worms or cover plants with lightweight row covers to keep moths from laying eggs. Neem oil and insecticidal soap are organic solutions that deter many pests without harsh chemicals.
To prevent diseases, water early in the day to let leaves dry quickly and avoid overcrowding plants, which encourages airflow. Mulch around plants to keep soil moisture steady and stop soil-borne spores from splashing onto leaves.
If you notice yellow leaves, it could mean too much or too little water, lack of sunlight, or a nutrient problem; check soil moisture and adjust your watering schedule accordingly. Poor growth usually traces to compacted soil or low fertility—try adding compost or a balanced organic fertilizer. If seeds aren’t sprouting, they might be old, planted too deeply, or facing cool soil temperatures; try soaking seeds overnight or sowing at the proper depth and season.
Regularly walking through your garden, observing plant health, and acting fast on changes are the best ways to keep common issues under control naturally.
Harvesting and Storing Brussels Sprouts
Knowing when to harvest Brussels sprouts is key for the best flavor and texture. Sprouts are ready when they’re firm, round, and about one to two inches in diameter—smaller than a golf ball. The lower sprouts mature first, so start at the bottom of the stalk and work your way up, gently snapping or twisting off each sprout. Use pruning shears if needed to avoid damaging the stalk.
Don’t wait too long—overly large sprouts become tough and bitter. For most varieties, you can expect to harvest every week or two, picking only the mature sprouts each time to maximize your yield. A single plant may provide multiple harvests over several weeks.
After harvesting, store sprouts unwashed in a perforated plastic bag in your refrigerator’s crisper drawer, where they’ll stay fresh for up to a week.
Longer Storage
For longer storage, blanch the sprouts briefly in boiling water for 3–5 minutes, then cool quickly in ice water. Drain and pat them dry, then portion into freezer bags, removing as much air as possible. Store in the freezer for up to a year. This blanch-and-freeze method preserves both flavor and nutrients, making it easy to enjoy homegrown Brussels sprouts well beyond the harvest season.
Conclusion & Tips for Success
Growing Brussels sprouts at home can be incredibly rewarding if you follow a few essential steps. Start by choosing a sunny spot and preparing rich, well-draining soil—Brussels sprouts thrive in cool weather, so timing your planting in early spring or late summer is key.
Keep the soil consistently moist and use mulch to regulate temperature and prevent weeds. Be patient; these veggies take several months to mature, but the wait is worth it.
Don’t be afraid to experiment with different varieties, such as ‘Jade Cross’ for compact gardens or ‘Long Island Improved’ for larger yields. Try both direct seeding and transplanting to see what works best in your climate.
Watch for common issues like aphids and cabbage worms; you can pick them off by hand or use insecticidal soap if needed. If your plants seem leggy or the sprouts aren’t forming tightly, ensure they’re spaced well apart and fertilize with a balanced fertilizer midseason.
Lastly, wait for a light frost before harvesting for the sweetest flavor—Brussels sprouts often taste better after a cold snap. With a little care and experimentation, you’ll enjoy fresh, homegrown sprouts straight from your garden.