Quick Facts About Growing Radishes
If you’re looking to grow radishes from seed, you’ll be happy to know that these crunchy root veggies are some of the fastest-growing and easiest plants for beginner gardeners. Radishes thrive in cool weather, making them an excellent choice for both early spring and fall planting.
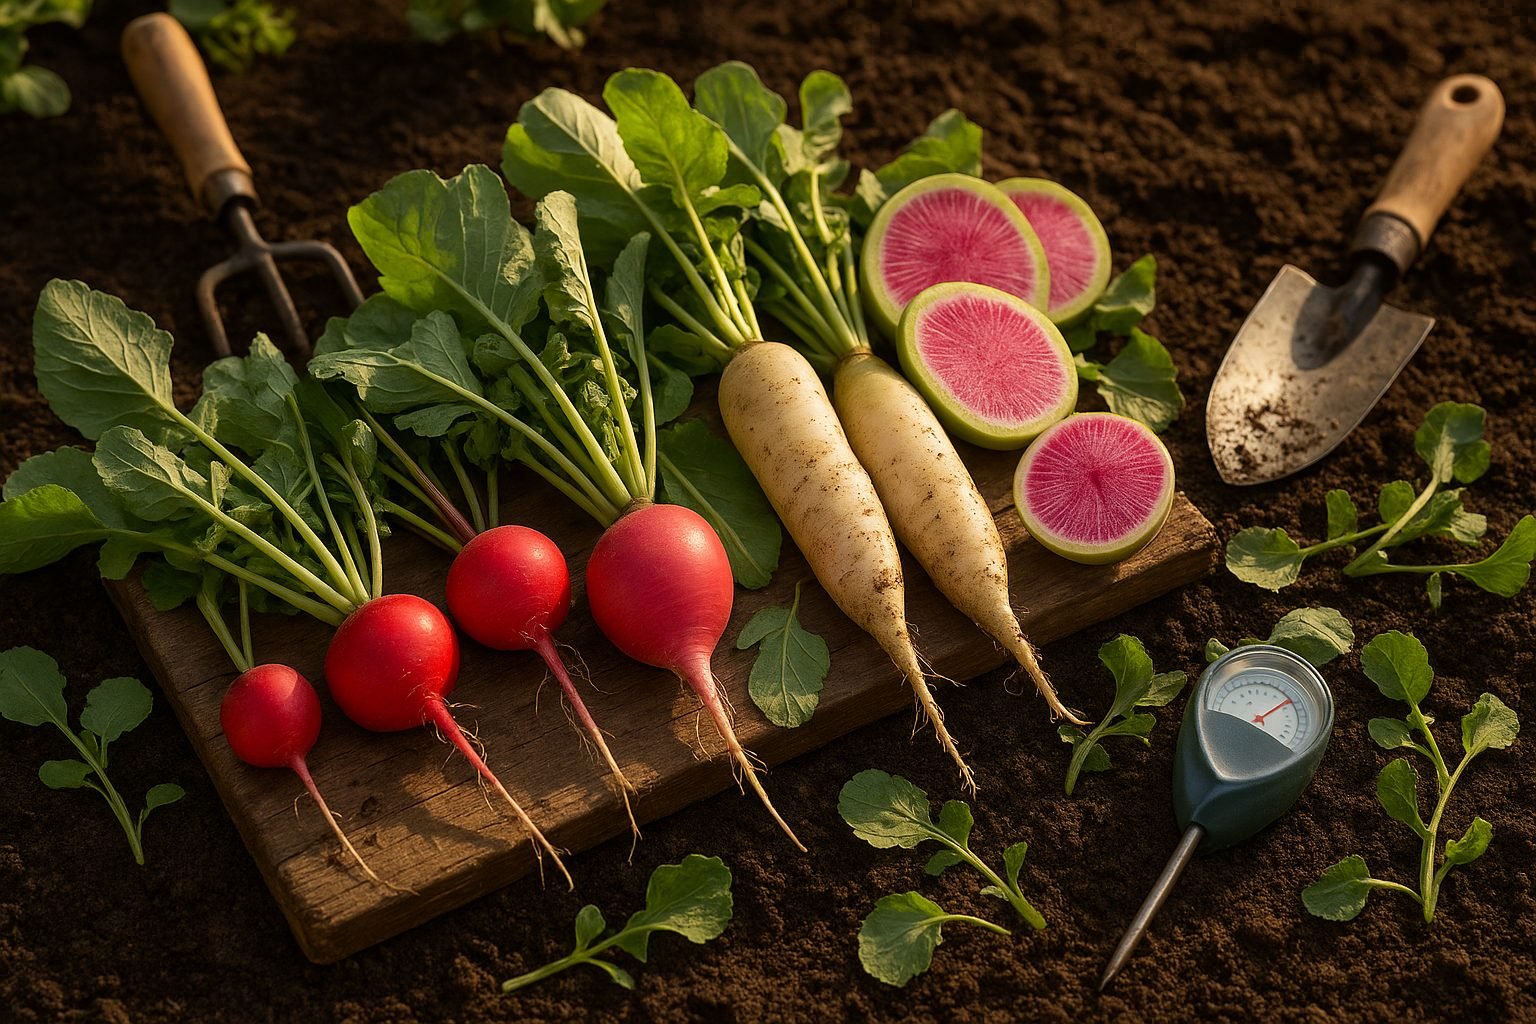
With varieties ranging from the small, round, brightly colored garden radishes to the long, mild-flavored daikon, there’s a type to suit every palate and recipe. Garden radishes mature in as little as three to four weeks, while daikon may take a bit longer and grow to impressive sizes—perfect for salads or pickling.
Growing radishes from seed at home means you’ll enjoy fresher flavor, lower grocery bills, and a quick sense of accomplishment—ideal for kids or anyone just starting out with gardening. Plus, they require minimal space and effort, making them suitable for small gardens, raised beds, or even containers.
With just a little attention to timing and soil, you’ll have crisp, peppery radishes in no time, adding both nutrition and color to your meals.
Choosing the Right Variety and Site
When it comes to growing radishes, selecting the right variety and planting site can make all the difference. Classic small salad radishes, such as ‘Cherry Belle’ and ‘French Breakfast,’ are perfect for quick harvests and add color to salads, while larger daikon radishes like ‘Miyashige’ or ‘Minowase’ are great for pickling, Asian dishes, and winter storage. Specialty types, including watermelon radishes or black Spanish radishes, offer exciting colors and flavors for adventurous gardeners or gourmet kitchens.
Your choice should match your garden goals—salad radishes for fast crops, daikons if you want larger roots, or unique varieties for culinary diversity.
Radishes thrive in a sunny spot (at least six hours of sunlight daily) with loose, well-draining soil, which encourages even root development and prevents splitting. Avoid heavy clay or rocky areas.
For tight spaces or patios, radishes excel in containers—just use a pot that’s at least 6 inches deep and fill it with quality potting mix; regular watering and prompt harvesting will keep roots crisp and mild.
Whether growing a few spicy breakfast radishes on your balcony or planning a bumper crop of daikons in the backyard, taking time to match the variety and site to your needs sets you up for radish-growing success.
Preparing the Soil and Planting Radishes
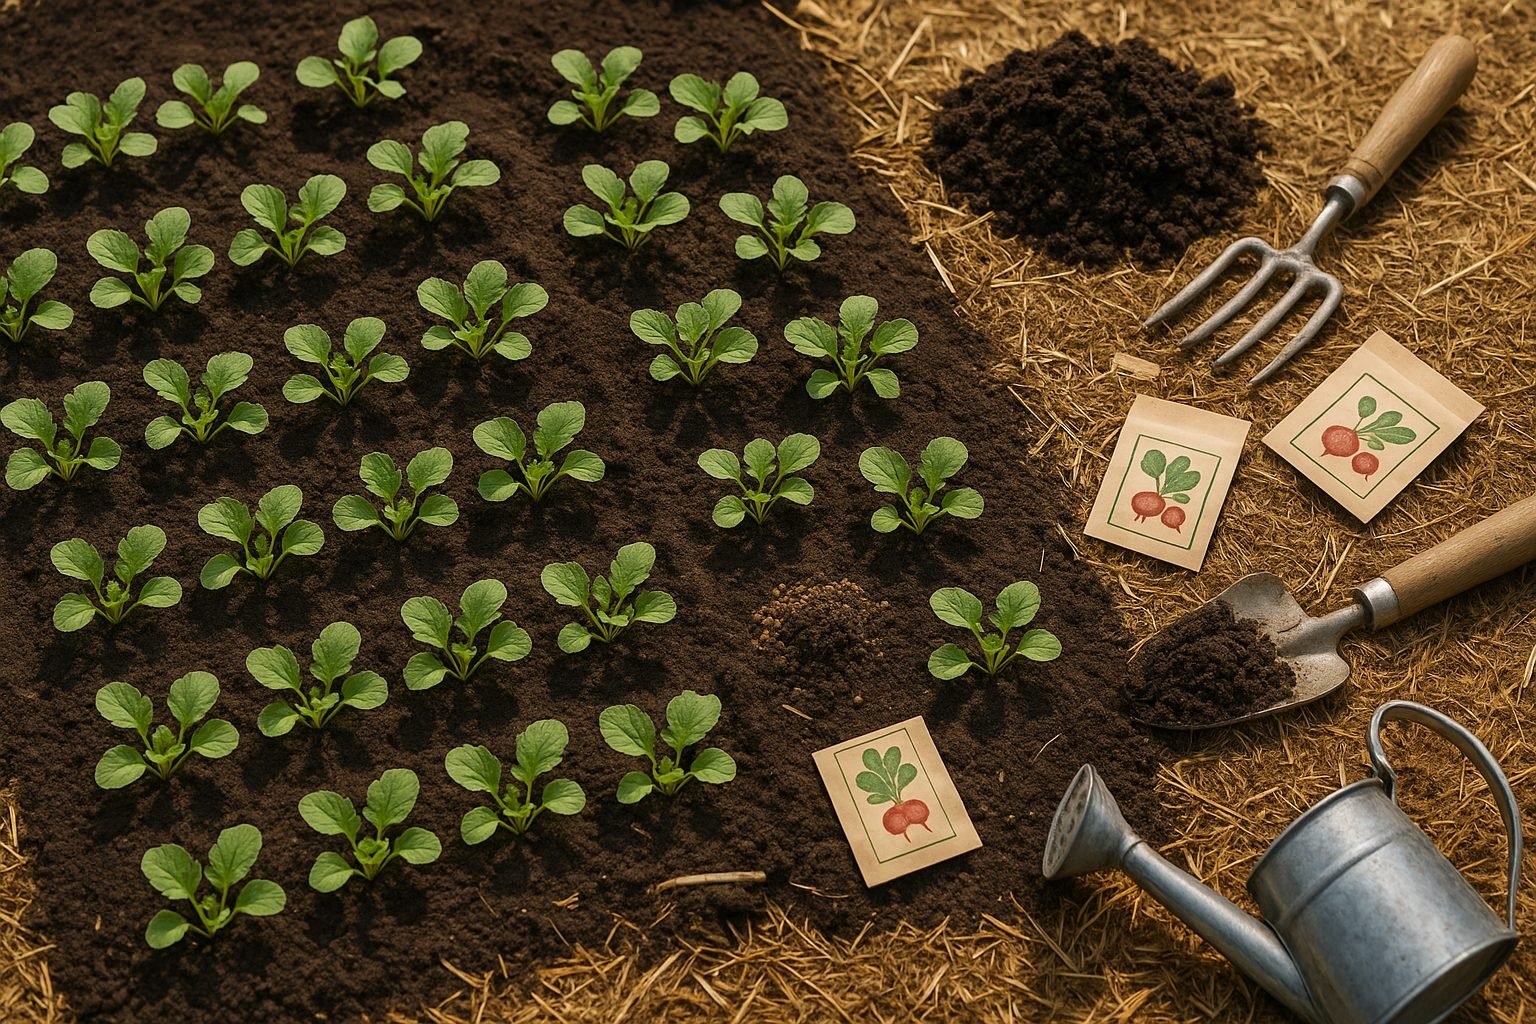
Getting your soil ready is the first step to growing crisp, flavorful radishes. Start by loosening the top 8-10 inches of your garden bed using a garden fork or tiller—radishes need friable, well-draining soil to form those perfect roots. Remove rocks and large clumps, which can cause misshapen crops, and work in a few inches of rich compost to boost nutrients and improve moisture retention.
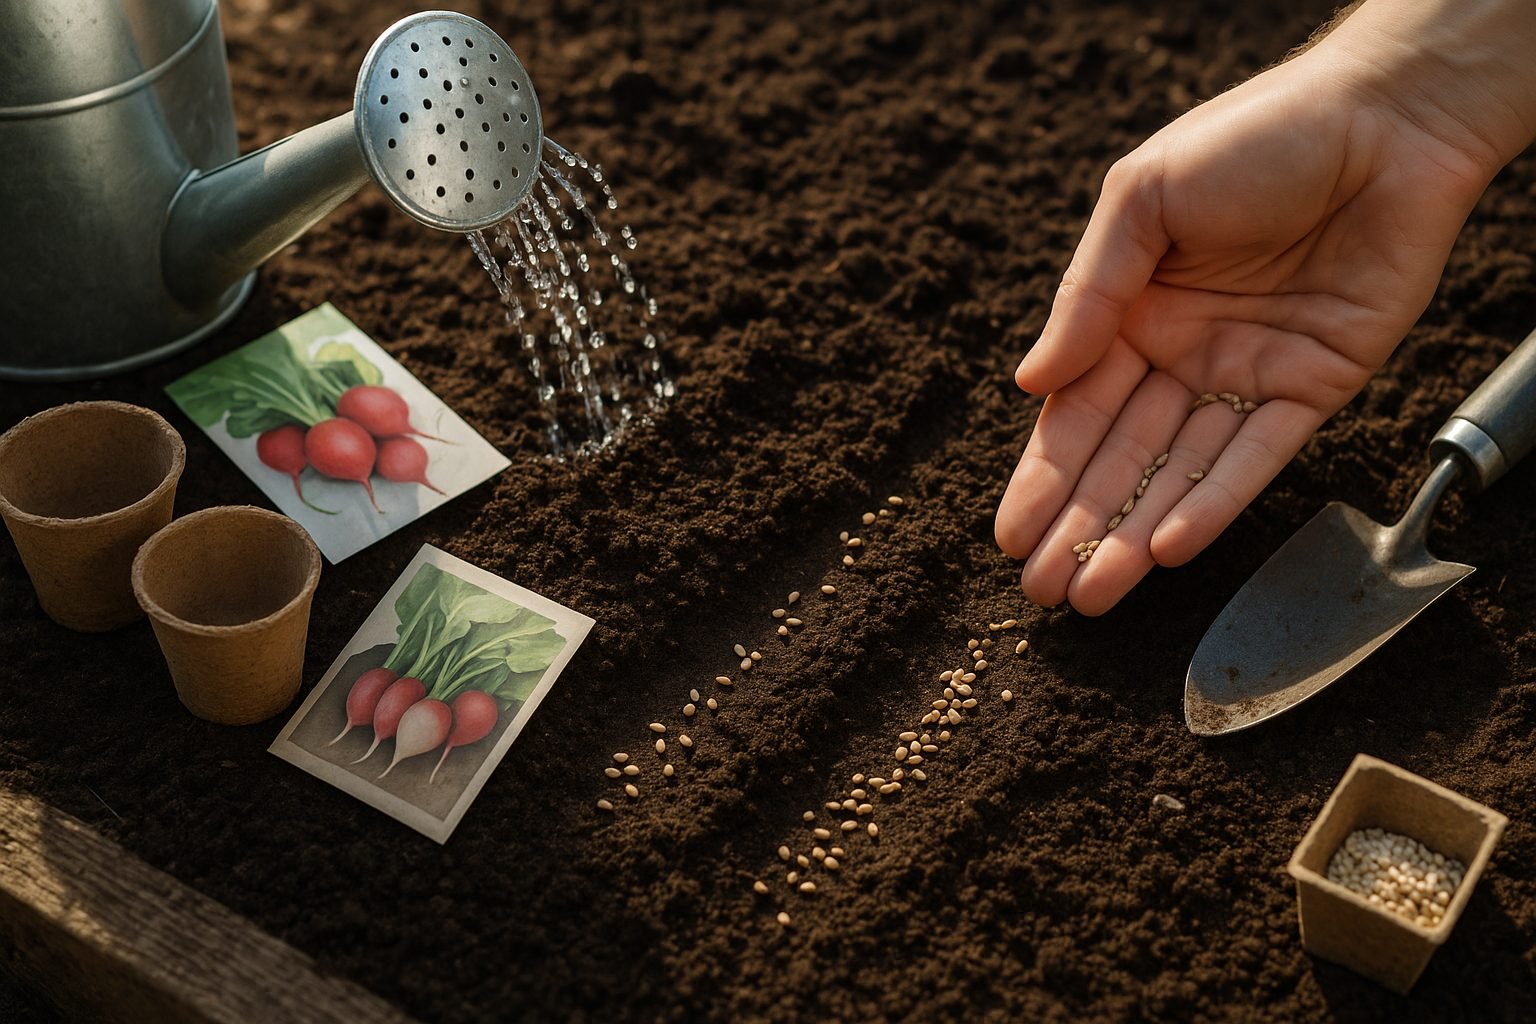
When it comes to sowing, sprinkle radish seeds directly into the garden as soon as the soil can be worked in spring, or about four to six weeks before your area’s last frost date. Plant seeds about half an inch deep and space them one inch apart in rows twelve inches apart; this prevents overcrowding and gives each plant space for healthy growth. Once seedlings emerge, thin them to at least two inches apart to ensure your radishes don’t compete underground.
For continuous harvests instead of a single glut, try succession planting: sow new rows every ten days throughout the growing season. This simple habit keeps a steady supply of tender, peppery radishes on your table all spring and fall.
Remember to keep the soil evenly moist, as inconsistent watering can lead to pithy or split roots. By refining your soil prep and planting technique, you’ll set the stage for an easy, rewarding radish crop.
Caring for Your Radishes
Radishes thrive when they receive consistent moisture, so aim to keep the soil evenly damp but never waterlogged—think of it like a wrung-out sponge. Letting the soil dry out too much can make roots tough or woody, while overwatering can lead to rot.
As the seedlings sprout, it’s important to thin them out when they’re about two inches tall; simply snip extra seedlings so there are about two inches between each plant. This gives each radish the space it needs to grow big and round instead of stunted and crowded.
After thinning, add a thin layer of organic mulch—like straw or finely shredded leaves—to help keep moisture in and block weeds from competing for nutrients. Keep an eye out for small weeds popping up and pull them by hand before they become a real problem; radishes don’t like to share their space.
When it comes to fertilizing, less is more: radishes grow best in fertile soil, but adding too much fertilizer—especially those high in nitrogen—encourages leafy tops instead of plump roots. If your soil is healthy to start with, a small application of compost before planting is usually all you need.
These simple steps make it easy to grow crisp, flavorful radishes with minimal fuss.
Dealing With Pests, Diseases, and Common Issues
Radishes are quick-growing crops, but they can encounter some challenges along the way. Pests like flea beetles can chew tiny holes in the leaves, making young plants especially vulnerable. Using row covers is an easy, non-toxic way to keep flea beetles at bay and protect your seedlings from the start.
Root maggots are another pesky issue, tunneling through radish bulbs and causing damage. To combat this, try rotating crops each year and avoid planting radishes where you previously grew other root crops to break their life cycle.
When it comes to diseases, downy mildew and damping off are the most common offenders. Space your plants well to improve airflow and always water at the base—not overhead—to keep foliage dry and discourage disease.
Sometimes, radishes bolt—shooting up flowers too soon—especially if they’re planted in hot weather or crowded with other plants. To avoid this, sow seeds in early spring or late summer, and thin seedlings so they have room to grow.
Pithy or hollow roots can result from waiting too long to harvest or uneven watering. Harvest radishes as soon as they look ready (usually within 3–5 weeks, depending on the variety) and try to keep the soil consistently moist.
By keeping a watchful eye and reacting quickly, you can nip most problems in the bud and look forward to crispy, healthy radishes from your garden.
Harvesting and Storing Radishes
Radishes are ready to harvest when their roots are about the size of a large marble—usually around 1 inch across—and their shoulders begin to peek above the soil. Check the maturity dates on your seed packet, but don’t hesitate to pull one for a taste test. Keep in mind that overripe radishes quickly turn woody and spicy.
To harvest, gently loosen the soil with a hand fork and pull the radishes up by their greens. After harvesting, snip off the leafy tops to prevent moisture loss and dirt transfer, leaving a small stub attached.
Rinse the roots thoroughly, then store them in a perforated plastic bag or a container lined with damp paper towels in the crisper drawer of your fridge. This method can keep radishes crisp for up to two weeks. For extra crunch, store radishes submerged in cold water in a sealed container, changing the water every few days.
When it’s time to enjoy, try these ideas:
- Slicing raw radishes into salads for a peppery zing
- Adding thinly sliced rounds to sandwiches
- Serving with butter and a sprinkle of flaky salt for a classic snack
Roasting or pickling radishes can also mellow their bite and add unique flavor to your meals.