Introduction to Growing Kale
Understanding kale growth stages is key to producing a healthy, vibrant harvest from your own garden. Kale, a leafy green vegetable celebrated for its nutrient density and adaptability, has become a staple for many home gardeners. It’s loaded with vitamins, minerals, and powerful antioxidants—and its cold-hardiness makes it one of the easiest crops to grow year-round in many climates. Whether you’re tossing it raw into smoothies, baking it into crispy chips, or adding it to hearty soups, kale’s versatility in the kitchen is hard to beat.
In this article, we’ll break down everything you need to know to grow robust kale at home. We’ll start by guiding you through selecting the right kale variety for your region and taste preferences. Next, we’ll cover how to prepare your garden soil to create the perfect growing environment, followed by practical tips for planting seeds or seedlings. You’ll learn the simple but effective ways to care for young kale plants, including watering routines and fertilizing, along with easy organic methods for managing common pests. Finally, we’ll wrap up with a straightforward harvesting guide to help you enjoy the freshest leaves at every stage.
Even if you’re new to gardening, don’t be intimidated. With a little planning and an understanding of kale growth stages, you’ll find that this leafy green is forgiving and surprisingly easy to cultivate. By the end of this post, you’ll be equipped to turn a handful of seeds into a kitchen staple that keeps giving, season after season.
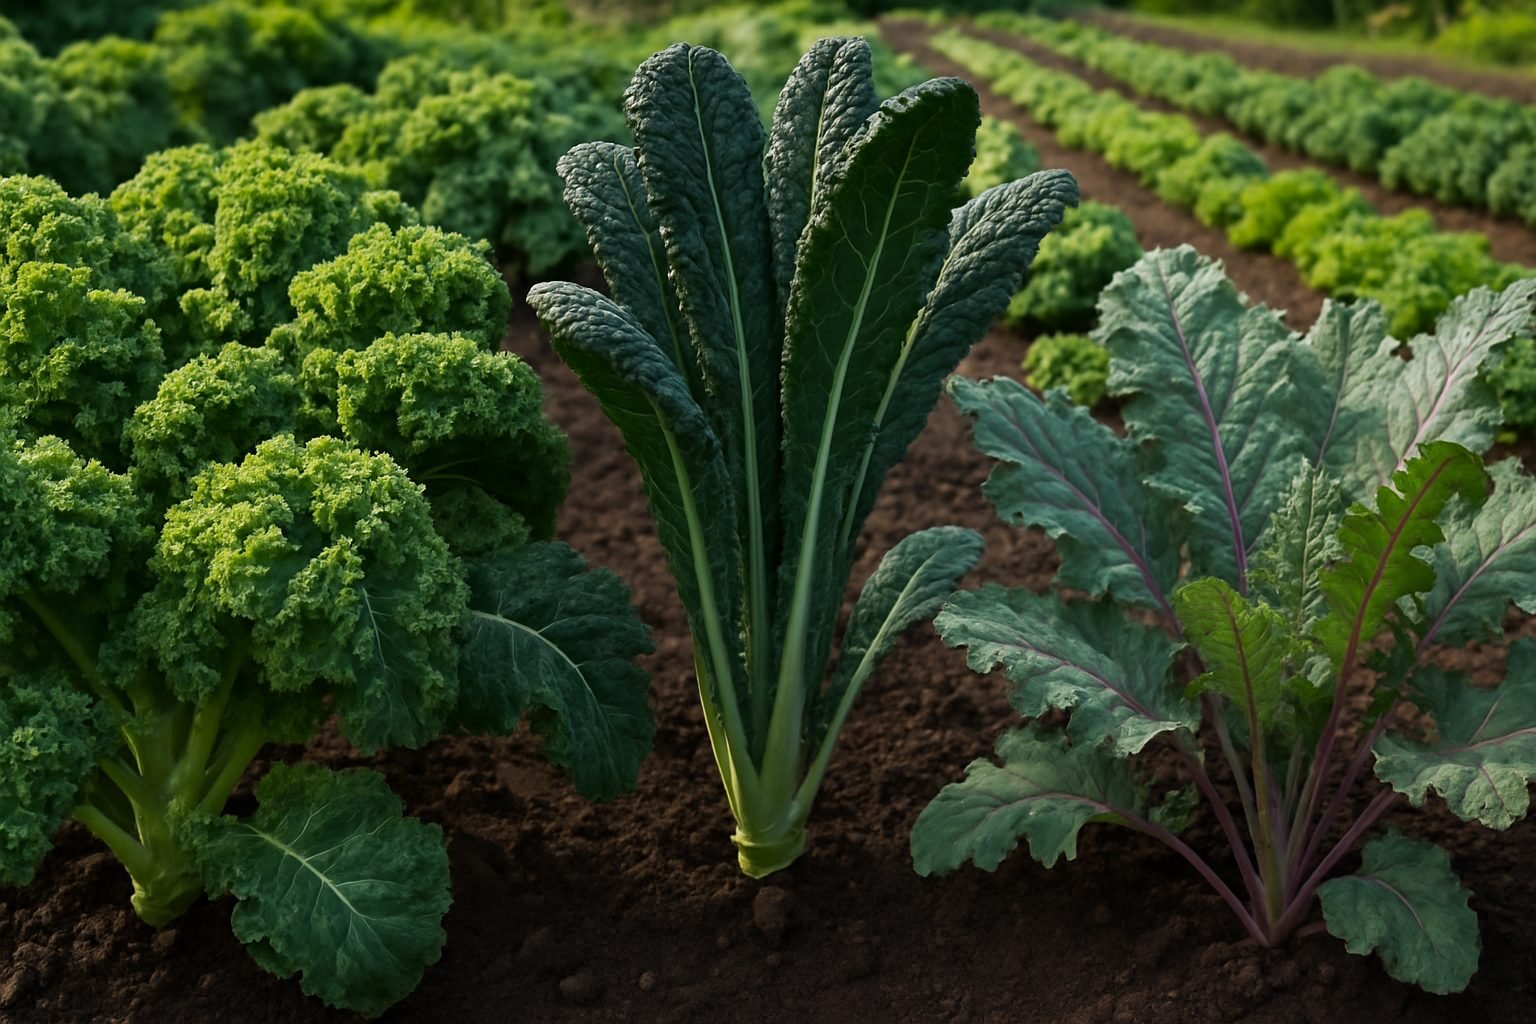
Choosing the Right Kale Variety
When deciding which kale variety to grow, it’s important to consider both taste and appearance. Curly kale, with its frilly leaves and bright green color, offers a classic, peppery kick and holds up well in hearty salads and chips, making it a favorite for beginners.
Lacinato kale—also called dinosaur or Tuscan kale—features dark, bumpy leaves and a milder, slightly sweeter flavor that shines in sautés and soups. Red Russian kale, recognized by its purple stems and delicate, flat leaves, is tender and mildly sweet, working well raw or lightly cooked.
Your local climate matters, too: lacinato thrives in warmer zones, while curly kale tolerates cold and even improves in flavor after a frost. Red Russian matures quickly, making it great for short growing seasons.
If disease resistance is a concern, curly kale’s robust nature often helps prevent many leaf issues and tends to resist common pests, offering a bit of insurance for first-time growers. Lacinato can be slightly more challenging with pests, especially cabbage worms, but floating row covers work wonders.
For culinary uses, consider how you’ll eat your kale:
- Curly kale for smoothies and chips
- Lacinato for pasta and stews
- Red Russian for salads and quick stir-fries
For novice gardeners aiming for ease and reliability, curly kale’s resilience and straightforward care make it a standout. No matter your choice, start with high-quality seeds, provide plenty of sunlight, and water consistently to enjoy fresh, flavorful kale right from your garden.
Preparing the Soil and Garden Bed
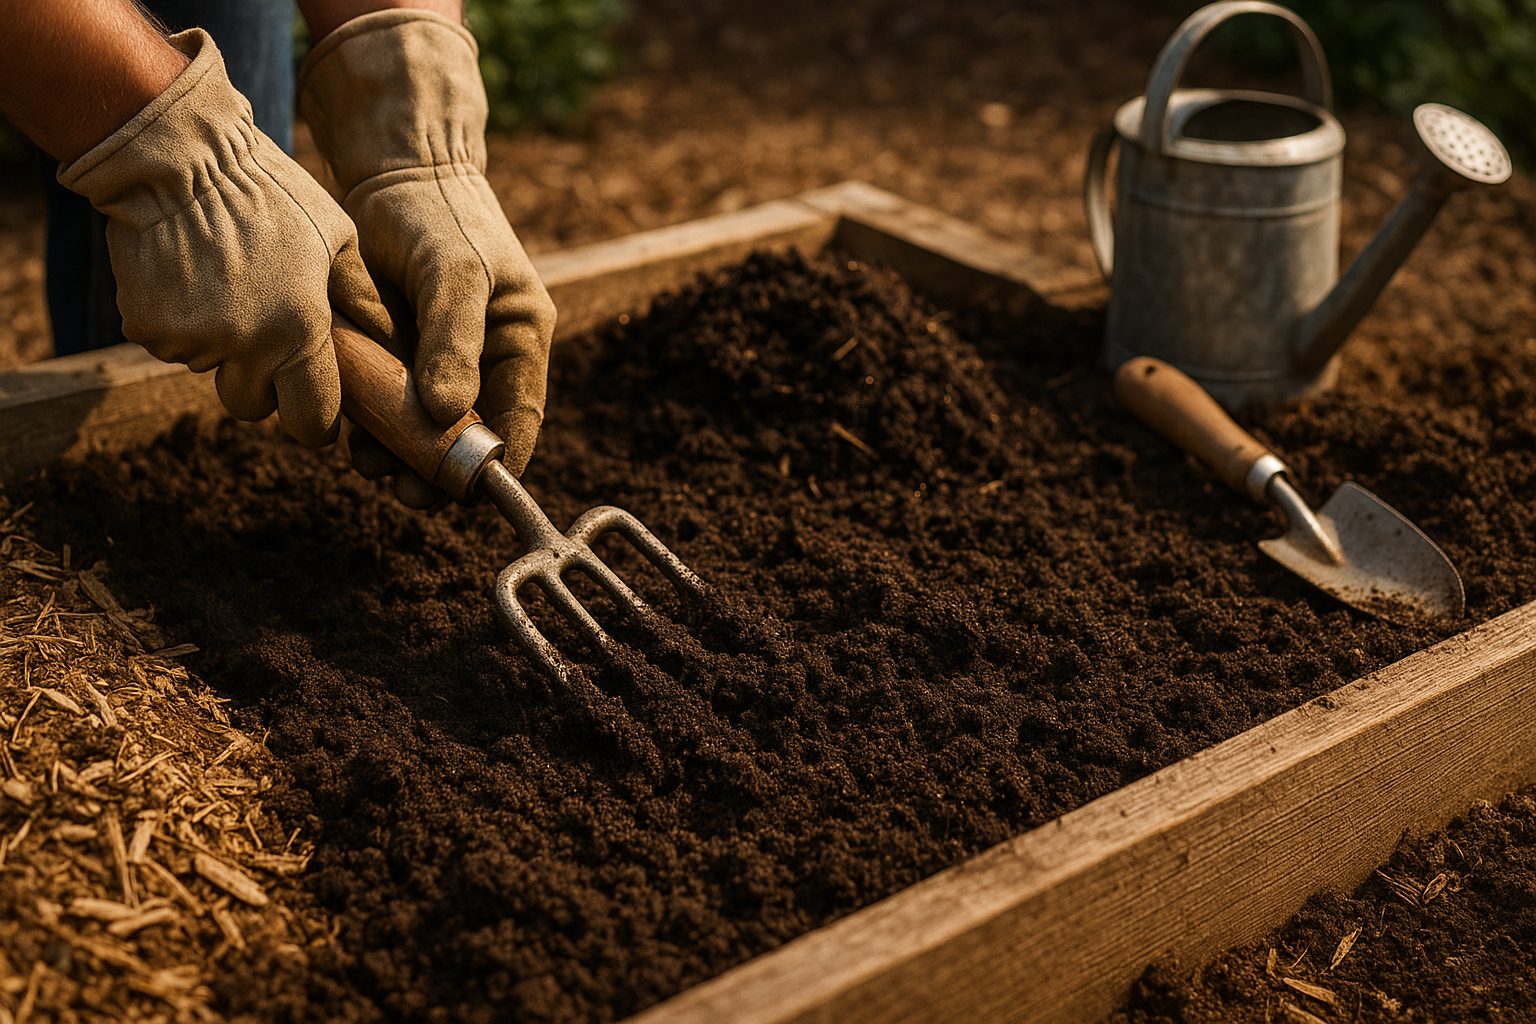
Kale thrives best in well-drained, loamy soil that’s rich in organic matter, with a pH range between 6.0 and 7.5—right around neutral. Getting your garden bed ready is simple if you follow a few easy steps.
First, clear away any weeds or old plant debris so your kale doesn’t have to compete for nutrients. Next, use a garden fork or shovel to loosen the soil to about 12 inches deep. This ensures the roots can grow strong and also improves drainage.
After loosening, mix in two to three inches of compost or well-rotted manure; this adds nutrients and helps the soil retain just the right amount of moisture. If your soil is heavy clay, blend in some sand or perlite to keep it from getting waterlogged.
For those with limited yard space or poor soil, kale grows great in containers too—just pick a pot at least 12 inches wide and deep, fill it with a quality potting mix, and make sure there are drainage holes at the bottom. Even urban gardeners can harvest crisp, homegrown kale from balcony planters or repurposed buckets!
Consistent preparation—whether in-ground or in pots—sets the stage for a healthy kale crop all season long.
Planting Kale: Timing and Method
To enjoy a steady supply of fresh kale, start planting your seeds about 2 to 4 weeks before the last expected spring frost. This early planting ensures kale matures in cool weather, making the leaves tender and sweet.
For a fall harvest, sow seeds in late summer, about 8 to 10 weeks before your area’s first expected frost. This allows plants to establish before cooler temperatures, and a light frost can even improve flavor.
You can either direct sow kale seeds into your garden or transplant young seedlings.
Direct Sowing
Direct sowing is straightforward: simply sow seeds about 1/2 inch deep and 2 inches apart directly into well-prepared soil. Then thin seedlings to 12 to 18 inches apart once they’re a few inches tall. This is an easy, low-cost option, especially for large beds, but it does require a bit more attention to thinning and early weeding.
Transplanting Seedlings
Transplanting seedlings can jumpstart your harvest and is helpful if you want to start indoors to avoid pests or unpredictable spring weather. To transplant, start seeds in trays indoors 4 to 6 weeks before your desired planting date, then harden off seedlings and plant them outside at the same spacing—12 to 18 inches apart with rows 18 to 24 inches apart.
Seedlings are typically ready when they have at least two true leaves and sturdy stems. Be sure to set them at the same depth they grew indoors, or just a touch deeper for added stability.
Regardless of method, consistent moisture and rich, compost-amended soil will help your kale thrive. With the right timing and method, you can enjoy continuous harvests—just remember to pick the outer leaves regularly to encourage ongoing growth throughout the season.
Caring for Your Kale
Kale is a hardy and rewarding crop, but consistent care is key to keeping your plants thriving. Water your kale regularly to keep the soil evenly moist—about 1 to 1.5 inches each week is usually enough. During hot spells, you may need to water more frequently. Avoid soggy soil, as kale roots dislike waterlogged conditions and can rot if overwatered; aim for moist, well-drained soil instead.
Feeding your kale is just as important. Every few weeks, mix in a balanced organic fertilizer or top-dress with a thin layer of compost around the plants. This boosts leaf growth and encourages a deep green color. If you’re using compost, apply it once a month, especially if you notice leaves are pale or growth is slow.
Beyond watering and fertilizing, give your kale a little extra attention:
- Thin crowded seedlings to about 8–12 inches apart so each plant has space to spread.
- Apply a layer of mulch, like straw or shredded leaves, around the base of your kale to retain moisture, suppress weeds, and keep the soil cool.
- Check for pests regularly and remove yellowed or damaged leaves to improve airflow and prevent disease.
With a bit of routine upkeep, including gentle weeding and inspecting your plants a few times a week, your kale bed will stay healthy and productive throughout the growing season.
Managing Pests and Common Problems
Kale is a hardy vegetable, but even the toughest plants can fall victim to pests like aphids, cabbage worms, and slugs. Spotting the signs early is key:
- Aphids group together on the undersides of leaves, leaving behind a sticky residue.
- Cabbage worms chew irregular holes in leaves and sometimes leave green droppings.
- Slugs create slimy, ragged holes, especially during damp weather.
Organic control starts with regular inspection—spend a few minutes each week checking leaves and stems.
For aphids, a strong burst from your garden hose is often enough to dislodge them, and introducing ladybugs helps keep populations in check.
If cabbage worms are the problem, handpick the worms and look for small white butterfly eggs to crush before they hatch.
Floating row covers and garden netting create simple physical barriers that keep flying pests at bay, while companion planting with strong-smelling herbs like thyme or dill can repel invaders naturally.
Slugs shy away from rough surfaces like crushed eggshells sprinkled around the base of your kale, and setting out shallow dishes of beer acts as an effective slug trap.
Diseases like clubroot can also threaten your kale—watch for yellowing, wilting, or stunted growth that doesn’t improve with watering.
To prevent clubroot, rotate crops annually and avoid planting kale or other brassicas in the same spot each year. Improving soil drainage and removing infected plants quickly also limits the spread of disease.
Regularly mulching and watering at the base of plants (not the leaves) will keep your kale healthier and more resilient to these common garden challenges.
Harvesting and Storing Kale
Knowing when and how to harvest kale can make all the difference in getting the best flavor and ensuring your plants keep producing. Kale leaves are ready to pick when they’re about the size of your hand—usually 6 to 8 inches long—featuring a rich, deep green (or the correct color for your variety) and a crisp, firm texture. Avoid harvesting limp, yellowing, or damaged leaves, as these often indicate aging or stress.
To keep your kale plant thriving, always harvest from the outermost leaves first, snipping them at the base with clean garden scissors and leaving at least 4–5 leaves at the center. This encourages the plant to push out new growth, giving you a steady supply throughout the season.
Once picked, fresh kale keeps best unwashed in a perforated plastic bag in the crisper drawer, where it can last up to a week. For longer storage, blanching is your friend: drop clean leaves in boiling water for 2–3 minutes, then plunge them into ice water before draining and drying. After blanching, pack the leaves into airtight freezer bags in meal-sized portions—this way, you’ll have nutrient-rich kale at your fingertips for months.
By following these simple harvesting and storing tips, you can enjoy homegrown kale long after the summer sun has set.
Enjoying Your Kale Crop
Harvesting your own kale opens up a world of fresh, healthy meals right in your kitchen. For a quick and nutrient-packed snack, try making kale chips—just massage the leaves with olive oil and a sprinkle of salt, then bake until crisp.
If you’re a fan of salads, kale makes a sturdy base that holds up well to bold flavors. Combine it with lemon juice, garlic, and your favorite toppings for a satisfying crunch. Add fresh kale to morning smoothies for a subtle, earthy boost that pairs surprisingly well with fruits like pineapple or mango.
When you want to branch out, websites like Minimalist Baker or Love and Lemons offer dozens of easy recipes, from hearty stews to pasta dishes starring your garden greens. There’s no wrong way to enjoy kale, so don’t be afraid to get creative—try sautéing it with garlic as a simple side, tossing it into soups, or even adding it to homemade pizzas.
Experimenting in the kitchen is part of the fun, and you might just discover a new family favorite. Relish the process and savor the flavors—growing and cooking kale is all about enjoying every bite of your harvest.