Introduction
Year-round hot pepper growing is more achievable than you might think, especially if you master the art of overwintering pepper plants. Overwintering simply means keeping your mature pepper plants alive through the colder months instead of starting from seed each spring. This clever trick can save you money on buying new plants, give you a head start on harvests, and help you preserve unique pepper varieties you’ve come to love—perfect for gardeners who want their favorite spicy flavors on hand anytime.
In this article, we’ll walk you through straightforward steps for successful year-round hot pepper growing, explain what makes overwintering effective, and prepare you for the most common challenges like pests and adjusting to less sunlight. You’ll find practical advice and simple tips to keep your peppers thriving, whether you’re new to gardening or looking to sharpen your skills.
Understanding Overwintering and Its Benefits
Overwintering is the process of keeping your pepper plants alive through the winter instead of letting them die off at the end of the growing season. Gardeners often choose to overwinter peppers because it saves time and money that would otherwise be spent growing new seedlings each spring.
More importantly, overwintered plants come back stronger and more productive during the next warm season. Their mature root systems and established stems can encourage earlier flowering and bigger yields. This is especially helpful in colder climates or for those with short summers, as overwintered peppers can jumpstart the growing season.
The process typically involves trimming back the plants, removing pests, and placing them in pots indoors where they can get enough light and warmth. Not all pepper varieties respond well to overwintering, but sweet bell peppers, jalapeños, habaneros, and many chili varieties—including popular ornamentals like Thai and cayenne peppers—tend to do best.
Overwintering is ideal for patient gardeners with a little extra indoor space and anyone who grows specialty or rare pepper varieties that may be hard to find each year. Beginners can also experiment with a few plants to see how it fits their gardening rhythm.
With a little effort, overwintering can turn a single season’s pepper plant into a hardy, multi-year producer—making it a smart, sustainable, and rewarding gardening technique.
When and How to Start Overwintering Your Pepper Plants
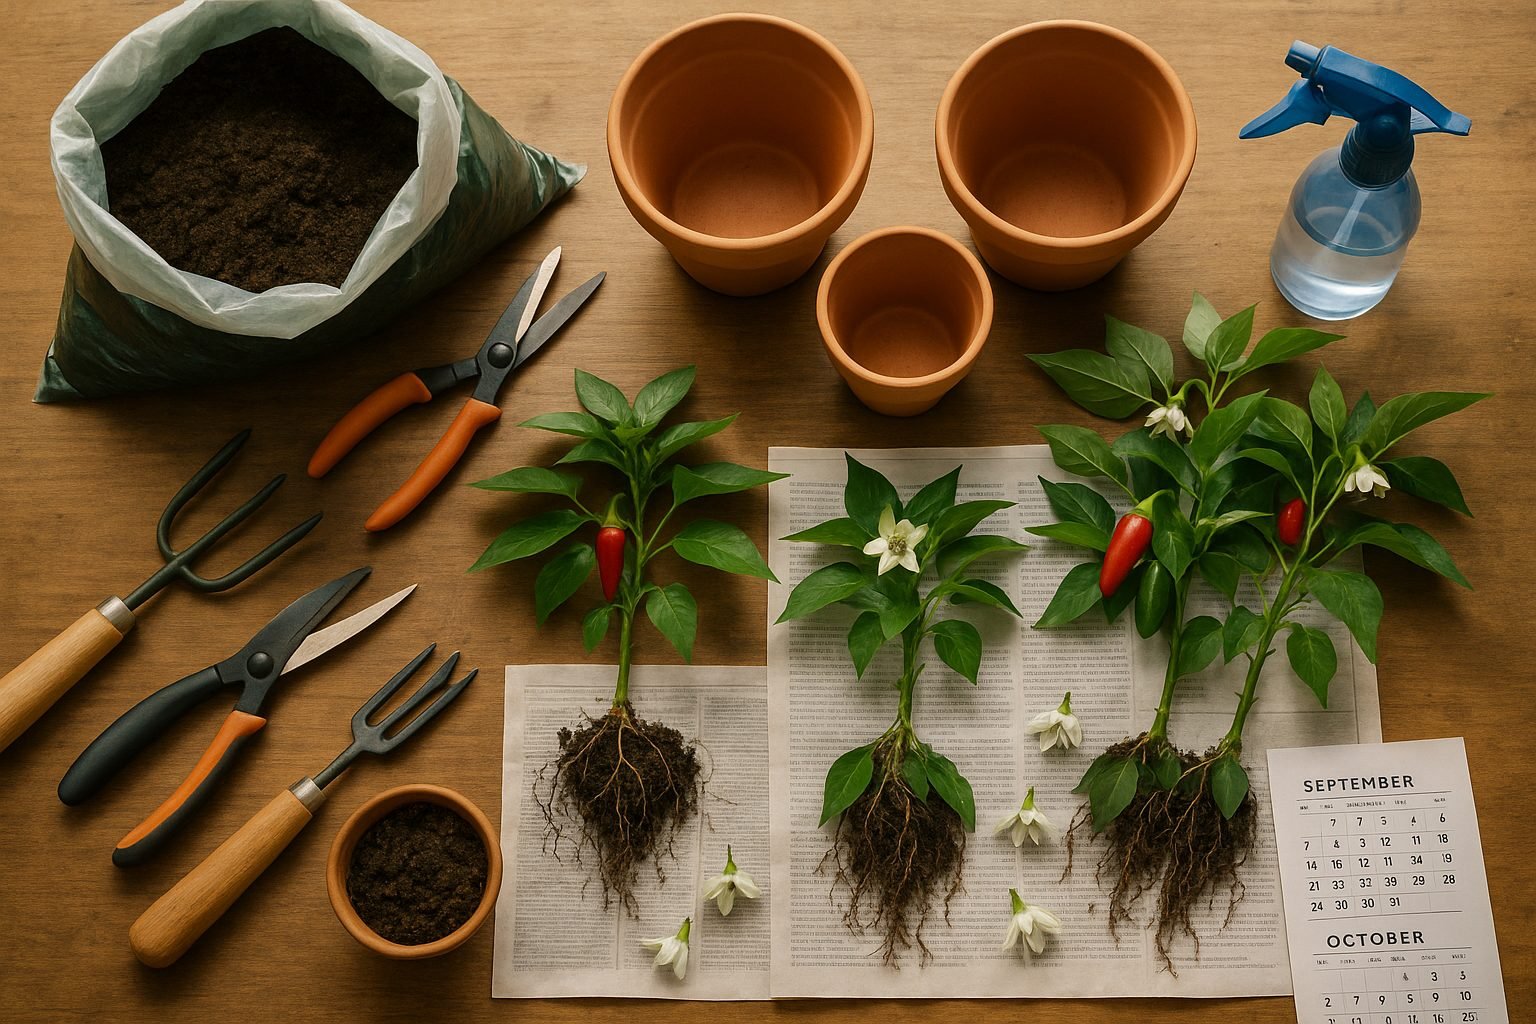
The ideal time to start overwintering your pepper plants is a few weeks before your area’s first anticipated frost—usually in late September or early October for many regions. Keep an eye on your local weather forecast and plan to move your peppers inside when nighttime temperatures consistently fall below 50°F (10°C).
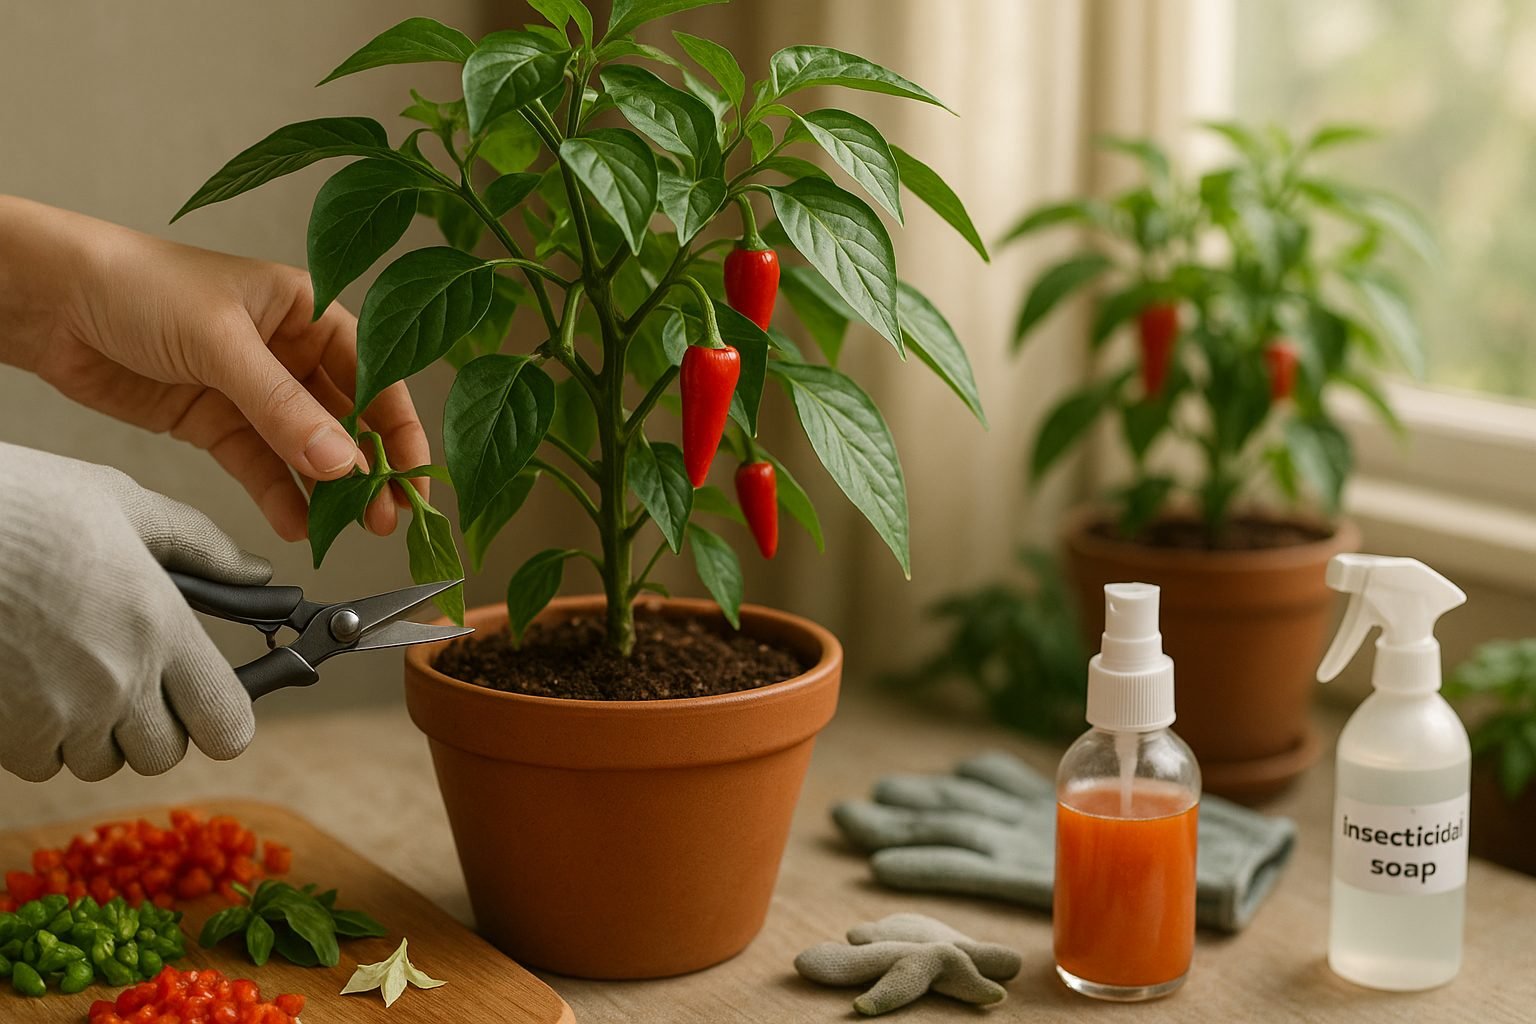
Start by selecting only your healthiest, most vigorous pepper plants. Look for strong stems and no obvious signs of disease or heavy pest damage. Prune the plant back by about one-third, trimming away smaller branches and old fruit—this helps the plant focus on root growth instead of producing more peppers.
Next, thoroughly inspect for pests like aphids or spider mites. Rinse leaves with a strong spray of water and consider using insecticidal soap if you spot any critters.
Prepare a clean, well-draining pot that is slightly larger than the pepper’s root ball, and fill it with fresh, sterile potting mix to minimize the risk of soil-borne diseases. When transplanting, handle the root ball gently and water well, but avoid waterlogging.
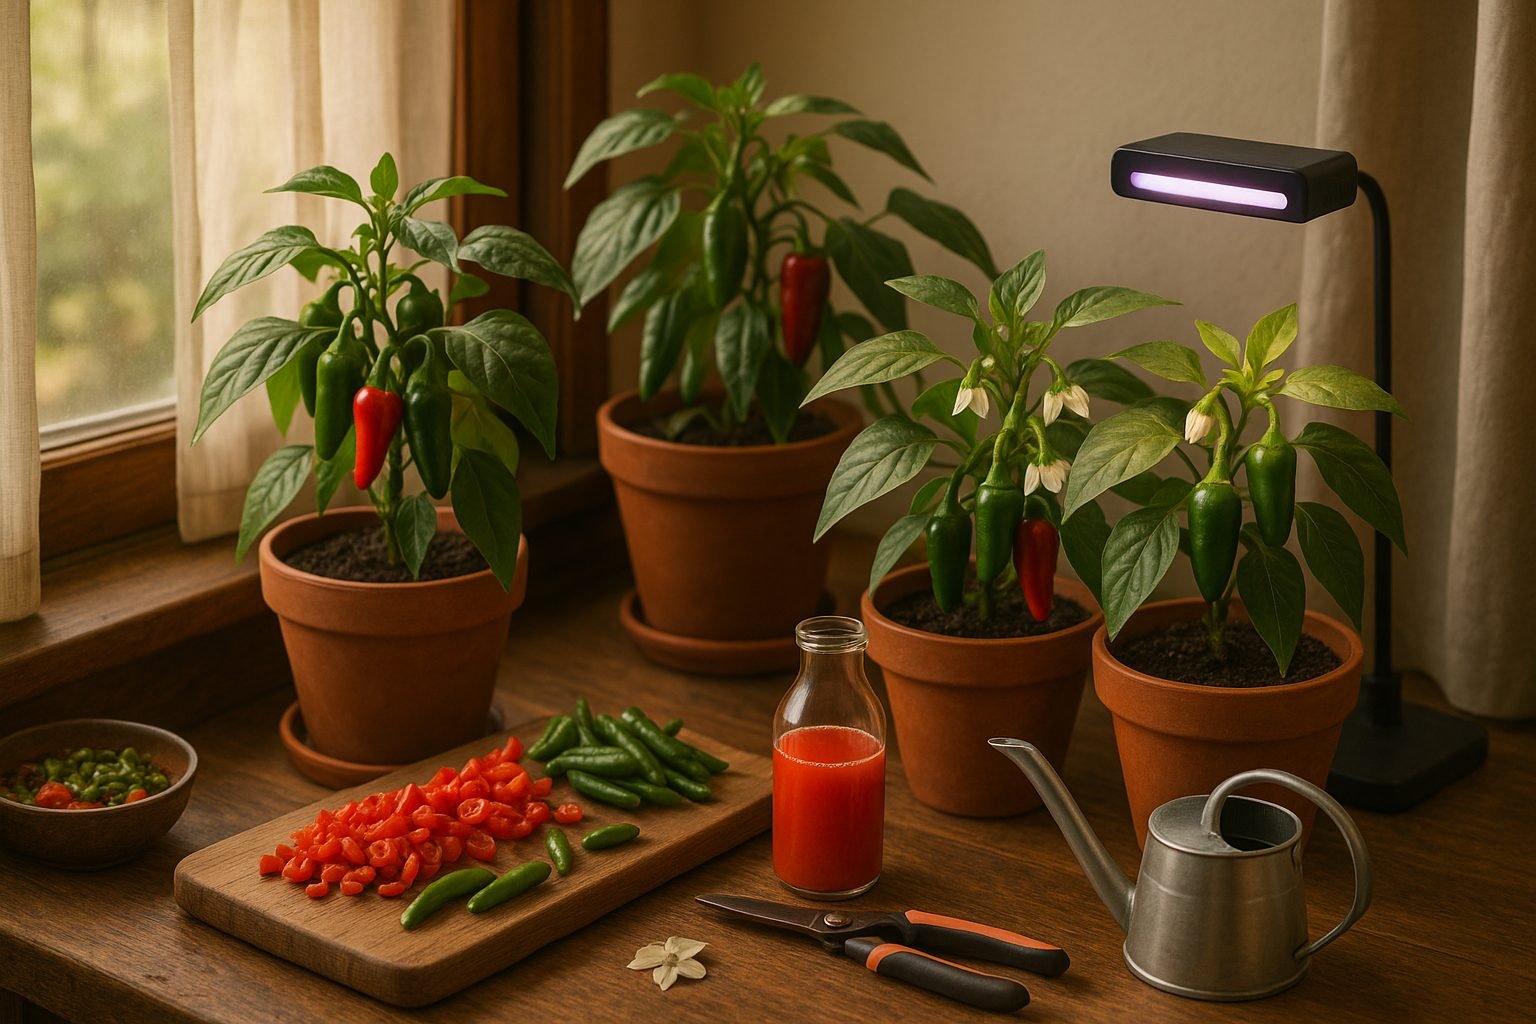
To reduce transplant shock, let your pepper adjust to the lower light indoors by placing it in a shady spot outdoors for a few days before bringing it inside. Once indoors, set it near a sunny window or under a grow light.
Keep the indoor temperature between 60°F and 70°F (15-21°C), and avoid placing the plant near drafty windows or heat sources. With a little attention and some patience, you can keep your favorite pepper plants thriving all winter long and get a jump start on next season’s harvest.
Indoor Care: Temperature, Light, Water, and Maintenance
Creating the right indoor environment for your plants starts with understanding their basic needs. Most houseplants thrive in bright, indirect light—think near an east- or north-facing window or a few feet from a sunnier spot filtered by sheer curtains.
Aim to keep the room temperature between 65–75°F (18–24°C), with humidity around 40–60% if possible. Dry winter air can be tough on tropical plants, so consider using a small humidifier or a pebble tray with water.
When it comes to watering, check soil moisture by sticking your finger about an inch deep—if it’s dry, it’s time to water. Always err on the side of underwatering rather than letting roots sit in soggy soil. During active growth in spring and summer, most plants need more frequent watering; in fall and winter, as growth slows, you can reduce watering.
For plants in darker spaces, invest in a simple LED grow light to supplement natural light, and occasionally rotate your plants so they grow evenly. Good air movement is also important, so avoid clustering pots too closely and crack a window occasionally or use a small fan to prevent fungal issues.
Be vigilant for signs of stress:
- Yellow leaves might suggest overwatering.
- Crispy brown tips can point to dry air or underwatering.
- Leggy growth signals a need for more light.
If you spot these issues, adjust one factor at a time—move the plant to a brighter spot, tweak your watering routine, or boost humidity as needed. With a little observation and some easy tweaks, even busy plant owners can keep their indoor jungles happy and healthy.
Dealing With Pests and Common Overwintering Problems
Indoor plants can face a surprising variety of pests and issues over the winter, even with the best care. Common indoor pests like aphids, spider mites, and fungus gnats often hitch a ride indoors when plants are brought in for the season.
Early detection is key: check leaves regularly for tiny moving dots (spider mites), sticky residue (aphids), or adult gnats hovering above the soil (fungus gnats). Use a magnifying glass to examine both the tops and undersides of leaves, especially if you notice webbing, yellow specks, or curling—classic signs of trouble.
To prevent outbreaks, always quarantine new or outdoor plants for at least a week before introducing them to your main collection. Keep foliage free of dust with a gentle shower of lukewarm water; clean leaves are less inviting to pests.
If you spot pests, try organic treatments such as insecticidal soap, neem oil, or homemade solutions like diluted dish soap spray. Repeat treatments weekly until the problem clears up, and trim off heavily infested leaves.
Aside from pests, overwintering can bring other indoor woes like leaf drop, mold, and root rot. Sudden temperature changes, low light, or overwatering usually cause leaf drop—move plants away from drafty windows and reduce watering when growth slows.
Mold on soil or leaves means air circulation is too low or humidity too high; prune crowded stems and use a small fan if needed. For root rot, check for mushy roots or a sour smell, and repot in fresh, well-draining soil, trimming away any blackened roots.
By staying observant and adjusting your care routines, you can keep winter problems to a minimum and enjoy healthy, thriving plants year-round.
Preparing Your Pepper Plants to Move Back Outdoors
As spring arrives and temperatures begin to rise, acclimating—or hardening off—your pepper plants is essential before moving them back outside. Start by placing your plants outdoors in a shaded, protected area for just one or two hours on the first day. Then, gradually increase their exposure to sunlight and outdoor air by an additional hour each day over the course of a week.
This slow process helps prevent shock from sudden changes in temperature, wind, and direct sunlight. Before you begin, inspect your plants and prune away any leggy or damaged growth to encourage bushier, healthier new leaves.
Repotting and Feeding
Early spring is also the perfect time to repot your peppers if they’re root-bound or have outgrown their current containers. Choose pots just one size larger, using fresh, high-quality potting mix for optimal root development. Give them a light feeding with a balanced fertilizer to encourage strong new growth, but avoid overdoing it—too much fertilizer at this delicate stage can stress the plants.
Monitoring Your Plants During Hardening Off
As you move your peppers outdoors each day, keep a close eye on their leaves and soil moisture. Signs like drooping, yellowing, or leaf scorch can indicate too much sun or wind too soon. If your plants are struggling, pull them back indoors or into the shade.
By gradually introducing your peppers to outdoor conditions, keeping them pruned and fed, and monitoring their health throughout the process, you’ll set your plants up for a strong start when it’s finally time to leave them outside full time.
Final Tips for Successful Overwintering
Successfully overwintering pepper plants comes down to a few essential practices: dig up your healthiest pepper plants before the first frost, prune them back, and gently shake off excess soil and pests before bringing them indoors. Place your plants in pots with fresh, well-draining soil, then keep them in a cool, bright spot—like a sunny window or under a grow light—to ensure they stay dormant but alive.
Use a moisture meter to avoid overwatering, as pepper roots are sensitive to soggy conditions during winter. Products like neem oil or insecticidal soap can help ward off any hitchhiking pests that try to overwinter with your plants.
As the months go by, routinely check for signs of new growth or trouble, but don’t stress if your peppers look sparse until spring arrives. Every home and plant is a little different, so try different routines—maybe experiment with humidity trays or varying light levels—to see what works best for your setup. Don’t hesitate to share your overwintering successes or struggles with fellow gardeners online.
By learning from each other and refining your routine, you’ll set up your peppers to thrive year after year.