Introduction to Saving Pepper Seeds
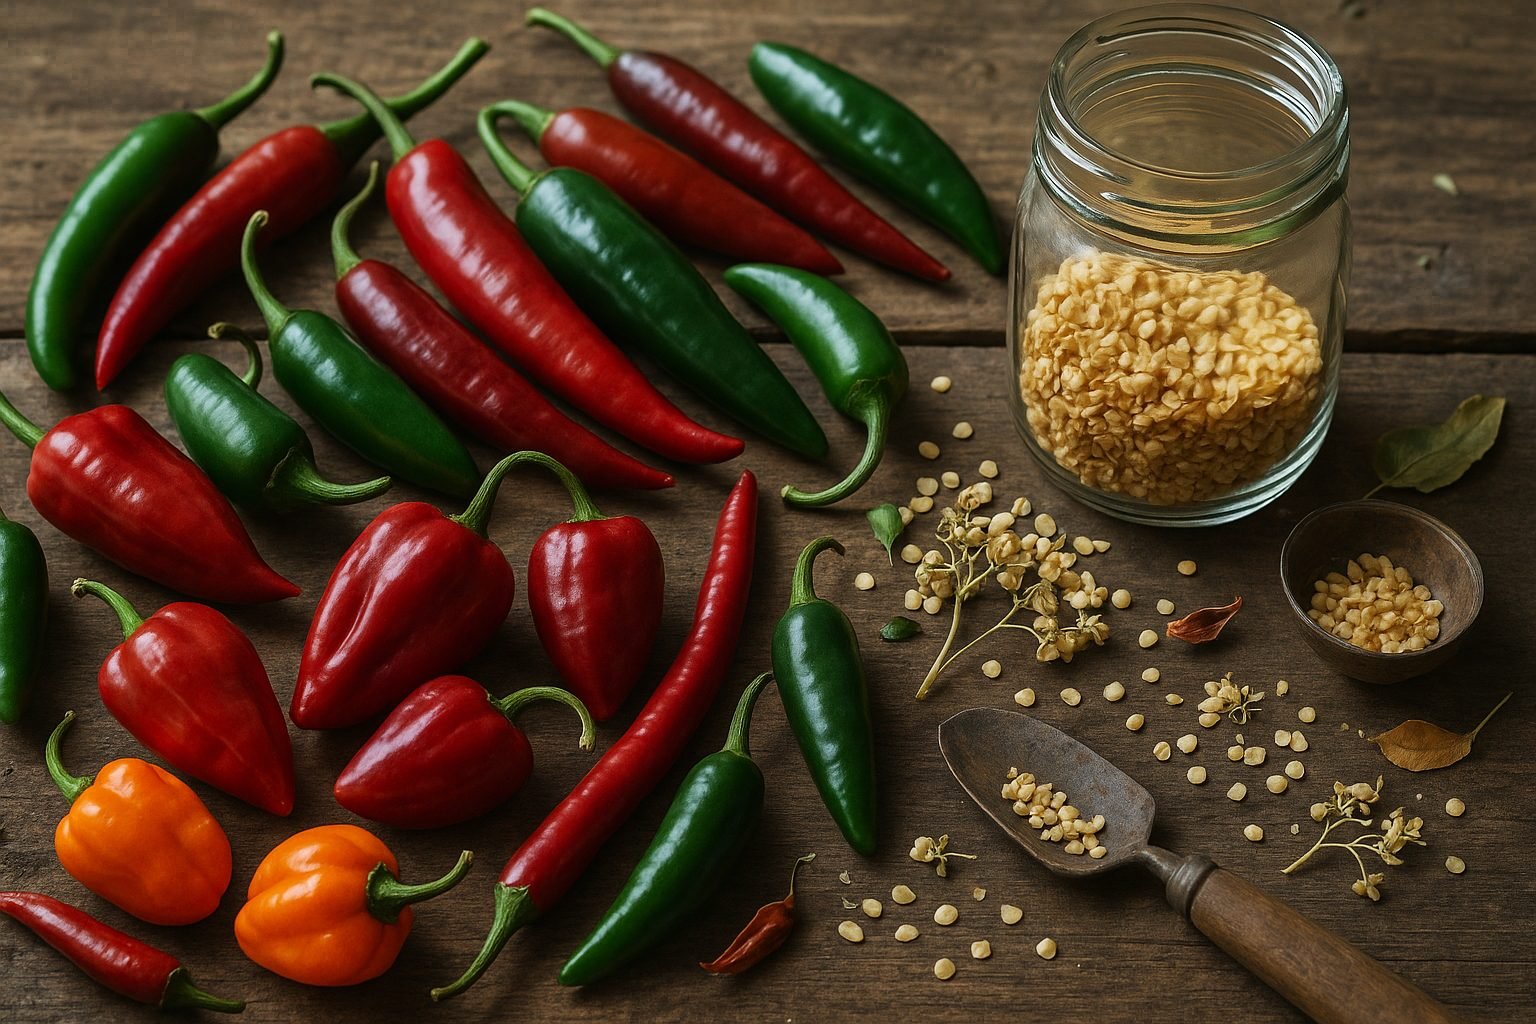
Saving hot pepper seeds is a simple yet rewarding practice that allows gardeners of all experience levels to grow their favorite varieties year after year. Why bother saving seeds instead of buying new packets each spring? For starters, it’s a highly cost-effective way to expand your garden without breaking the bank. It also lets you preserve unique pepper varieties—whether it’s the smoky heat of jalapeños, the sweet burn of habaneros, or the fiery kick of cayennes—that might not always be available in stores. On top of that, saving seeds plays a big part in sustainable gardening, helping you reduce waste and maintain a self-sufficient, eco-friendly garden.
In this beginner-friendly guide, you’ll discover everything you need to know about saving hot pepper seeds, from choosing the best peppers for seed collection to simple methods for extracting, drying, and storing seeds so they’re viable when planting season rolls around. You’ll get practical tips for harvesting seeds from popular peppers like jalapeño, Thai chili, serrano, and even rare or heirloom varieties. Whether your goal is to maintain a family favorite or try your hand at crossbreeding new flavors, these methods apply broadly to most types of hot peppers.
By the end of this article, you’ll feel confident taking your gardening into your own hands—empowering you to share seeds with friends or start your own pepper patch next season. Let’s dig into the why and how of this sustainable, flavor-preserving adventure!
Choosing Peppers and Harvest Timing
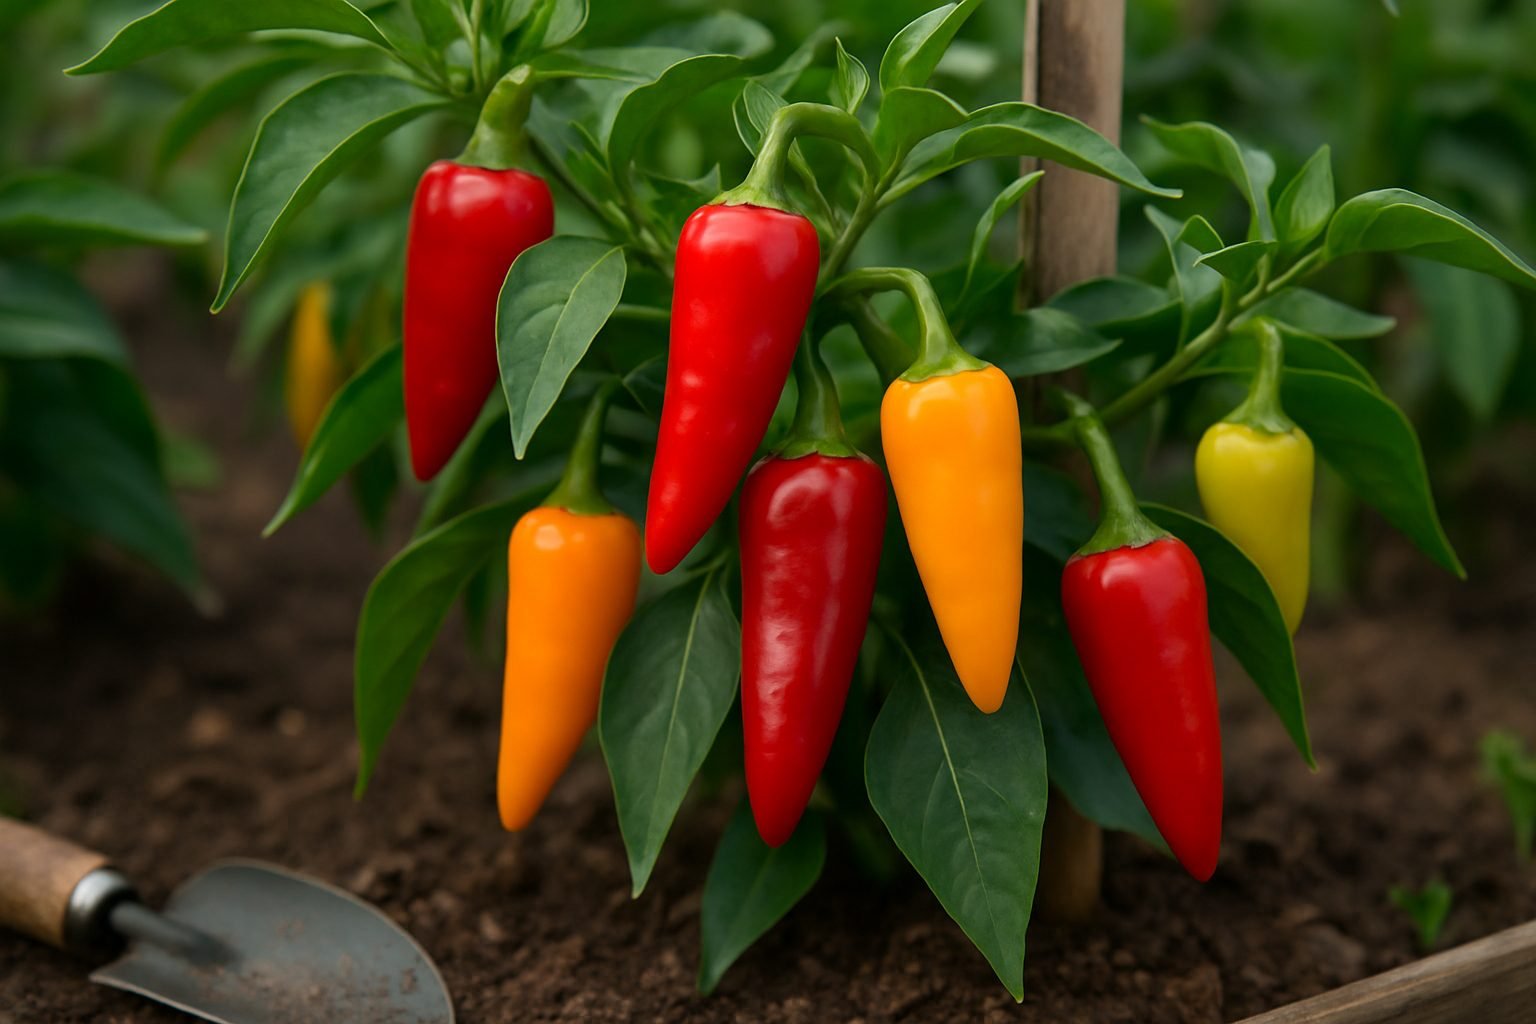
When it comes to saving pepper seeds, selecting the right fruit is essential for successful germination and robust plants in future seasons. Choose peppers that are fully mature, as immature seeds often fail to sprout or produce weak seedlings. Look for peppers that have reached their final color—whether red, orange, yellow, or brown depending on the variety—instead of the unripe green stage.
For instance, a bell pepper is mature when it turns from green to a glossy red, yellow, or orange, while hot peppers like jalapeños typically ripen from green to deep red or purple. Sweet peppers follow similar cues, often becoming brighter and more vivid at maturity.
Always pick fruits that are plump, uniform, and free from disease, rot, or insect damage. Using unhealthy specimens tends to carry problems into the next generation.
To keep seed strains pure, it’s important to isolate different pepper types in the garden, as peppers cross-pollinate easily—even between hot, sweet, and bell varieties. Providing a minimum of 30 feet of separation in home gardens or using physical barriers like mesh bags over blossoms can reduce the risk of cross-pollination.
Plan your seed harvest toward the end of the growing season when peppers have had plenty of time to fully ripen on the plant. Leaving them an extra week or two after they reach full color ensures the seeds inside mature completely.
By selecting the healthiest, ripest peppers and harvesting at peak ripeness, you help guarantee that next year’s plants will be just as flavorful and productive as the ones you enjoy now.
Harvesting and Cleaning Pepper Seeds
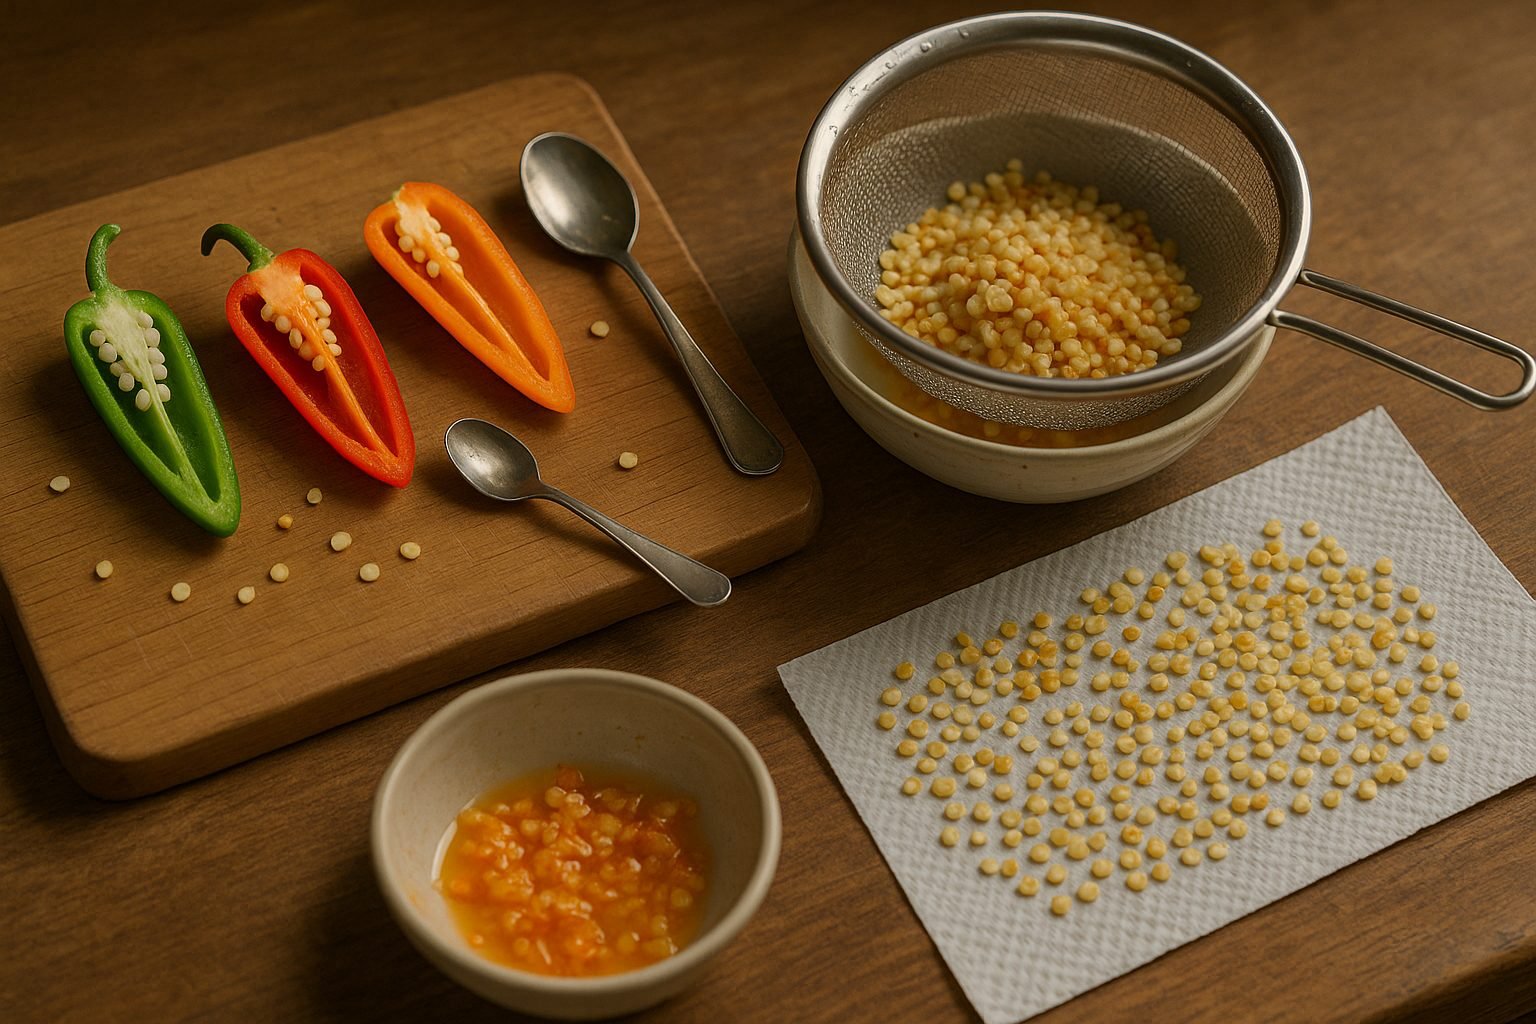
Harvesting and cleaning pepper seeds is a simple task, but doing it right ensures better germination and healthy plants. First, select fully ripe peppers, as immature ones won’t give you viable seeds. If you’re working with hot varieties like jalapeños or habaneros, wear gloves to protect your skin from the spicy oils—these can linger and cause discomfort if you touch your face.
Slice the pepper open lengthwise and gently pry out the seed cluster using a spoon or your gloved fingers. The seeds are attached to the white pith inside; separate them by lightly scraping with a spoon or thumb, shaking off as much of the fleshy material as possible. To avoid mold, place seeds in a fine mesh strainer or colander and rinse them thoroughly under cool running water, rubbing gently to dislodge any remaining pulp.
After rinsing, spread the seeds out on a paper towel or clean plate in a single, even layer. Make sure they’re not clumped together—this is key for good airflow and drying. Leave them in a warm, dry spot out of direct sunlight for about a week, turning them occasionally.
If you notice any seeds that look dark, shriveled, or moldy, remove them right away; only keep plump, pale yellow, or tan seeds, as these are most likely to sprout. Sometimes, seeds stick to bits of pith or appear slightly misshapen—if so, double-check that they’re fully dry before storing, as lingering moisture can lead to fungal issues. If you encounter seeds with black spots or a foul smell, discard them, as these are likely spoiled.
With careful harvesting and thorough cleaning, your pepper seeds will be ready to store for another growing season, giving you a rewarding start for your next crop.
Drying and Preparing Seeds for Storage
Properly drying seeds before storage is crucial to preserving their viability and preventing mold or rot. After harvesting, spread your seeds in a single layer—don’t pile them up—on a paper towel, coffee filter, or a fine mesh screen placed in a well-ventilated area out of direct sunlight.
Good airflow is essential, so make sure your seeds have room on all sides; a small fan in the room can help circulate air (but don’t aim it directly at the seeds to avoid scattering them). Maintain a moderate room temperature and low humidity, as high moisture in the air can hinder the drying process.
Check the seeds daily and gently rotate or stir them to ensure even drying. To test if your seeds are ready for storage, try bending one: if it snaps cleanly or feels firm and hard, it’s dry; if it feels pliable, rubbery, or you sense any dampness, give them more time. Another tip is to bite a large seed like a bean or pea—if it cracks, it’s ready, whereas a soft impression means more drying is needed.
Avoid using ovens or food dehydrators unless you can control the temperature below 95°F (35°C)—excess heat can kill the seed’s embryo and reduce germination rates. One of the most common mistakes home gardeners make is rushing the process and sealing away seeds that are still a bit moist; this almost always leads to mold growth and wasted seeds.
Be patient, and err on the side of longer drying; proper preparation gives your seeds the best chance to remain healthy and viable for the coming seasons.
Storing Pepper Seeds Safely
Storing pepper seeds safely is essential if you want them to remain viable and ready for planting in the next season or even years down the line. Start with the right containers—paper envelopes work best for short-term storage, as they allow air circulation and help prevent moisture buildup, which can rot seeds.
For longer-term storage, glass jars or sealed plastic containers provide extra protection, but it’s crucial that seeds are thoroughly dried before sealing to prevent mold. Always label containers with the pepper variety and collection date—a simple sticky label or marker goes a long way to avoid mix-ups later.
Store your seeds in a cool, dark, and dry place, such as a basement, closet, or even the crisper drawer of the fridge (but avoid the freezer, which can damage pepper seeds if not fully dried). These conditions slow down seed aging and prevent sprouting or rot; too much heat or humidity can quickly ruin viability.
For added pest prevention, tuck in a small packet of silica gel or a spoonful of dry rice to absorb moisture, and check periodically for signs of insects or mold. Whether you’re saving seeds for the next planting or hoping to keep them for years, careful storage preserves their germination rate and keeps your garden thriving.
Growing Peppers from Saved Seeds
Preparing to grow peppers from saved seeds starts with careful seed selection and proper storage. Choose seeds from your healthiest, fully ripe peppers—preferably heirloom varieties, since hybrids may not grow true to type. After extracting the seeds, let them dry on a paper towel for a week, then store them in a cool, dry place inside a labeled envelope or jar.
When the next season arrives, start sowing indoors 8-10 weeks before your last frost date. Use trays filled with quality seed-starting mix; sow seeds about a quarter-inch deep and keep the soil moist but not soggy. Saved seeds usually have slightly lower germination rates—often around 60-80% compared to the 90% or higher you might get from fresh, commercial seeds. To boost your odds, plant a few extra seeds per cell.
Pepper seeds prefer warmth for sprouting, ideally kept at 75-85°F (24-29°C), so a heat mat can really make a difference. Once seedlings emerge, ensure they get plenty of bright light and water from the bottom to avoid damping-off disease. Pay special attention to soil quality; incorporating compost can promote strong growth.
With saved seeds, expect some variability in plant vigor, size, and fruit appearance—especially if your garden had multiple pepper types growing close together. Cross-pollination can lead to surprising and often unpredictable results. Embrace the uniqueness, but if consistency is important, isolate varieties next year or use mesh bags to control pollination.
Proper care and patience will reward you with healthy, homegrown pepper plants, and you might even discover a new favorite variety along the way.
Common Questions and Troubleshooting
Many gardeners wonder how long seeds actually last, why some seeds don’t sprout, and what to do if they encounter problems. Most vegetable and flower seeds maintain good viability for one to five years, depending on the species and storage conditions.
For example, tomato and lettuce seeds often last up to five years if kept cool and dry, while onion and parsnip seeds are best used within one year for good germination rates. If your seeds aren’t germinating, check for common culprits like old seed age, improper storage (exposure to heat or moisture), or sowing depth—planting seeds too deep can prevent sprouts.
To maximize success, store seeds in airtight containers in a dark, cool place like a basement or refrigerator. Always label your seeds with the harvest date to track their age. For difficult cases, try a germination test: place 10 seeds between damp paper towels and keep them warm; if fewer than 7 sprout in a week or so, it’s time for fresh seed.
For more tips, University extension websites, local seed saving groups, and reference books like Seed to Seed by Suzanne Ashworth offer reliable, in-depth information. With a bit of care and the right resources, you can confidently save and grow seeds year after year.