Introduction
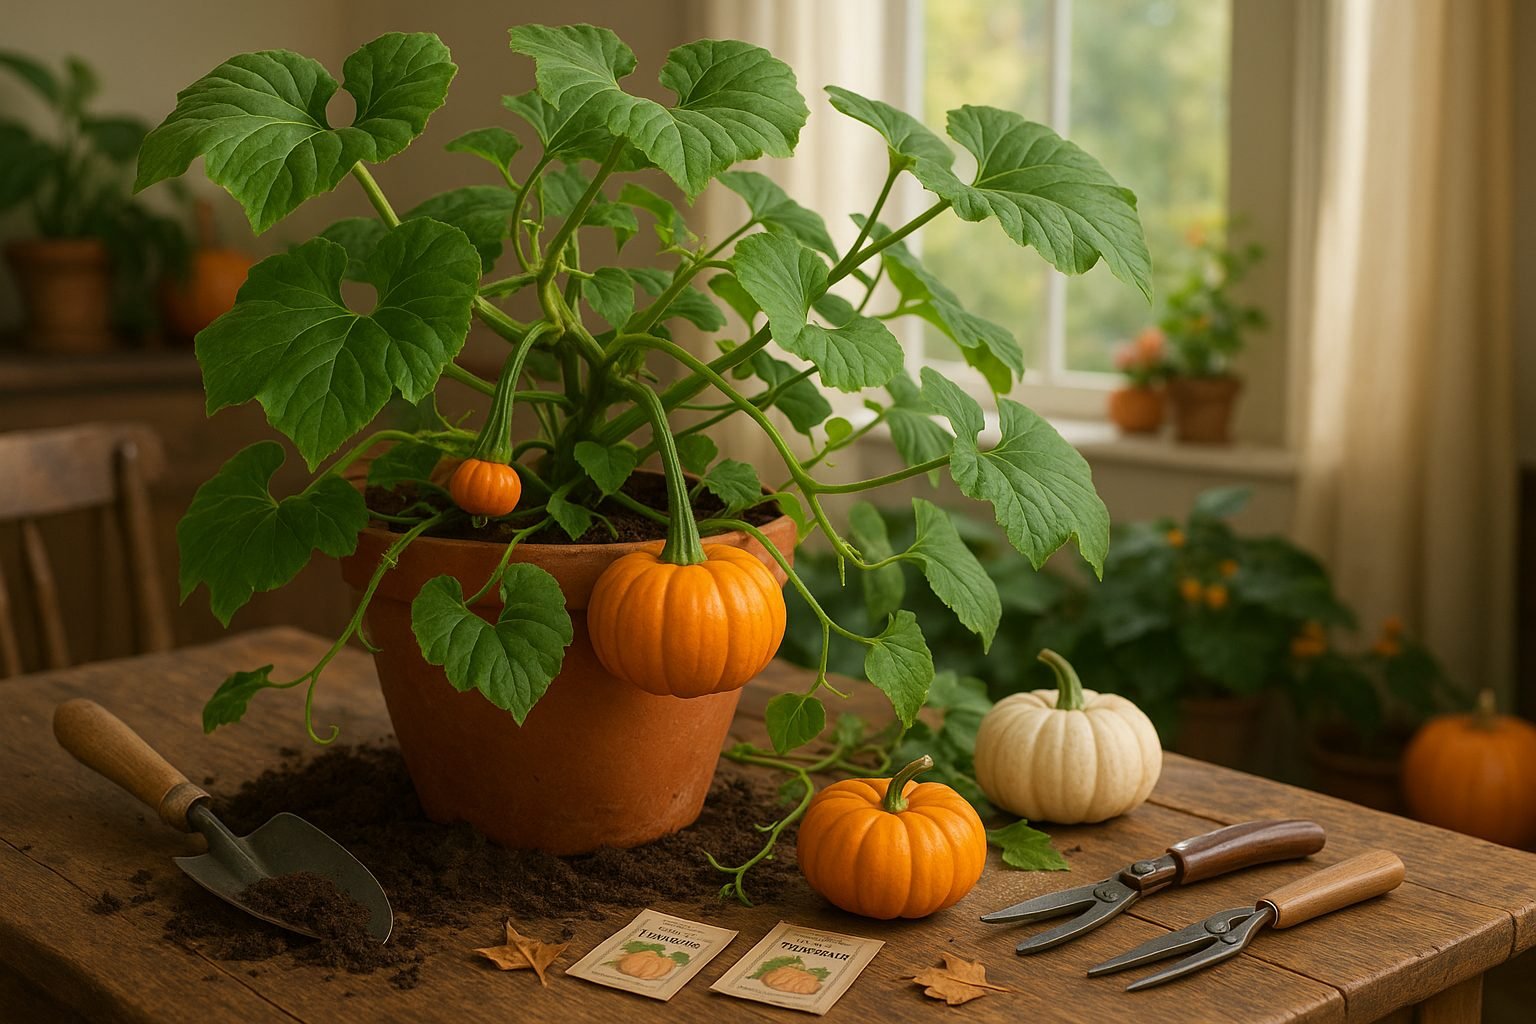
Have you ever wondered if growing pumpkins indoors is possible? Imagine the delight of nurturing a bright orange pumpkin plant right inside your own home—no outdoor garden required. Many people are drawn to the idea of homegrown pumpkins for their versatility; they’re great for autumn decorations, delicious recipes like soup or pie, and even fun educational projects with kids.
Whether you want a miniature pumpkin patch on your windowsill or are curious about growing bigger varieties in a pot, indoor pumpkin gardening opens up a world of possibilities. In this article, you’ll discover the essentials of cultivating pumpkins inside, from choosing the right seeds and containers to managing light, temperature, and space. Plus, you’ll get practical tips to help your pumpkin thrive, even if you have limited room or little gardening experience.
Get ready to bring a slice of the pumpkin patch indoors—no backyard needed!
Choosing the Right Pumpkin Variety & When to Plant
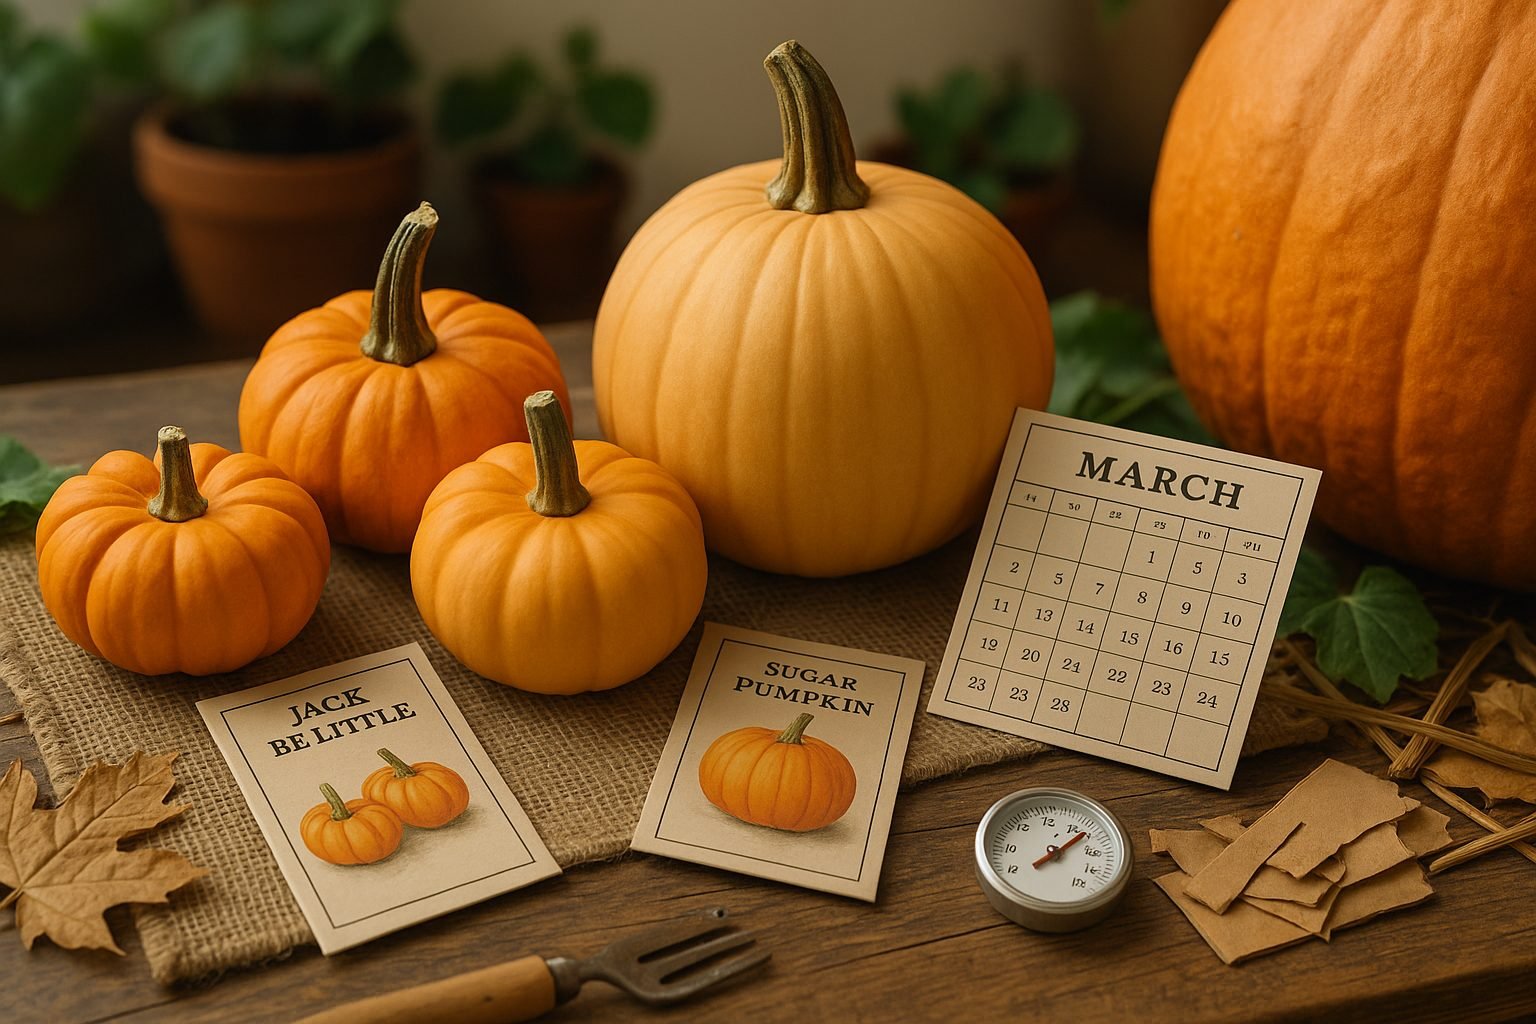
Picking the perfect pumpkin variety starts with your purpose—are you dreaming of classic jack-o’-lanterns, tasty homemade pies, adorable tabletop decor, or perhaps giant pumpkins for a fair?
For carving, traditional varieties like ‘Howden’ and ‘Connecticut Field’ offer sturdy walls and deep orange skin, making them Halloween favorites. If you’re after delicious pumpkin soup or pies, opt for sweeter, creamier “sugar pumpkins” like ‘Small Sugar’ or ‘New England Pie.’ Miniature types such as ‘Jack Be Little’ are charming and fit well in small spaces or as festive decorations, while giant varieties like ‘Atlantic Giant’ can reach hundreds of pounds but need a lot of room and rich soil.
When selecting a variety, consider your growing space; mini and pie pumpkins adapt well to raised beds and even large containers, while jumbo types need sprawling room. Local climate matters too—short-season gardeners in the North may want early-maturing varieties like ‘Baby Pam,’ while those in southern regions enjoy longer seasons for massive fruits.
To time your planting, check the average last frost date in your area: pumpkins need warm soil (ideally 70-90°F) and no chance of frost. In the North, sow seeds outdoors 2 weeks after the last spring frost; in the South, you can start as early as late spring. For holiday harvests, count backward from your desired picking date (pumpkins take 90–120 days to mature), adjusting for your region’s unique weather patterns.
Planting Pumpkins: Soil Preparation & Sowing Seeds
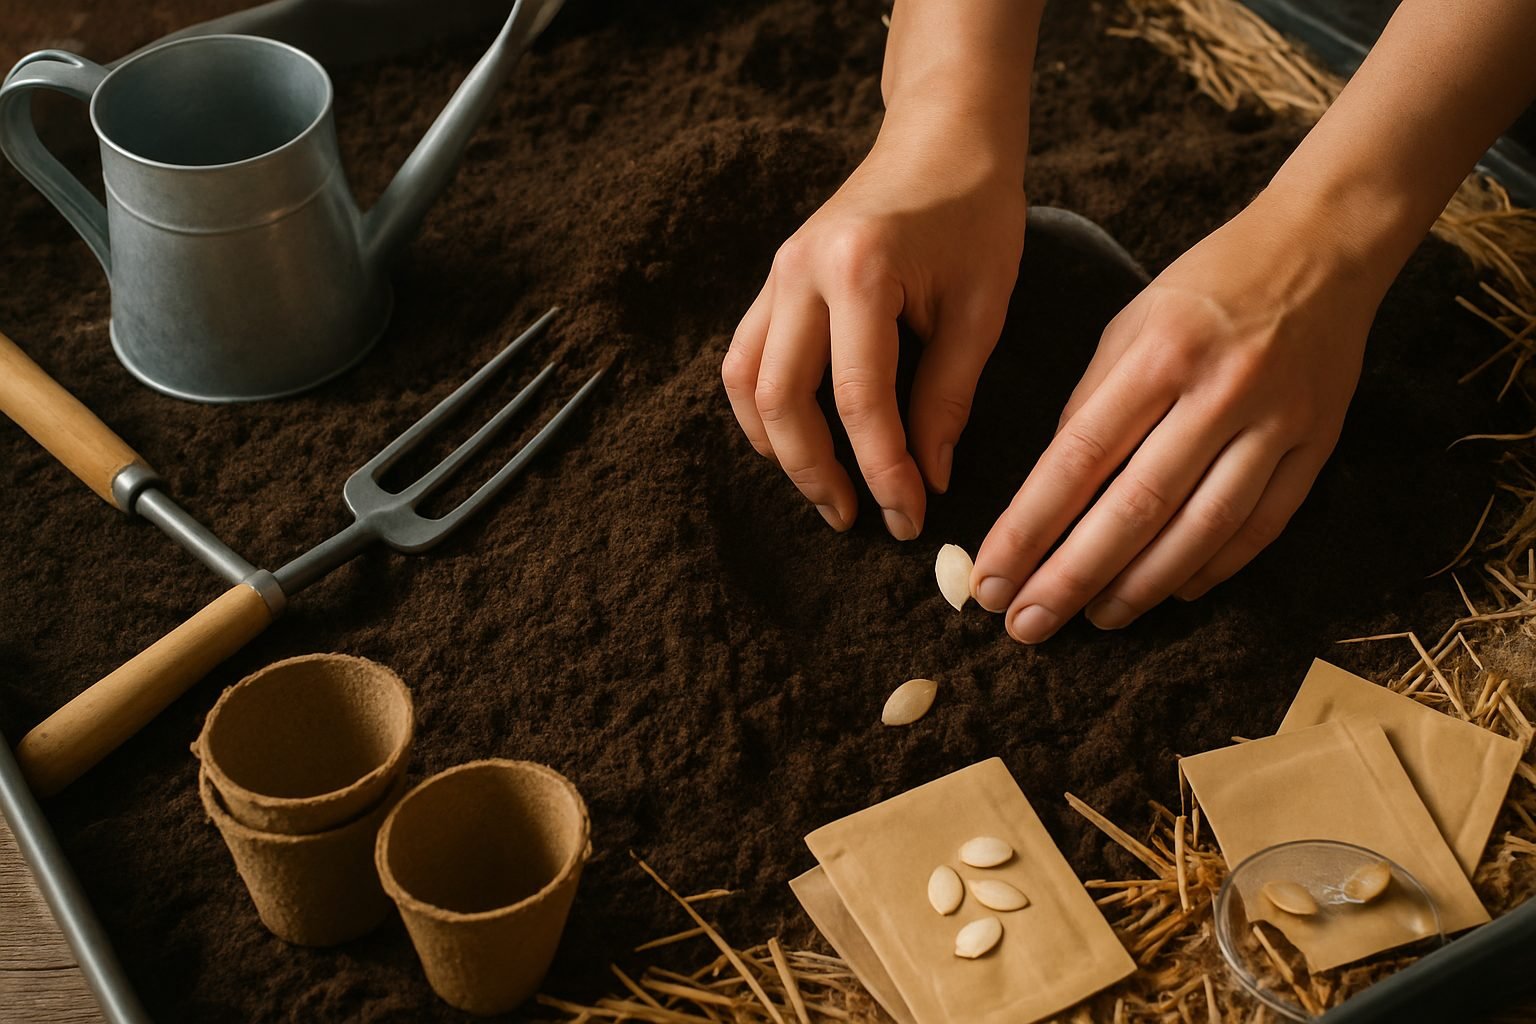
Getting your pumpkin patch off to a strong start begins with good soil preparation. First, loosen the garden soil deeply with a shovel or garden fork to improve tilth—that means making the soil crumbly and easy for delicate pumpkin roots to spread. Next, mix in generous amounts of compost or well-rotted manure; pumpkins are heavy feeders and thrive on rich, nutritious soil.
It also helps to pile your prepared soil into small raised mounds about 12 to 18 inches across and 3 to 6 inches high. These mounds warm up quickly in spring, boost drainage, and make it easy for sprawling pumpkin vines to grow.
Now, decide how you’ll start your pumpkins:
- Direct seeding: Simple and effective—sow seeds outdoors after the danger of frost has passed, with minimal transplant shock.
- Starting seeds indoors: Gives you a jump on the season but requires careful transplanting, since pumpkin seedlings have sensitive roots.
For direct seeding, plant 4–5 seeds per mound, spacing the mounds 4–6 feet apart. Smaller varieties can be closer, but big pumpkins need plenty of elbow room! Sow the seeds about 1 inch deep, placing them on their sides to reduce the chance of rotting. After seedlings emerge, thin each mound to the two strongest plants.
Remember to water gently and keep the soil consistently moist but not waterlogged. With these soil and planting tips, you’re set for a thriving pumpkin patch—and plenty of pumpkins come harvest time!
Caring for Growing Pumpkin Plants
Proper care is key to healthy, thriving pumpkin plants that yield large, vibrant fruit. Pumpkins need consistent watering—around one to two inches per week—applied deeply at the soil level rather than overhead to reduce the risk of mildew. Mulching with straw or shredded leaves helps conserve moisture, control weeds, and keep ripening pumpkins clean.
Fertilize early with a balanced fertilizer or compost, then switch to a formula higher in potassium and phosphorus when flowers begin to appear to encourage fruit development. Pollination is crucial—since pumpkins have separate male and female flowers, bees are your main allies in moving pollen between them.
However, in urban gardens or during poor weather, you might need to hand-pollinate by transferring pollen from a male flower (with a slender stem) to a female flower (which has a baby fruit at its base) using a small brush or cotton swab.
As vines grow, gently guide them in your desired direction and prune excess side shoots to focus the plant’s energy on producing larger pumpkins. Place boards or straw under growing fruit to prevent rot and deter pests.
Watch for common threats like squash bugs, cucumber beetles, and powdery mildew. Floating row covers can protect young plants, and regular inspections let you pick off pests by hand before they multiply. Remove affected leaves promptly and avoid watering late in the day to decrease disease risk.
With attentive care, you’ll boost your odds of enjoying a bumper crop come harvest.
Companion Planting and Crop Rotation
Companion planting is a smart, natural way to boost pumpkin health and yields. Good neighbors for pumpkins include marigolds, which help discourage squash beetles and other pests, and nasturtiums, known to repel aphids and act as a living mulch to retain soil moisture. Beans and peas are also excellent companions—they fix nitrogen in the soil, which pumpkins love. Meanwhile, planting aromatic herbs like oregano and dill nearby can confuse pests with their strong scents, helping keep your patch healthy.
However, there are a few crops to steer clear of: avoid planting potatoes, as both compete for nutrients and can share similar diseases, and don’t place pumpkins near other sprawling vine crops like cucumbers or melons, which crowd out space and can increase the risk of fungal problems.
Alongside companion planting, practice crop rotation by moving pumpkins and similar squash family crops to a new part of the garden each year. This reduces the buildup of soil-borne diseases and pests—especially important for pumpkins, which are vulnerable to issues like powdery mildew and root rot. Rotating your pumpkins with unrelated crops such as beans, corn, or brassicas not only keeps the soil healthy but also breaks the cycle of pests and diseases, leading to healthier, more productive plants season after season.
Harvesting and Storing Pumpkins
Knowing when to harvest pumpkins makes all the difference in how long they last and how good they taste. Start by looking for clear signs of maturity: pumpkins should have a deep, uniform color—usually a rich orange—and the rind should feel hard, resisting a gentle press with your fingernail. The stem is another clue: it should turn brown, dry, and woody, signaling the pumpkin is done growing.
Most varieties reach maturity in about 90 to 110 days after planting, but check the seed packet for specifics. To harvest, use pruning shears or a sharp knife to cut the stem, leaving at least two to four inches attached to prevent early rot. Handle pumpkins carefully to avoid bruises, which can shorten storage life.
After harvesting, cure the pumpkins by placing them in a warm, dry spot (about 80–85°F) for 10 days—this toughens the skin and helps seal any minor cuts. For long-term storage, choose a cool (around 50–55°F), dark, and well-ventilated area, like a basement or pantry shelf.
Arrange pumpkins so they don’t touch each other, and avoid stacking them to minimize bruising. Regularly inspect stored pumpkins, removing any that develop soft spots or mold. Properly harvested and stored, pumpkins can stay fresh for three to six months—perfect for enjoying homemade pies, soups, and roasted seeds all winter long.
Creative Uses for Homegrown Pumpkins
Homegrown pumpkins aren’t just for carving—they’re a versatile treasure trove for the kitchen, home, and family fun.
In the Kitchen
Try roasting pumpkin cubes for salads, blending the flesh into hearty soups, or baking classic pumpkin bread topped with fresh seeds. Don’t waste those seeds either; clean and roast them with spices for a crunchy snack.
Decorating
Small pumpkins make beautiful, rustic centerpieces when arranged with autumn leaves, while larger gourds can serve as festive porch decorations well past Halloween.
Crafting with Pumpkins
Crafting with pumpkins is a great family activity. Think painted jack-o’-lanterns, glitter-dipped pumpkins, or even turning hollowed-out shells into bird feeders.
Educational Possibilities
Pumpkins offer endless learning opportunities: try a simple pumpkin volcano experiment for a STEAM project or track the growth of your pumpkin to teach kids about plant biology. Get little ones involved in baking pumpkin muffins or creating pumpkin stamps for homemade cards.
Most importantly, homegrown pumpkins are a perfect reason to gather family and friends for a cozy fall meal or craft session—sharing the harvest is just as rewarding as growing it.