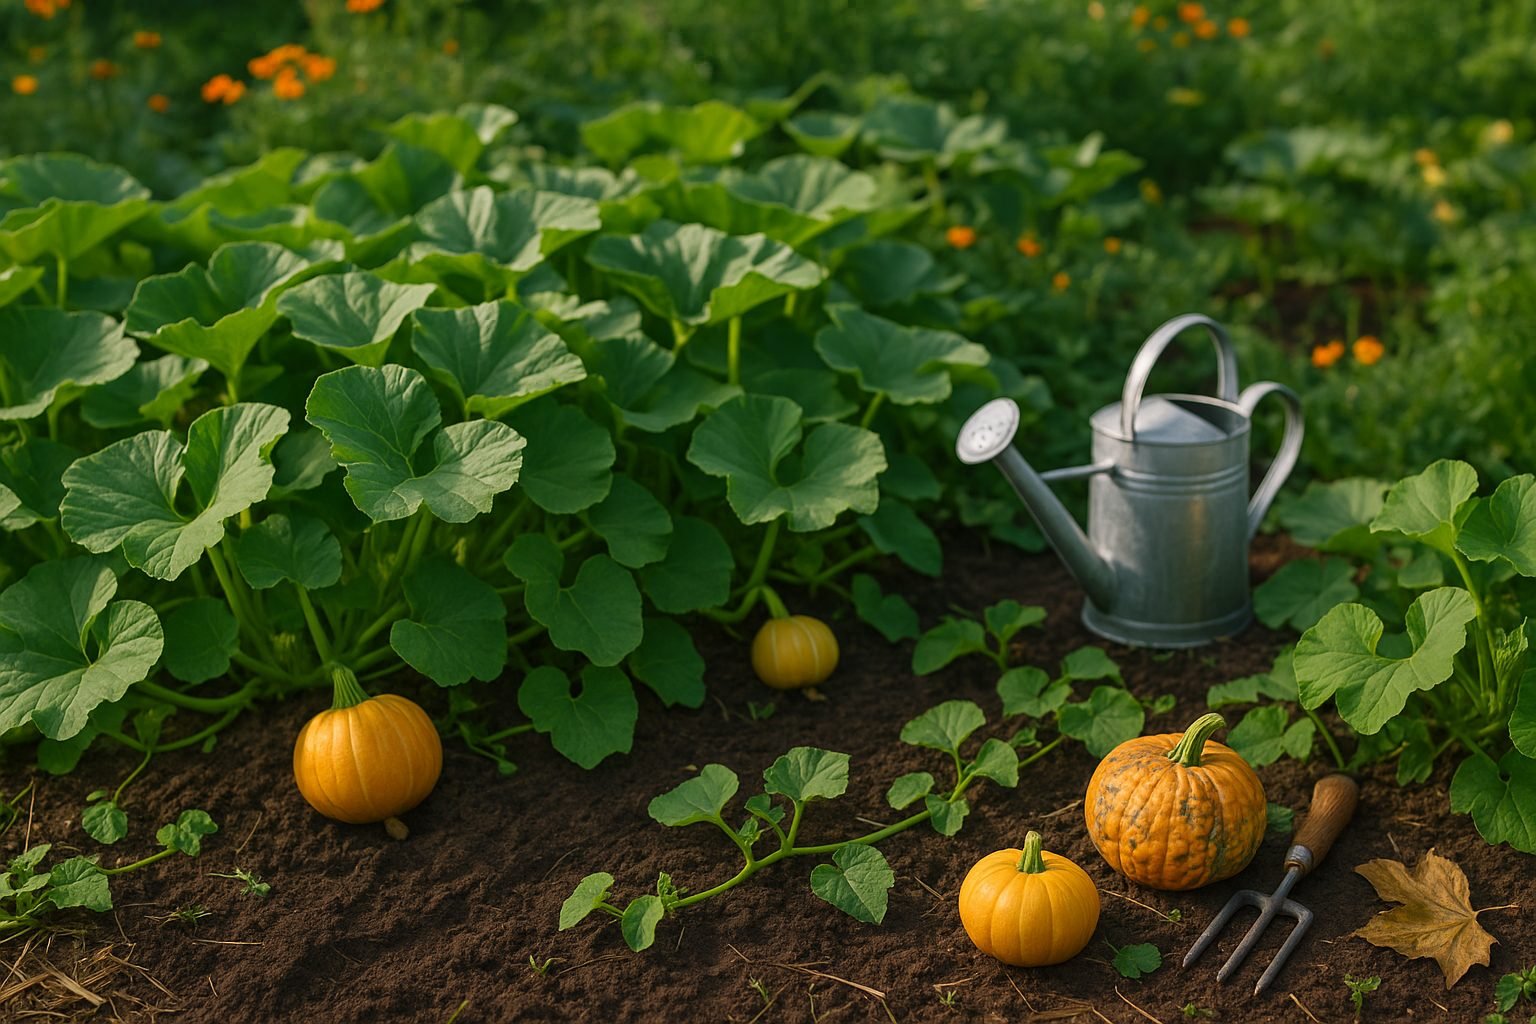
Why Your Pumpkin Isn’t Growing
If you find yourself asking, “Why are my pumpkins not growing?” you’re not alone. Whether you’re a first-time gardener or a seasoned pro, struggles like poor germination, stunted vines, or pumpkins that simply refuse to set fruit can be frustratingly common. Maybe your pumpkin seeds sprouted enthusiastically, only to stall out with yellowing leaves, or perhaps your sturdy vines never seem to produce those iconic orange orbs you envisioned. Sometimes the issue is as obvious as wilting plants on sunny afternoons; other times, it’s hidden below the surface, with roots failing to establish or pests quietly snacking on young seedlings.
Spotting these signs early is crucial. A weak or nonexistent harvest is often the final symptom of problems that started weeks—or even months—before. By paying attention to clues like sluggish vine growth, blossoms that drop without forming fruit, or unusually small pumpkins, you give yourself a better shot at turning things around. That might mean adjusting your watering routine, amending your soil, or confronting a bug invasion head-on.
Understanding why your pumpkins aren’t growing isn’t just about saving this year’s crop—it lays the groundwork for better results in seasons to come. Taking the time to diagnose and address growth problems helps you enjoy a healthy, bountiful pumpkin patch, whether you’re dreaming of carving jack-o’-lanterns, baking homemade pies, or bragging about your gardening triumphs.
The Role of Soil and Planting Conditions
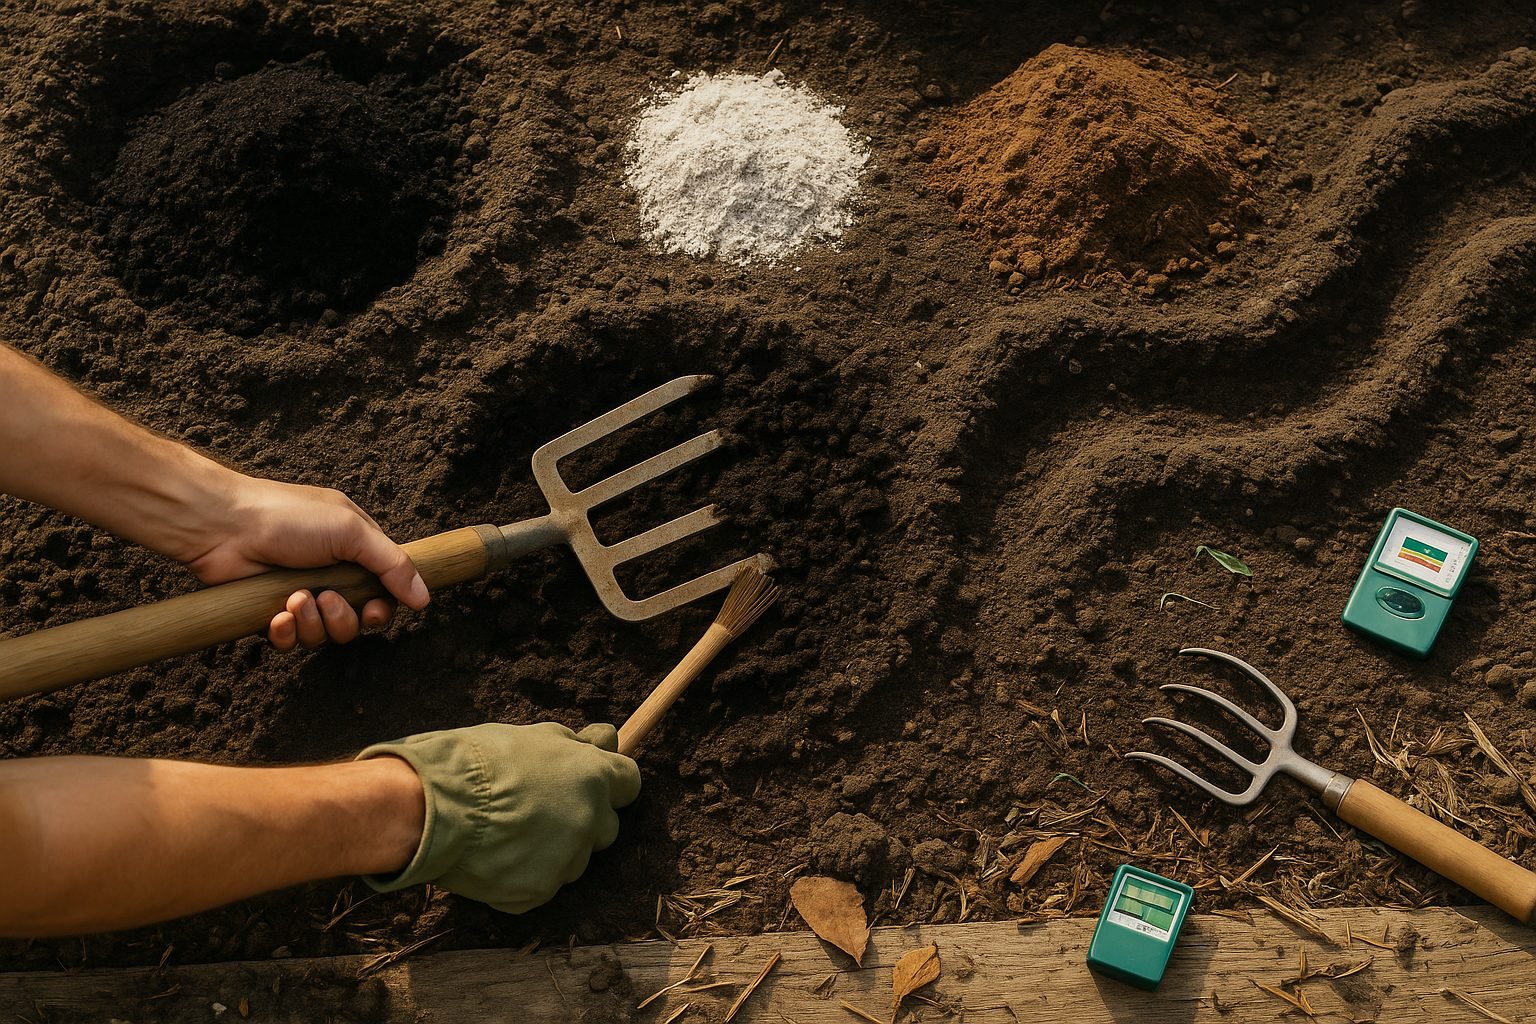
Getting the soil right is crucial for growing strong, vibrant pumpkin plants. Pumpkins thrive in soil that’s well-draining, loose, and rich in organic matter, with a slightly acidic to neutral pH between 6.0 and 6.8. Heavy clay or poorly draining soils can cause waterlogged roots and stunted growth, while overly sandy soils might not hold enough moisture or nutrients.
If your garden soil tends to be compacted, cold, or lacking in nutrients, your pumpkin vines are likely to suffer—roots can’t expand, and plants become stressed or susceptible to disease. To give your pumpkins the best start, begin by clearing your planting area of weeds and debris, then loosen the soil to at least 12–15 inches deep using a garden fork or tiller.
Mix in several inches of compost or well-rotted manure to improve texture and boost fertility; compost not only adds nutrients but also helps soil retain the right amount of moisture. Test your soil’s pH level with an inexpensive kit, and if it reads too low (acidic), add garden lime; if too high (alkaline), work in some peat moss or sulfur.
Creating small hills or mounds for planting can also help with drainage and provide extra warmth, which pumpkins love early in the season. By carefully preparing your soil before you sow the seeds, you’ll avoid many common pumpkin-growing headaches and set yourself up for a healthy, productive patch.
Watering Woes: Overwatering and Drought
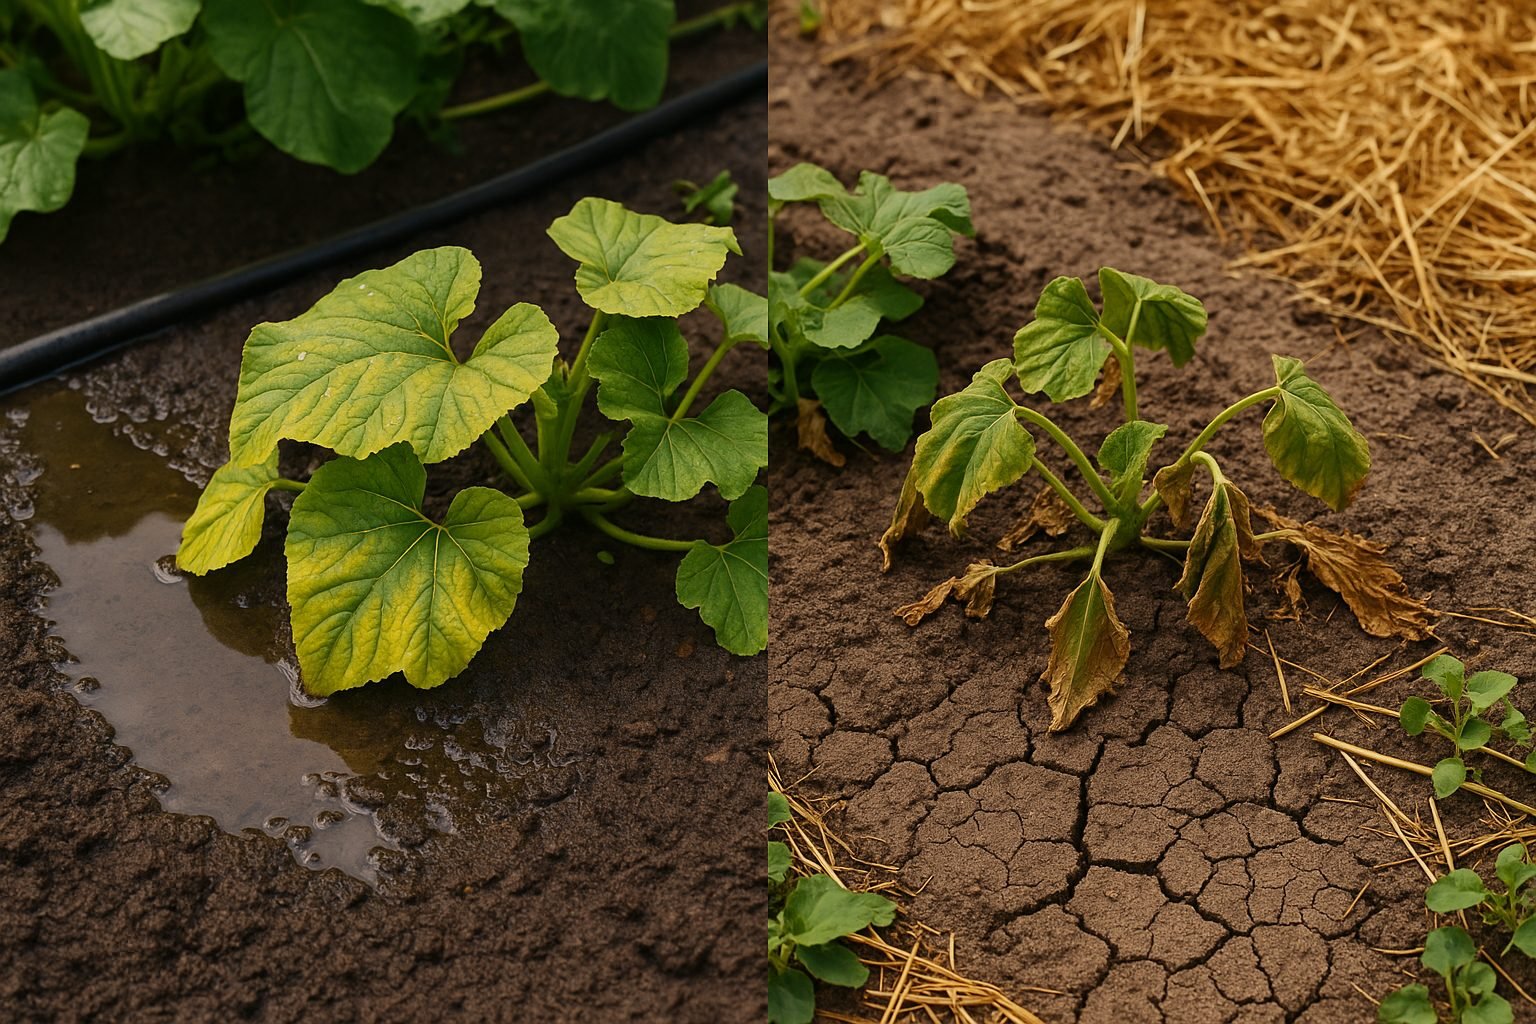
Getting your pumpkin patch’s watering routine just right can be tougher than it seems—both overwatering and underwatering stress plants and can seriously impact your harvest. Pumpkins that get too much water may show yellowing leaves, limp stems, and even develop root rot, as waterlogged soil suffocates roots and sets the stage for fungal diseases.
On the flip side, underwatered pumpkins will start to wilt, their leaves drooping and edges crisping up, eventually turning brown as the plant struggles to stay hydrated.
To keep your pumpkins happy, check the soil before watering—stick your finger about two inches deep; if it feels dry, it’s time to water, but if it’s still damp, wait a day or two. Aim to water deeply and less frequently to encourage strong root systems, generally about once or twice a week, depending on your climate.
In hot or windy regions, you may need to water more often and mulch around the base of the plants to help retain moisture. For areas with heavy rainfall, ensure your pumpkin patch has good drainage by planting on mounds or using raised beds.
In any climate, watering early in the morning reduces evaporation and gives your plants the best chance to absorb moisture before the heat of the day.
By tuning into your local weather and checking the soil often, you can keep your pumpkins thriving—avoiding both soggy roots and parched leaves.
Temperature and Weather Influences
Temperature plays a crucial role in the growth and development of pumpkins, with both extreme heat and cold posing significant risks at various stages. During germination, pumpkin seeds need soil temperatures between 70°F and 95°F to sprout effectively; cooler soils can delay growth or cause seeds to rot.
As plants reach the flowering stage, temperatures above 90°F or below 60°F can disrupt pollination and reduce the number of female flowers, leading to poor fruit set. High heat can also cause flowers or developing fruits to drop prematurely. Meanwhile, sudden cold spells, especially below 50°F, can slow growth and stunt young plants, making them more vulnerable to diseases and pests.
To protect pumpkins from these temperature extremes, gardeners can use floating row covers to trap warmth during chilly nights or shield plants from intense sun during heatwaves. Applying mulch—such as straw or shredded leaves—also helps regulate soil temperature and retain moisture, creating a more stable environment for root development.
Checking local weather forecasts and acting quickly when unseasonable weather is predicted gives you a head start. For example, covering plants with old sheets during a surprise frost or watering deeply before a heatwave can make a big difference. These strategies help ensure healthy pumpkins, from their first sprouts to a hearty autumn harvest.
Pollination Problems and Their Fixes
Pumpkin plants produce both male and female flowers, and successful pollination requires pollen transfer from the male flowers (which appear first) to the female blooms, which can be identified by a small round swelling beneath the petals. Bees and other pollinators play a crucial role in this process by visiting flowers to collect nectar and spreading pollen as they go.
If you notice lots of flowers but only a few small or misshapen fruits developing—or if young pumpkins turn yellow and drop off—it’s likely a sign of poor pollination. Sometimes, blossoms might also fall without setting fruit, a phenomenon called blossom drop, or you may see many flowers with no swelling at the base; these are male flowers.
To improve pollination:
- Attract more bees by planting nectar-rich flowers nearby, such as sunflowers or lavender.
- Avoid using pesticides during the blooming period.
- Water early in the morning to make flowers more attractive for bee visits.
If natural pollinators are scarce, try hand-pollinating: pick a male flower, remove the petals, and gently brush the pollen onto the center of female flowers. Check your plants consistently in the morning when blossoms are open, since pumpkin flowers are short-lived.
Ultimately, boosting pollinator presence and providing gentle hand-pollination can make the difference between empty vines and a bumper pumpkin harvest.
Nutrient Issues: The Right Fertilizer Balance
Growing healthy pumpkins starts with understanding their core nutrient needs. Pumpkins require nitrogen, phosphorus, and potassium in balanced amounts, along with secondary nutrients like calcium and magnesium.
If your pumpkin leaves turn yellow or the vines grow slowly, it could point to a nitrogen deficiency, while pale leaves with purple undersides indicate a lack of phosphorus. Potassium shortages commonly show up as browning or scorched leaf edges.
However, it’s crucial not to overdo certain nutrients—too much nitrogen is a common mistake. It encourages lush leafy growth at the expense of flowers and fruit, leaving you with plenty of vines but few pumpkins.
To avoid these pitfalls, start with a soil test to understand what your garden truly needs. A good fertilizing schedule is to apply a balanced organic fertilizer or compost at the time of planting, then side-dress with compost or a low-nitrogen fertilizer once flowers form.
Incorporate organic soil amendments like well-rotted manure, bone meal, or worm castings to slowly add nutrients and improve soil structure. Mulching with compost or straw can also help retain moisture and feed the soil.
Always water after fertilizing and avoid piling fertilizer directly onto stems to prevent burning. Monitoring plant health and adjusting your feeding plan as needed is the best way to ensure your pumpkin patch produces strong vines and hearty, colorful fruit.
Troubleshooting Pests and Diseases
Pumpkins can fall prey to a variety of pests and diseases that can jeopardize your harvest if left unchecked. Common insect pests include squash bugs, which suck sap from leaves causing them to wilt and brown, and cucumber beetles, which chew holes in foliage and flowers while spreading bacterial wilt—a deadly disease causing plants to collapse. Aphids may gather on leaf undersides, leaving sticky honeydew and stunted growth in their wake.
Fungal diseases like powdery mildew appear as a white powdery coating on leaves, gradually turning them yellow and crispy, while downy mildew creates yellow angular spots that can spread rapidly in humid weather. Bacterial fruit blotch and anthracnose result in dark, sunken spots on fruits, compromising their market value and shelf life. These infestations and infections can stunt growth, reduce fruit set, and lead to misshapen or rotting pumpkins, especially if not caught early.
Protecting Your Pumpkin Patch
To protect your pumpkin patch, timely, proactive management is key. Inspect plants thoroughly at least once a week for early signs of pests or disease—look under leaves and along stems, and remove any affected plant parts. Floating row covers can deter beetles and squash bugs early in the season, but remove these when flowers open for pollination.
Practice crop rotation by not planting pumpkins or other cucurbits in the same spot year after year, reducing the buildup of disease in the soil. Opt for resistant varieties whenever possible and ensure good airflow by spacing plants properly and removing weeds, which can harbor pests. Water at the base of plants in the morning so leaves dry quickly, limiting fungal spread.
Organic options like neem oil or insecticidal soap can keep aphid and beetle populations in check, while fungicides may be warranted if mildew becomes severe. With vigilance and these practical strategies, you can greatly reduce pest and disease pressure, increasing your chances of a healthy, bountiful pumpkin harvest.
Harvest and Next Steps
Determining when your pumpkins are ready to harvest can feel tricky, especially if growth was delayed due to weather or other challenges. Look for telltale signs: pumpkins should have a deep, even color (whether orange, white, or another variety), and the rind should be hard enough to resist a gentle fingernail scratch. The stem will also start to look dry and corky. If you’re unsure, pick one and test it—if it stores well for a week or more, your crop is likely mature.
For struggling plants that aren’t thriving, keep them watered at the base (not on the leaves to avoid fungal diseases), remove any diseased foliage, and clear away weeds to reduce competition. After harvest, dispose of any badly diseased vines in the trash rather than your compost to prevent spreading pests or disease into next season.
To prepare for the next year, work some compost or well-rotted manure into your pumpkin patch to enrich the soil and break up any compacted areas. Consider jotting down notes on what worked and any struggles you faced—this can be a huge help for planning improvements.
Don’t get discouraged if your pumpkin season didn’t go perfectly; every gardener has setbacks, but each year is a new opportunity to learn, adjust, and grow an even better crop.