What is Sauerkraut and Why Make It?
Homemade sauerkraut is more than just a tangy side dish—it’s a food with centuries-old roots and a world of benefits. At its core, sauerkraut is simply cabbage that has been finely shredded and allowed to ferment through the action of naturally occurring lactic acid bacteria.
This simple process, believed to have originated in China over 2,000 years ago before traveling through Europe, transforms fresh garden cabbage into a flavorful, probiotic-rich staple.
So, why do people go through the trouble of making homemade sauerkraut instead of grabbing a jar at the store?
- Taste: Homemade batches often have more depth and freshness, letting you adjust saltiness and zing according to your preference, and allowing you to incorporate add-ins like caraway seeds, garlic, or even apples.
- Tradition: There’s also the satisfaction of carrying on a tradition, linking you directly to the age-old practice of preserving the harvest and minimizing food waste.
- Health Benefits: Most importantly, homemade sauerkraut is renowned for its health benefits. Thanks to natural fermentation, it’s packed with live probiotics that help balance gut bacteria, potentially improving digestion, boosting immunity, and even supporting mental health.
In addition, sauerkraut retains the vital vitamins and minerals found in cabbage—like vitamin C, vitamin K, and fiber—and offers them in a form that’s even easier for the body to absorb.
For anyone growing their own cabbage, turning it into sauerkraut ensures not only full use of your garden bounty but also a steady supply of nutrient-dense food ready for salads, sandwiches, or savory snacks.
Ultimately, embarking on the journey of making your own homemade sauerkraut is about enjoying fresh flavors, reaping nutritional rewards, and connecting with a timeless tradition that continues to bring people together.
The Science of Sauerkraut Fermentation
Sauerkraut owes its tangy crunch and long shelf life to a fascinating process driven by lactic acid bacteria, salt, and an oxygen-free (anaerobic) environment. When you shred cabbage and mix it with salt, the salt draws out water, creating a brine that submerges the cabbage and protects it from unwanted bacteria while encouraging beneficial microbes to thrive.
The stars of this microbial show are lactic acid bacteria, which naturally live on cabbage leaves. As they break down the sugars in the cabbage, these bacteria produce lactic acid—a natural preservative that lowers pH, helps fight off harmful microorganisms, and gives sauerkraut its signature sour flavor.
This transformation typically takes place over a week or two at room temperature, with the flavor growing more complex as time passes. The controlled, salt-rich environment is essential: too little salt can let spoilage microbes multiply, while too much can inhibit the beneficial bacteria. Keeping everything fully submerged in brine is also crucial to prevent mold and ensure even fermentation.
For best results, use a clean glass jar or crock, press the cabbage down firmly so it’s below the liquid, and cover it with a weight or a loosely fitted lid to keep air out but allow gases to escape. Always check for off smells, sliminess, or mold, which signal contamination.
With careful attention to these details, you’ll not only develop bold, delicious flavors but also create a sauerkraut that’s safe to eat and packed with probiotics—a healthy bonus from the age-old art of fermentation.
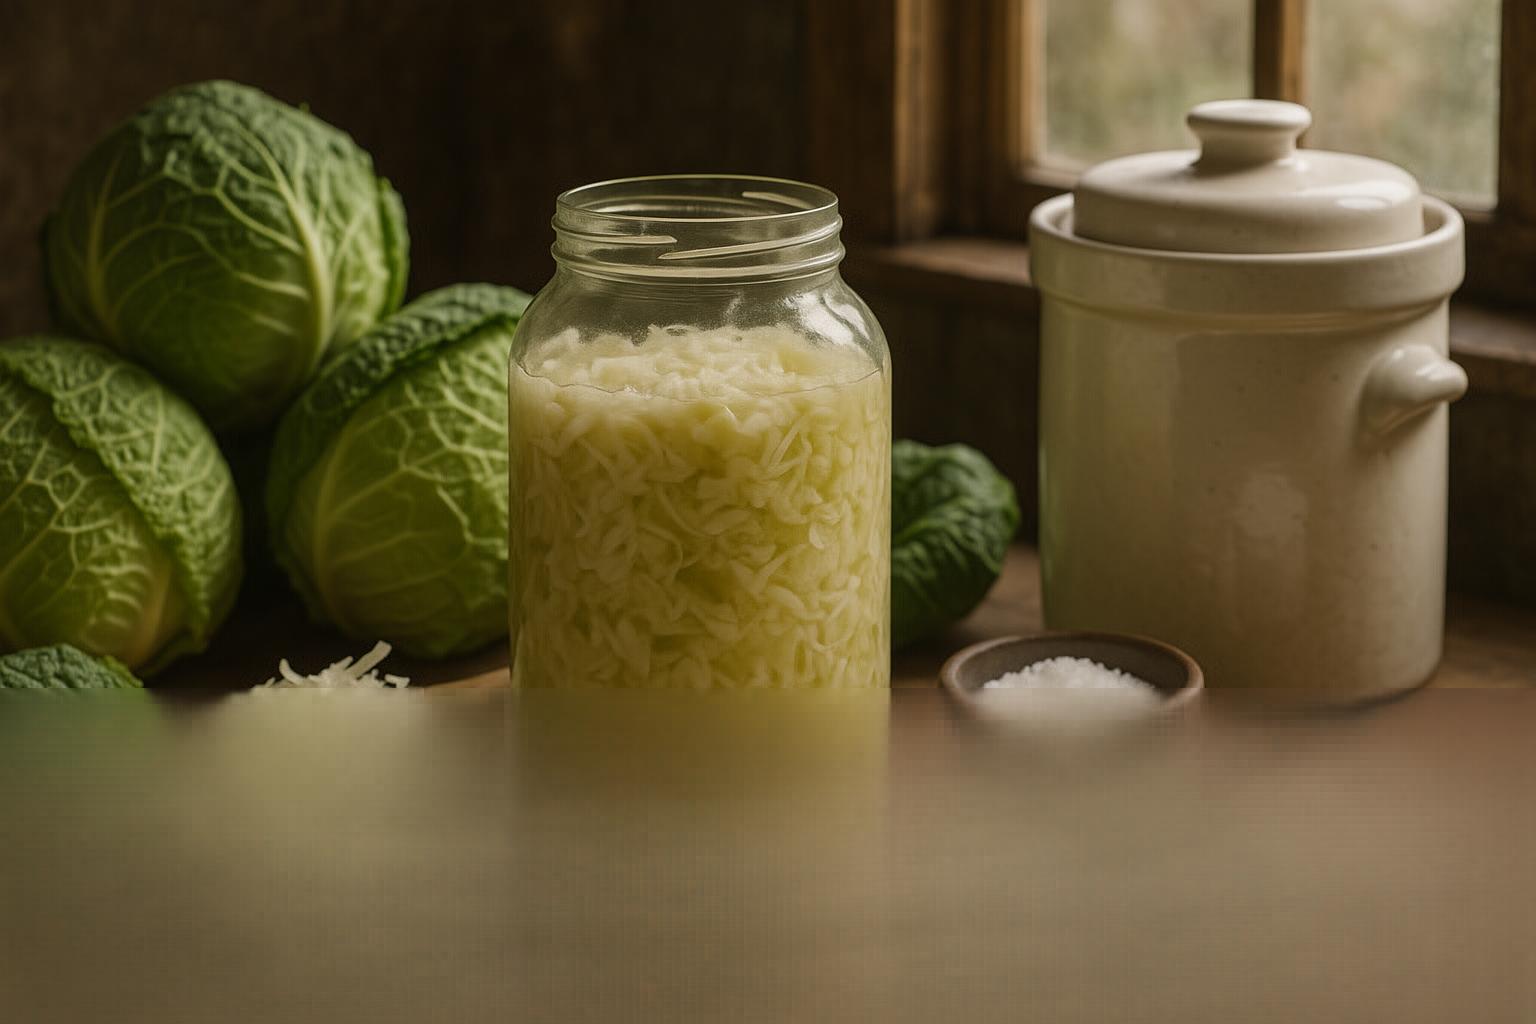
Essential Tools and Ingredients for Sauerkraut
Making sauerkraut at home starts with just two primary ingredients: fresh cabbage and salt. Always choose dense, firm heads of cabbage with crisp, unblemished leaves—local or organic varieties often pack the best flavor and nutrients. Opt for non-iodized salt like sea salt or kosher salt, since standard table salt can inhibit proper fermentation.
For some extra flair, you can add mix-ins such as caraway seeds for a classic tang, thin slices of apple for subtle sweetness, or a few crushed juniper berries for a hint of piney aroma.
When it comes to gear, a traditional ceramic fermentation crock is ideal for large batches, offering a deep, stable environment for your cabbage to transform. For smaller amounts or if you’re on a budget, wide-mouth mason jars work perfectly well—just be sure they’re spotlessly clean.
To keep your cabbage submerged (essential for safe fermentation), use fermentation weights or get creative with a small, food-grade dish or a sealed plastic bag filled with brine. Secure your jars with fermentation lids or improvise with a clean cloth and rubber band to keep dust out while letting gases escape.
With these ingredients and tools on hand, you’ll be ready to craft crunchy, tangy sauerkraut right in your own kitchen—no fancy equipment required.
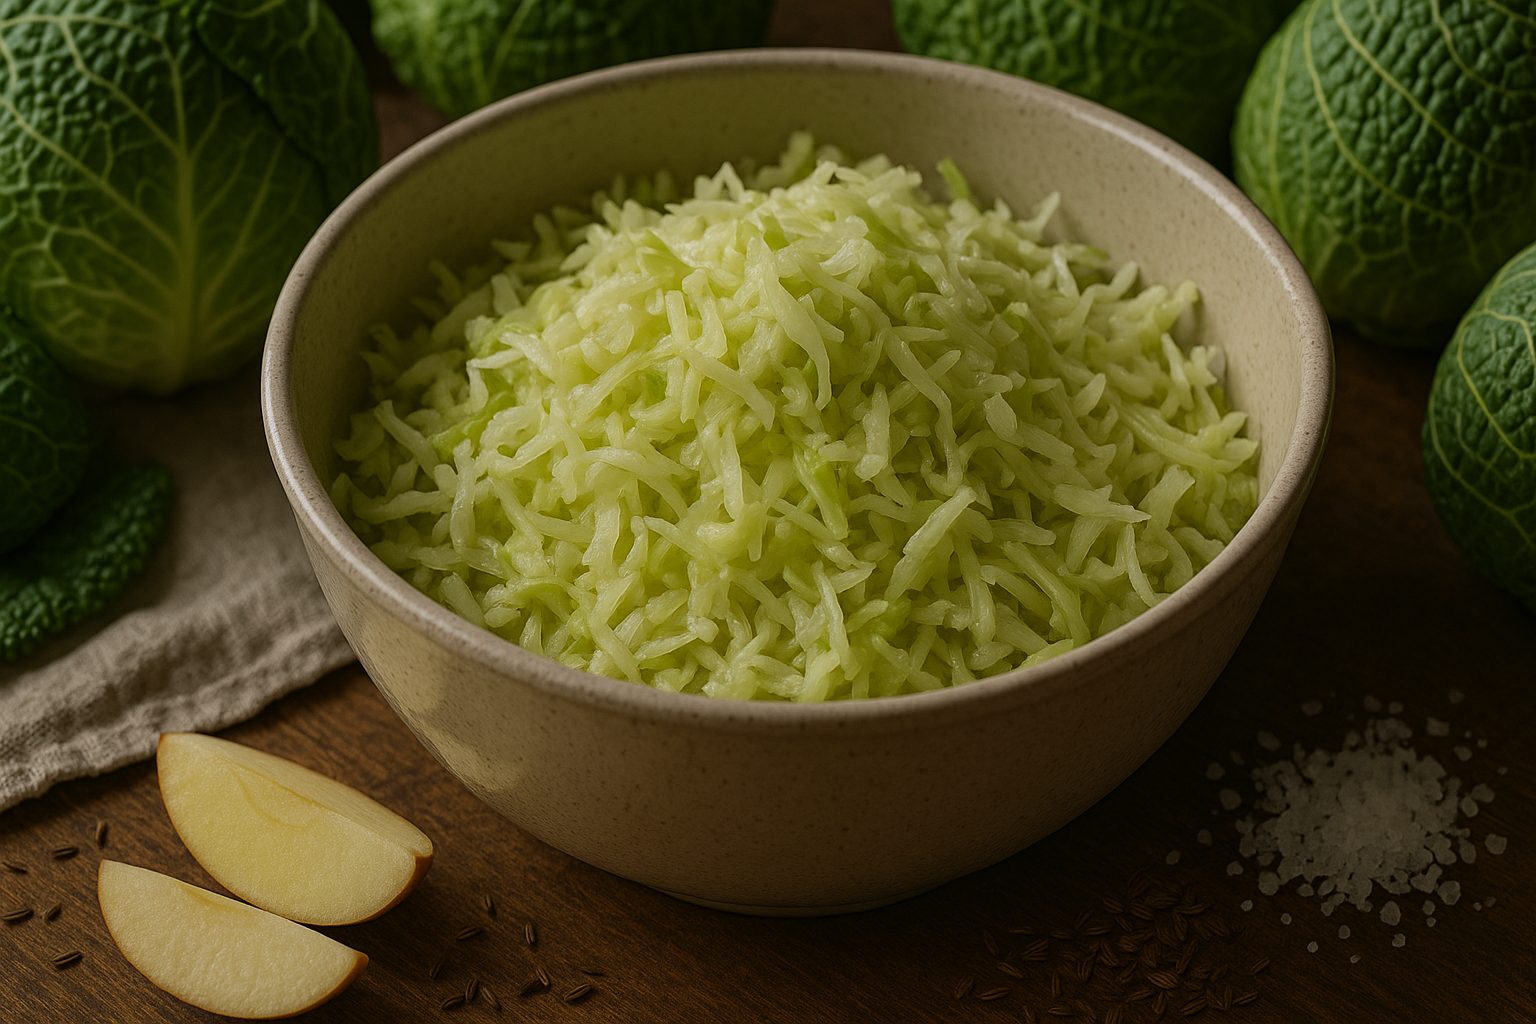
Step-by-Step Guide: How to Make Sauerkraut
Making sauerkraut at home is surprisingly simple, but a few key steps ensure your batch turns out delicious and safe. First, start with fresh, crisp green cabbage—organic is best, since preservatives can inhibit fermentation. Remove any damaged outer leaves, then halve and core the cabbage before finely shredding it with a sharp knife or mandoline. Measure out your cabbage as you go; you’ll need about three tablespoons of non-iodized salt (such as sea salt or pickling salt) for every five pounds of cabbage. This ratio is important, as too little salt can invite spoilage, while too much can slow fermentation.
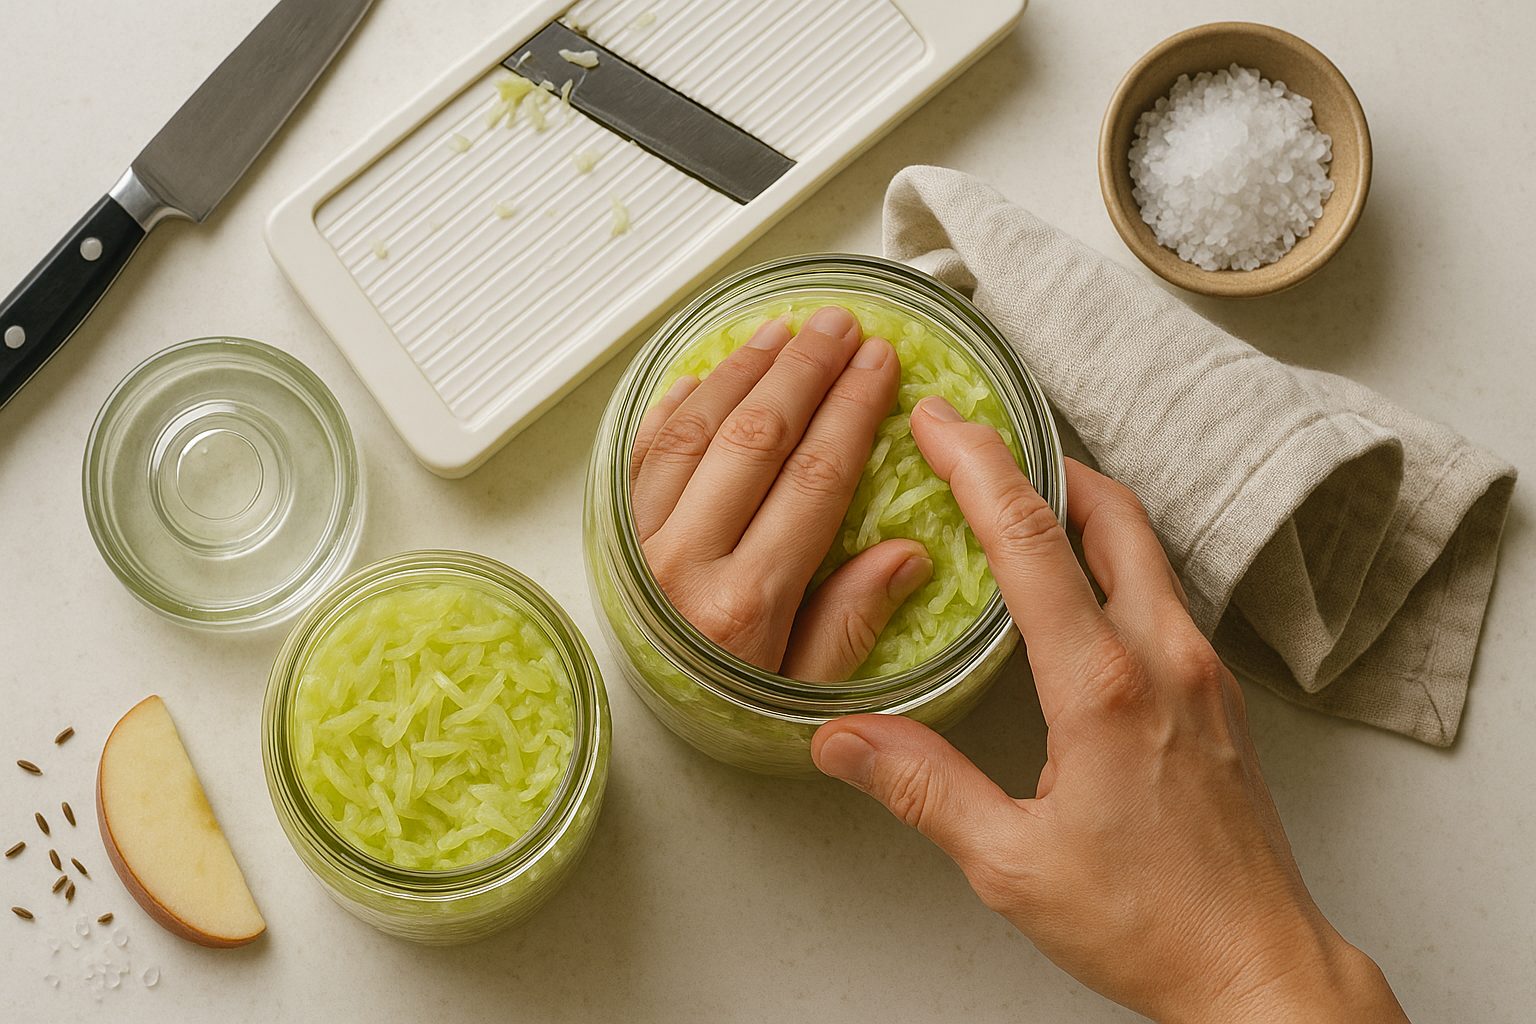
Sprinkle the salt over the cabbage in a large, clean bowl and use clean hands to massage and squeeze the mixture. You’ll notice the cabbage slowly wilts and releases its juices—this brine is crucial for proper fermentation and should not be discarded. The process takes around 5–10 minutes; continue until there’s a visible pool of liquid at the bottom of the bowl.
Next, transfer the salted cabbage and its brine into a clean, wide-mouth glass jar or traditional fermentation crock, pressing down firmly as you go. Aim to eliminate air pockets and bring the brine above the cabbage level, which protects your ferment from mold and bad bacteria. If needed, add a bit of filtered water to fully submerge the cabbage—always use water free from chlorine or contaminants.
Place a food-safe weight (such as a cleaned glass jar filled with water or a fermentation weight) on top to keep everything submerged, then cover the jar with a cloth or a loose lid to allow gases to escape. Store your jar in a cool, dark spot with a temperature between 65–72°F; avoid direct sunlight or excess heat, which can cause spoilage.
Check your sauerkraut daily to ensure the cabbage stays under the brine and there’s no mold. A thin white film—called kahm yeast—is harmless, but fuzzy mold is not; scoop it and any affected cabbage away if needed. If your kraut smells foul or looks slimy, discard it and start over—this could be a sign of contamination.
Typically, fermentation takes one to four weeks depending on your preference for texture and tang. Taste it every few days, and once it has reached your ideal flavor, transfer the sauerkraut to the fridge, where it will last for months. Always use clean utensils when handling to avoid introducing unwanted bacteria.
With a bit of care and patience, you’ll have crunchy, flavorful sauerkraut that’s perfect for sandwiches, salads, or as a healthy snack!
Fermentation Time and Storage Tips
Fermentation time varies depending on what you’re making, but most vegetable ferments—like sauerkraut or kimchi—take about 1 to 4 weeks at room temperature, while beverages like kombucha are often ready in 7 to 14 days. To judge if fermentation is complete, look for a tangy, sour aroma and taste, plus visible bubbles or a slightly fizzy sensation, which shows active fermentation.
The mixture’s color should brighten or become more translucent, and brine levels may rise with released gases. Successful fermentation has a pleasantly sour or sharp smell, never rotten or chemical-like. If you spot fuzzy mold, slimy textures, or an off-putting, rotten odor, that’s a sign of spoilage—discard the batch.
Taste-testing is the best way to know if your ferment is ready: it should taste tangy and enjoyable, not bitter or putrid. Once fermentation is complete, store your food in the fridge to slow fermentation and preserve flavor for months—just use a clean utensil each time to avoid contamination.
Longer Storage Options
For longer storage, you can water-bath can many fermented vegetables; just know that canning may lessen probiotic content since heat destroys live cultures. Freezing is another option for some ferments, especially for preserving flavor, though it may change texture slightly—thaw in the fridge before use.
Label jars with dates so you can keep track of freshness, and always trust your senses—appearance, smell, and taste are your best guides to a safe, delicious ferment.
Customizing Sauerkraut – Flavor Variations and Swaps
Customizing sauerkraut opens up a world of flavor possibilities beyond the classic tangy taste. For a punchy, Eastern European twist, try adding caraway seeds or juniper berries—these spices complement cabbage perfectly and add subtle earthy notes. If you crave heat, thinly diced jalapeños or a scoop of grated ginger will give your kraut a gentle kick. For crisp sweetness, shredded carrots, apple slices, or dried cranberries make excellent add-ins and naturally boost both flavor and texture. A handful of beets can tint your kraut a vibrant pink while lending a sweeter, earthier undertone. Adding garlic, dill, or sliced onions transforms sauerkraut into a savory, aromatic condiment that pairs beautifully with grilled meats or sandwiches.
The beauty of swapping ingredients goes beyond taste—add-ins like carrots, onions, or fruits introduce new nutrients and may enrich the ferment with different probiotic strains, depending on the diversity of natural bacteria present. However, keep in mind that sugary add-ins like apples can speed up fermentation, so taste regularly to avoid over-souring.
Sauerkraut isn’t just for bratwursts and hot dogs, either. Layer it into grain bowls, serve it alongside scrambled eggs, or toss it into salads for a zippy, gut-friendly crunch. Try it on avocado toast, with roast chicken, or even as a topping for tacos to add brightness and complexity. By mixing up your ingredients, you can create custom krauts that suit any meal, lend variety to your diet, and keep healthy probiotics a fun part of your kitchen routine.
Common Problems and Solutions
Fermenting sauerkraut can seem intimidating at first, but most problems have simple solutions. One common issue is mold growth, which typically appears as fuzzy spots on the surface. If the mold is only on the surface, scoop it out along with a bit of the surrounding kraut—clean the container’s rim, make sure the cabbage stays submerged in brine, and it should be fine.
However, if you see pink, black, or brightly colored mold or slime throughout the batch (not just the top), it’s safest to discard everything and start over, as these can signal dangerous contamination.
Slime, unpleasant textures, or a rotten odor usually mean the environment was too warm or oxygen got in; double-check that your cabbage is fully submerged and consider using an airlock lid next time.
Off-odors (like rotten eggs or a foul, putrid scent) may mean unwanted bacteria have taken over—always trust your nose, and if in doubt, throw it out.
Excess saltiness can be solved by rinsing the finished kraut before eating or using less salt next time—try using a kitchen scale for accuracy.
If your sauerkraut isn’t fermenting (has no tang or fizz after a week or two), check that the temperature is between 65–75°F and that you’re using enough salt; too little salt or cool temperatures slow things down.
For best results, always use clean utensils, hands, and containers, and keep veggies below the brine. Most minor surface issues can be fixed, but when in doubt about the safety of your ferment, it’s better to be cautious—remember, safe ferments have a pleasant sour smell, crisp texture, and briny flavor.
Simple Sauerkraut Recipe
Making your own sauerkraut at home is easier than you might think and requires only two simple ingredients: 1 medium head of green cabbage (about 2 pounds) and 1 ½ tablespoons of sea salt. Start by removing any damaged outer cabbage leaves. Slice the cabbage in half, cut out the core, then finely shred or slice it as thinly as possible.
Place the shredded cabbage in a large mixing bowl and sprinkle with salt. Massage the cabbage with clean hands for about 5–10 minutes until it starts to release liquid and becomes limp. Pack the salty cabbage tightly into a clean, wide-mouthed quart-size glass jar, pressing it down firmly with a spoon or your fist to remove air pockets.
Pour any liquid from the bowl into the jar—this natural brine should cover the cabbage. If it doesn’t, add a splash of filtered water to submerge the cabbage. Place a small, clean weight (like a jelly jar or fermentation weight) on top to keep the cabbage submerged. Cover the jar loosely with a cloth or lid, allowing gases to escape.
Keep the jar at a cool room temperature (around 65–72°F) away from direct sunlight. Check daily for at least a week—usually, 7–14 days is enough for that classic tangy flavor. Taste after one week and continue fermenting until you like the flavor, then refrigerate.
Pro tip:
- If you see harmless white film or bubbles on the surface, simply skim them off.
- Always ensure your cabbage stays under the brine to prevent spoilage.
- If you ever notice mold, strange smells, or sliminess, it’s best to toss the batch and start fresh.
With patience and care, you’ll have crisp, homemade sauerkraut to enjoy on sandwiches, salads, or as a flavorful side!