Introduction to Straw Bale Gardening
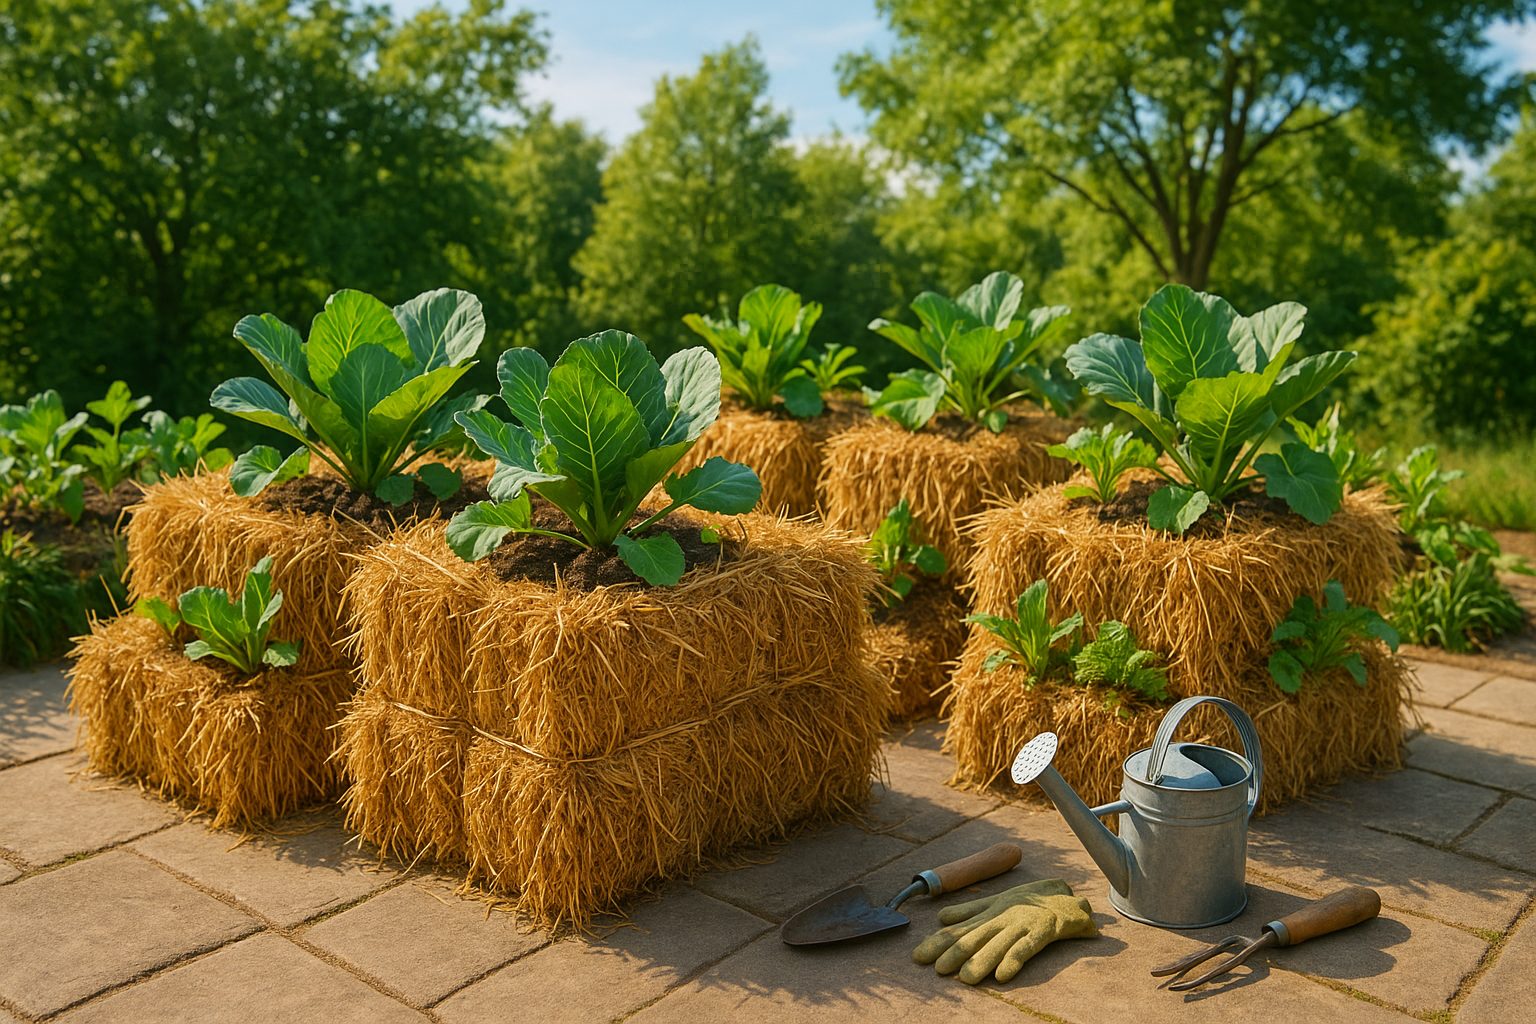
Straw bale gardening has captured the attention of green thumbs everywhere, and growing cabbage in straw is just one innovative way this method is transforming the gardening world. Unlike traditional soil-based gardening, straw bale gardening uses tightly bound bales of straw as both the growing medium and planting bed, offering a solution for those who struggle with poor soil quality, cramped yards, or limited mobility.
With the bales acting as both container and compost, this technique can be set up almost anywhere—on patios, driveways, or even balconies—making it accessible for urban gardeners and anyone short on garden space. Curious if your favorite cool-weather crop can thrive using this method? In this guide, we’ll explore how to successfully grow cabbage in straw, from choosing the right bales and preparing them for planting to caring for your developing plants and harvesting a crisp, homegrown yield.
Whether you’re a seasoned gardener looking for a new challenge or a beginner seeking a simple start, our step-by-step approach will help you master the art of straw bale gardening.
Benefits of Straw Bale Gardening
Straw bale gardening offers a range of compelling benefits for gardeners of all experience levels.
One major advantage is improved drainage—straw bales naturally allow excess water to escape, helping roots stay healthy and reducing the risk of rot. This method also suppresses weeds since seeds from the ground can’t easily reach the planting area inside the bale, saving you time and effort on maintenance.
The elevated height of straw bales makes them more accessible, minimizing back and knee strain for people who might have difficulty bending down—ideal for seniors or anyone with mobility challenges. A unique perk is the heat generated as the straw decomposes; this natural warmth protects plants from early or late frosts, allowing you to start your garden sooner in the spring and keep going a bit longer into the fall.
From an environmental standpoint, straw bale gardening is highly sustainable—you can use leftover straw that might otherwise go to waste, and at the end of the season, the decomposed bale breaks down into rich, organic compost to feed your garden beds or lawn.
There’s also the flexibility factor: straw bales can be set up just about anywhere, from city balconies and rooftops to rural backyards, making this approach adaptable for almost any setting.
With these advantages in mind, straw bale gardening appeals not only for its convenience, but also for its ability to support greener, more inclusive, and space-efficient growing.
Choosing and Placing Your Bales
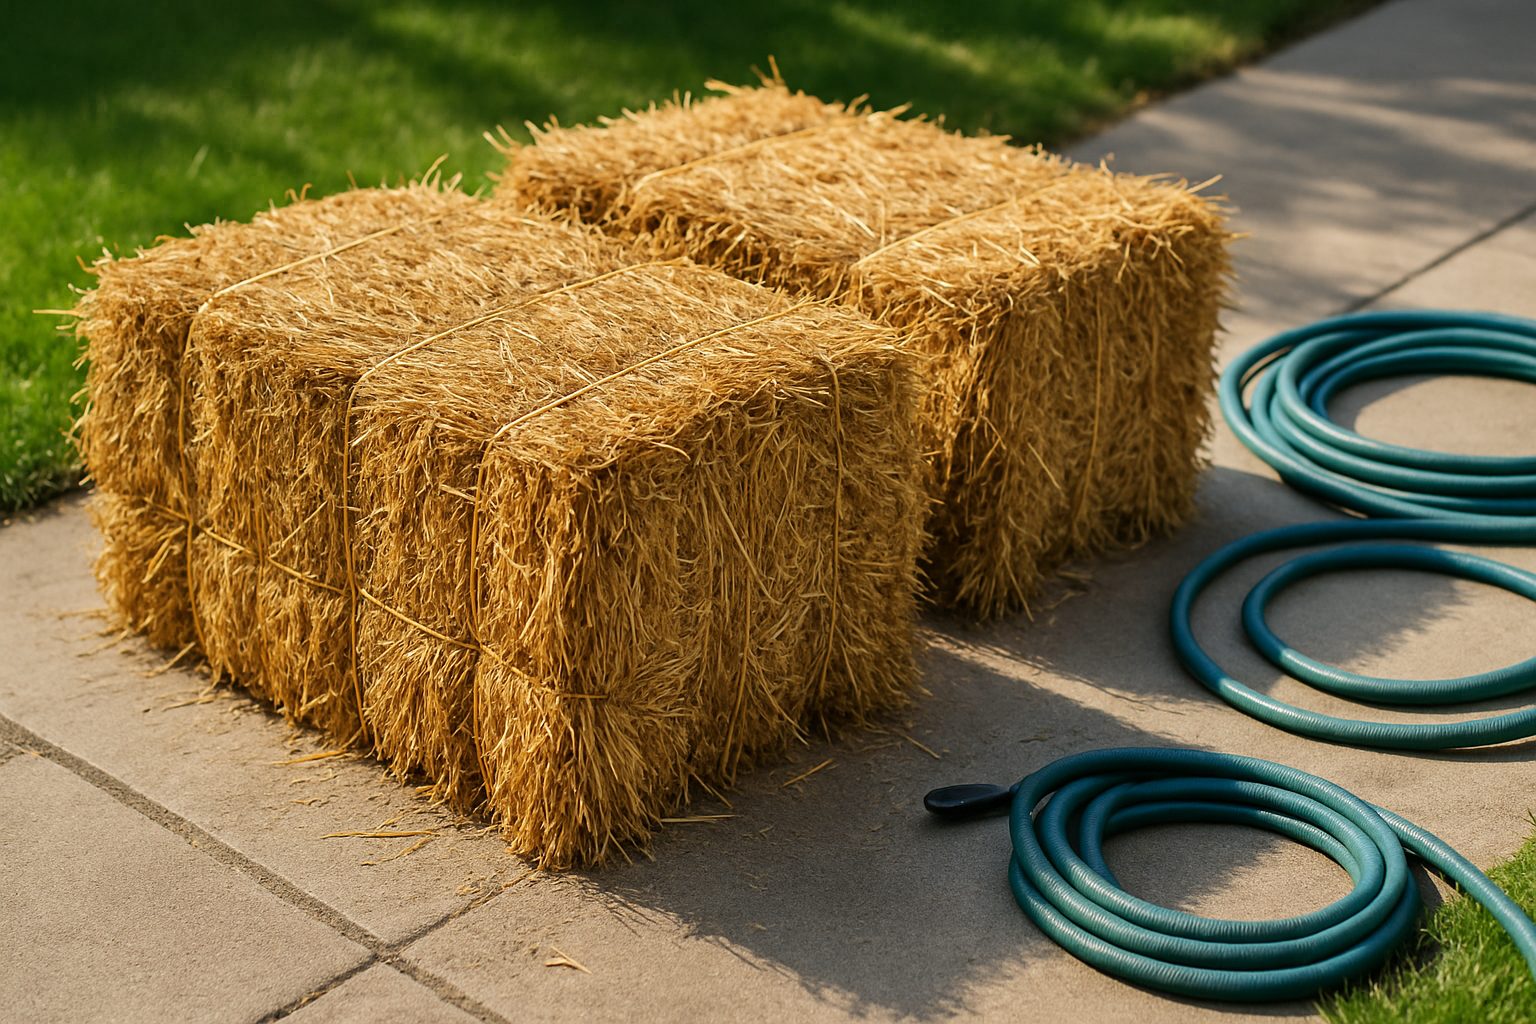
When starting a straw bale garden, selecting the right bales is crucial for success. Always choose straw bales—wheat or barley straw works best—because they’re made of the hollow, stalky remains of harvested grains and won’t sprout unwanted plants. Avoid hay bales, which often contain seeds and can quickly turn your garden into a weedy mess.
Look for golden-colored, tightly bound bales without signs of mold or rot; these are typically found at local garden centers or farm supply stores. Once you have your bales, pick a location that gets at least six to eight hours of direct sunlight per day—shade will stunt plant growth.
Place bales close to a water source to streamline daily watering, since straw breaks down and dries out quickly, especially in sunny spots. Avoid placing bales directly under large trees or in low-lying areas where water pools, as too much moisture causes mildew and root issues.
Arrangement is also key:
- For narrow spaces, a single row of bales along a fence or wall maximizes growing area without overcrowding.
- If you have a larger patch, arrange bales into a U-shape or rectangular block, leaving room in the center for easy access; this makes watering, planting, and harvesting pain-free.
- Think about walking paths—leaving 2-3 feet between bale rows lets you move around without trampling crops.
With some thoughtful choices at the outset, your straw bale garden will be productive, tidy, and easy to manage.
Prepping Bales for Planting
Getting your straw bales ready for planting involves a simple but crucial process called conditioning, which takes about 10 to 14 days. Start by thoroughly soaking each bale with water every day for the first three days—this is important because it jumpstarts the internal decomposition that will eventually feed your plants.
From day four to day six, continue watering daily, but now begin adding fertilizer to provide the necessary nitrogen for decomposition. Organic options like blood meal or fish emulsion work well; simply sprinkle about half a cup evenly over each bale and water it in. If you prefer inorganic fertilizers, conventional lawn fertilizers with a high first number (like 34-0-0) are effective—just make sure they don’t contain herbicides. Use about half a cup per bale each day you apply, following the product instructions.
After day six, alternate fertilizer and plain watering days until the end of week two, when the bales should feel warm and emit an earthy smell—signs that the process is working.
Watch for common issues:
- If your bales develop a strong, sour odor, they may be too wet—reduce watering and ensure they’re draining well.
- If you see white mold, that’s normal and usually harmless; just avoid planting in bales with thick, black, slimy mold.
- To keep pests away, avoid letting bales sit soggy for too long, and don’t add kitchen scraps or food waste during conditioning, as this attracts critters.
By day 10 to 14, your bales should have cooled to below 100°F and smell like healthy compost, indicating they’re ready for planting. This step-by-step approach helps ensure your straw bale garden gets off to a strong, healthy start.
What to Grow in Straw Bales
Straw bale gardening opens up a world of possibilities for both new and seasoned gardeners, thanks to its flexibility and convenience. Many vegetables and herbs thrive in straw bales, making them an ideal choice for growing tomatoes, peppers, cucumbers, leafy greens like spinach and lettuces, savory herbs such as basil, parsley, and cilantro, and even root vegetables like carrots, potatoes, and radishes.
Tomatoes and cucumbers, which tend to grow tall and heavy, will need some extra support—try inserting sturdy stakes or cages directly into the bales to hold them upright as they mature.
Planning your planting is also key, especially if you plan to garden in straw bales year after year; rotate your crops by alternating plant families in each bale every season to reduce the risk of soil-borne diseases and keep your yields high.
Don’t forget the power of flowers and companion planting: slipping in marigolds, nasturtiums, or calendula around your veggies not only adds a vibrant splash of color but also helps attract pollinators and fend off pests naturally.
For the best results, pair compatible plants together—basil is great near tomatoes, while lettuce grows well alongside carrots—creating a resilient, productive, and visually appealing garden.
With just a bit of planning and creativity, your straw bale garden can become a lush, low-maintenance haven bursting with healthy produce and vibrant blooms.
Planting Techniques & Supporting Plants
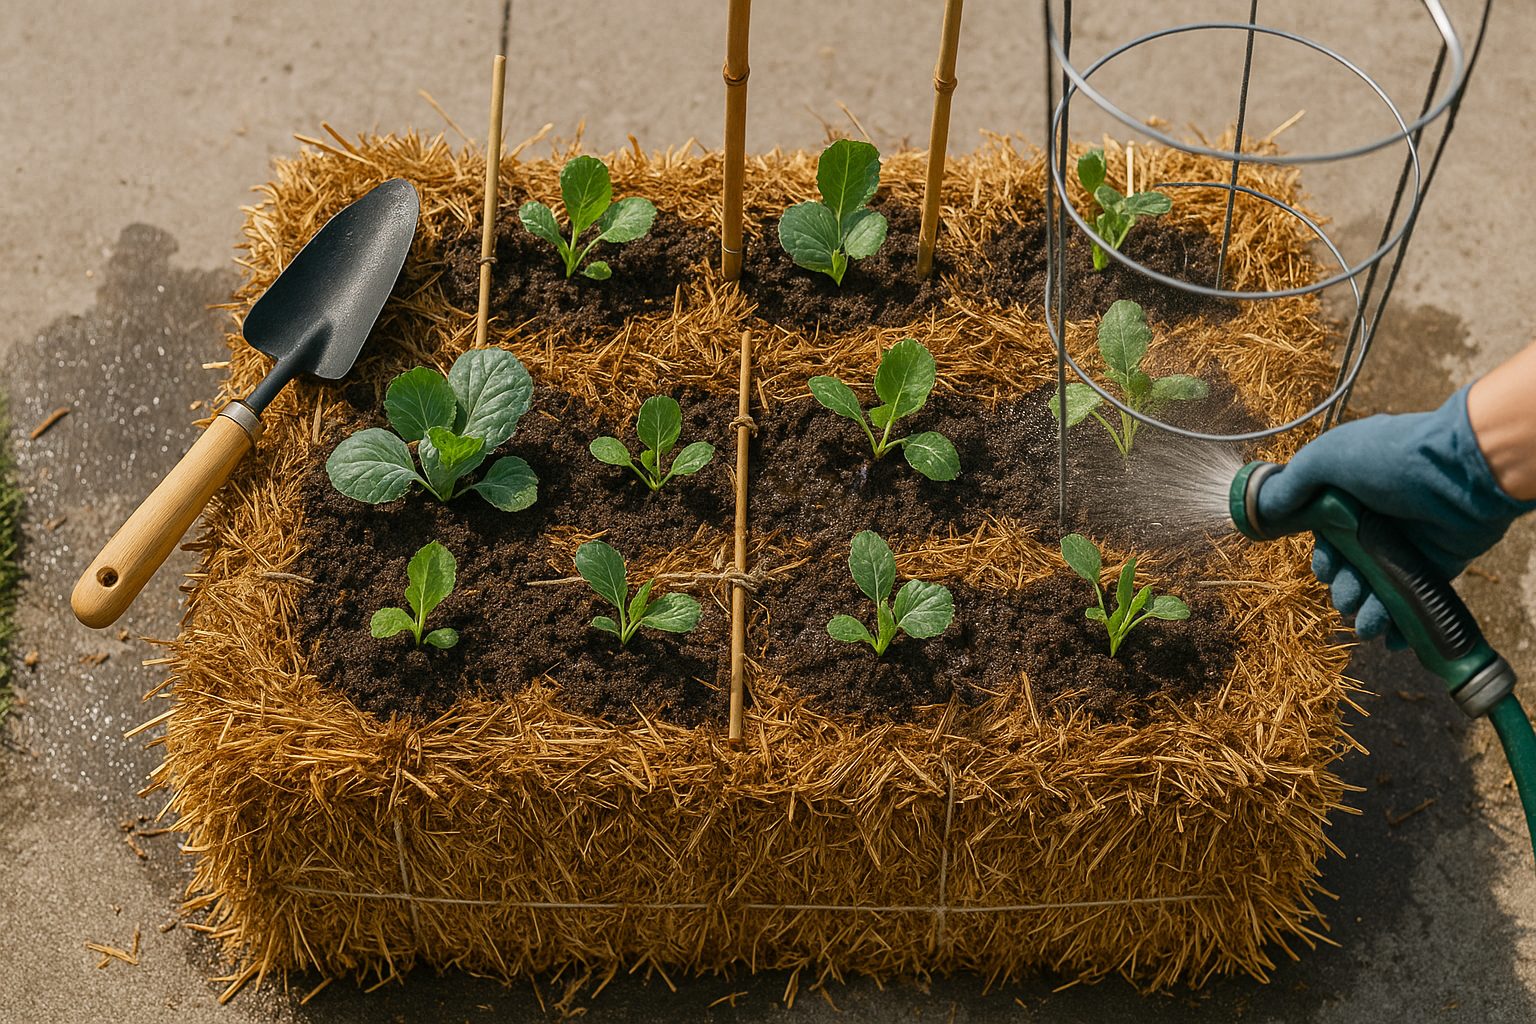
Start by making shallow holes or trenches in the prepared straw bale using a trowel or your hands, about 2-3 inches deep for seeds and 4-6 inches for seedlings. For seeds, sprinkle them evenly into the holes, gently cover them with a loose layer of straw or potting mix, and mist with water. When transplanting seedlings, carefully remove them from their nursery pots, keeping the roots as intact as possible, and nestle them into the openings, pressing the straw gently around each base for support and stability.
Space seeds and seedlings appropriately—typically 6-12 inches apart—depending on the plant variety. After planting, give the entire bale a thorough watering, ensuring all areas are moist but not soaked, to help seeds germinate and roots establish quickly.
Continue to water regularly, especially during hot spells; straw bales dry out faster than regular soil, so check moisture daily by inserting a finger inside the bale—if it feels dry past the first inch, it’s time to water deeply. Adding a layer of straw, grass clippings, or organic mulch on top can help retain moisture, regulate temperature, and reduce weed growth.
As crops grow, pay special attention to tall or vining varieties—like tomatoes, beans, or cucumbers—which may need extra support to prevent bending or breaking. Use sturdy stakes, tomato cages, or horizontal trellises, pushing them directly into the bale soon after planting so as not to disturb roots later on. Tie stems gently with soft twine as the plants grow, and adjust ties as needed throughout the season. These simple but essential supports will keep plants upright, improve airflow, and make harvesting easier.
With attentive planting, consistent watering, and sturdy support, your straw bale garden will reward you with healthy, productive crops all season long.
Maintaining & Troubleshooting Your Straw Bale Garden
Keeping your straw bale garden thriving is all about consistent, hands-on care. Start by checking moisture daily—straw bales tend to dry out quickly, so watering in the early morning or late afternoon helps the bale retain moisture and reduces evaporation. A good rule of thumb is to water until you see it dripping from the bottom.
As plants grow, supplement feeding every two to three weeks with a diluted fish emulsion or compost tea to replenish nutrients the bales lose over time. Stay ahead of weeds by pulling any sprouts you spot, as some seeds in the straw may germinate.
For common straw bale garden pests like aphids and slugs, opt for organic remedies such as spraying with a mild homemade soap solution for aphids or sprinkling diatomaceous earth to deter slugs. Powdery mildew can sometimes appear—treat affected leaves with a baking soda and water spray (1 tablespoon baking soda per gallon of water) to keep it in check.
If your bales begin to sag or collapse, reinforce them with stakes or wooden planks along the sides to maintain their shape and support growing plants. To combat rapid drying, consider mulching the tops with straw or grass clippings to help retain moisture.
Regular observation is key: check each day for changes in plant health or structure of the bales, as early intervention makes solving issues much simpler and keeps your straw bale garden flourishing season after season.
Harvesting & What to Do with Used Bales
Knowing when to harvest your vegetables is key to getting the best flavor and nutrition from your straw bale garden. Look for classic signs: tomatoes will be rich in color and slightly soft to the touch, lettuce should be full and leafy, and carrots will often show their shoulders right above the bale surface. Gently twist or snip fruits and vegetables rather than pulling, as the bales may be less stable than traditional soil. Use clean, sharp garden scissors to avoid damaging plants or disturbing the bale.
Once your season wraps up, don’t let used straw bales go to waste! They break down into rich organic material perfect for compost piles—just toss them in and let nature work its magic. Alternatively, layer the decomposing straw as mulch between garden rows to keep weeds down and moisture in, or dig the spent straw directly into beds as an easy soil amendment to boost next year’s harvest.
Remember, each bale can have a second life and help build a healthier, more productive garden. With a watchful eye on harvest timing and a plan for spent bales, your straw bale garden will keep rewarding you year after year. Keep experimenting and don’t be afraid to try new crops or reuse straw in creative ways—the real secret is getting started and learning as you grow.