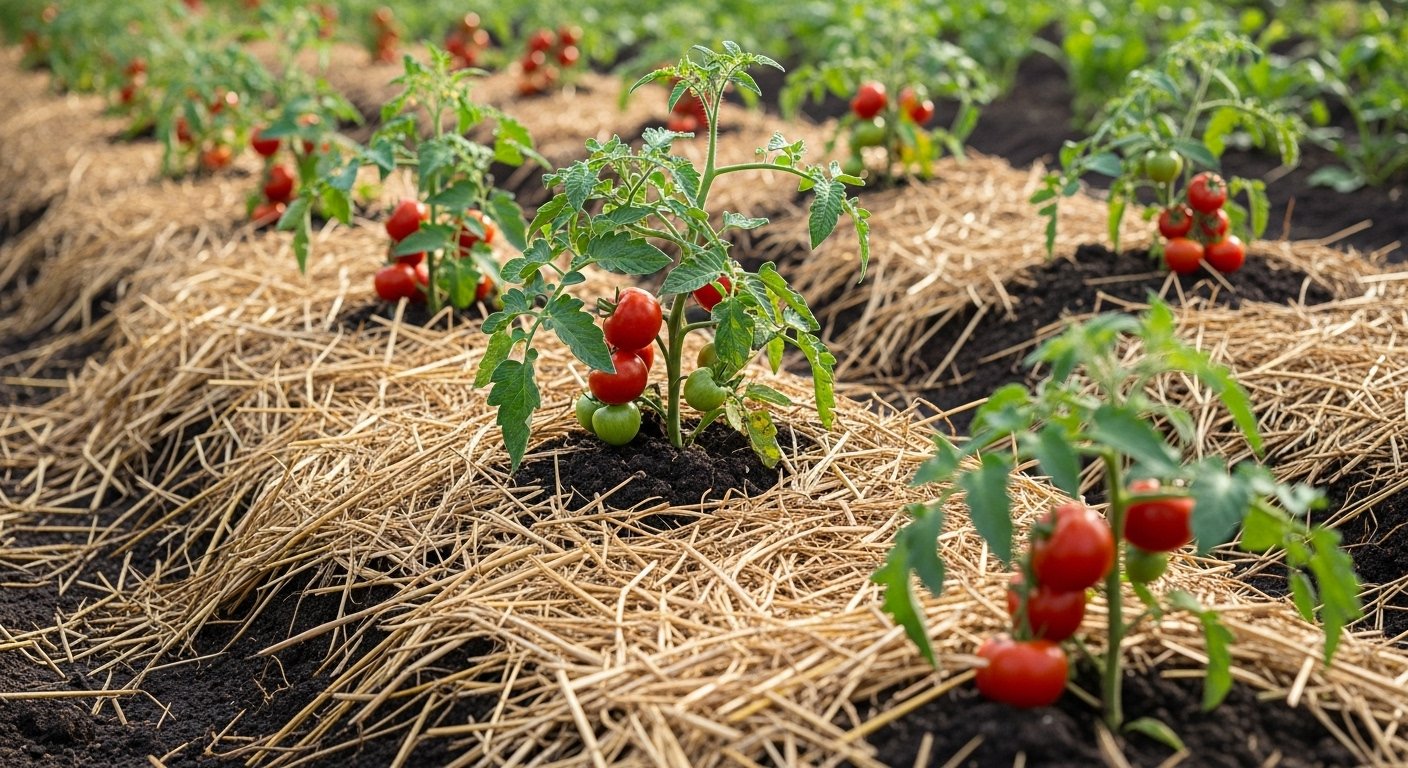
Why Mulching Tomatoes Matters
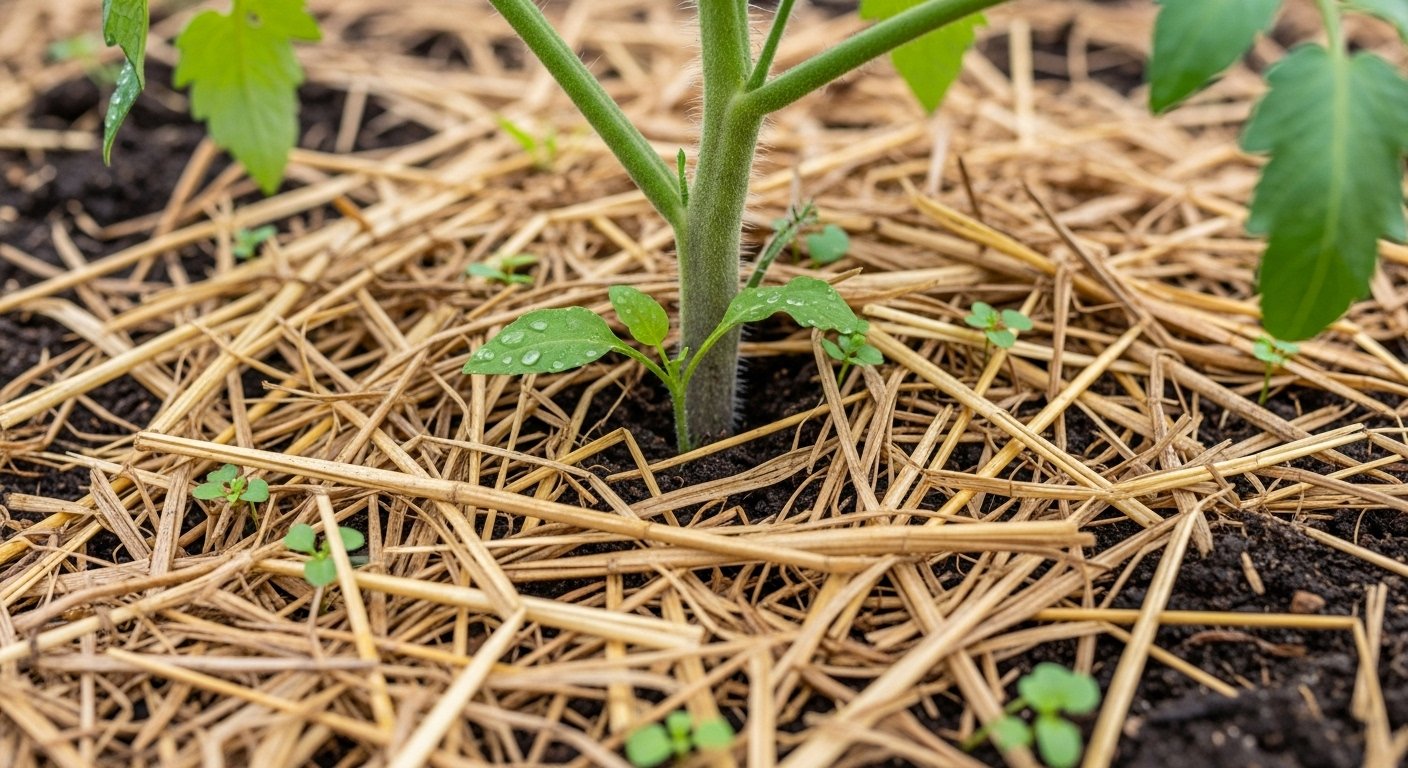
Mulching tomatoes is an essential gardening practice that can dramatically improve the health and productivity of your plants. Mulching simply means placing a layer of organic or inorganic material, like straw, wood chips, or even black plastic, on the soil surface around tomato plants. This simple step plays a huge role in helping your tomatoes thrive.
First, mulch helps retain soil moisture by slowing down evaporation. In the heat of summer, this means less frequent watering, which saves you time and ensures your tomato roots always have access to the water they need.
Second, mulch acts as an insulator, keeping soil temperatures steady. Tomatoes dislike dramatic temperature swings, so a cozy, mulched bed can protect their roots from stress on chilly nights or during midday heatwaves.
Third, mulch works as an effective weed barrier. By blocking sunlight, it prevents pesky weeds from sprouting, giving your tomato plants all the nutrients and space they need to grow strong and fruitful.
The end result? Healthier plants with fewer stressors, which typically leads to juicier, more abundant harvests. In fact, gardeners who adopt mulching tomatoes often report larger, tastier tomatoes and less trouble from diseases that splash up from bare soil, such as blight.
Whether you’re a beginner with a few pots or tending a sprawling backyard plot, mulching tomatoes is a simple tip that can pay off big when it’s time to harvest.
Choosing the Right Mulch for Tomatoes
When it comes to mulching tomatoes, choosing the right material can make a big difference in plant health and yield. Natural mulches like straw, compost, bark, and hay are popular for their ability to lock in moisture, suppress weeds, and gradually improve soil as they break down.
Straw is affordable and easy to spread, but make sure it’s seed-free to avoid unwanted sprouts. Compost boosts nutrients but may need frequent replenishing and could attract critters. Bark chips look tidy and last a long time, though they don’t feed the soil as much and might acidify it slightly over time. Hay works like straw but, unless it’s weed-free, can introduce seeds to your beds.
Artificial mulches like black plastic sheets warm up soil quickly and control weeds but don’t provide nutrients and can lead to water runoff if the garden isn’t watered carefully.
Climate Considerations
For hot and sunny climates, consider reflective mulches or light-colored straw to prevent overheating, while gardeners in cooler regions may benefit from black plastic to boost soil warmth.
Garden Size and Tomato Variety
Small garden beds often do well with natural mulches like compost for easier management and soil improvement, whereas large gardens might prefer straw or hay that can be deployed in bulk. Heirloom or disease-sensitive tomato varieties are happiest with organic mulches that shield their roots while letting the ground breathe.
Whichever mulch you choose, keep it a couple of inches away from the plant stems to avoid rot and give your tomatoes the best start.
How to Properly Mulch Tomato Plants
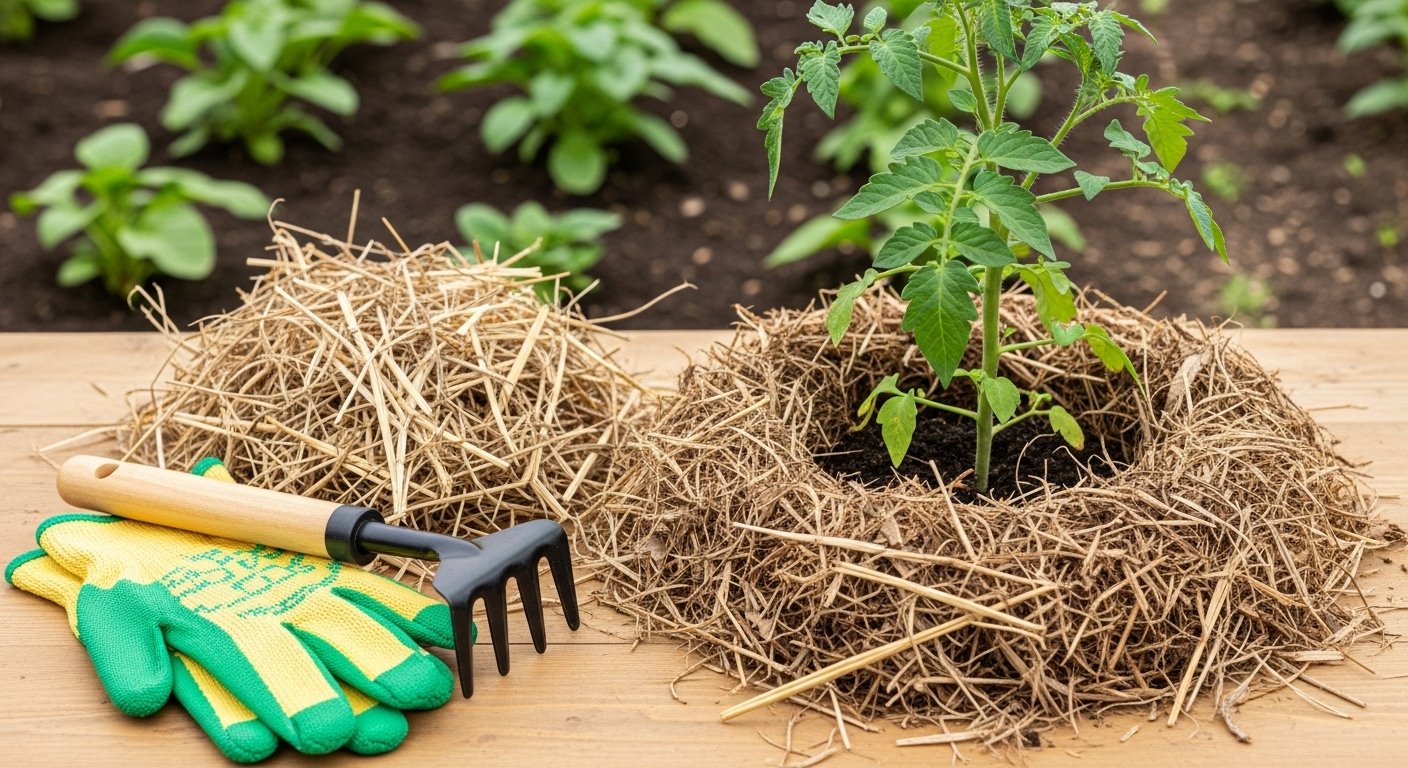
To mulch your tomato plants effectively, start by preparing the soil: clear away any old leaves or debris from around the base of the plant to reduce disease risk. Lightly loosen the top layer of soil and water it well, so the roots have enough moisture before covering the area.
When choosing mulch, organic options like straw, shredded leaves, or grass clippings work well and will break down to enrich the soil over time. Apply a 2-3 inch layer of mulch around each plant, but be careful to keep the mulch at least two inches away from the main stem—piling mulch too close can trap moisture against the stem and cause rot.
The ideal time to mulch tomato plants is after the soil has warmed and your plants are established, typically once they’re 6-12 inches tall and the threat of frost has passed. Early mulching or mulching cold soil can slow root growth, so patience pays off.
Check your mulch layer midway through the season and replenish if needed, keeping that ring of space around the stems clear to ensure healthy, productive tomatoes all summer.
Mulch Maintenance: Keeping Your Tomatoes Thriving
Maintaining mulch around your tomato plants is key to keeping soil moisture consistent and weeds at bay, but it requires a bit of seasonal attention. Throughout the growing season, check your mulch every couple of weeks—especially after heavy rain or windy days—as it can thin out or shift, exposing bare soil.
If you notice the mulch layer is less than two inches thick, add a fresh topping to keep coverage effective. Signs that your mulch needs replenishing include visible patches of soil, faded color, or a compacted, slimy texture.
Be alert for problems like mold growth, which usually appears as white or gray fuzzy spots on organic mulch. To prevent this, avoid piling mulch directly against plant stems and allow mulch to dry out occasionally by fluffing it with a rake.
Pests such as slugs or earwigs sometimes hide under mulch. If you spot chewed tomato leaves or pests underneath, consider using organic deterrents like diatomaceous earth or hand-pick pests in the early morning.
By staying proactive with a quick mulch check each week, you’ll keep your tomatoes healthier and your garden beds looking tidy all season long.
Maximizing Tomato Health With Complementary Care
Mulching does more than just suppress weeds—it’s a cornerstone of a healthy tomato care routine that supports key practices like watering, fertilizing, and staking. When you lay down a two-to-three-inch layer of organic mulch, such as straw or shredded leaves, it helps maintain consistent soil moisture so your tomatoes don’t suffer the stress of drying out between waterings.
This means you can water less often and more effectively because less moisture evaporates from the soil surface. Mulch also acts as a barrier that slows fertilizer runoff, allowing nutrients to stay available to your plants longer. If you side-dress tomatoes with compost or organic fertilizer, the mulch locks in those nutrients right at the root zone.
For staked tomatoes, mulch keeps the area under and around each plant clean and dry, reducing soil splash that can spread disease up onto the leaves. To get the most out of your mulch, apply it after planting and once the soil has warmed up, then keep mulch pulled an inch or two away from the stems to prevent rot.
Combine regular mulching with deep watering, timely feeding, and sturdy staking, and you’ll create an environment where your tomato plants thrive with less work and fewer problems.
Common Questions About Mulching Tomatoes
Many gardeners wonder when to start mulching their tomato plants—early summer is ideal, once the soil has warmed and the plants are well established.
Grass clippings are a popular mulch choice, but use only dry, untreated clippings in a thin layer (about 1-2 inches) to avoid matting and encourage airflow. Refresh your mulch once or twice during the season, especially if it looks thin or breaks down quickly.
Watch for signs of too much moisture, like yellowing lower leaves or a musty smell, which can encourage fungal growth. If this happens, carefully pull back the mulch to let the area dry out, then reapply it with a lighter hand.
Be sure to keep mulch away from directly touching tomato stems to prevent rot, and avoid piling organic mulch too thickly—about 2-3 inches is plenty for most materials. Also, avoid using mulch from grass treated with herbicides or pesticides, as these can harm your tomatoes.
Following these simple guidelines not only helps conserve soil moisture and block weeds but also creates a healthier environment for your tomato plants.