Introduction
If you’re aiming for healthy, robust sweet potatoes in your garden, using the right fertilizer is key to supporting leafy growth and high yields. The good news? You can easily make an effective homemade sweet potato fertilizer using everyday kitchen waste. Not only does this method cut down on gardening expenses, but it also helps reduce household food waste—a win-win for your wallet and the planet.
Instead of tossing eggshells, banana peels, or coffee grounds, you can transform them into a rich, nutrient-dense boost for your sweet potato vines. In this post, you’ll learn how to identify the best kitchen scraps for your soil, simple steps to prepare your own homemade sweet potato fertilizer, and tips for applying it to maximize plant health while embracing sustainability. Get ready to turn table scraps into garden gold—and grow sweeter, better potatoes with less waste!
Why Use Kitchen Waste for Sweet Potato Fertilizer?
Using kitchen waste to make homemade sweet potato fertilizer offers a double benefit—good for your garden and great for the planet. When food scraps are tossed in the trash, they end up in landfills where they rot and release harmful methane gas, a powerful contributor to climate change. By repurposing potato peels, eggshells, banana skins, and coffee grounds, you’re giving new life to what would otherwise be waste.
This not only reduces the amount of garbage heading to landfills but also saves money on store-bought fertilizers. Many common kitchen scraps are rich in nutrients essential for sweet potatoes. For example, banana peels are packed with potassium, helping sweet potato vines thrive and produce plump, tasty tubers. Crushed eggshells provide calcium, which supports strong root development, while used coffee grounds offer a gentle nitrogen boost, encouraging leafy growth. Phosphorus, found in small amounts in vegetable scraps, is vital for healthy roots and tubers.
Sweet potatoes respond exceptionally well to organic fertilizers because they break down naturally, releasing nutrients slowly to match the plant’s growth cycles. In contrast, synthetic fertilizers can deliver nutrients too quickly, risking root burns or nutrient imbalances. By nourishing your sweet potatoes with homemade, organic fertilizer, you’re supporting healthier, more resilient plants while keeping your soil—and the environment—healthier in the long run.
Whether you have a backyard garden or just a few pots, kitchen waste is a win-win resource waiting to be tapped for your homemade sweet potato fertilizer.
Best Types of Kitchen Waste for Fertilizer
When it comes to creating effective homemade sweet potato fertilizer, some kitchen wastes are more beneficial than others. Vegetable peels—especially from carrots, potatoes, and leafy greens—are natural sources of potassium and trace minerals that sweet potatoes thrive on. Coffee grounds are another great addition; they provide nitrogen to promote leafy growth and improve soil structure. Crushed eggshells supply much-needed calcium, which can help prevent common root rot and enhance soil aeration. Don’t toss out those banana peels either! As they break down, banana peels release potassium and phosphorus, both essential for healthy tuber development and strong vines.
That said, not all kitchen scraps are ideal for homemade sweet potato fertilizer. Avoid adding meat, bones, dairy products, or oily items. These break down slowly, attract pests like rodents and raccoons, cause unpleasant odors, and can introduce harmful bacteria to your garden. Sticking to plant-based, low-fat kitchen waste is safer and more effective.
For the best results, store your kitchen scraps in a sealed compost bucket or airtight container to control odors and keep flies away. Empty the container outdoors frequently—ideally every few days—especially in warm weather. To reduce smells, chop large scraps into smaller pieces and regularly mix in dry materials like shredded newspaper or dry leaves to balance moisture and speed up composting. Always wash your hands after handling kitchen waste and clean your storage containers regularly to keep your fertilizer-making process safe and neat.
How to Make DIY Sweet Potato Fertilizer: Step-by-Step Guide
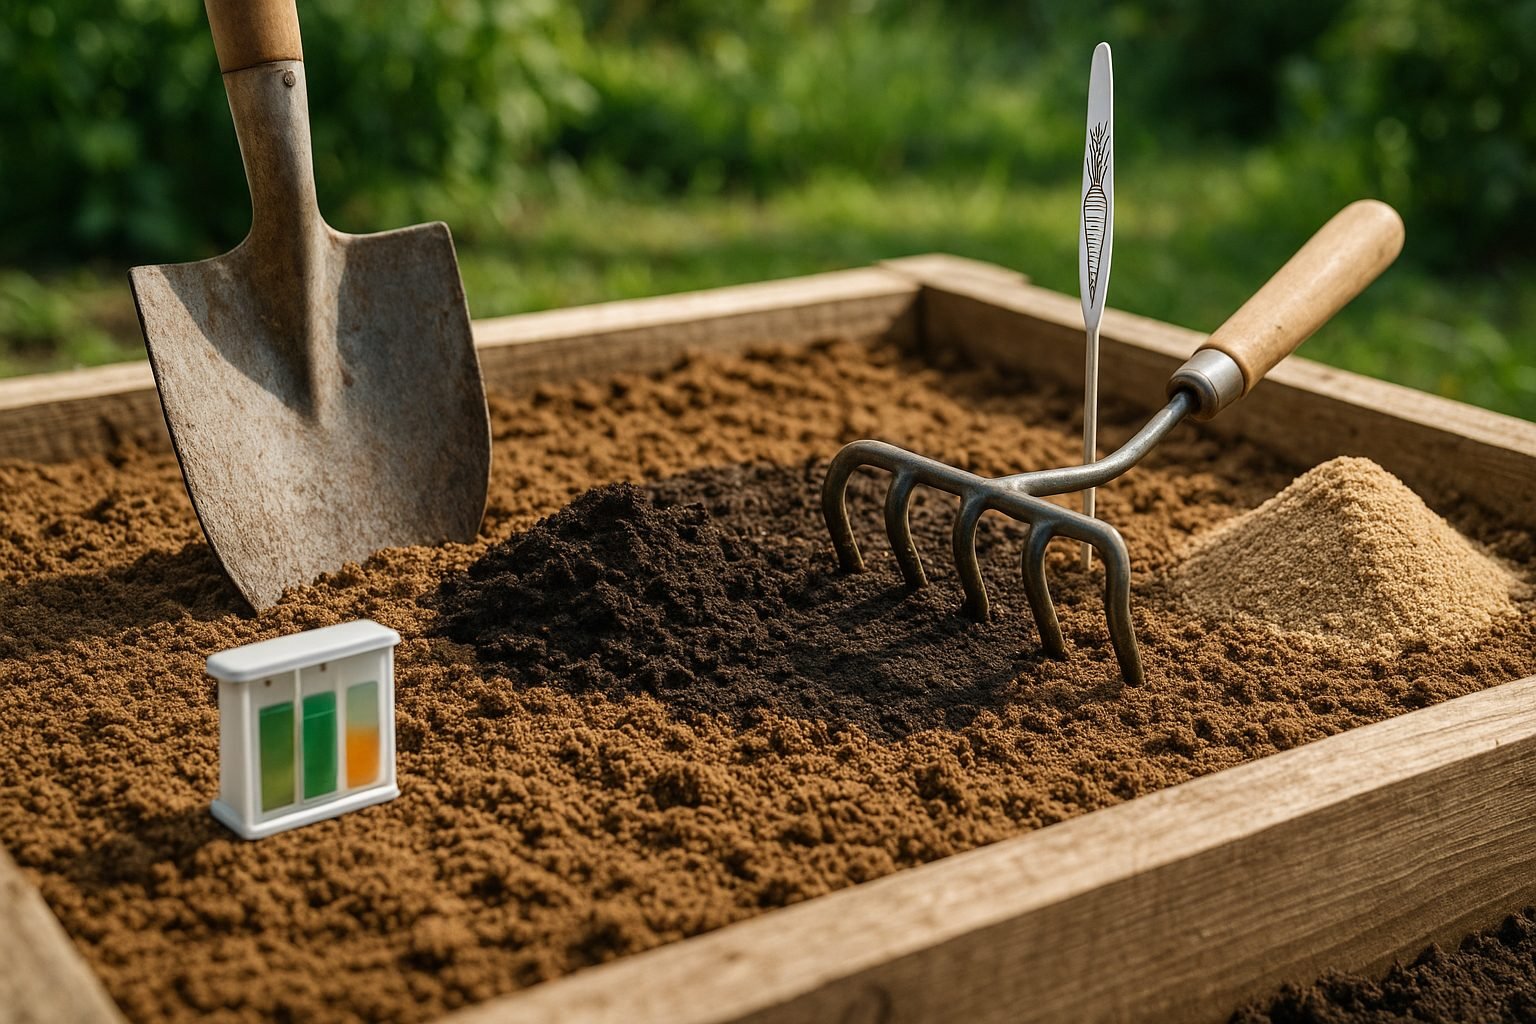
Transforming your kitchen waste into homemade sweet potato fertilizer is not only eco-friendly but surprisingly simple with the right method. Start by collecting suitable kitchen scraps—think vegetable peels, fruit rinds, coffee grounds, eggshells, and spent tea leaves. Avoid adding meat, dairy, or oily foods, as these can attract pests and slow decomposition.
Cut your scraps into smaller pieces to speed up breakdown and store them in a covered container. For traditional composting, add your chopped kitchen waste to an outdoor compost bin or pile, layering with dry materials like leaves, shredded paper, or straw to balance moisture and improve aeration. Turn the pile with a garden fork every week or so to mix the materials and encourage microbial activity.
If you’re tight on space, consider the bokashi method: fill a small, airtight bin with your kitchen scraps and sprinkle in bokashi bran (a mix of beneficial microbes). Press the scraps down to remove air pockets and seal the lid. Every few days, drain the liquid that accumulates—this bokashi “tea” can be diluted and used as a powerful liquid fertilizer for your sweet potatoes. After two to four weeks, the contents will ferment into a pre-compost state that can be buried in garden soil or added to a compost heap to finish breaking down.
For those without outdoor space, try vermicomposting with a worm bin. Place moistened bedding (like coconut coir or shredded newspaper) and a handful of red wigglers in a ventilated bin, and feed kitchen scraps in small, manageable amounts. Keep the bin in a cupboard or corner away from direct sunlight, and harvest nutrient-rich worm castings in a few months.
No matter which method you choose, the final step is curing: let your finished compost aerate for a week or two to mellow, ensuring it’s crumbly and smells earthy. Finally, apply your homemade sweet potato fertilizer by working it into your planting beds before setting tubers or as a top dressing around growing plants. If using bokashi liquid, dilute it to one part tea to 100 parts water before watering around your sweet potatoes.
This homemade approach not only reduces kitchen waste but also delivers vital organic nutrients and beneficial microbes, giving your sweet potatoes an organic boost no store-bought product can match.
Applying Your Homemade Sweet Potato Fertilizer
Applying your homemade sweet potato fertilizer at the right time and in the right way is key to supporting healthy, productive plants. Start by preparing the soil before planting: mix your finished kitchen waste compost—rich in nutrients from vegetable peels, coffee grounds, and eggshells—into the top 4-6 inches of garden soil. Use about 2-3 pounds of compost per square yard to boost fertility without overwhelming young plants.
As your sweet potatoes grow, you can try top-dressing by spreading a half-inch layer of homemade compost around the base of the plants, being careful not to touch the stems. This helps slowly feed the roots as nutrients leach down with watering. For a more targeted approach, use side-dressing: every 4-6 weeks, dig a small trench about 2-3 inches deep and 3-4 inches away from the stems, fill it with compost, and cover it with soil.
Alternatively, if you’ve brewed a homemade fertilizer tea by soaking compost or banana peels in water for a couple of days, water your plants with this nutrient-rich liquid every 2-3 weeks—about one quart per plant is enough. Keep an eye out for signs of over-fertilizing, such as yellowing leaves, sluggish growth, or curled leaves, and skip a feeding if you notice these symptoms.
In general, sweet potatoes prefer steady, moderate feeding rather than frequent, heavy applications. For best results, apply one main soil amendment before planting, followed by two or three lighter feedings during the growing season to give your plants time to absorb nutrients and thrive naturally.
Troubleshooting and Tips for Success
Creating homemade sweet potato fertilizer from kitchen waste can sometimes lead to challenges like odors, pests, or slow decomposition. If you notice strong smells, it usually means there’s too much moisture or not enough air—try stirring your compost more frequently and adding brown materials such as shredded paper or dry leaves.
To keep pests away, always bury food scraps beneath a layer of soil or leaves, and avoid adding meat, dairy, or oily leftovers. Mold is common in compost, but if you see bright colors or a fuzzy texture, it may indicate too many moist scraps. Balance this by adding dry material and ensuring your bin has good airflow.
In colder climates, decomposition slows down. Use smaller pieces of waste, insulate your bin, or move it to a sunnier spot to keep the process active. For hot, dry areas, keep your compost pile damp but avoid sogginess.
Finally, boost your sweet potato yield by rotating planting locations each year, mulching with straw to retain moisture and suppress weeds, and watering deeply but infrequently to encourage strong root growth. Combining these practices with your homemade sweet potato fertilizer will result in healthier plants and a bigger harvest.
Conclusion
Making your own homemade sweet potato fertilizer from kitchen waste is an easy and cost-effective way to boost your garden’s health while reducing household waste. By recycling scraps like vegetable peelings, coffee grounds, and eggshells, you create a nutrient-rich blend that sweet potato plants love—all without spending extra money or relying on synthetic fertilizers.
This method is not only budget-friendly but also environmentally friendly, helping to keep biodegradable waste out of landfills and naturally nourish your soil. As you adopt this eco-friendly gardening habit, you’ll likely see stronger, healthier sweet potato vines and bigger harvests.
Why not give it a try? Your garden, wallet, and the planet will thank you. If you’ve tried making homemade sweet potato fertilizer or have any questions, we’d love to hear your stories or help out—just drop a comment below!