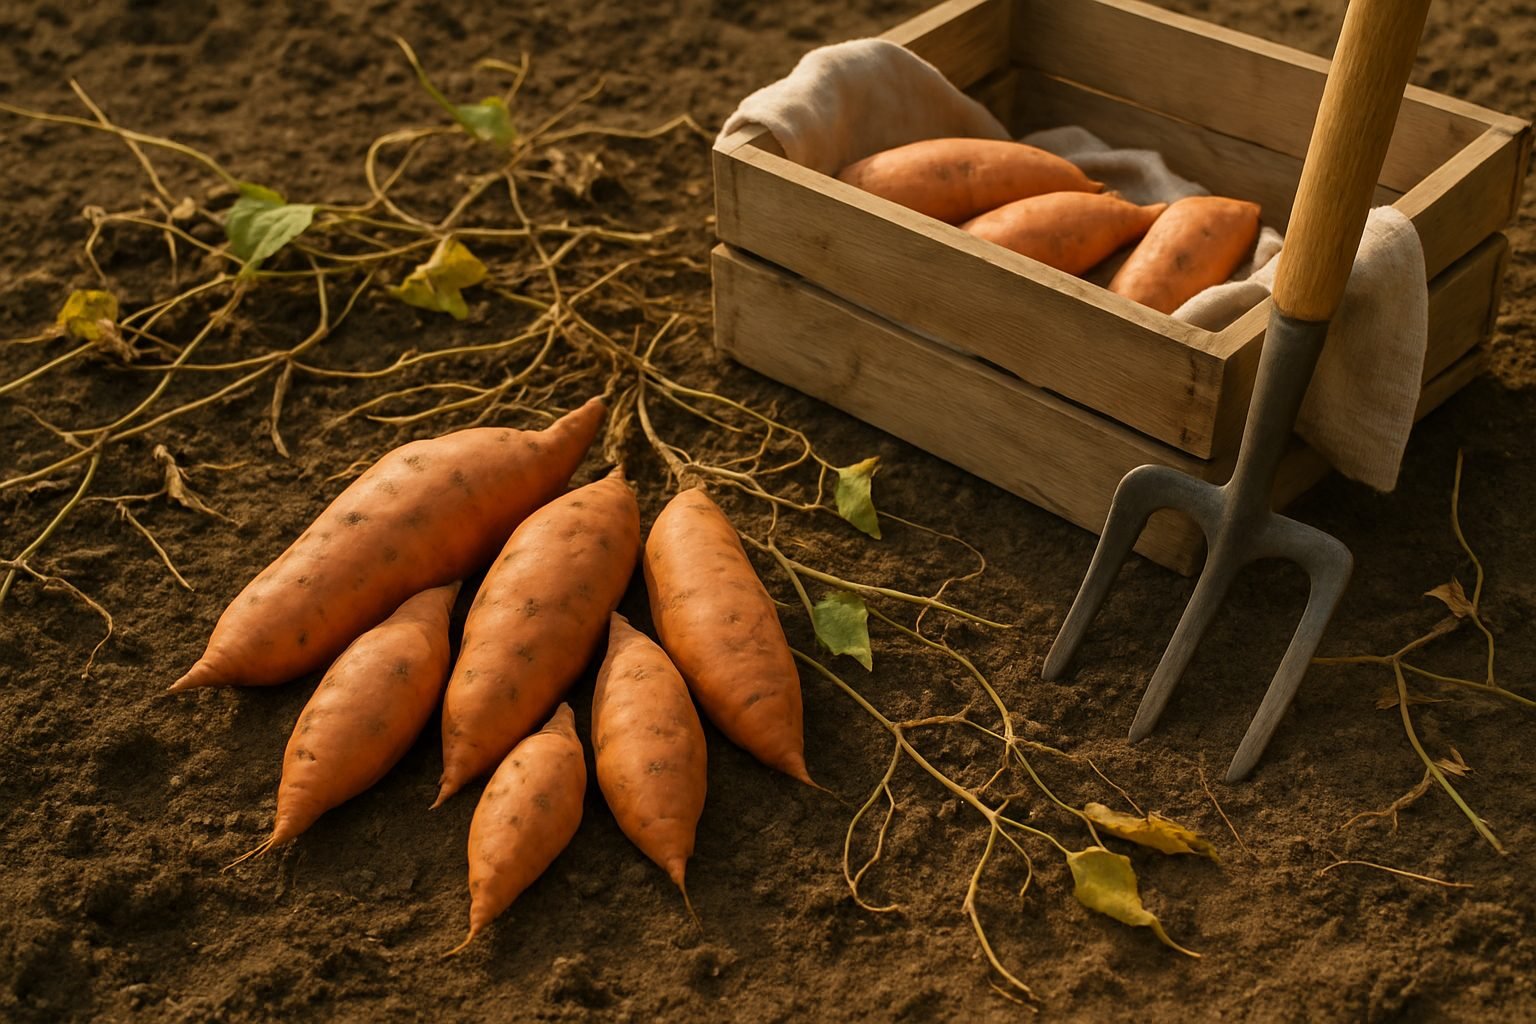
Choosing the Right Time to Harvest Sweet Potatoes
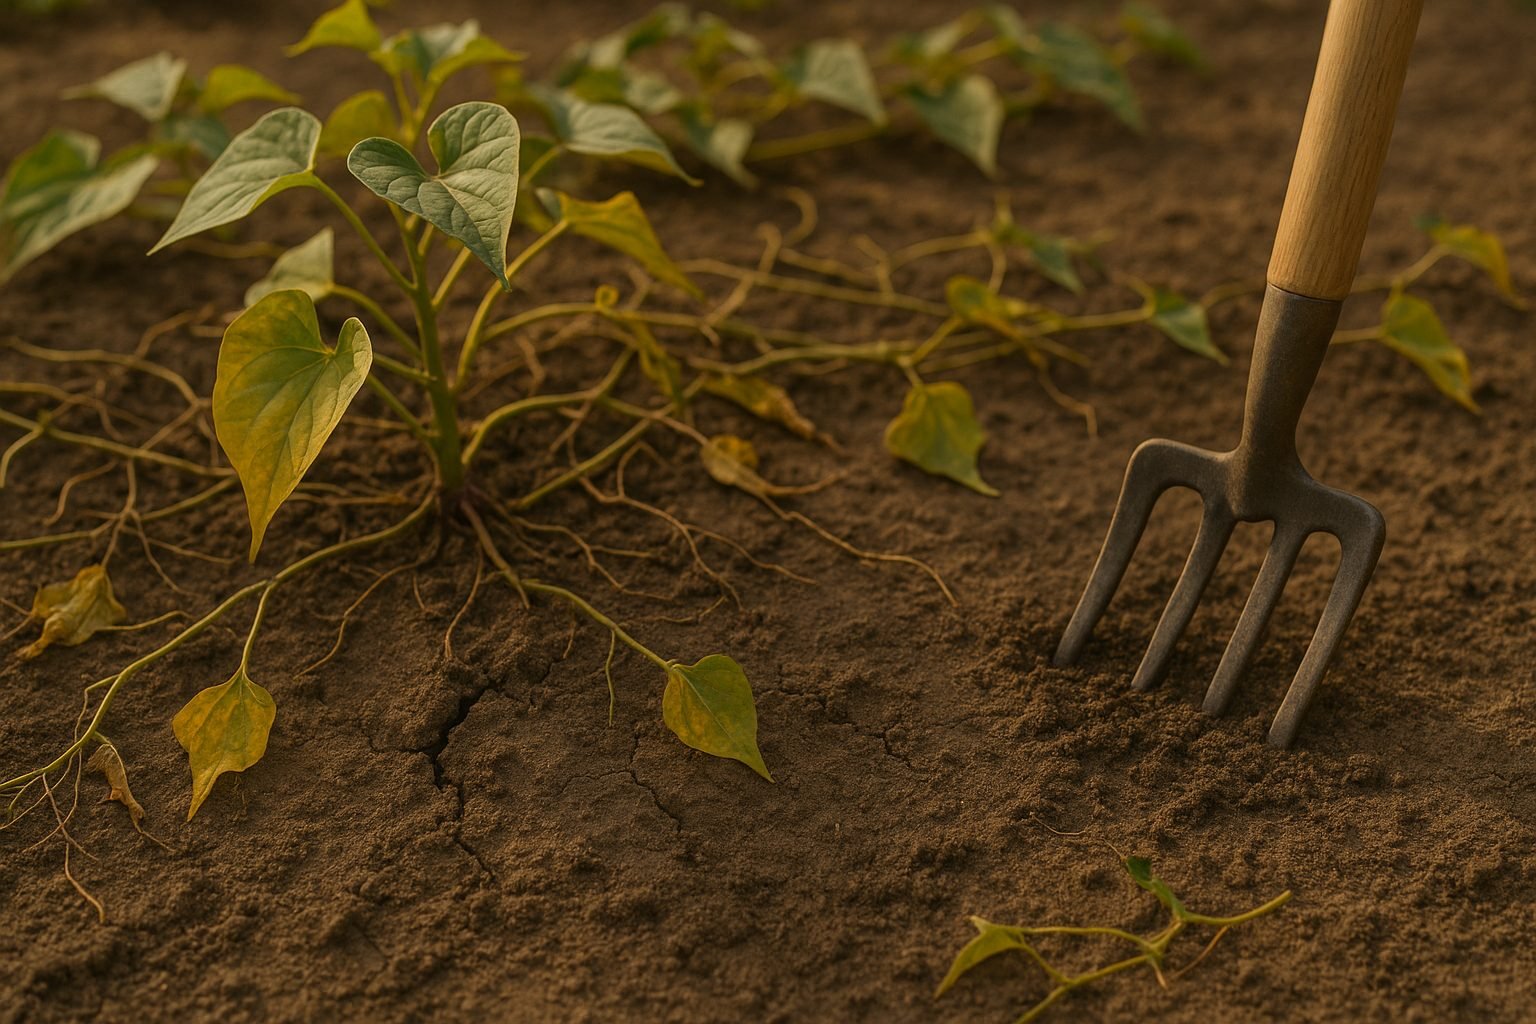
Harvesting sweet potatoes at just the right moment is key to enjoying a bountiful, undamaged crop. For gardeners eager to get the best results from their patch, knowing when to dig up those sweet potatoes can make all the difference between perfect, flavorful roots and disappointingly small or damaged ones. Typically, sweet potatoes require a maturation period of about 90 to 120 days from planting, and their overall growing season thrives in warm, frost-free conditions. Keep in mind that rushing the harvest or waiting too long can both spell trouble—extracting roots too early yields underdeveloped tubers, while delaying past the first autumn frost may expose sweet potatoes to chilling injury or rot.
So, how do you know when it’s time for harvesting sweet potatoes? Start by keeping track of the “days to maturity” listed on your seed packet—most varieties will be ready three to four months after planting. Visual cues also help: when you notice the vines and leaves beginning to yellow and wither, it’s a sign that the plant’s energy has shifted to the tubers underground. Checking the local weather is just as important; a sudden drop in temperature or impending frost means it’s time to act fast. In frost-prone regions, aim to harvest well before cold snaps arrive, as sweet potatoes are extremely sensitive to cold and even a light frost can cause serious damage.
To maximize quality, choose a dry, sunny day for harvest, and use a garden fork or shovel to lift tubers carefully, starting a foot or so away from the main stem to avoid accidental cuts. Taking the time to monitor your crop’s development and the weather forecast not only protects your harvest but means you’ll enjoy sweet potatoes at their peak—firm, sweet, and ready for your favorite recipes.
Signs Your Sweet Potatoes Are Ready
Knowing when your sweet potatoes are ready to harvest is key to getting the best flavor and texture. A classic sign is bulging or cracked soil around the base of the vines—this often means the tubers have grown large and are pushing upward.
Another clear signal is a change in the leaves: once they start to yellow, wilt, or die back, your sweet potatoes have likely matured, especially as the vines stop growing vigorously. This usually coincides with the end of the flowering stage, so watch for fewer or no new blooms.
That said, these signs can vary depending on where and what you grow. For example, in cooler climates, vines might die back earlier, while some varieties stay green longer, making it harder to judge maturity based on foliage alone.
If you’re unsure, gently dig around the base of one or two plants using your hands or a garden fork—start about a foot away from the crown to avoid piercing the tubers. Loosen the soil carefully and check the size of a sweet potato or two. Mature tubers are usually plump and several inches long. If they still look small, cover them back up and check again in a week.
Remember, sweet potatoes bruise easily, so handle them gently. By watching for these signs and using a careful touch, you’ll maximize your harvest without damaging your delicious homegrown crop.
How to Harvest Sweet Potatoes Safely
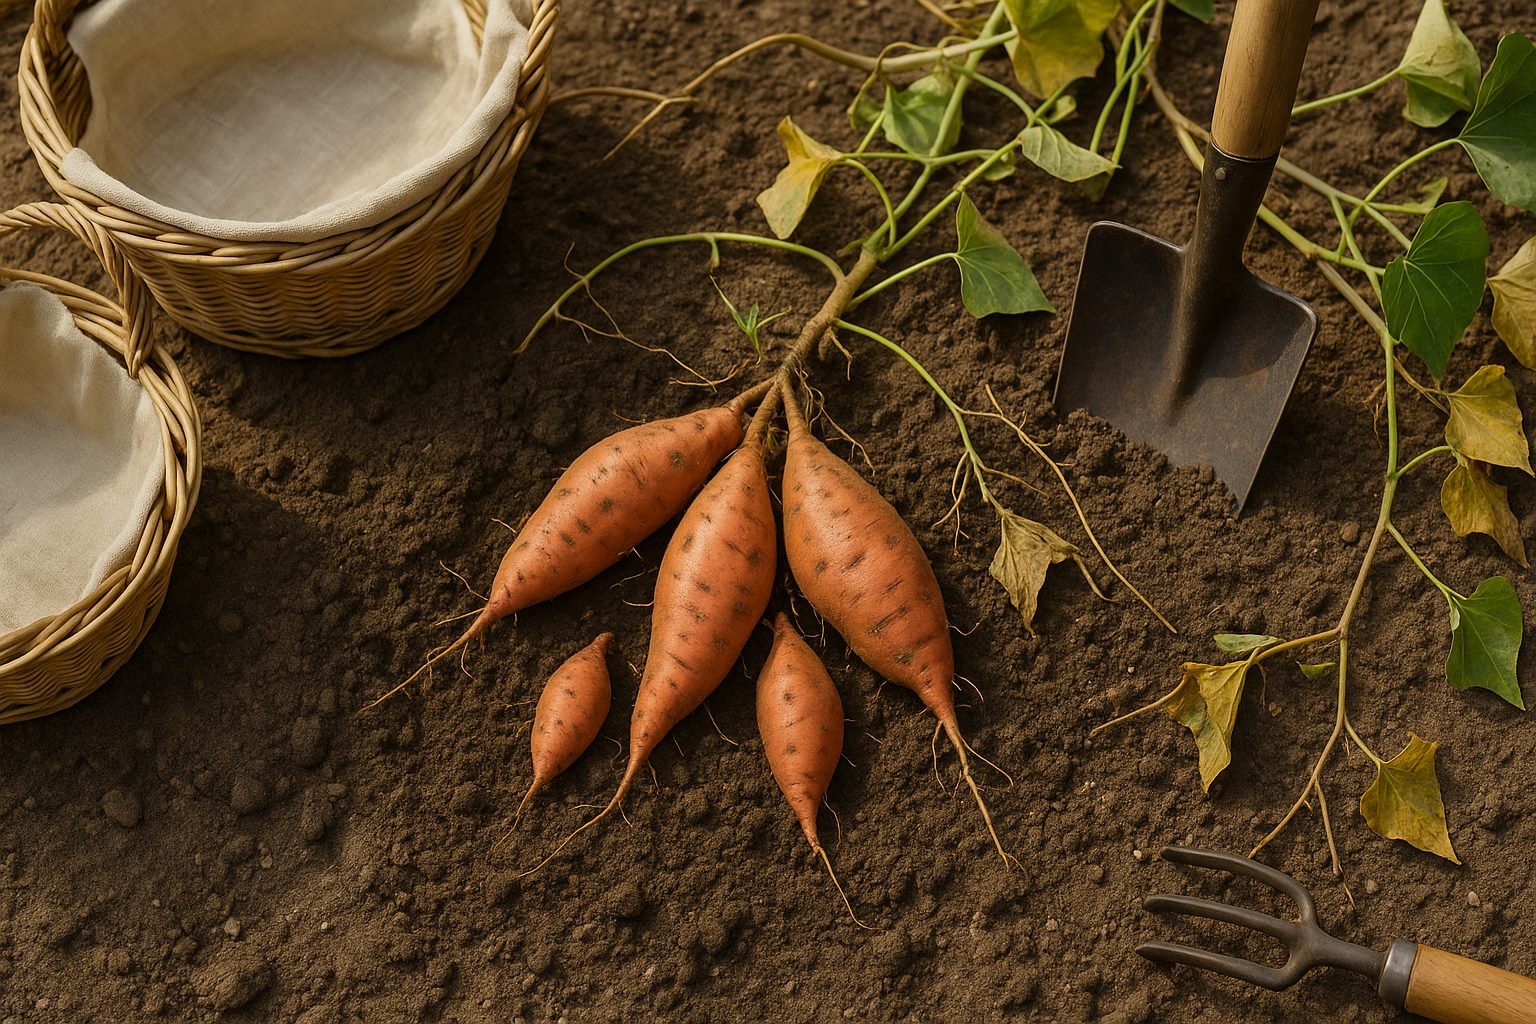
Harvesting sweet potatoes with care is crucial to prevent bruising and ensure a long storage life. Start by waiting until the leaves begin to yellow, signaling the crop is ready. However, if frost is approaching, harvest immediately since cold can damage the tubers.
Use a garden fork or broad shovel for the job, but avoid sharp spades that can slice through the sweet potatoes. Insert the fork about 12 to 18 inches away from the central stem to avoid piercing the tubers, then gently lift and loosen the soil. Use your hands for the final extraction, brushing off excess dirt but resisting the urge to wash them, as moisture can cause rot.
If you find vines still lush late in the season and frost threatens, cut back the tops and harvest right away—sweet potatoes don’t tolerate cold. Work methodically, digging around each plant in a wide circle, and carefully lift the tubers rather than pulling them, which can tear their delicate skins.
Place the harvested tubers in baskets or crates lined with cloth to cushion them. Afterward, allow them to air dry in a warm, shaded area for a few hours to help toughen up their skins before curing. These gentle techniques help you avoid nicks and bruises, which is vital for keeping your sweet potatoes delicious and shelf-stable through the winter.
Curing Sweet Potatoes for Best Flavor
Curing sweet potatoes is a crucial step for anyone who wants the richest flavor and the longest shelf life. Right after harvest, sweet potatoes are full of starch, which isn’t very sweet—curing helps convert those starches into natural sugars, giving sweet potatoes their signature taste while also toughening their skins to prevent spoilage.
At home, you can cure sweet potatoes by placing them in a warm, humid environment—ideally around 80-85°F with 85-90% humidity—for about 7 to 10 days. Practical ways to create these conditions include putting your sweet potatoes in a cardboard box with damp towels inside a warm closet or utility room.
Be sure to check on them daily; if you see any signs of mold, immediately remove the affected tubers and improve air circulation by spacing them out. If you don’t have a consistently warm spot, try using a small space heater or a heating pad, but always monitor the temperature to avoid overheating. Slight fluctuations won’t ruin your cure, but aim for steady warmth and moisture.
After curing, store sweet potatoes in a cool, dark place where they’ll keep for several months. With a little attention to these details, you’ll unlock the full sweetness and storage potential of your harvest.
Storing Your Sweet Potatoes Properly
To keep your sweet potatoes fresh and flavorful for as long as possible, store them in a cool, dark, and well-ventilated area—ideally between 55–60°F (13–16°C). Basements, cellars, or a pantry shelf away from heat sources are great choices. Avoid storing them in the fridge, as cold temperatures can alter their taste and texture.
Use baskets or wooden crates instead of plastic bags or airtight containers to allow air circulation and prevent moisture buildup, which can lead to mold or rot. Check your sweet potatoes weekly for signs of spoilage. Soft spots, shriveled skin, dark patches, or an off smell mean it’s time to toss the affected ones to stop rot from spreading.
Never store sweet potatoes near onions, as both release gases that speed up spoilage. Remember, keeping them in a paper bag or loosely covered with a cloth can help protect from light while still allowing airflow.
With these simple habits, you’ll reduce food waste and enjoy sweet, satisfying potatoes whenever you need them.
Harvesting Sweet Potato Leaves
Sweet potato leaves aren’t just edible; they’re a nutritional powerhouse packed with vitamins A, C, and B6, along with iron, calcium, and fiber. Enjoyed across Asia and Africa, these mild-tasting, spinach-like greens bring a healthy boost to your table.
For the best quality and to avoid stunting root (tuber) growth, start harvesting leaves about 45–60 days after planting, once the vines are well established. Use clean scissors to snip off only the young, tender leaves and the top 4–6 inches of stem, leaving plenty of foliage for photosynthesis so the tubers continue developing underground.
Pick just enough for your meal, and never remove more than one-third of the plant at a time.
Cooking Tips
In the kitchen, quickly sauté sweet potato greens with garlic and olive oil, toss them into soups, or use them as a vibrant addition to salads and stir-fries. If you’re new to sweet potato leaves, try swapping them in for spinach in your favorite recipes—they cook down fast and add a subtly sweet, earthy flavor.
Common Harvest Problems and Solutions
Harvesting isn’t just about picking crops when they look ready—issues like root damage, pest infestations, and mistimed picking can lead to big losses.
Root Damage
Root damage often happens when tools are forced into dry, compacted soil. To avoid this, water the area the day before and use a hand fork to gently lift the roots.
Pest Infestations
Pest infestations, especially from beetles or caterpillars, are common near harvest when plants are stressed. Check leaves daily and harvest as soon as fruits or vegetables are mature to deny pests easy targets.
Timing Issues
Timing is everything: picking crops too early means smaller yields, while waiting too long can attract disease or ruin taste. Use a calendar and mark expected harvest dates based on the seed packet or local gardening guides.
Tips for Beginners
- Start small with just a few crop varieties.
- Keep notes on what works.
- Don’t be afraid to ask local gardeners for advice.
You’ll learn what your specific garden needs for a healthy, abundant harvest next season.