Introduction
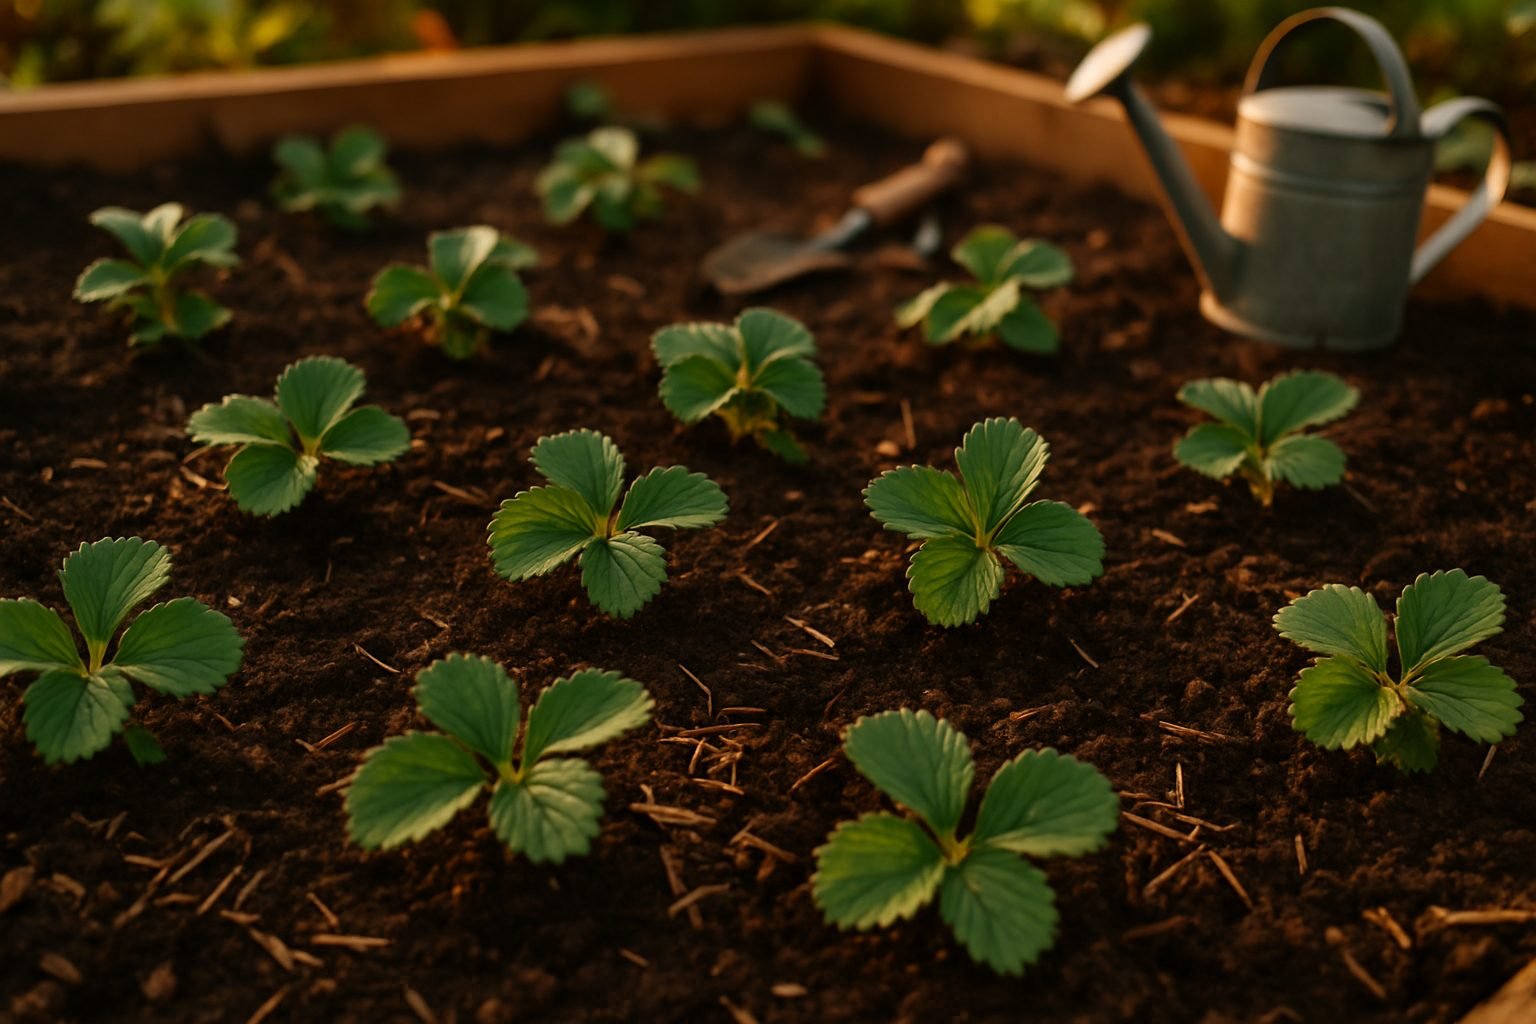
Learning how to grow strawberries from plugs in the fall is a simple gardening strategy that can boost your garden’s success come spring. Planting strawberry plugs in autumn gives your plants a head start, allowing roots to establish well before winter sets in. This early groundwork means your strawberries are primed for vigorous growth and a bountiful, earlier harvest next season—often weeks ahead of spring-planted strawberries.
By contrast, waiting until spring means your plants have to juggle root development and fruit production at the same time, which can delay your first harvest and lead to smaller yields overall. Fall-planted plugs also tend to be hardier, bouncing back from winter with more energy and resilience than their spring-planted counterparts.
In this guide, you’ll find practical tips on selecting top-quality plugs, preparing your beds for autumn planting, and giving your new strawberry plants the best start possible. Whether you’re new to fruit gardening or looking to improve last year’s patch, read on for step-by-step advice and expert insights—so you can enjoy sweet, homegrown berries earlier and with less effort.
Choosing the Right Strawberry Plants: Bare Root vs. Plugs
When starting your strawberry patch, you’ll often choose between bare root plants and strawberry plugs, each with their own perks and pitfalls.
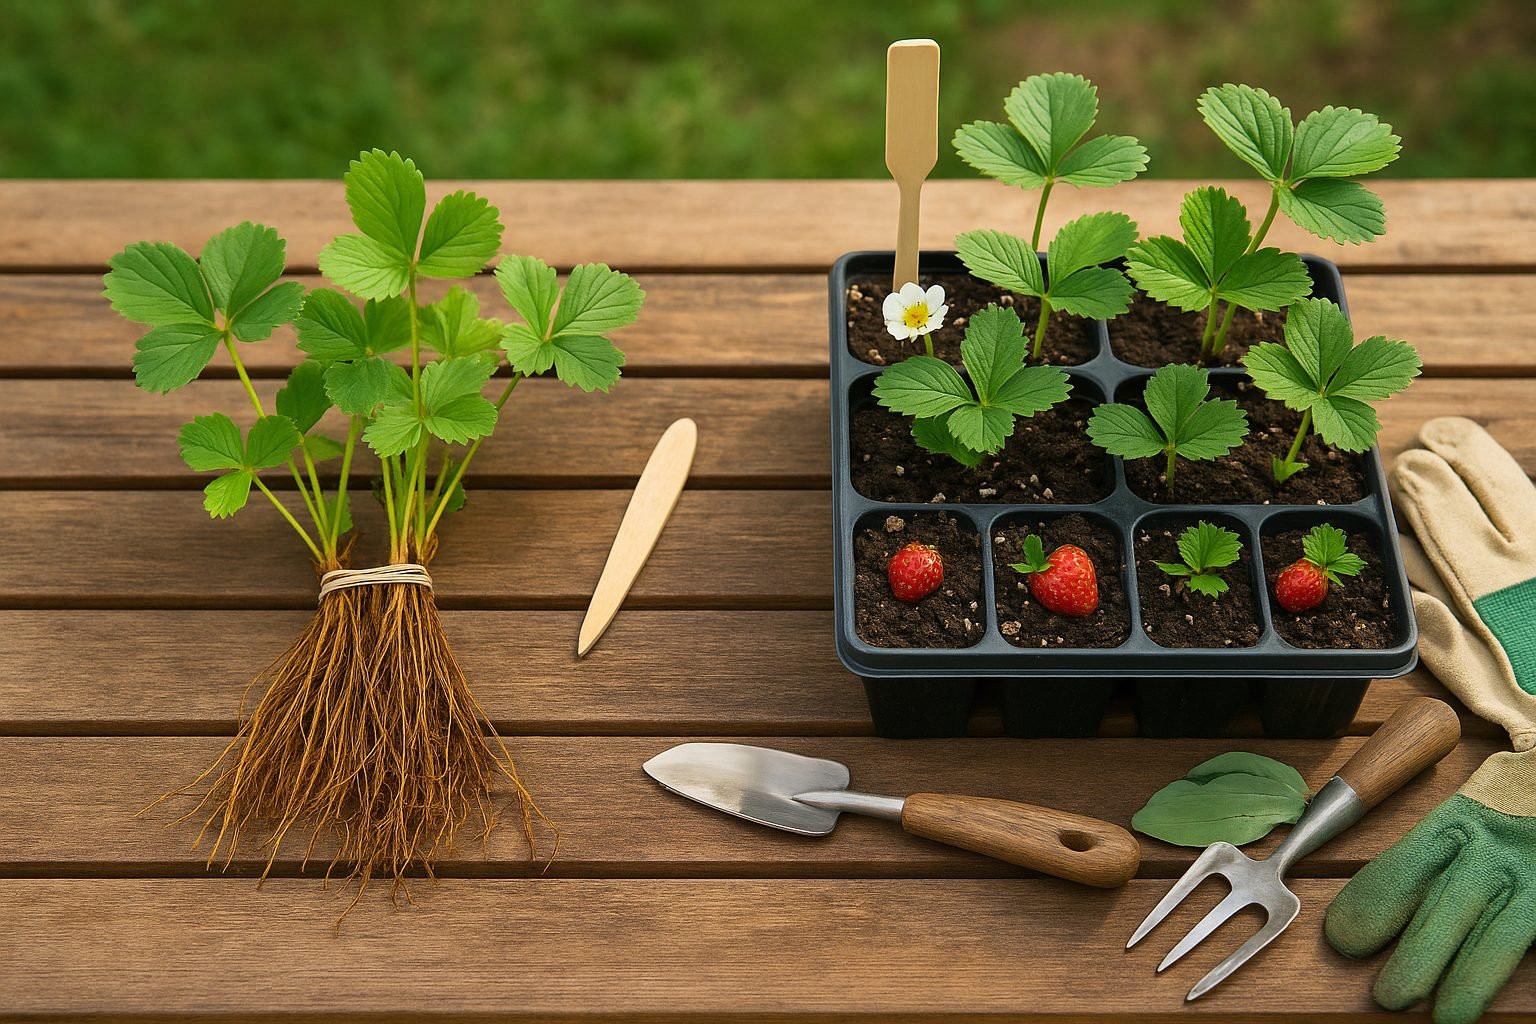
Bare root strawberries are dormant, leafless plants sold with roots exposed, usually bundled together in early spring. They’re budget-friendly and typically come in larger quantities, making them great for gardeners looking to plant lots of berries at once. However, bare root plants can be a bit trickier for beginners—they require prompt planting, careful hydration, and have a slightly lower initial survival rate if conditions aren’t just right.
On the other hand, strawberry plugs are young, already-rooted plants grown in small soil cells or pots. These are more forgiving for novices: simply pop them into the ground, water well, and they tend to take off quickly with a higher survival rate. Plugs do cost more per plant and are usually sold in smaller quantities.
Climate matters too:
- Bare root plants are a classic choice in cooler regions with a gentle spring, allowing roots to establish before the heat arrives.
- In hotter or unpredictable climates, plugs often fare better since their established roots help them handle stress and transplant shock.
If you’re new to gardening or have a shorter growing season, go with plugs for simplicity and peace of mind. Seasoned gardeners with good soil prep and reliable spring weather can maximize value with bare roots.
In both cases, prioritize fresh, healthy stock from reputable suppliers for the best start.
Selecting the Ideal Site and Soil for Fall Planting
Choosing the right site and soil is the foundation for a thriving fall garden. Start by observing sunlight—most vegetables and flowers need at least six hours of direct sunlight each day, so pick a spot that isn’t shaded by buildings or large trees.
Next, check the drainage by digging a small hole and filling it with water; if it drains within a few hours, you’re good to go. But if water lingers, consider raised beds or soil amendments. Good air circulation is also key—avoid low-lying areas where cold or damp air tends to settle, and look for open spaces that get a gentle breeze.
When it comes to soil, aim for a pH between 6.0 and 7.0 (slightly acidic to neutral), which suits most fall crops. Your soil should be rich in organic matter, with a dark, crumbly texture. You can boost this by mixing in compost or well-rotted manure. If your soil is clay-heavy, mix in coarse sand and compost to loosen it up; for sandy soils, add organic matter to help it retain nutrients and moisture.
Test your soil with a home kit—you can pick one up at any garden center—to know exactly what you need to adjust. Before planting, rake away debris and old roots, then work a couple of inches of compost into the top 6–8 inches of soil.
Even if your site isn’t perfect, these steps will help create healthy conditions for strong root growth and an abundant fall harvest.
Step-by-Step Guide to Planting Strawberry Plugs in the Fall
Planting strawberry plugs in the fall can set you up for a bumper harvest the following spring, but timing is everything. Aim to get your strawberry plugs into the ground about 4–6 weeks before your area’s first expected frost date. This gives the young plants enough time to grow strong roots without risking frost damage.
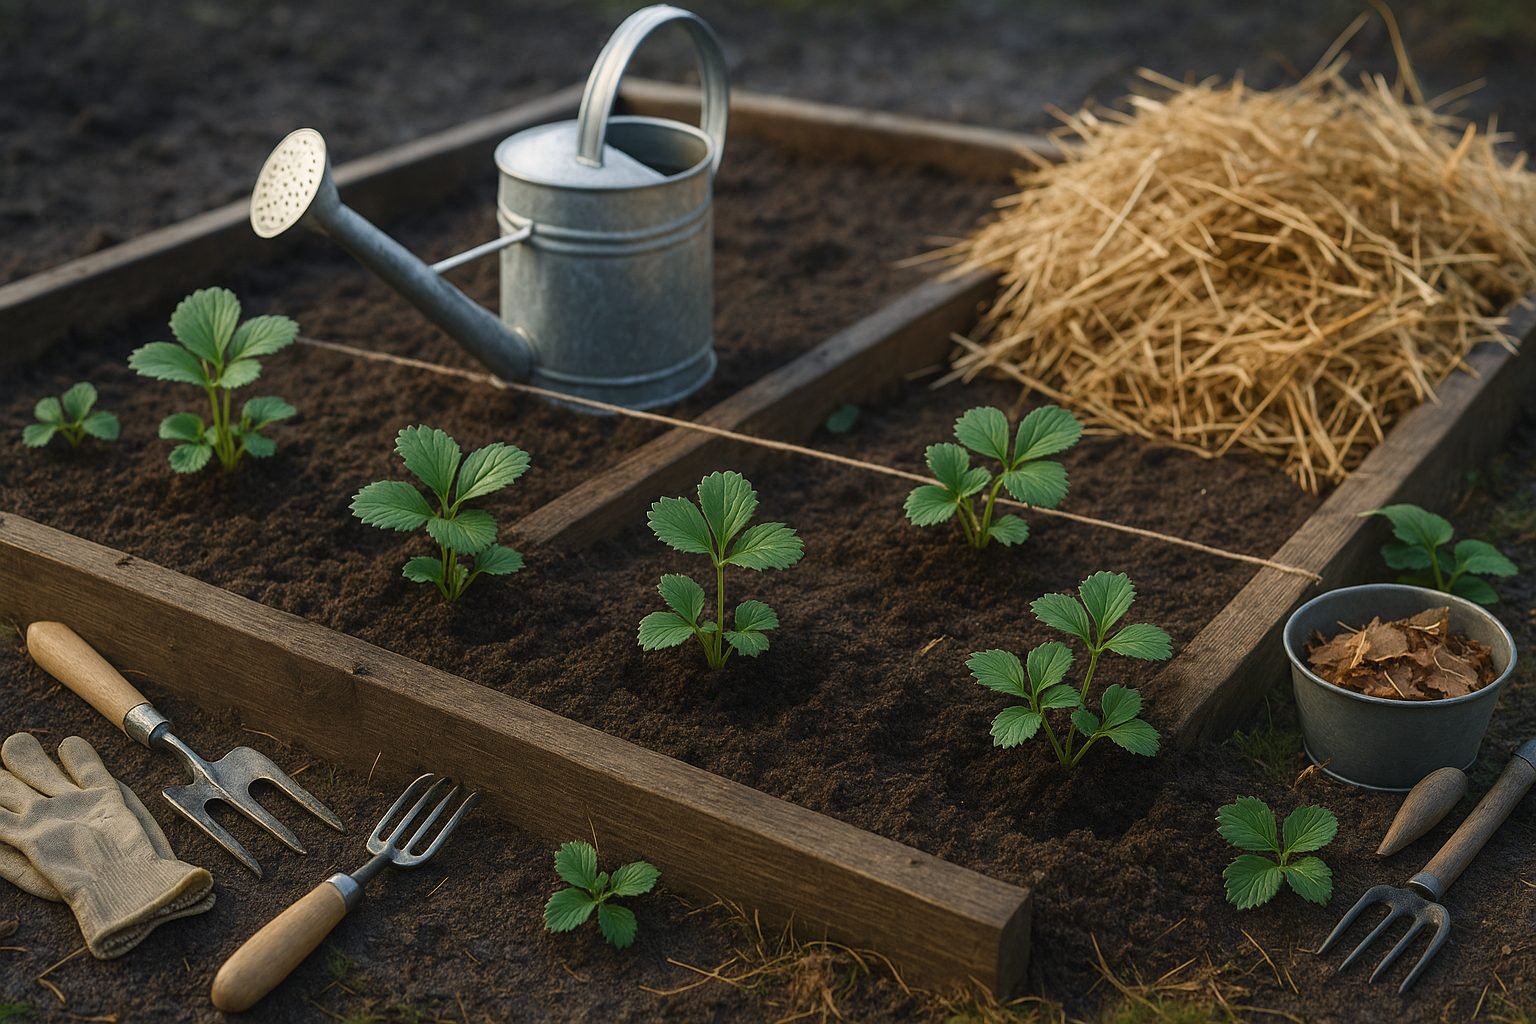
When planting, dig holes deep enough so the plug’s crown (the place where roots meet stems) sits right at soil level—planting too deep can cause rot, and too shallow can dry out the roots. Leave about 12–18 inches between plants and 2–3 feet between rows to ensure good airflow and room for growth.
After planting, water thoroughly to help the roots settle and eliminate air pockets. Keep the soil consistently moist (but not soggy) for the first several weeks. Here’s some strawberry expert advice: add a layer of mulch, like straw or pine needles, once temperatures dip to protect roots through winter and discourage weed growth.
Also, resist the urge to fertilize too much at planting—overfeeding can spur weak leaf growth instead of healthy roots. By following these simple steps, you’re giving your strawberries the strongest start possible, so come spring, you’ll be rewarded with healthy, productive plants.
Essential Fall & Winter Care for New Strawberry Plants
Protecting new strawberry plants through fall and winter is key to a strong harvest next spring. Start by applying a generous layer of mulch—about 3 to 4 inches of clean straw, pine needles, or shredded leaves—once temperatures dip below freezing and the plants have entered dormancy.
This mulch acts as insulation, guarding delicate crowns from frost damage and helping the soil retain moisture. Be sure to avoid materials that compact, like grass clippings, as they can smother the plants.
Before mulching, thoroughly weed the beds to reduce competition for nutrients and prevent overwintering pests or diseases. Hand removal works best, combined with a light raking to clear debris.
To minimize disease risk, always remove any old or diseased plant leaves; this reduces the chances of fungal spores lingering over winter.
Water young strawberries deeply in the weeks leading up to the ground freezing, as hydrated roots withstand cold better. However, stop regular watering once the topsoil freezes to avoid root rot.
While it’s tempting to fertilize, avoid heavy feeding in late fall—use only a very light application of balanced fertilizer if the plants show signs of nutrient deficiency before the first frost.
Checking beds after snow or storms ensures mulch stays in place; simply fluff or add more as needed to maintain coverage.
With these simple practices—mulching, weeding, disease prevention, careful watering, and minor feeding—you’ll help your young strawberries survive their first winter and thrive when warmer days return.
Spring & Summer Expectations: What Happens After Fall Planting?
After fall planting, your trees and shrubs quietly establish their roots through the winter, setting the stage for an energetic burst of growth in spring. As temperatures warm, the first thing you’ll notice is bud break—tiny buds swell, open, and unfurl into fresh green leaves. This process usually begins in early to mid-spring, depending on your local climate and the specific species you planted.
Leaf growth follows quickly, feeding the young plant through photosynthesis and fueling its next phase: flowering. For most fruiting varieties, expect blossoms to open anywhere from a few weeks to a couple of months after bud break; apples, for instance, might flower in mid-spring, while blueberries tend to bloom a bit later.
First-year plants often focus on root growth and may produce just a small sample of flowers and fruit, but you can encourage a healthy, rewarding yield with a little extra care.
Tips for Encouraging Healthy Growth
- Thin out some of the earliest flower clusters to help the plant channel energy into strong branches and roots instead of too much fruit right away.
- Keep the soil consistently moist but not soggy.
- Mulch to lock in moisture and prevent weeds.
- Regularly check for pests or disease.
- Apply gentle fertilizer—like a well-balanced slow-release formula—in early spring to give your plants a head start without overwhelming their delicate systems.
When fruit appears, harvest it as soon as it ripens to encourage ongoing production and prevent issues with pests. Focus on quality over quantity during your plant’s first season: your efforts now will pay off with bigger harvests and healthier plants in the seasons to come.
Troubleshooting & Pro Tips for Success
After fall planting, gardeners often face a few challenges that can affect plant health and yield. Being prepared with the right tactics helps you stay ahead.
Poor root growth, for example, may result from overwatering or heavy, compacted soil. Consider loosening the soil before planting and check for proper drainage.
If you notice seedlings looking weak, don’t hesitate to thin them out, giving the remaining plants enough room to develop strong roots.
Another common hurdle is pests like slugs and caterpillars, which can stay active through mild autumns. Set up simple traps, check leaves regularly for eggs, and consider using organic deterrents such as diatomaceous earth.
Fungal diseases like powdery mildew sometimes appear in damp, cool weather. To prevent this, water the soil directly rather than overhead, remove any infected leaves, and ensure good air circulation between plants.
Throughout the season, keeping a dedicated garden journal helps you track what works and what doesn’t. Jot down any problems you encounter, the solutions you try, and how the plants respond. This not only helps you spot patterns and successes but also fine-tunes your approach year after year.
Remember, every garden and climate is different, so don’t be afraid to experiment and tweak your methods for even better results next season.