Introduction to Hardening Off Seedlings
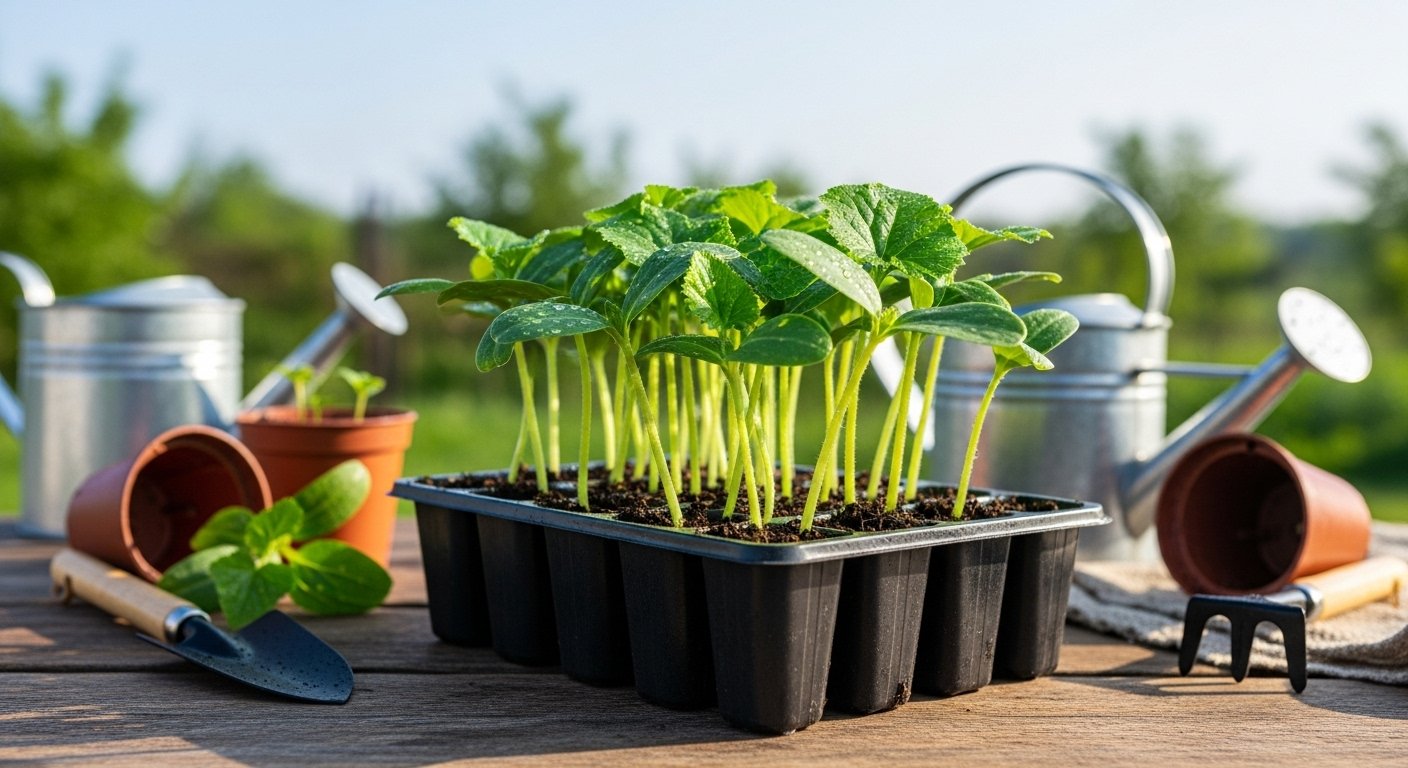
If you’re eager to take your garden to the next level, learning how to harden off zucchini seedlings is essential for a smooth transition from indoor trays to your outdoor garden beds. Hardening off is the gradual process of acclimating young seedlings—like zucchini—to outdoor conditions such as sunlight, wind, and fluctuating temperatures. This important gardening step is often overlooked, but skipping it can put your tender transplants at risk of shock, wilting, or even death.
Imagine spending weeks nurturing your zucchini seeds indoors, only to watch them wither within days once exposed to the harsher realities of your backyard. That’s because seedlings grown indoors are used to a sheltered environment with consistent light and temperatures. Abruptly planting them outside is like sending a homebody camper on a surprise hike in a thunderstorm—they simply aren’t prepared.
Fortunately, hardening off isn’t complicated, but it pays dividends. Gently introducing your zucchini seedlings to outdoor elements over several days toughens them up, encouraging stronger stems and more resilient leaves. This process leads to hardier plants that are better equipped to withstand pests, wind, and sunburn, ultimately producing higher yields and healthier fruits.
Think of it as giving your zucchini seedlings a personalized training plan for success—one where the reward is a thriving, productive summer harvest. Even if you only have a small patio or limited time, following a simple hardening off routine can make all the difference between struggling seedlings and vigorous, garden-ready plants.
When and Why to Start Hardening Off
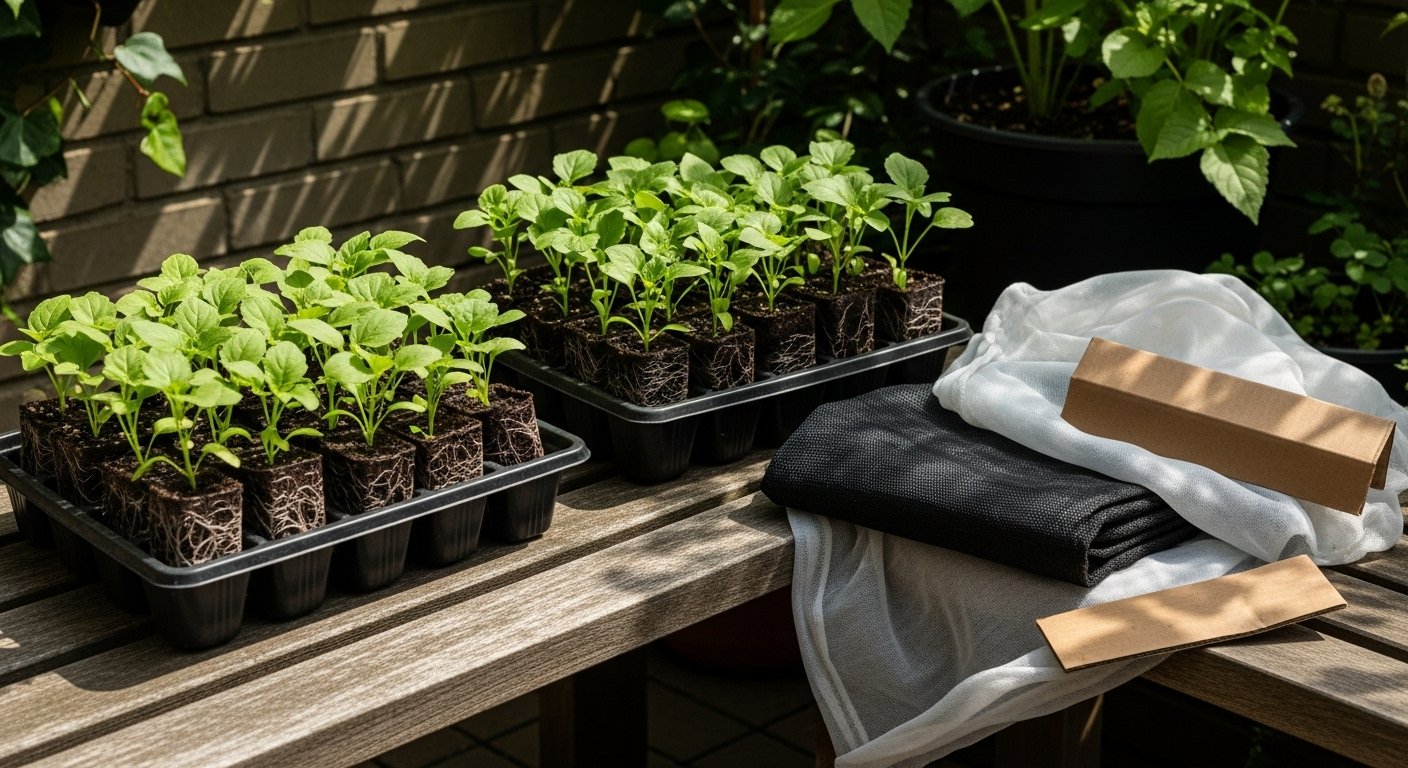
Hardening off your seedlings is a critical step that prepares them for life outdoors, but timing it right can make all the difference in their success. Ideally, start the hardening-off process about one to two weeks before your area’s average last frost date. Check your local frost calendar online or at a garden center—these dates are your guideposts for safely transitioning tender seedlings.
Equally important is your plant’s development. Most seedlings are ready for hardening off when they have at least two to three sets of true leaves and look sturdy—not spindly—with roots filling out their pot. If you start too early and cold snaps still threaten, seedlings may become stressed or stunt their growth; too late and they might outgrow their pots or become leggy indoors.
Gradual exposure to outdoor elements is key because your plants have only experienced the gentler conditions of your home or greenhouse. Begin by placing them in a sheltered, shady spot outdoors for a few hours each day, bringing them back inside at night, and slowly increasing both their time outside and their exposure to sun and wind.
For example, on the first day, set your seedlings outside for just two hours in dappled light, and by the end of the week, work up to leaving them out all day in direct sunlight, weather permitting. This gradual adjustment helps seedlings toughen up their stems, leaves, and root systems so they can better handle temperature swings, gusts of wind, and the intensity of real sunlight.
Skipping this step or rushing it can result in sunburned, wilted, or even dead plants—something every gardener wants to avoid. Taking the time for proper hardening off ensures your homegrown seedlings will thrive in your garden beds from day one.
Step-by-Step Guide to Hardening Off
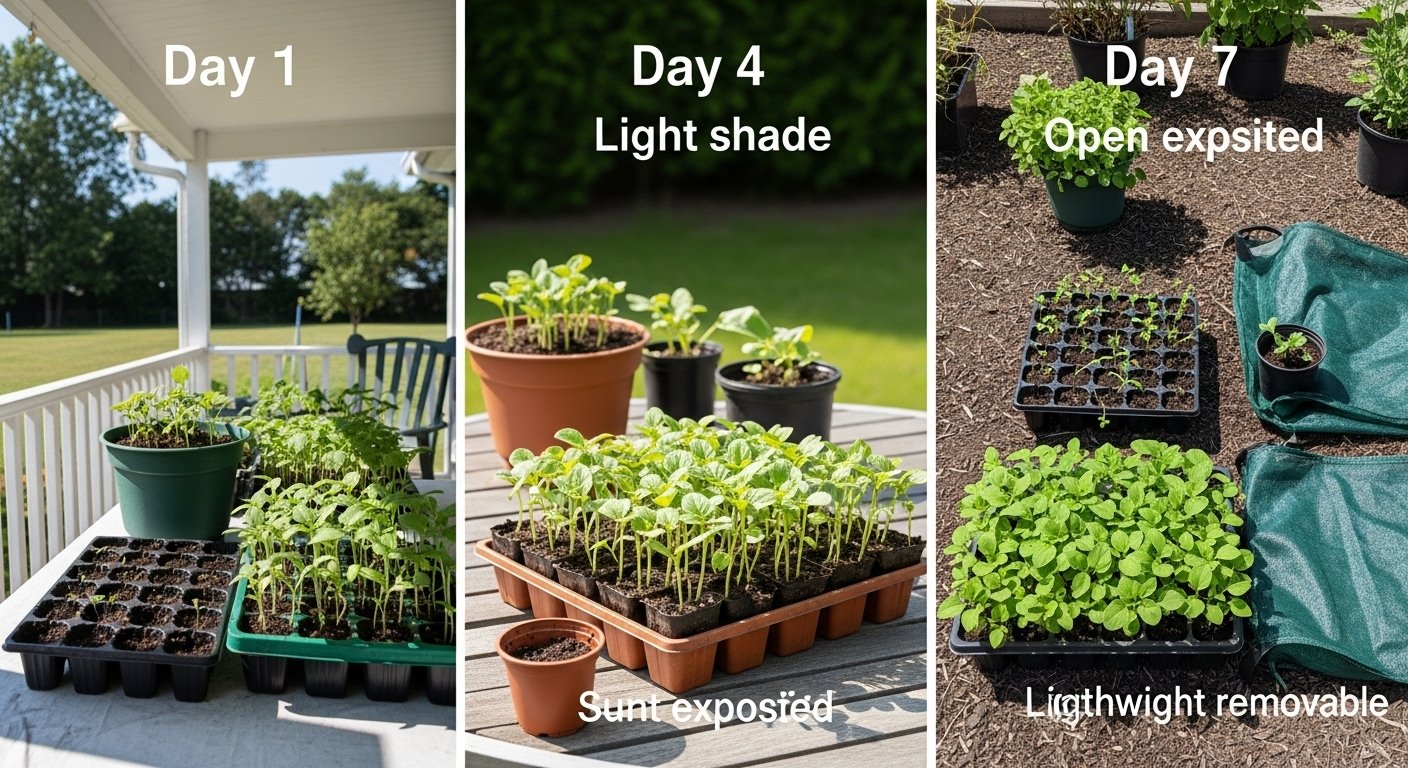
Hardening off seedlings is a gradual process that helps young plants adjust from the cozy, controlled environment indoors to the unpredictable world outside. Start about a week before you plan to transplant your seedlings.
On the first day, place them outside in a sheltered spot—think under a porch, next to a wall, or even beneath an open garden bench—where they’ll get indirect sunlight and be protected from wind. Leave them out for just one hour, then bring them back inside.
Each day, increase their outdoor time by one to two hours, slowly exposing them to more sunlight, but always avoid the harsh midday rays; early morning or late afternoon is best at first. On sunny days, filter the light with a light sheet or position the trays in dappled shade for a few hours before moving to direct sun.
Watch out for strong winds, which can quickly dry and damage tender stems—use windbreaks like fences or even cardboard barriers if needed. If a cold snap or unexpected rain is in the forecast, keep your seedlings indoors or cover them with a lightweight cloche or old sheet outside.
Gradual exposure to cooler temperatures is important, but seedlings shouldn’t endure temps below 45°F (7°C) during hardening off. For rainy days, a covered porch or plastic tunnel will shield them from heavy downpours that can flatten fragile plants.
After about a week to ten days, your seedlings should be spending the whole day outside and can safely be left out overnight if temperatures stay mild.
By taking this step-by-step approach, you’re toughening your plants up for a successful life in your garden and reducing the risk of transplant shock.
Troubleshooting Common Challenges
Hardening off seedlings isn’t always a smooth process—issues like wilting, sunburn, or stunted growth are pretty common, especially if the transition outdoors is too abrupt.
If you notice wilting leaves, it often means your plants lost moisture faster than they could absorb it, usually due to harsh sun or strong wind. To fix this, move seedlings back to a shady spot and ensure the soil stays consistently moist but not soggy. Providing a temporary windbreak, like a row cover or even overturned laundry baskets, can also help shield delicate plants.
Sunburn, visible as white or pale spots on the leaves, means your seedlings got too much direct sun too quickly. Gradually increase their time outside, starting with an hour or two in dappled shade before exposing them to full sun. Using shade cloth to ease the transition is a smart move, especially in hot climates.
If your plants seem stunted or aren’t growing well, the stress might be from chilling temperatures or inconsistent conditions. Never harden off during very cold or windy days, and consider moving trays indoors at night if a cold snap is coming.
In unpredictable weather, keep a watchful eye on the forecast and be flexible—it’s often better to stretch the hardening-off period than to risk losing seedlings to sudden heatwaves or frosty nights.
Water thoroughly during the process, but avoid waterlogged soil, and check daily for signs of stress.
By making small adjustments, like providing shade in intense sun, windbreaks for breezy days, and using cloches or row covers for temperature dips, you’ll give your seedlings the best shot at thriving as they make the leap outdoors.
Transplanting Seedlings Successfully
Knowing when to transplant your seedlings is key to their healthy growth, and timing makes all the difference. Look for signs like the appearance of several true leaves (not just the initial seed leaves) and strong, sturdy stems—these indicate your plants are robust enough for the big move.
Before transplanting, give your seedlings a few days of “hardening off” by gradually exposing them to outdoor conditions to reduce shock.
Prepare your garden bed by removing weeds, loosening soil to eight inches deep, and working in compost to boost nutrients and drainage.
When moving seedlings, handle them gently by their leaves—not stems—to avoid crushing vital plant tissue.
Carefully loosen the root ball and avoid disturbing small feeder roots as much as possible.
Follow spacing recommendations on your seed packet for each crop; crowded plants can struggle and underperform.
Once settled in their new spots, water newly transplanted seedlings thoroughly; moist soil eases the root adjustment period.
To protect your transplants from temperature swings or harsh sunlight, consider using lightweight row covers, especially during chilly nights or wind.
Monitor upcoming weather forecasts and, if an unexpected cold snap or storm is predicted, use overturned pots, old sheets, or specially made cloches to shelter young plants overnight.
With ongoing care and a watchful eye, your seedlings will transition smoothly and reward you with a thriving garden.
Tips, Tools, and Modern Apps to Make It Easier
Getting started with seed starting can feel overwhelming, but a handful of practical tips and the right tools make the process smooth for both beginners and veteran gardeners.
First, invest in basics like seed trays and humidity domes; these help control moisture and temperature, giving your seeds the perfect environment to sprout. A reliable soil thermometer is another small, smart purchase—it takes the guesswork out of knowing when conditions are just right for germination.
If you’re worried about forgetting crucial dates like when to plant, water, or transplant, digital solutions can save the day. Apps like Gardenize, From Seed to Spoon, and Planter give you scheduling reminders, customized planting calendars, and straightforward care instructions tailored to your growing zone. Some apps even let you snap progress photos and track what works best for each type of plant.
To stay organized, try keeping labels handy—simple popsicle sticks, waterproof markers, or printed stickers ensure you’ll never mix up a tray of tomatoes with peppers.
Finally, don’t overlook the power of communities: online gardening forums or app-based social groups are packed with people sharing real-time tips, troubleshooting advice, and weather updates unique to your area. Pairing dependable tools with digital aids can take the stress out of growing from seed, letting you focus on watching your garden thrive.
Conclusion & Key Takeaways
Hardening off is a crucial step that sets your young plants up for success, making the difference between a thriving, resilient garden and stunted, struggling seedlings. By slowly introducing your plants to outdoor conditions—starting with just an hour or two of shade and gradually increasing their exposure to sunlight, wind, and cooler temperatures—you help them build strength and adaptability.
This gentle transition prevents shock and reduces the risk of leaf burn or wilting, which are common pitfalls when moving indoor-grown seedlings outside too quickly. Patience is vital: rushing the process only hurts your efforts.
Keep a journal or use a gardening app to track your daily progress. Noting details like temperature, time outdoors, and plant reactions can be valuable for fine-tuning your approach next year. Many gardeners find that these small records help identify what works best in their environment and prevent repeating past mistakes.
In the end, taking it slow and staying organized ensures your garden gets off to the healthiest start possible, rewarding you with stronger, more productive plants all season long.