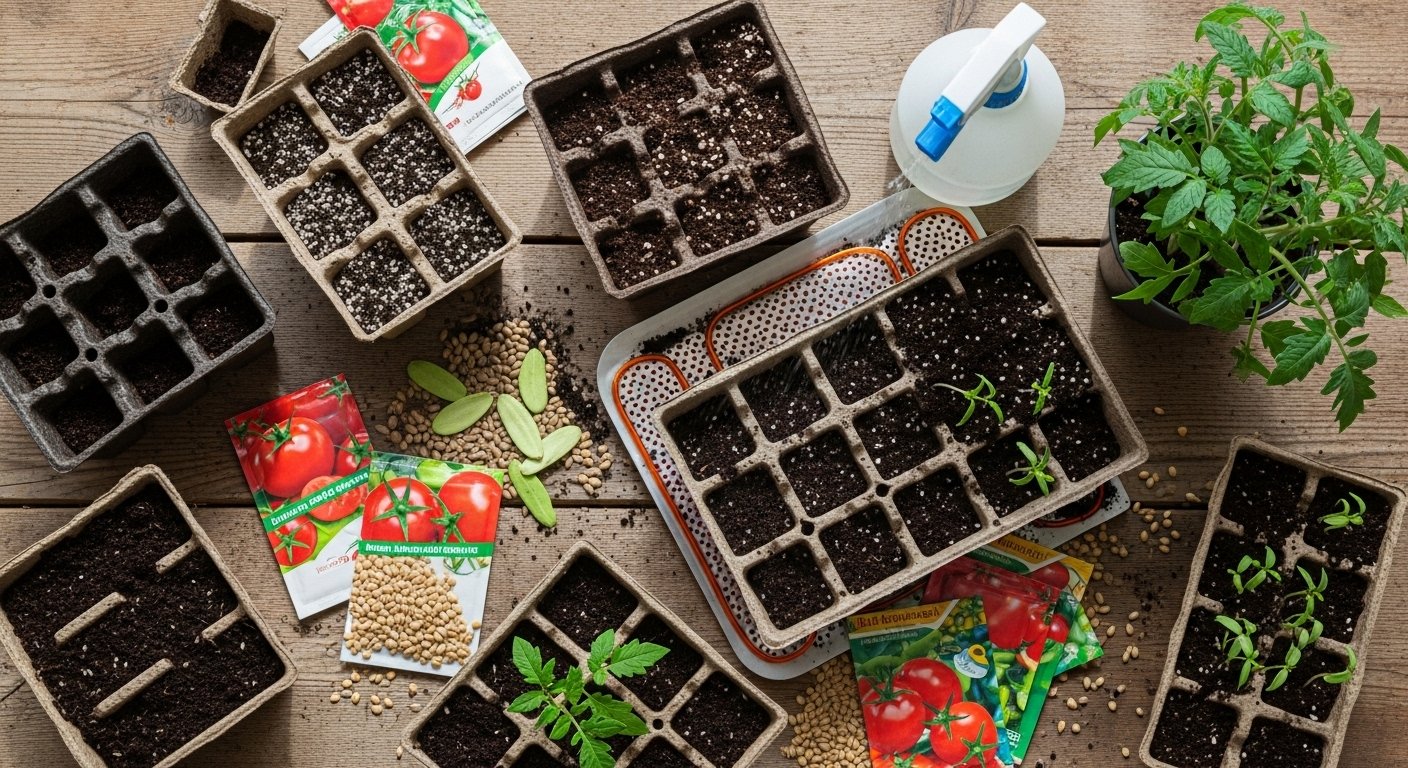
Intro to Growing Tomatoes from Seed
Starting tomato seeds is a fantastic way to take control of your garden and fully enjoy growing your own food. Instead of settling for the same generic tomato varieties you find at the local nursery, you can experiment with dozens of unique and flavorful options—from juicy heirlooms to tangy cherry tomatoes—all by starting from seed.
Ask any home gardener: nothing beats the taste of a sun-warmed tomato, plucked fresh off the vine and bursting with flavor. Plus, when you start tomatoes from seed, you’ll know exactly how your plants have been cared for from day one, avoiding unnecessary chemicals and selecting the strongest, healthiest seedlings for your garden.
For beginners, starting tomato seeds can seem intimidating at first, but it’s incredibly rewarding and easier than you might think. Whether you choose to begin your seeds indoors or take your chances outdoors, the experience offers a sense of satisfaction that buying seedlings just can’t match.
Get ready to dive into the vibrant world of tomatoes, expand your palate, and watch your garden—and your confidence—grow from the very start!
Choosing and Preparing Tomato Seeds
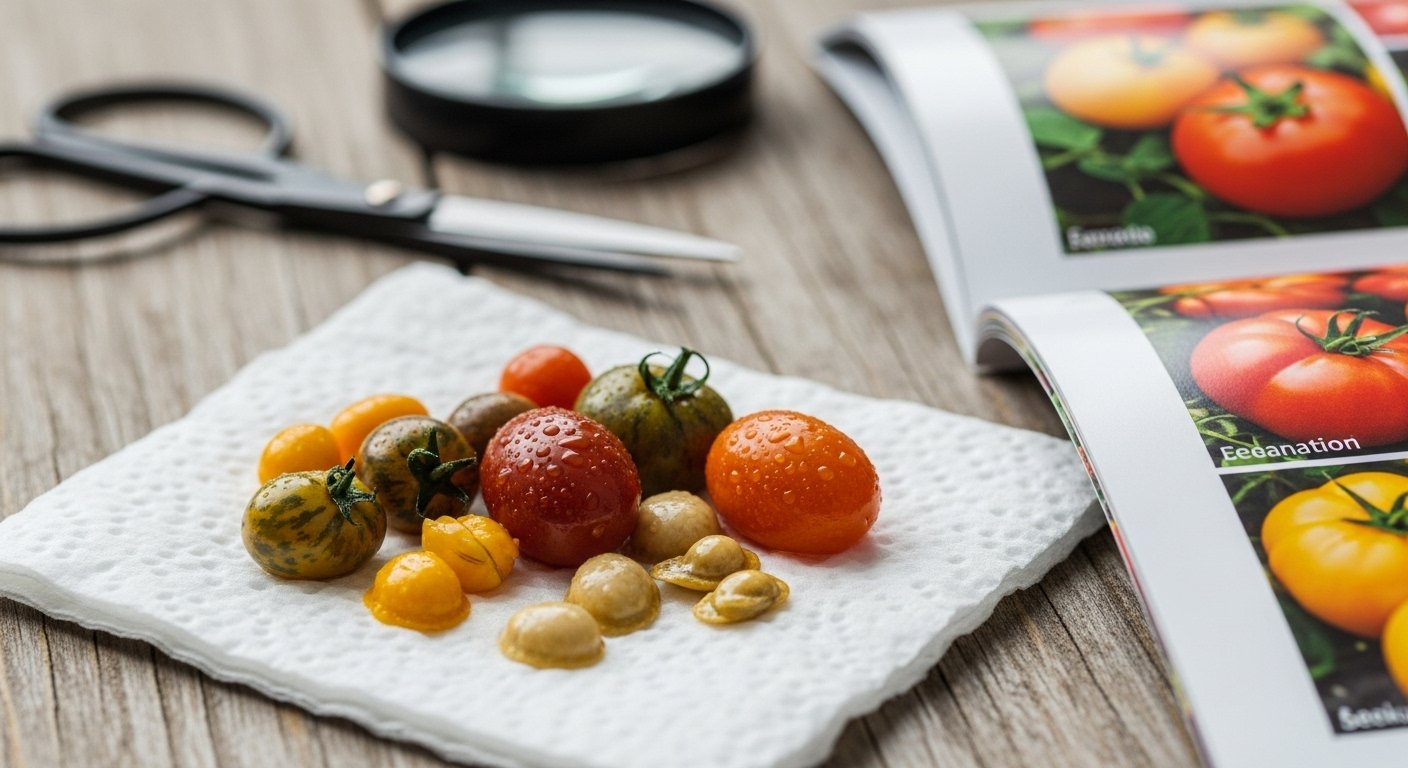
Selecting the right tomato seeds is the first crucial step to growing a successful crop, and it starts by considering your unique climate and gardening goals.
If you live in a cooler, shorter-season area, opt for early-maturing or determinate varieties—these compact plants set fruit all at once, making them perfect for small spaces or container gardens.
Gardeners aiming for a long, bountiful harvest might prefer indeterminate varieties, which grow tall and keep producing until frost; just be prepared to provide staking or cages for support.
Don’t overlook the difference between heirloom tomatoes, prized for their rich flavor and seed-saving potential, and hybrids, which tend to be more disease-resistant and uniform—choose based on what matters most to you.
Quality seeds can be sourced from local nurseries, trusted seed catalogs, or reputable online retailers; always check that the seed packets list the variety name, the days to maturity, and any disease resistance codes (like VFN for verticillium, fusarium, and nematode resistance).
Look for a “packed for” date to ensure freshness, since older seeds may have lower germination rates.
Before planting, try a simple viability check by placing a few seeds on a damp paper towel—if most sprout in a week, your seeds are good to go.
For especially old or tough seeds, pre-soak them in warm water for a few hours to jumpstart germination.
With a little care in your seed choices and prep, you’ll set yourself up for a healthy and rewarding tomato harvest.
Setting Up for Seed Starting Success
Getting your seed-starting setup right from the beginning can make a big difference in the success of your seedlings. Start by gathering the basics: you’ll need clean containers (like seed trays, small pots, or even upcycled yogurt cups with drainage holes), a high-quality seed-starting mix (not regular garden soil, which can compact and harbor diseases), sturdy trays to catch water drainage, and waterproof labels or craft sticks plus a permanent marker to keep track of what’s what.
The ideal germination environment needs consistent warmth—most seeds sprout best at 65-75°F, so consider placing your trays on a seedling heat mat if your home is cool. Light is just as crucial; if you don’t have a bright, south-facing window, invest in simple grow lights or use a fluorescent lamp set a few inches above the seedlings, turning it on for 12-16 hours a day.
Keep the growing mix moist but not soggy by misting with a spray bottle or gently watering from the bottom, and use a clear plastic cover or plastic wrap to help conserve humidity until the seeds sprout.
Organization pays off later: label each tray or container with the plant type and sowing date, and if you’re starting many varieties, consider creating a grid or drawing a map of your tray layout in a notebook or on your phone. Regularly check and update your labels as you move or transplant seedlings to avoid any mix-ups—nothing’s more frustrating than not knowing if that sprout is a hot pepper or a tomato!
With these simple steps and tools in place, you’ll set the stage for a smooth, successful garden season.
How to Sow and Germinate Tomato Seeds
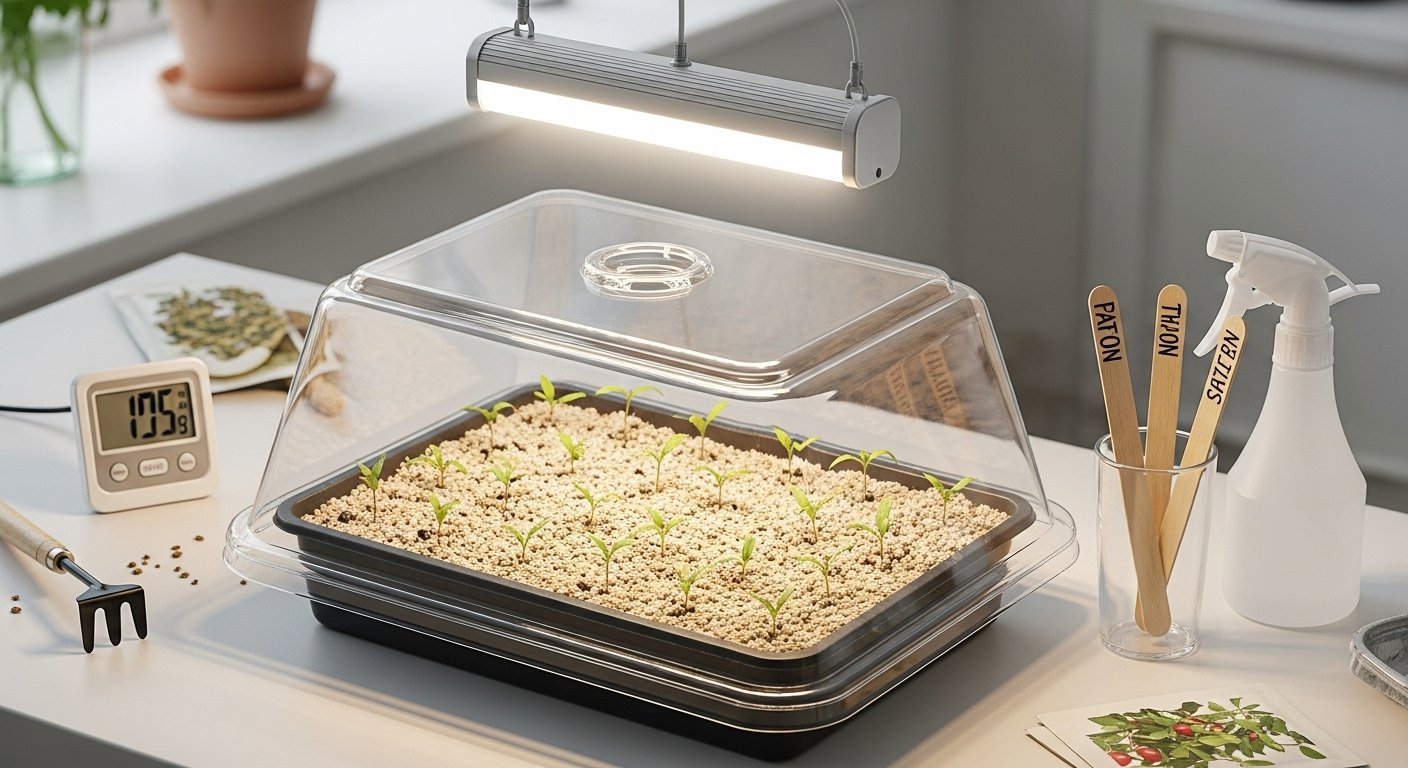
Sowing tomato seeds indoors is a rewarding process that starts with a clean seed tray or small pots filled with a moistened, seed-starting mix. Plant each seed about 1/4 inch deep—this ensures they aren’t buried too deeply, which can inhibit sprouting—and space seeds at least 2 inches apart to give future seedlings room to grow.
Gently cover the seeds with a thin layer of soil, then mist the surface with a spray bottle so you don’t wash away or displace the seeds. Maintaining consistent moisture is key: aim for damp, never soggy soil.
Cover the tray or pots with a plastic dome or clear plastic wrap to trap humidity while allowing some air circulation; this creates a mini greenhouse effect that boosts germination. Place the containers in a warm spot, such as on top of a refrigerator or a seedling heat mat, keeping the temperature around 70–75°F (21–24°C).
Most tomato seeds germinate in 5–10 days, though colder temperatures may slow this process. As soon as you see tiny sprouts pushing through the soil, remove the plastic covering and move the seedlings to a bright windowsill or under grow lights. Early on, expect to see two small, rounded leaves (cotyledons); true tomato leaves will follow soon after.
Rotate the trays daily so stems don’t lean toward the light. With these steps, you’ll be off to a strong start and can look forward to healthy, vigorous tomato plants ready for transplanting in a few weeks.
Caring for Young Tomato Seedlings
Tomato seedlings thrive when they receive the right balance of light, warmth, and attentive care during their early days. As soon as the seedlings emerge, they need at least 12-16 hours of bright, indirect light each day. If your windowsills don’t get enough sun, supplement with fluorescent grow lights or LED lamps placed just a few inches above the plants. Adjust the lights as the seedlings grow to avoid leggy, weak stems.
Consistent warmth is also crucial — aim for daytime temperatures around 70-75°F (21-24°C) and nighttime temperatures not dropping below 60°F (16°C). To keep soil conditions just right, water seedlings when the surface feels slightly dry, but be careful not to let pots sit in soggy trays, which can cause root rot. A gentle bottom-watering method—adding water to the tray beneath the pots and allowing seedlings to soak it up—prevents splashing and reduces the risk of disease.
Once seedlings develop two sets of true leaves, it’s time to thin them out: carefully snip extra seedlings at the soil surface, leaving only the strongest one per cell or pot. When roots begin peeking out of drainage holes or the seedlings look crowded, gently transplant them into larger containers, handling them by their leaves to avoid stem damage.
Healthy tomato seedlings stand upright with short, sturdy stems, deep green leaves, and obvious new leaf growth. By monitoring light, warmth, water, and space, you give your young tomatoes the best possible start for a productive season ahead.
Hardening Off and Planting Outdoors
Hardening off is a crucial process that gradually acclimates seedlings, started indoors or in greenhouses, to the harsher outdoor environment. This transition period helps prevent transplant shock by exposing young plants to fluctuating temperatures, sunlight, wind, and more variable humidity—all of which are far more intense outside than inside.
Begin hardening off your seedlings about 7 to 10 days before you plan to plant them outdoors. Start by placing them in a sheltered, shady spot outside for a couple of hours on the first day, then slowly increase both the length of outdoor exposure and the amount of direct sunlight they receive each day.
Key indicators that seedlings are ready for outdoor planting include sturdy stems, several sets of true leaves, and active new growth. You’ll also want to ensure that all danger of frost has passed and that the soil has warmed to the appropriate temperature for your crops—consult local frost charts or use a soil thermometer.
When it’s time to transplant, choose a cloudy day or late afternoon to avoid scorching young plants. Gently remove seedlings from their trays or pots, handling them by their leaves (not stems) to prevent damage. Plant them at the same depth they were growing in their pots, firm the soil around the roots, and water well immediately after transplanting to settle the soil and reduce root stress.
For the first week, keep an eye on moisture levels and provide shade or row covers if unusually harsh sun or wind threatens. This will help your young plants ease into their new home. Checking on them daily for signs of wilting or pests will support their smooth transition and set them up for a strong, healthy growing season.
Troubleshooting and Tomato Growing Tips
New tomato growers often stumble over a few key pitfalls, but with some practical know-how, you can sidestep these problems for a thriving crop.
Overwatering is a typical beginner’s mistake—the soil should be moist but never soggy. Let the top inch dry out before watering again.
Overcrowding is another common issue; tomato plants need plenty of space and airflow to stave off disease. Thin seedlings early and keep mature plants at least two feet apart.
Insufficient light leads to weak or “leggy” seedlings, so ensure your tomatoes get at least six hours of direct sunlight daily, or use a grow light set just a few inches above the plants. If you notice your seedlings are spindly, move them to a brighter spot and gently brush your hand over them daily—this mimics wind and encourages sturdier growth.
Damp soil and poor air circulation can lead to damping off, a fatal stem rot in seedlings. Combat this by using sterile seed-starting mix and watering from below.
For a quick rescue of weak seedlings, transplant them deeper so the soil covers part of their stem; this helps them develop stronger roots.
To boost yield and intensify flavor, cut back on watering as fruits begin to ripen, since a little water stress concentrates sugars in the tomatoes.
Remove the lower leaves once the plant is well-established to increase airflow and reduce disease risk. Regularly pinch off suckers—the small shoots that grow between the main stem and branches—to direct the plant’s energy toward fruiting.
Feeding your plants with a balanced organic fertilizer every two to four weeks keeps them healthy and productive.
With these strategies, even novice growers can enjoy a bumper crop of delicious, homegrown tomatoes.