Why Grow Sweet Potatoes in a Grow Bag?
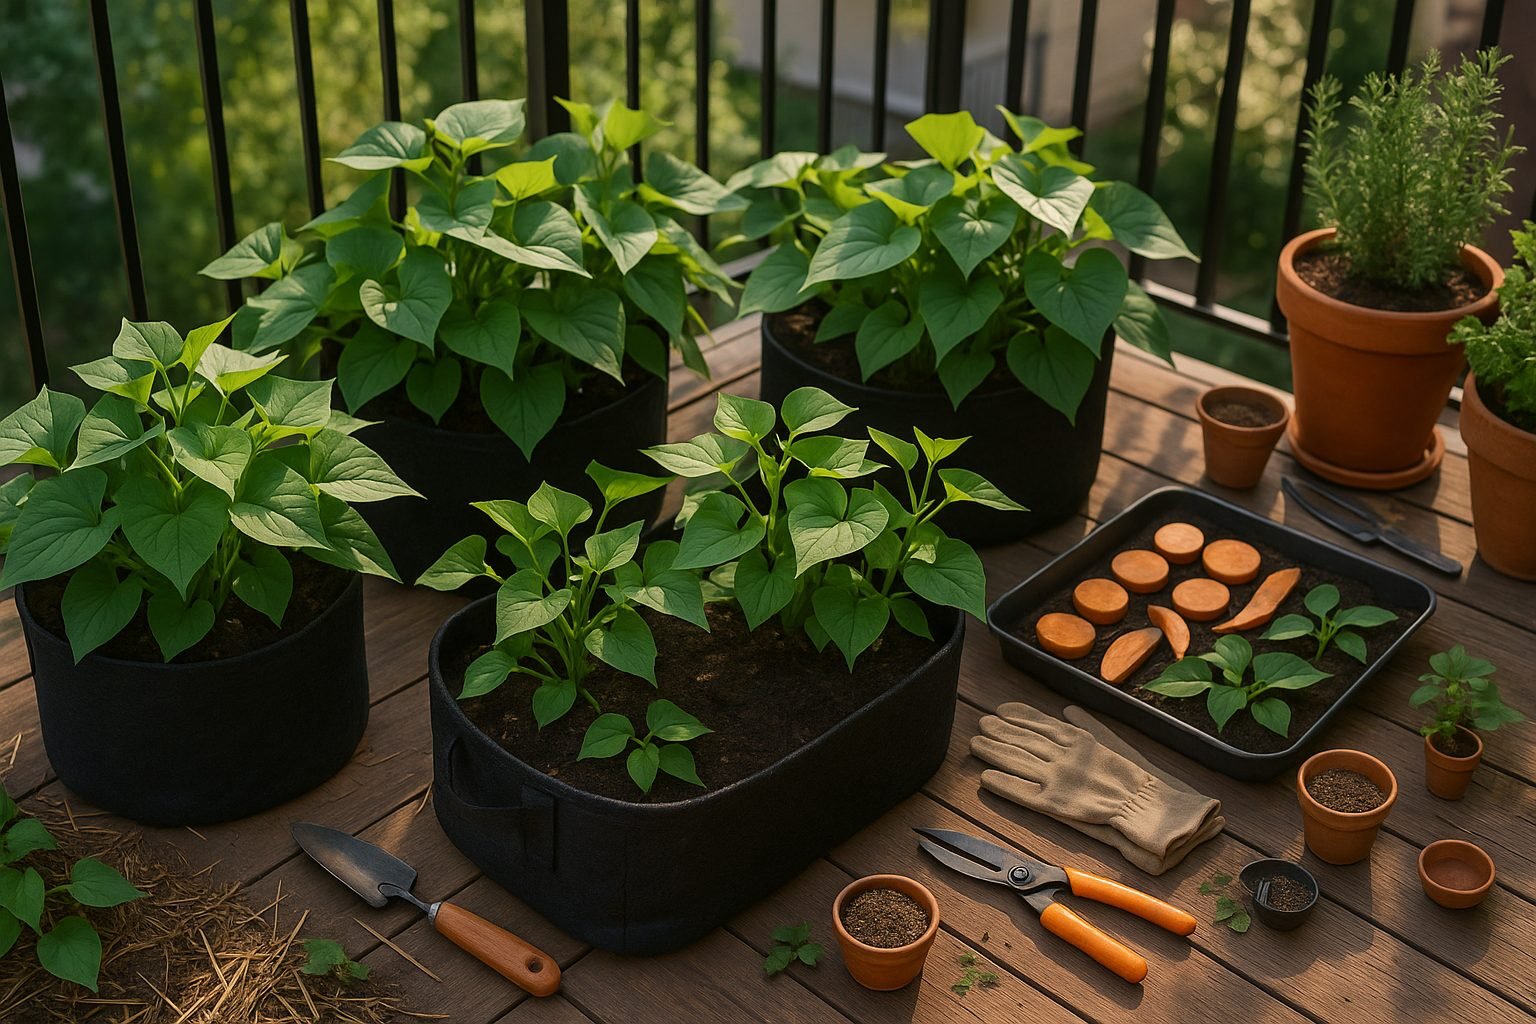
Growing sweet potatoes in grow bags is a game-changer for anyone short on gardening space or dealing with less-than-ideal soil conditions. Compared to traditional in-ground planting, grow bags offer a host of practical benefits, especially for urban gardeners working with balconies, patios, or tiny backyards.
First, grow bags save you space; you can place them wherever you have a sunny spot—no need for a sprawling garden bed. Their portability means you can move your sweet potato crop to catch more sunlight or avoid unexpected bad weather, which isn’t possible with plants rooted in the ground.
Plus, controlling the soil is much easier in a grow bag. Sweet potatoes love loose, well-draining soil, and grow bags let you tailor the soil mix specifically for strong root and tuber development, reducing the risks associated with compacted or poor-quality ground soil.
Pest and disease issues are often lower as well, since you’re starting fresh with clean soil and lifting plants off the ground, making them less accessible to soil-borne pests and fungi. By contrast, traditional in-ground planting can make your crop more vulnerable to root-knot nematodes, common fungal infections, and even rodents.
For those living in apartments or with only a concrete patio, sweet potatoes in grow bags turn previously unusable spaces into mini food gardens, allowing fresh harvests without needing your own plot of earth.
Whether you’re a seasoned gardener looking for convenience or a beginner with limited space, opting for sweet potatoes in grow bags is an easy, efficient, and surprisingly high-yield way to enjoy this nutritious, home-grown crop.
Getting Ready: Supplies and Prep
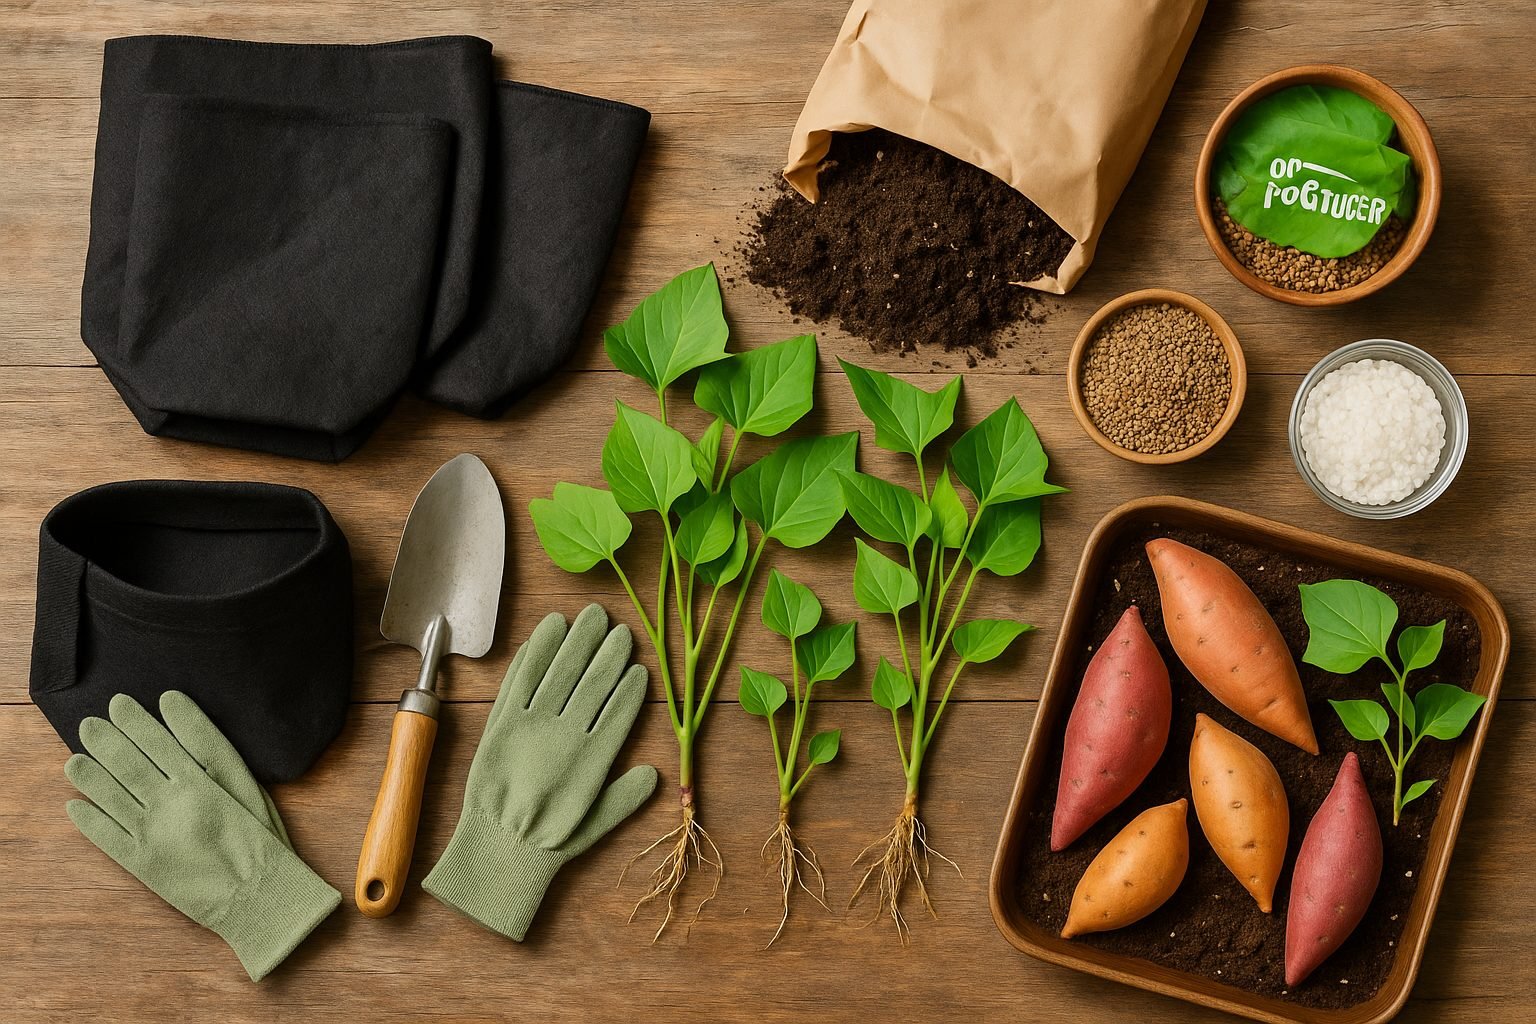
To kick off your sweet potato growing journey with grow bags, start by gathering the key essentials. You’ll need sturdy grow bags (10-20 gallons is ideal for each plant, allowing roots to expand), high-quality, well-draining potting soil, sweet potato slips (young shoots prepped for planting), basic hand tools like a trowel and gloves, and a balanced fertilizer rich in potassium.
When picking your grow bag, consider size and material: larger bags give sweet potatoes room to develop, while breathable fabrics or felt bags ensure good aeration and help prevent root rot. Plastic bags hold too much moisture and may overheat, so they’re best avoided.
For best results, choose sweet potato varieties suited to your climate and space, like ‘Beauregard’ for most regions or compact types like ‘Vardaman’ for smaller spaces. Purchase slips from a reputable nursery or garden center, checking for firm, green, disease-free shoots; avoid wilted or yellowing slips, as these may struggle to thrive. If growing organically, look for certified organic slips.
Planning ahead and prepping these foundational elements ensures you’ll set up a healthy, productive sweet potato crop right from the start.
How to Plant Sweet Potatoes in Grow Bags
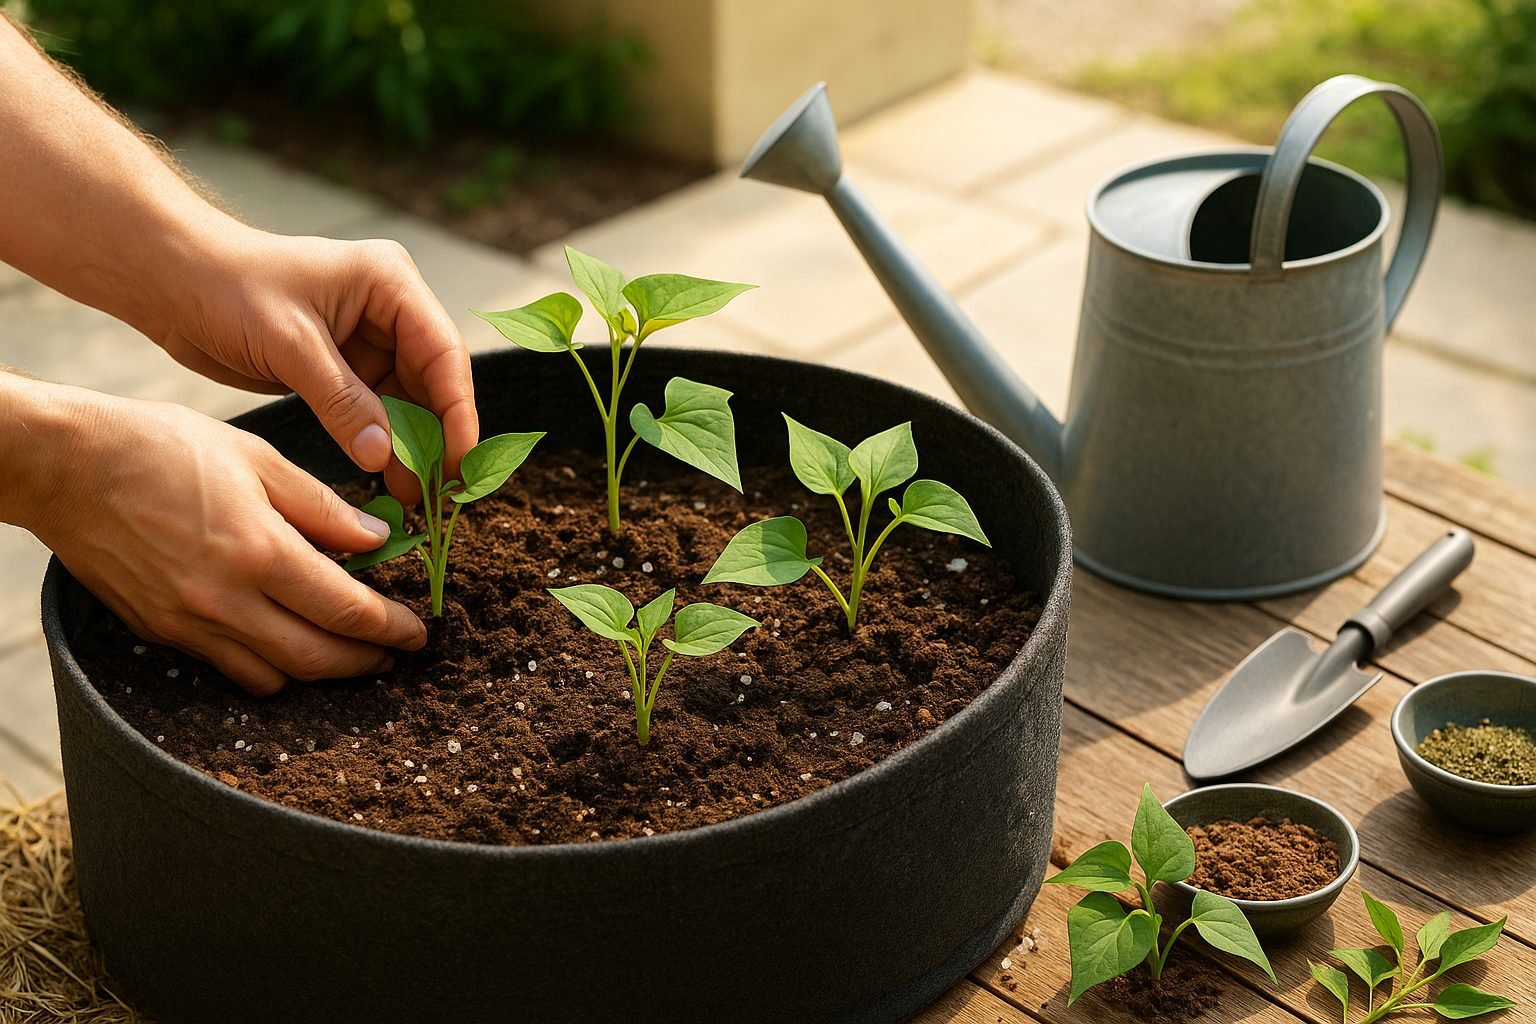
Planting sweet potatoes in grow bags is a smart way to get a bountiful harvest, even if you have limited garden space. Start by choosing a large grow bag, ideally 15–20 gallons, to give the roots plenty of room to spread.
Fill the bag with a loose, well-draining soil mix—combine two parts potting soil, one part compost, and a handful of perlite or coarse sand for extra drainage. Sweet potatoes are heavy feeders, so mix in an organic fertilizer high in potassium or a few handfuls of well-rotted manure before planting.
Next, take your sweet potato slips (these are the sprouts that grow from a mature sweet potato) and space them at least 12 inches apart, aiming for three to four slips per large bag. Plant each slip so the bottom two leaves are just above the soil surface, and the roots are buried about 3–4 inches deep.
Once planted, water the grow bag thoroughly until water drains from the bottom, ensuring the soil is moist but not soggy—sweet potatoes dislike waterlogged conditions. Place your grow bag in a spot that gets at least six to eight hours of direct sunlight per day, such as a south-facing patio or balcony.
In cooler climates, the bags can be moved to maximize sun exposure and warmth, speeding up growth. For the first week, keep the soil consistently moist to help the slips establish, then water deeply whenever the top inch feels dry.
With these steps, your sweet potatoes should thrive, offering lush vines above and plump tubers below by harvest time.
Caring for Sweet Potato Plants
Sweet potato plants thrive with consistent care, especially in grow bags where soil dries out faster than in-ground beds. Water early in the morning two or three times a week, adjusting based on the weather. Use the finger test about two inches deep to check moisture; if it feels dry, it’s time to water. Avoid overwatering, as soggy soil can cause rot.
For feeding, start with a balanced organic fertilizer when planting, such as compost or well-rotted manure, mixing it thoroughly into the soil. As vines begin forming, use a high-potassium liquid feed every two to four weeks to encourage strong tuber growth. Seaweed extract or homemade compost tea are great organic choices.
Because vines can sprawl, gently lift and redirect the stems onto trellises or bamboo hoops. This keeps containers tidy and allows leaves to soak up more sunlight.
Regularly check for yellowing or diseased leaves and snip them off with clean scissors to boost airflow and reduce pest problems. Inspect leaves weekly for common pests like aphids and whiteflies; if you spot any, try a quick blast of water or spray with diluted neem oil.
Also, rotate your grow bags’ position each season to disrupt soil-borne disease cycles. With attention to these details, your sweet potato plants will reward you with an abundant late-summer harvest.
Harvesting and Storing Your Sweet Potatoes
Knowing the right time to harvest your sweet potatoes is crucial for getting the best flavor and quality from your crop. Look for yellowing leaves or the first signs of a light frost—these are your cues that the tubers have matured, typically about 90 to 120 days after planting.
To start harvesting, gently loosen the soil around each plant with a garden fork, being careful not to pierce the sweet potatoes. Begin about 12 to 18 inches away from the base of the plant. As you get closer, use your hands to dig through the soil, gently lifting each tuber to prevent nicks and bruises since damaged sweet potatoes don’t store well.
Once harvested, don’t wash the sweet potatoes—simply brush off excess dirt and lay them out in a single layer in a warm, well-ventilated space (ideally 80–85°F) for 7 to 10 days. This curing process helps toughen their skins and converts some of the starches to sugars, improving both flavor and shelf life.
After curing, store your sweet potatoes in a cool (about 55–60°F), dark, and dry place—like a basement, cellar, or even a ventilated closet. Arrange them in crates or baskets, and check them periodically for any signs of spoilage so you can remove any affected tubers right away.
By following these steps, you’ll be able to enjoy your sweet potatoes for several months after harvest.
Troubleshooting: Common Issues & FAQs
Growing sweet potatoes in bags is convenient, but you might run into a few common problems along the way.
Yellowing leaves often signal too much water or poor drainage—check your bag for waterlogged soil and make sure you’ve got adequate drainage holes. If leaves are pale but veins remain green, it might be an iron deficiency; a balanced, all-purpose fertilizer can help.
Slow or stunted growth sometimes happens if sweet potato slips are planted too early, when the soil is still cool. Waiting until nighttime temperatures consistently hit 55°F (13°C) can give your crop a better start.
Pests are another headache—wireworms love to burrow into tubers, so try rotating the bags’ position each year and avoid using garden soil that might harbor larvae. Aphids can usually be rinsed off with a strong stream of water or controlled with insecticidal soap.
FAQs
Many gardeners wonder if you can reuse the soil. You can, but it’s best to amend it with compost and rotate crops to prevent disease build-up.
For overwintering, sweet potatoes don’t survive freezing temperatures; harvest before your first frost and store cured tubers in a cool, dry place.
Another tip: avoid adding too much fertilizer, as this can produce lush vines but tiny tubers.
Stay observant and address issues early, and growing sweet potatoes in bags can yield a healthy, rewarding harvest.