Introduction
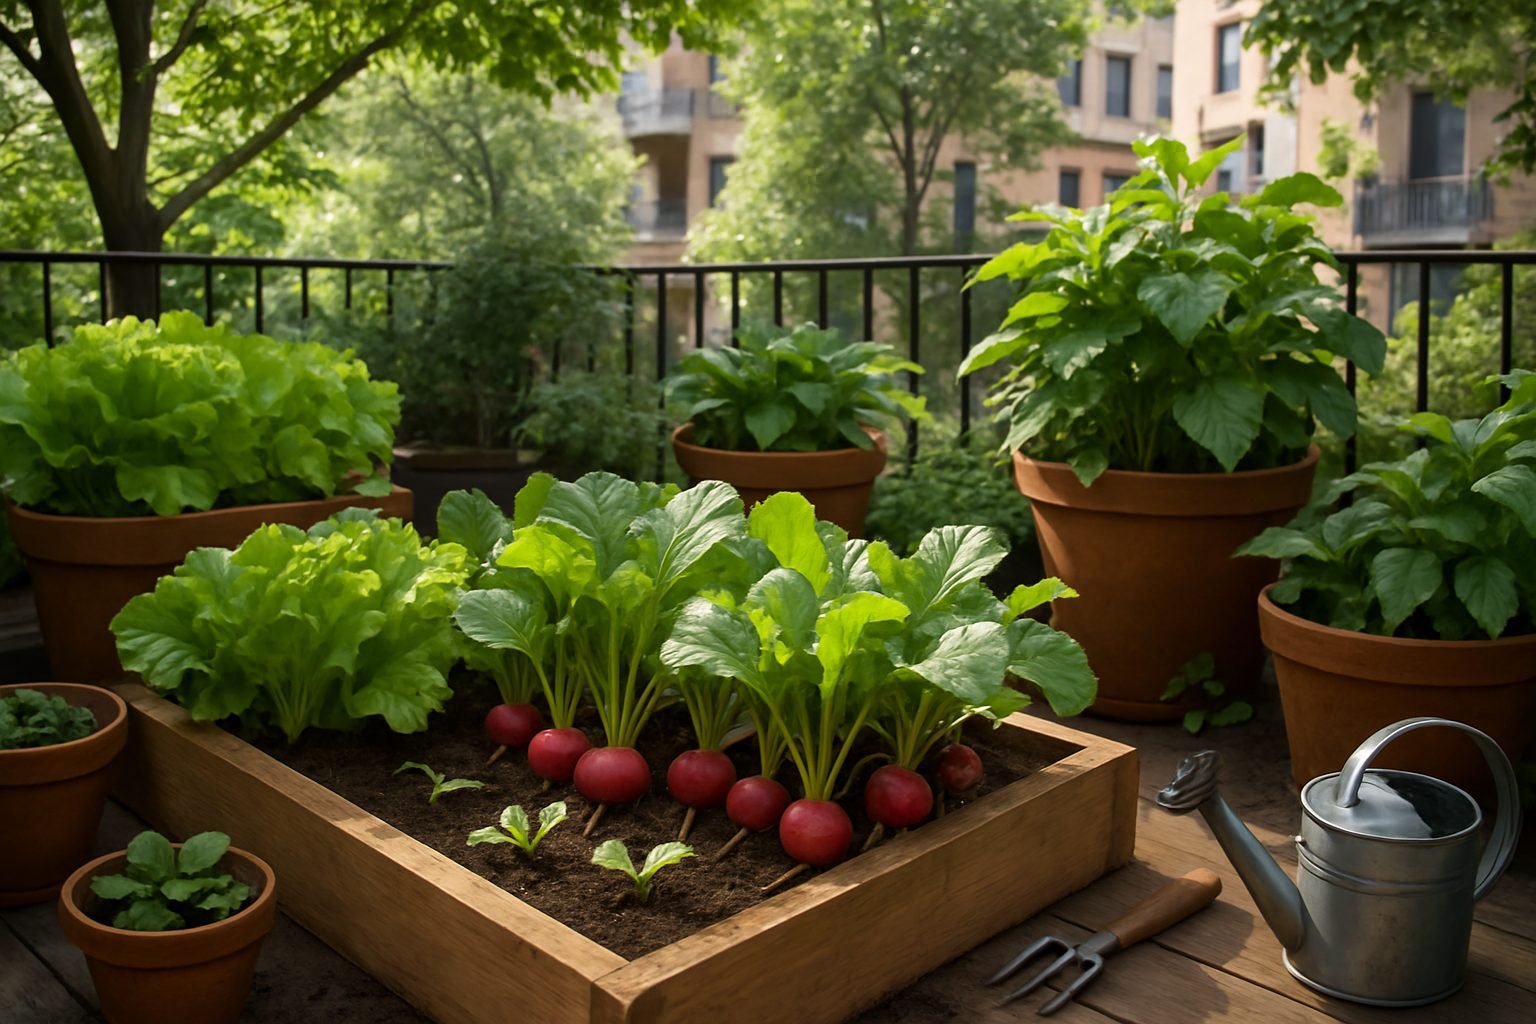
For gardeners with bustling city balconies or yards nestled beneath leafy canopies, the question “can you grow radish in shade?” often comes up. Shade gardening has become an essential skill for anyone dealing with limited sunlight, whether you’re contending with neighboring buildings or old, towering trees. While many imagine that bountiful vegetable harvests require full sun, the reality is more nuanced: several crops, including radishes, can actually adapt to and even thrive in partial shade under the right conditions.
Growing vegetables in shade presents both unique challenges and intriguing advantages. On the upside, shady spots often mean cooler soil, which can extend the growing season for certain cool-loving crops and prevent premature bolting—that all-too-common issue where leafy greens and root veggies flower and become bitter in the heat. There’s also the bonus of slower weed growth and reduced watering needs, as shaded soil dries out more slowly than sunbaked earth. On the other hand, shade can cause stunted growth or muted flavors in some plants, and not every vegetable is up for the task. For the gardener, knowing how to work with these conditions can mean the difference between a disappointing crop and a surprisingly abundant harvest.
In this blog post, we’ll dig into the specifics of growing radish in shade—sharing firsthand tips to get your crop started, clever strategies to make the most of those shadowy patches, and a roundup of other shade-tolerant vegetables that can join radishes in your shady vegetable patch. You’ll pick up practical planting advice, from soil preparation to managing moisture and maximizing available light, as well as smart techniques for ensuring steady growth even under less-than-ideal conditions. Whether you’re working with a single shady corner or an entire backyard under a tree canopy, you’ll discover how a little planning can transform dim spaces into productive edible gardens.
Understanding Shade Conditions in Your Garden
Shade isn’t just “no sun”—it comes in several flavors, and knowing the difference can make or break your garden success.
Full shade means areas that receive less than three hours of direct sunlight each day and stay cool and dim, like spots beneath dense evergreens or the north side of tall fences.
Partial shade means about three to six hours of sun, often in the morning or late afternoon, followed by shadow; you’ll see this under high tree canopies, next to buildings, or on the east or west sides of your house.
Dappled shade is patchy sunlight filtering through trees or lattice, creating shifting light spots across the soil—think of the soft sunlight under mature maples or pergolas.
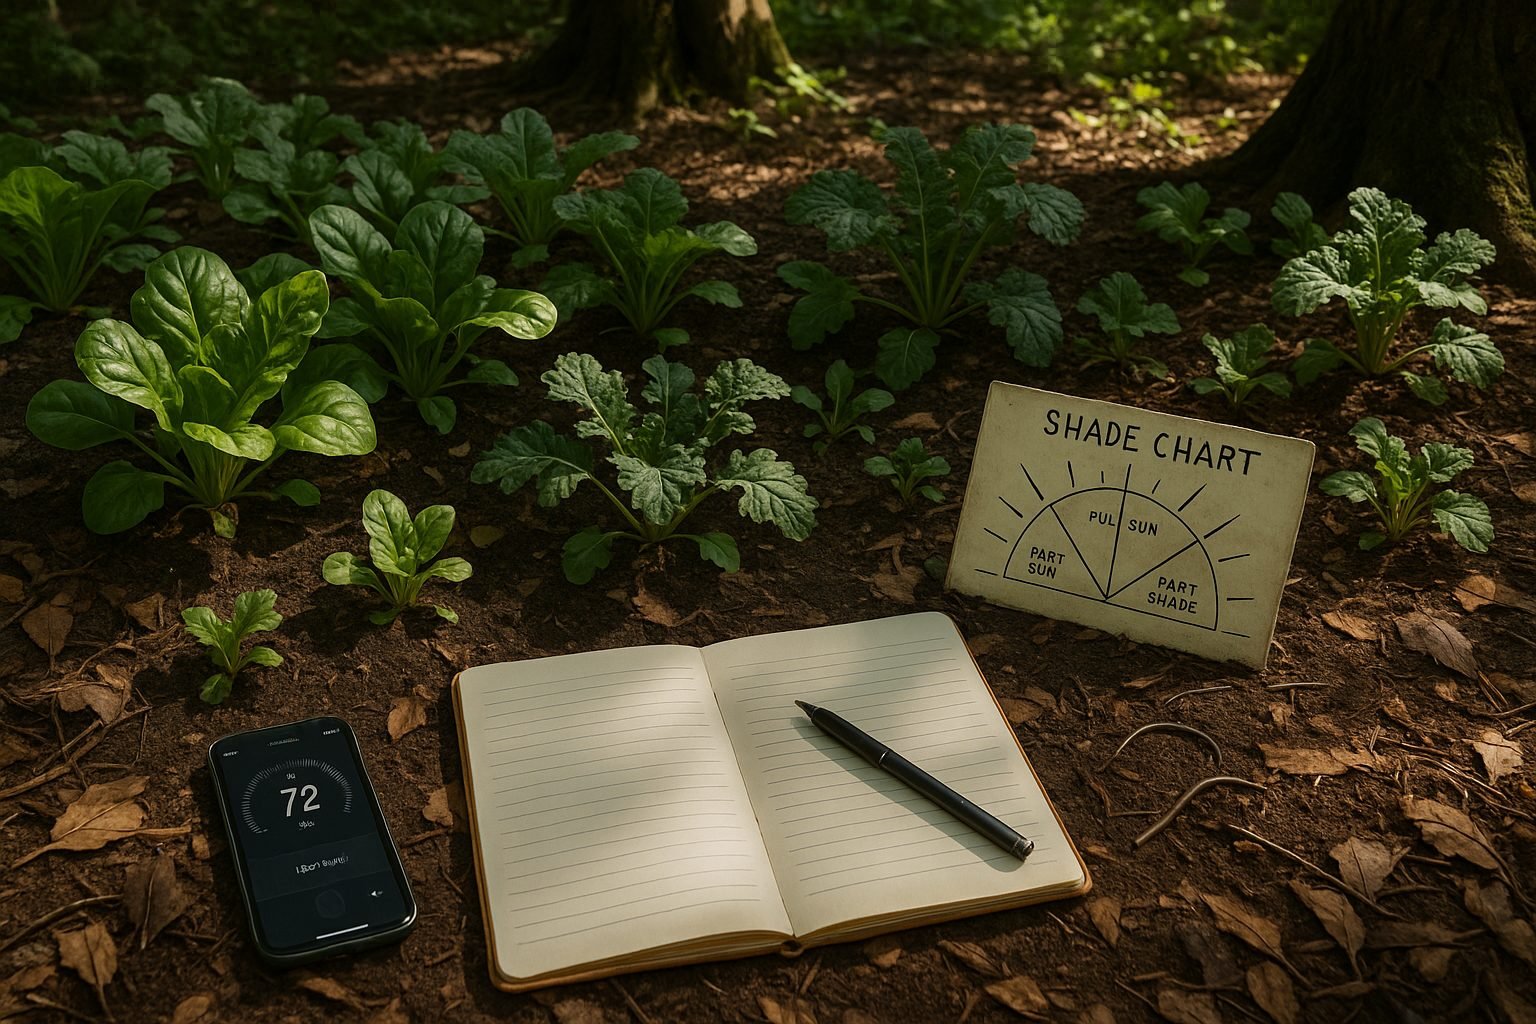
To figure out what kind of shade you have, spend a day checking your garden at different times—use your phone to snap photos every two hours from morning to evening, or jot down notes on where and when sunlight hits the ground.
Some gardeners use the “shadow test”: if the shadow looks crisp, it’s full sun; a blurred edge means partial shade; and barely any shadow at all signals full shade.
Shade affects vegetables by limiting the energy plants get from the sun, which can slow growth, reduce yields, or cause them to grow leggy as they stretch for light.
Leafy greens like spinach, lettuce, and kale cope well with less sunlight, thriving even with just a few hours daily.
Fruit-bearing crops like tomatoes, peppers, or beans, however, need upwards of six hours of direct sun for best results.
Take a lazy-Saturday walk with a notebook or use free light meter apps on your smartphone to track sun exposure, and mark garden spots as “full shade,” “partial shade,” or “dappled shade.”
This groundwork helps you pick the right crops—and place them in the best possible spot for a thriving harvest.
Top Vegetables That Thrive in Shade
Growing vegetables in shaded areas can be extremely rewarding, especially if you choose varieties naturally suited for dappled sunlight or partial shade. Leafy greens like lettuce and spinach are top performers in these conditions, thriving with as little as three to four hours of indirect sun. Opt for ‘Buttercrunch’ lettuce or ‘Bloomsdale’ spinach, which are more shade-tolerant and bolt less than other types.
Kale, another leafy staple, actually develops richer flavor in cooler, shaded environments. ‘Lacinato’ (dinosaur kale) is a standout variety that handles shade well. Radishes and arugula also deliver quick harvests with just a few hours of light, with ‘French Breakfast’ radishes and ‘Astro’ arugula doing particularly well in shadier spots.
Brussels sprouts prefer cooler settings and easily adapt to partial shade, producing tight sprouts when shielded from harsh afternoon sun. Scallions and other green onions tolerate even light shade, and ‘White Lisbon’ is a favored choice for gardeners with limited sun. Bok choy thrives in cool, filtered light, with baby varieties like ‘Toy Choy’ maturing quickly and resisting bitterness.
Peas, especially snap and snow peas, perform admirably where they receive morning sun and afternoon shade. ‘Sugar Ann’ snap peas are known for their vigor in less-than-ideal lighting. Root crops like carrots and turnips benefit from part shade, which preserves moisture and produces tender, sweet roots—try ‘Nantes’ carrots and ‘Hakurei’ turnips for reliable results.
Swiss chard and kohlrabi also embrace limited sunlight, with ‘Bright Lights’ chard and ‘Early White Vienna’ kohlrabi being reliable picks for shadier plots. Celery, which prefers steady moisture and cool roots, is naturally suited to partial shade, especially varieties like ‘Tall Utah.’
Generally, leafy greens and brassicas (lettuce, spinach, kale, arugula, bok choy, Swiss chard, cabbage, and Brussels sprouts) truly excel in cooler, shadier positions—ideally with morning sun and afternoon shade. Root crops (carrots, radishes, turnips, kohlrabi) and legumes (peas) can tolerate lighter shade but generally benefit from some direct sunlight for best yields.
With the right vegetable choices and a bit of experimentation, even the shadiest corners of your garden can become highly productive.
Preparing Your Shady Garden for Planting
Soil preparation is an essential first step when planning a successful shade garden. Shaded spaces often have cool, compacted soils with poor drainage, especially under mature trees where thirsty roots dominate. To tackle this, start by assessing the natural drainage: after a rainfall, check for standing water or lingering sogginess. If the area stays wet, loosen the soil with a garden fork and mix in generous amounts of compost or coarse sand to promote better runoff.
Fertility is equally important, as soils in low light commonly lack nutrients due to reduced leaf litter decomposition and tree competition. Spread a two- to three-inch layer of well-rotted compost or leaf mold over your garden bed, working it into the top 6–8 inches of soil. Not only does this add nutrients, but organic matter helps retain moisture while encouraging beneficial microbes—key allies for healthy roots in the shade.
It’s also smart to test your soil’s pH, as many shade-loving plants (like hostas or ferns) prefer slightly acidic to neutral soils. If needed, adjust the pH with garden lime to raise it or sulfur to lower it, following test kit recommendations.
For especially tricky spots—such as under dense evergreens where even groundcovers struggle—raised beds and containers offer an excellent alternative. Raised beds improve drainage instantly and give you precise control over soil quality, letting you blend topsoil with plenty of compost and perlite. This setup is ideal for delicate shade perennials or vegetables that still require good airflow around their roots.
Containers are another flexible choice, especially if you’re working with a patio, deck, or areas where tree roots make digging impossible. Choose large pots with adequate drainage holes and fill them with a high-quality, rich potting mix. Rotate container plantings to maximize available sunlight or highlight the best foliage, changing arrangements as the seasons shift.
Both methods allow you to bypass the limitations of depleted or compacted native soil, setting your shade plants up for vigorous, eye-catching growth throughout the season. With a bit of extra care in soil prep and a willingness to try raised or contained growing spaces, even the shadiest corners of your garden can flourish.
Planting & Care Tips for Shade-Grown Vegetables
Growing vegetables in shady areas means adapting your planting approach for the best results. When sowing seeds in shade, start with crops suited for low light—leafy greens like lettuce, spinach, and arugula are reliable choices. For root vegetables or brassicas, transplanting sturdy seedlings rather than sowing directly gives them a stronger start since they’ll need to stretch for light. Prepare the soil well with compost to boost fertility and drainage, and space plants a bit farther apart than you would in full sun to maximize available light and airflow.
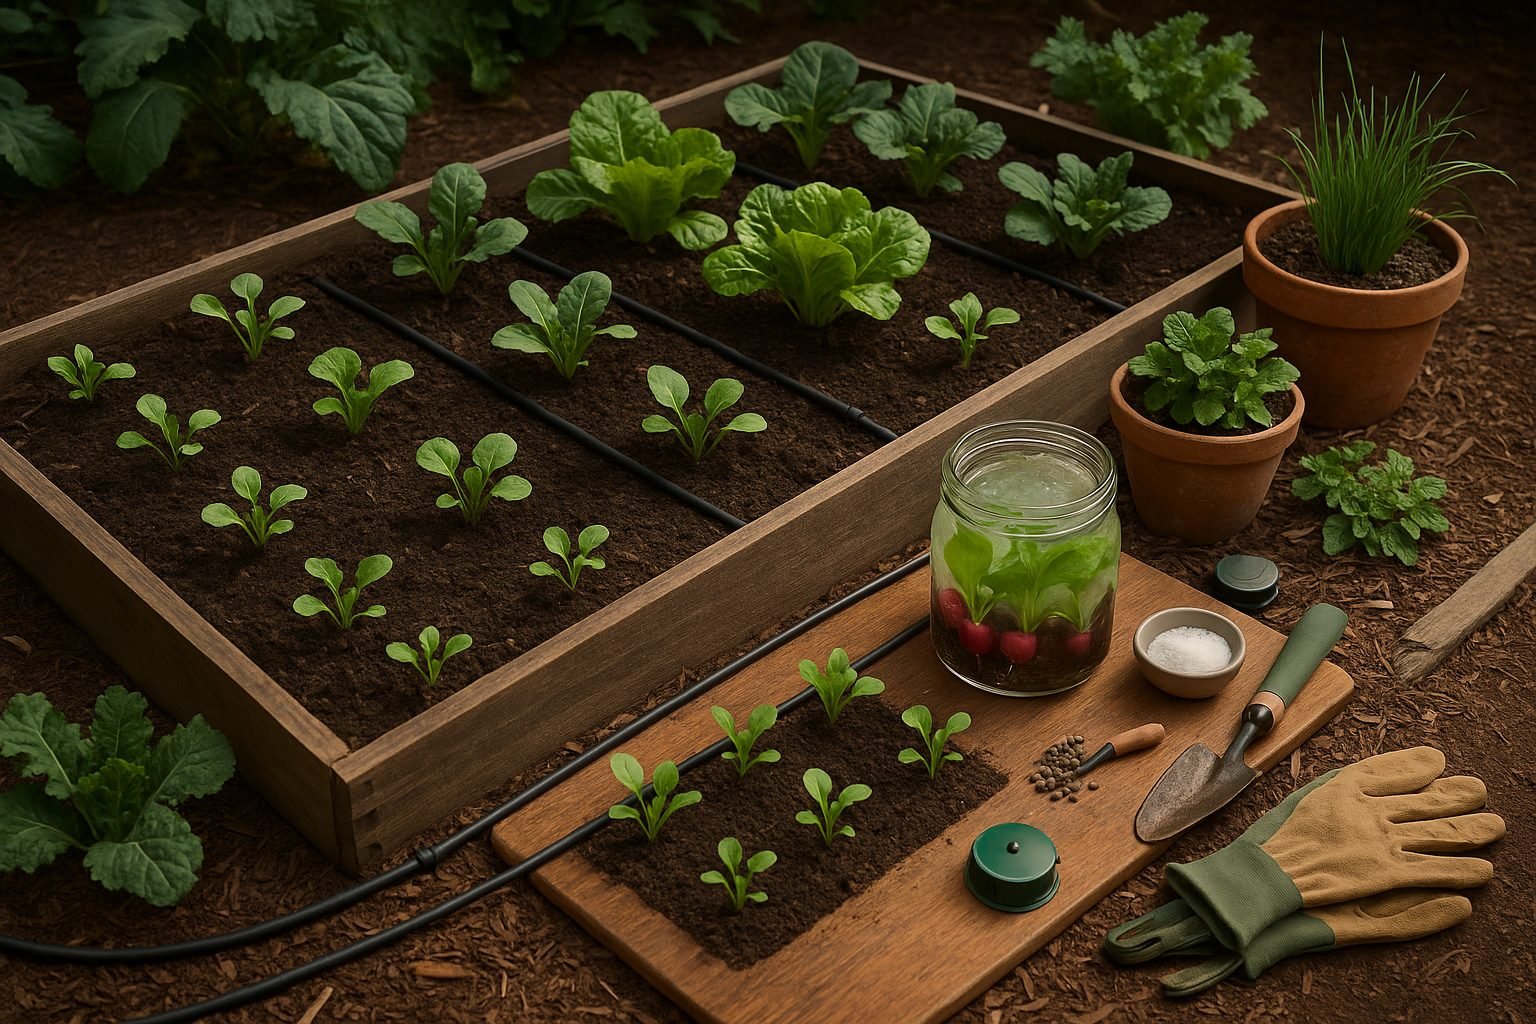
Because evaporation is slower in shade, overwatering is a risk. Check soil moisture by pressing your finger into the ground; only water when it feels dry an inch down. Early morning is the best time to water, so foliage dries quickly and disease pressure stays low. Use soaker hoses or drip irrigation systems for slow, deep soaking and to keep leaves dry, which is especially important in shaded environments where fungal diseases thrive.
Mulching is a smart move in shade gardens. A layer of organic mulch like straw, shredded leaves, or wood chips traps moisture, moderates soil temperature, and reduces splashing that can spread pathogens onto plant leaves. Mulch also helps suppress weeds—important, as weedy competition is tougher to overcome without abundant sunlight.
Companion planting can make the most of limited light and space. For example, pair shade-loving crops like chard, kale, or radishes with understory herbs such as mint or chives, which don’t need full sun and can help deter pests. Nasturtiums and marigolds are great options to plant nearby too, attracting beneficial insects and adding color to the dimmer corners of your plot.
Shade-grown vegetables can be more susceptible to certain pests and diseases due to lower airflow and persistent moisture. Slugs and snails often thrive in shady, damp conditions—protect your plants by setting out iron phosphate granules or traps, and hand-pick intruders during the evening. Fungal diseases like powdery mildew or downy mildew can also be problematic; plant disease-resistant varieties when possible, prune overcrowded growth, and rotate crops yearly to disrupt disease cycles. Also, keep an eye out for aphids or whiteflies, which can congregate in the protected environment of shade—dislodge them with a brisk spray of water or encourage ladybug populations to help control outbreaks. With these techniques, your shade garden can become a productive haven, even in the coolest corners of your yard.
Harvesting & Making the Most of Your Shade Crops
When it comes to harvesting shade-loving vegetables, timing is key for peak flavor and nutrition. For leafy greens like spinach, lettuce, and kale, watch for firm, vibrant leaves and harvest the outer leaves as soon as they’re large enough to eat—usually when they’re 4–6 inches long.
With root crops like beets and radishes, gently pull one or two to check their size; most are ready when roots are around one inch in diameter and the tops still look fresh. Herbs such as parsley or cilantro tend to bolt (flower) quickly in sunny spots, but shaded gardens let you pick tender stems for longer.
To keep your harvest going, try successive sowing: plant small batches every two to three weeks instead of all at once. This is especially effective for shade crops, since cooler, less direct light helps prevent bolting and extends each crop’s productive life.
If you end up with more than you can use fresh, consider tossing extra greens into pestos, smoothies, or soups—shade-grown greens often taste milder, making them versatile in the kitchen.
For storage:
- Wrap washed leaves loosely in a damp towel and store them in the fridge.
- Blanch and freeze leaves for easy meal prep later.
- Keep root veggies in a cool, dark place.
- Freeze herbs by chopping and packing them into ice cube trays with a splash of water or olive oil.
By harvesting regularly, sowing new seeds every few weeks, and thinking creatively about storage and recipes, you’ll make the most of every shady garden corner.
Common Problems & How to Overcome Them
Shade gardening comes with its own unique set of challenges, but with the right strategies, you can still achieve thriving greenery. One common issue is slower plant growth, as many vegetables and flowers don’t get enough sunlight to photosynthesize efficiently. If you notice your plants staying small or taking longer to mature, consider focusing on shade-tolerant species like lettuce, spinach, or ferns, which naturally perform better in lower light.
Another frequent problem is leggy, spindly plants reaching toward any available light, resulting in weak stems that are prone to falling over. You can help by spacing your plants further apart to maximize their light exposure, using reflective mulch or light-colored surfaces nearby to bounce available sunlight, and rotating pots or containers every few days. Sometimes pruning back overhanging branches or thinning nearby shrubs can also help increase the amount of dappled sunlight reaching your garden bed.
Shade gardens can attract specific pests like slugs and snails, which thrive in damp, sheltered conditions. Protect your plants by scattering crushed eggshells, diatomaceous earth, or copper tape around your beds, and check regularly in the early morning or after rain to remove these pests by hand.
Fungal diseases are also more common due to increased moisture; avoid overhead watering, focus on watering at the base, and provide good airflow between your plants to reduce risk. If you consistently struggle to get certain crops or flowers to thrive in your shade area despite troubleshooting, it may be time to try alternative, shade-friendly varieties—look for plant tags that mention “shade” or “low light.”
For sun-loving favorites, consider relocating them to sunnier spots in your yard or growing them in containers that can be moved as needed. By adapting your approach, your shade garden can still flourish, even with a few extra challenges along the way.
Conclusion & Quick Tips
Shade gardening opens up exciting possibilities for gardeners working in less-than-sunny spots, proving that limited sunlight doesn’t have to mean limited harvests. With the right approach, you can successfully grow leafy greens, root crops, and even some herbs under dappled tree canopies or along a north-facing fence.
To make the most of your shady space, remember these quick tips:
- Choose crops suited to low light, like spinach, lettuce, kale, and radishes.
- Use reflective surfaces or light-colored mulch to boost available sun.
- Space your plants a little wider to improve air circulation and growth.
- Don’t overlook the power of high-quality, rich compost to boost plant health in challenging conditions.
- Try growing in containers if your shade shifts through the seasons.
- Keep an eye on moisture—shady areas often retain water longer, so adjust your watering schedule accordingly.
Most importantly, don’t be afraid to experiment. Every shade garden is unique, and a little trial and error is both inevitable and rewarding. Share your progress and discoveries with fellow gardeners—your creative solutions might inspire others to transform their shady corners into productive, vibrant vegetable patches.