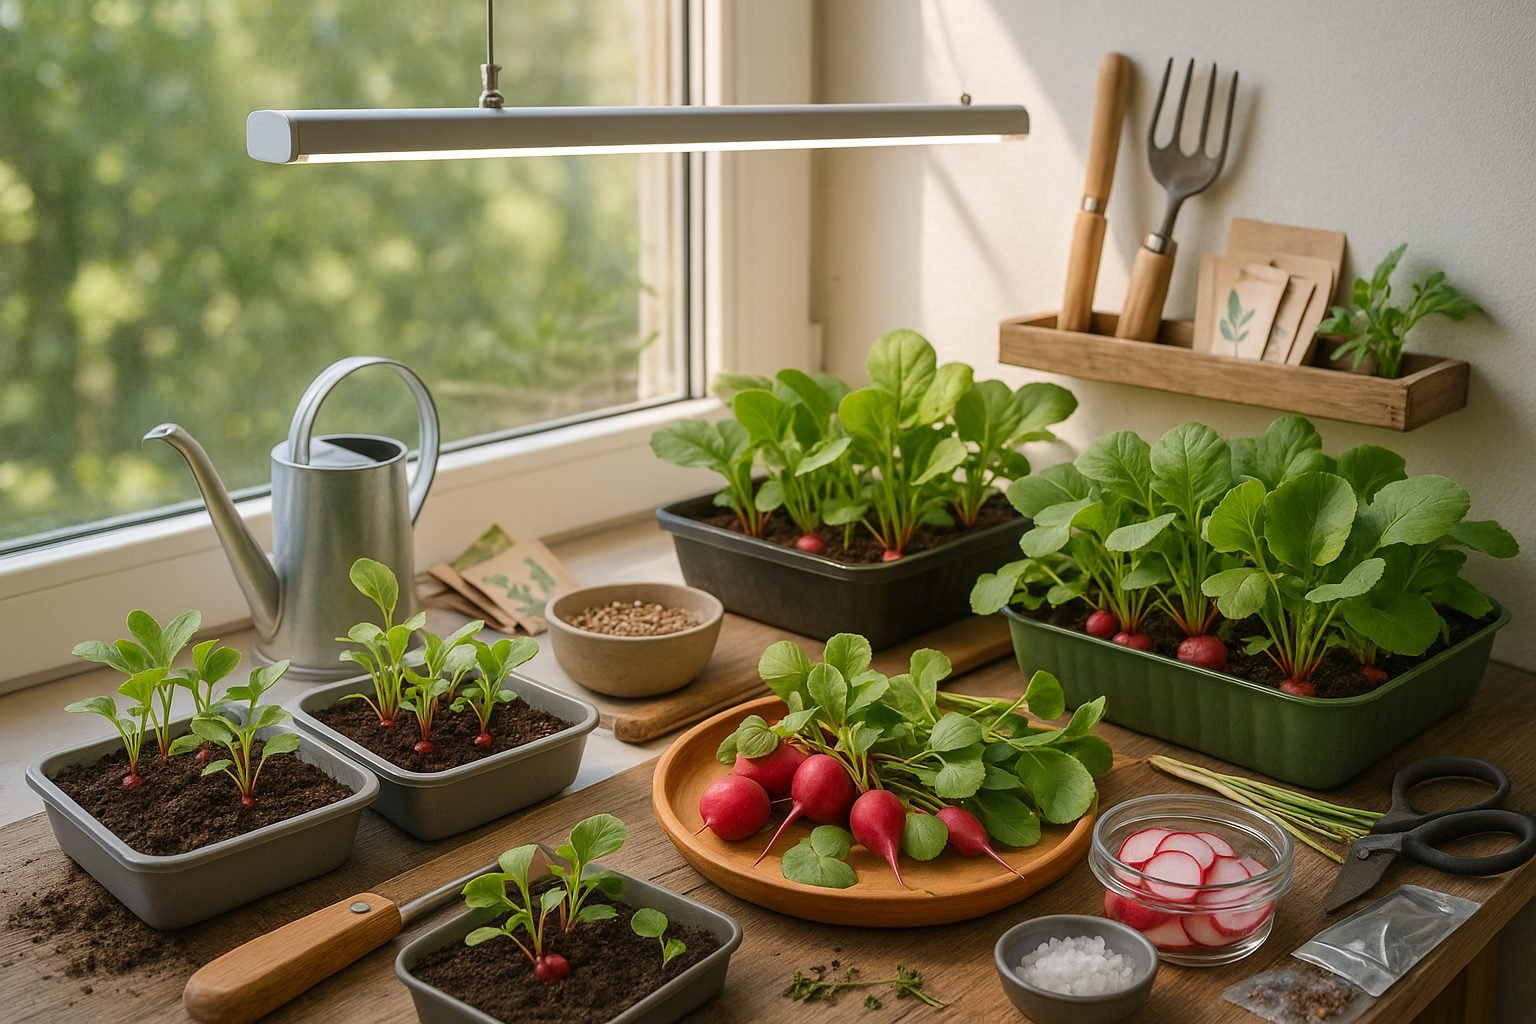
Introduction to Growing Radishes Indoors
Indoor radish growing is quickly becoming a favorite hobby for gardeners who want fresh, crunchy vegetables no matter the season. Radishes are one of the most popular and easy-to-grow veggies around—perfect for anyone looking to try their hand at indoor gardening. With a little space, basic supplies, and some LED grow lights, you can enjoy a bountiful harvest year-round, right from your kitchen counter or a sunny windowsill.
The main advantage of indoor cultivation is the control it gives you. Forget late frosts or scorching summer heat: by growing radishes indoors, you control temperature, light, and moisture, creating the perfect environment for rapid root development and crisp, flavorful results.
If you’re brand new to indoor gardening, radishes are an ideal starting point. They grow astonishingly fast; many varieties are ready to harvest in just 3 to 4 weeks. Their small root size means you can sow several in a single tray, making efficient use of even the tiniest apartment spaces.
Plus, radish plants don’t need complicated care or constant attention. For example, a simple daily check for soil moisture and a timer for your lights can keep your crop thriving. Whether you’re aiming to spice up salads or experiment with colorful microgreens, indoor radish growing brings a world of gardening satisfaction into your home—no outdoor plot required.
Choosing the Right Radish Varieties for Indoor Gardening
When it comes to indoor gardening, selecting the right radish variety can make a big difference in your growing experience. Some of the best options for indoor planters are quick-maturing types like Cherry Belle and French Breakfast.
Cherry Belle is a popular choice because it matures in just 20–25 days, produces small, round, bright red roots, and boasts a mild, crisp flavor that’s perfect for snacks and salads. French Breakfast radishes, on the other hand, have a unique oblong shape, rosy pink skin with white tips, and a slightly spicier taste that adds a punch to dishes; these typically take about 25–30 days to harvest and can handle the slightly cooler conditions often found indoors.
If you’re short on space, try Easter Egg radishes, which produce assorted hues and compact roots, making them attractive and space-efficient.
When choosing seeds, always buy from reputable sources—look for organic or non-GMO labels from trusted garden centers or established online retailers. Reading reviews and checking for fresh seed stock (check the packing date!) can ensure high germination rates. To maximize success, avoid seeds from vague or unknown suppliers, as old or poorly stored seeds may result in spotty growth and disappointment.
By selecting the right radish variety and sourcing your seeds mindfully, you set yourself up for a quick, reliable indoor harvest that’s both flavorful and fun.
Setting Up Your Indoor Radish Growing Space
When setting up your indoor radish growing space, start with the right containers—shallow pots or trays that are at least 6 inches deep work best, as radish roots don’t need much vertical space but do appreciate room to grow sideways. Opt for containers with drainage holes to prevent soggy soil and root rot.
Use a high-quality potting mix that’s loose, well-draining, and rich in organic matter to help radishes develop crisp, tasty bulbs. Avoid heavy garden soil, which can compact and stunt growth. Place a tray under your pots to catch excess water and protect your indoor surfaces.
Lighting is crucial: if you have a south- or west-facing windowsill that receives at least 6 hours of direct sunlight, that’s an ideal spot. For homes with less natural light, consider using LED grow lights placed a few inches above the plants; aim for 12–16 hours of light daily to encourage healthy, fast growth.
You can also use shelves to maximize vertical space—just make sure each container gets enough light and airflow. Finally, keep your radishes in a room that stays between 60–75°F (15–24°C), and rotate your containers every few days so all sides get equal exposure.
By choosing the right containers, soil, and light source, you’ll set the stage for a successful and rewarding indoor radish harvest.
Step-by-Step Guide: Planting and Caring for Radishes Indoors
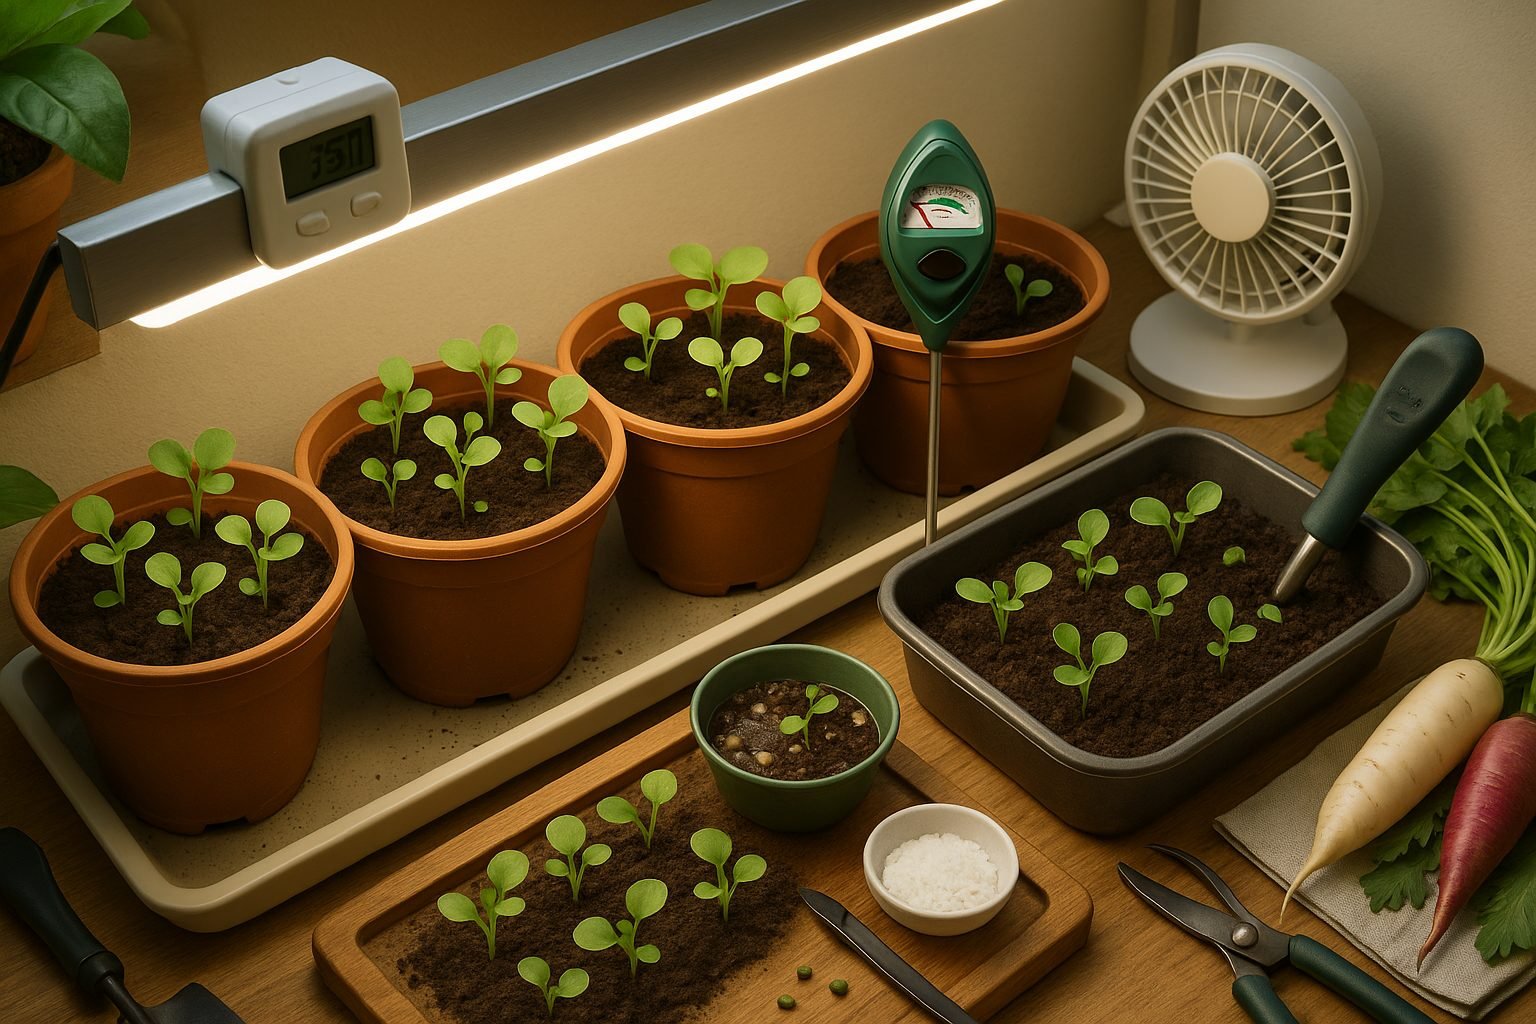
Growing radishes indoors is surprisingly simple and a great way to enjoy fresh produce year-round. Follow these steps to get started:
- Fill a shallow container about 6 inches deep with well-draining potting mix. Make sure the container has drainage holes at the bottom.
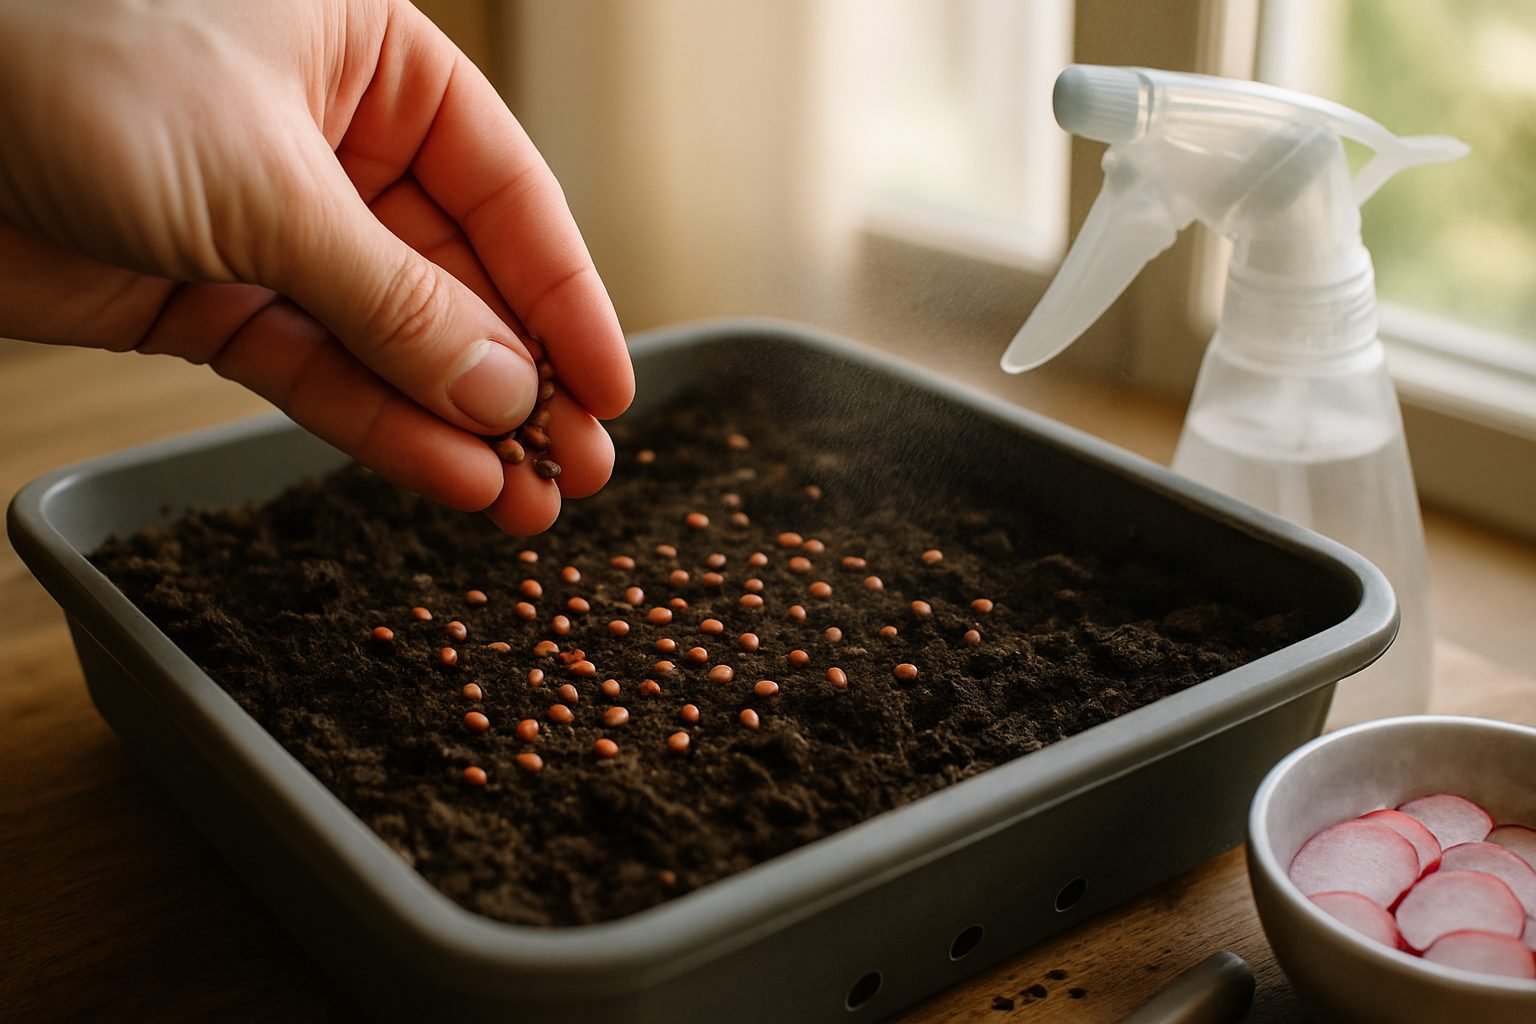
- Sprinkle radish seeds evenly on the surface, spacing them about an inch apart. Lightly cover with half an inch of soil.
- Water gently using a spray bottle or a fine stream, moistening the soil without creating puddles.
- Place your container in a bright spot that receives at least six hours of indirect sunlight daily.
Keep the soil consistently moist but not soggy. Check every other day and water when the top inch feels dry.
Seedlings usually appear within 4-7 days. Thin them out so each plant has about two inches of space to prevent overcrowding and allow roots to develop properly.
Monitor the room temperature; radishes prefer cooler conditions between 60-70°F. Avoid placing them near heat sources.
Once your radishes develop true leaves—typically after two weeks—feed them with a diluted, all-purpose liquid fertilizer. Be careful not to overfeed as this can lead to lush leaves but poor root development.
Good airflow is important to reduce mold and strengthen stems. Leave a fan on low nearby or crack a window periodically.
Pests are rare indoors, but keep an eye out for aphids or fungus gnats. If needed, wipe leaves with soapy water or use sticky traps to manage them.
Your radishes should mature in about 25-30 days, depending on the variety. When the roots are about an inch across and the tops start to push slightly above the soil, it’s time to gently harvest and enjoy.
By following these steps, you’ll have a crunchy, flavorful crop with minimal effort—perfect for both gardening newbies and experienced growers alike.
Harvesting and Enjoying Your Indoor Radishes
Knowing the perfect time to harvest your indoor radishes is key to getting crisp, flavorful roots. Watch for radishes that have matured to about an inch in diameter—a little smaller is fine, especially if you prefer tender, mild roots. Look for the shoulders of the radish peeking just above the soil and a rich color to the skin. Avoid waiting too long, as overgrown radishes tend to become woody and bitter.
To harvest without harming the roots, gently loosen the soil around each radish with your fingers or a small fork before grasping the leafy tops close to the base and pulling straight up with a slow, steady motion. Brush off any excess soil and cut off the leafy greens (which are also edible) to keep the bulbs crisp.
Store freshly harvested radishes in the fridge, ideally in a perforated plastic bag or airtight container lined with a damp paper towel to retain moisture; they’ll keep well for up to a week.
Enjoying Your Bounty
Slice radishes thinly into salads for a satisfying crunch, pair with hummus or butter and salt for a quick snack, or try quick-pickling them with vinegar, sugar, and spices for a tangy topping to tacos and sandwiches. Their peppery flavor can elevate everything from breakfast toast to noodle bowls, making your indoor harvest both rewarding and delicious.
Solving Common Indoor Radish Growing Problems
Indoor radish growers often face a few recurring challenges, but most have practical fixes.
Leggy seedlings are a sign your plants aren’t getting enough light—move containers closer to a sunny window or invest in an inexpensive grow light set for 12-14 hours daily.
Slow growth usually traces back to temperature or soil: radishes thrive in cool rooms, ideally between 55°F and 70°F, and in loose, fast-draining potting mix.
If your radishes aren’t forming bulbs, it’s likely due to overcrowding or overly rich nitrogen fertilizers. Thin seedlings so each has 2-3 inches of space, and switch to a balanced, all-purpose fertilizer applied at half-strength every two weeks to avoid leafy growth at the expense of roots.
Watch for common pests such as aphids or fungus gnats—removing them by hand, rinsing with a mild soapy water spray, or sprinkling a thin layer of diatomaceous earth on the soil can all help.
Fungal diseases are less common indoors, but make sure there’s good air circulation and avoid overhead watering to keep leaves dry.
For those wondering if radish bulbs will really form inside, the answer is yes. With proper light and spacing, you’ll see those crisp roots develop in as little as 25 days.
Stick to reliable quick-maturing varieties like ‘Cherry Belle,’ fertilize sparingly, and keep an eye on moisture—soil should feel damp but never soggy.
With a bit of attention, you can enjoy homegrown radishes year-round without too much fuss.
Conclusion & Next Steps for Indoor Gardeners
Indoor gardening is a rewarding journey that can transform both your living space and your daily routine. By starting with simple plants and gradually expanding your collection, you’ll discover what works best in your home’s unique environment.
Remember to pay attention to light, water, and soil conditions—these basics make a big difference, even for beginners. As you gain confidence, try branching out to exciting projects like growing sprouts in a jar, cultivating microgreens on a windowsill, or experimenting with easy veggies like lettuce, radishes, or cherry tomatoes in pots.
These fun additions not only bring healthy freshness to your meals but also keep your gardening routine interesting and manageable. Don’t worry if things don’t go perfectly at first—trial and error is part of the experience, and each attempt teaches you something new.
Share your successes and challenges with other indoor gardeners, either in the comments section or local gardening groups, and don’t hesitate to tap into online resources or books for new ideas and troubleshooting tips. With every season, your indoor garden will thrive a little more, along with your skills and confidence.
Happy gardening!