Introduction
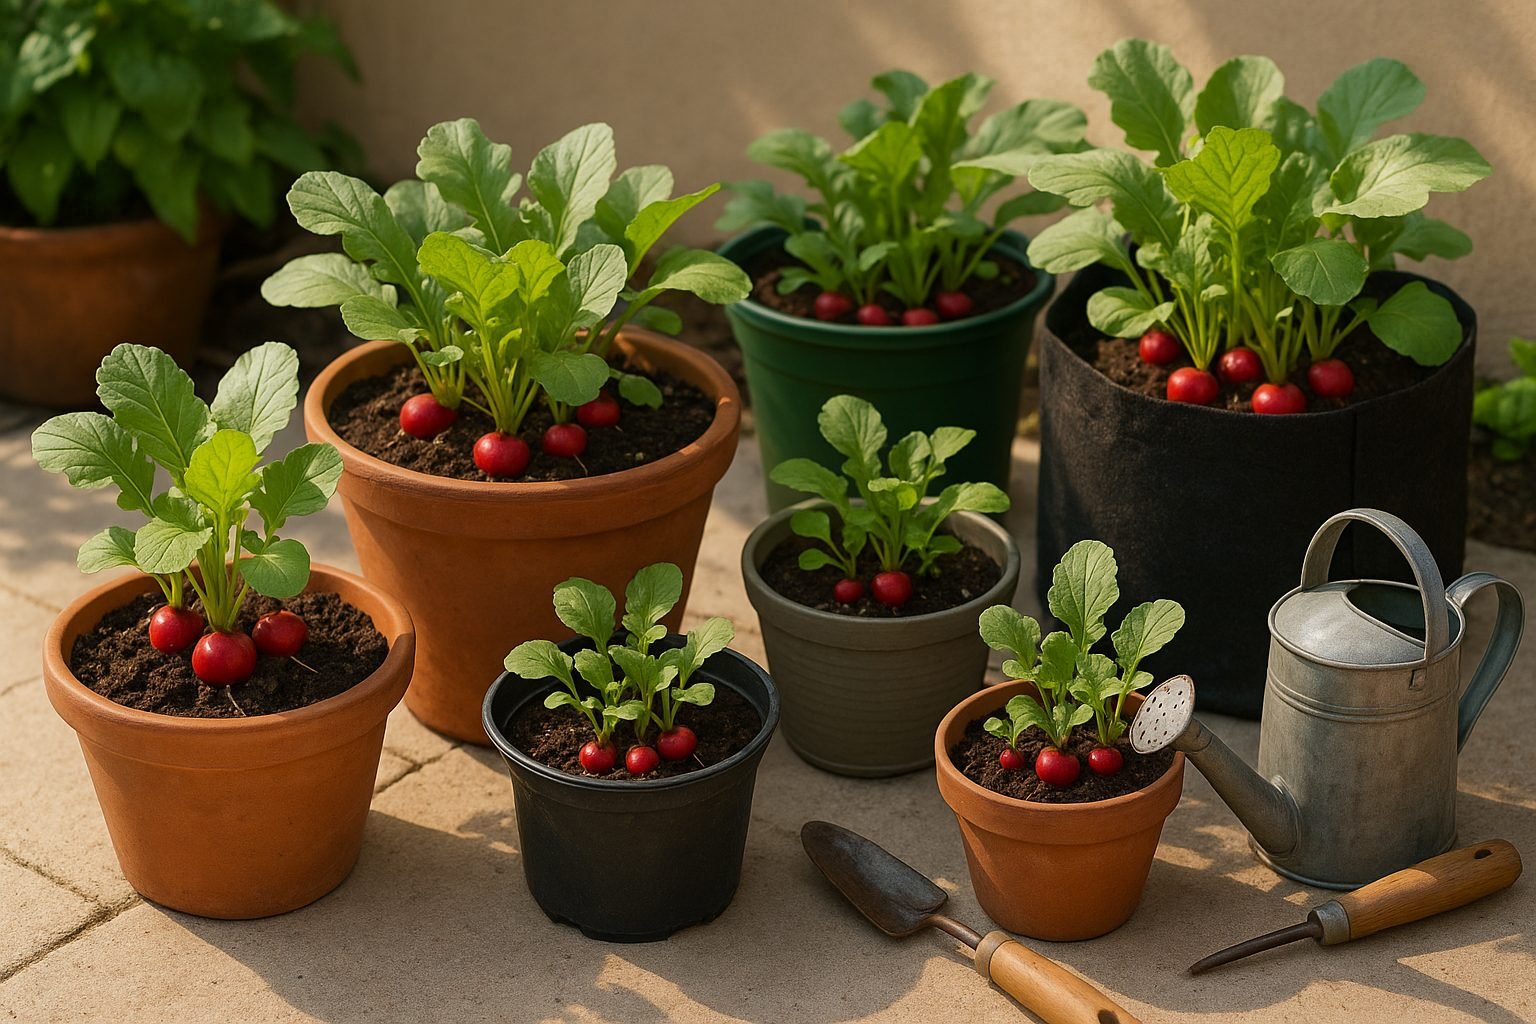
If you’ve ever wanted a quick, satisfying crop to grow at home, Cherry Belle radishes might be the perfect pick. Known for their crisp texture and mild flavor, these radishes are favorites among home gardeners for their fast turnaround—often ready to harvest in just a few weeks. But before you scatter those seeds, understanding the right container size for radishes is essential, especially for Cherry Belle varieties.
The size of your pot can truly make or break your radish harvest, influencing root development, moisture retention, and even the flavor of your crop. In this guide, we’ll break down exactly what containers work best, share practical tips on soil and drainage, and help you avoid the common mistakes most beginners make. You’ll also get real examples of container setups that have led to crunchy, vibrant Cherry Belle harvests so you can grow with confidence from your own patio or windowsill.
Choosing the Right Pot Size
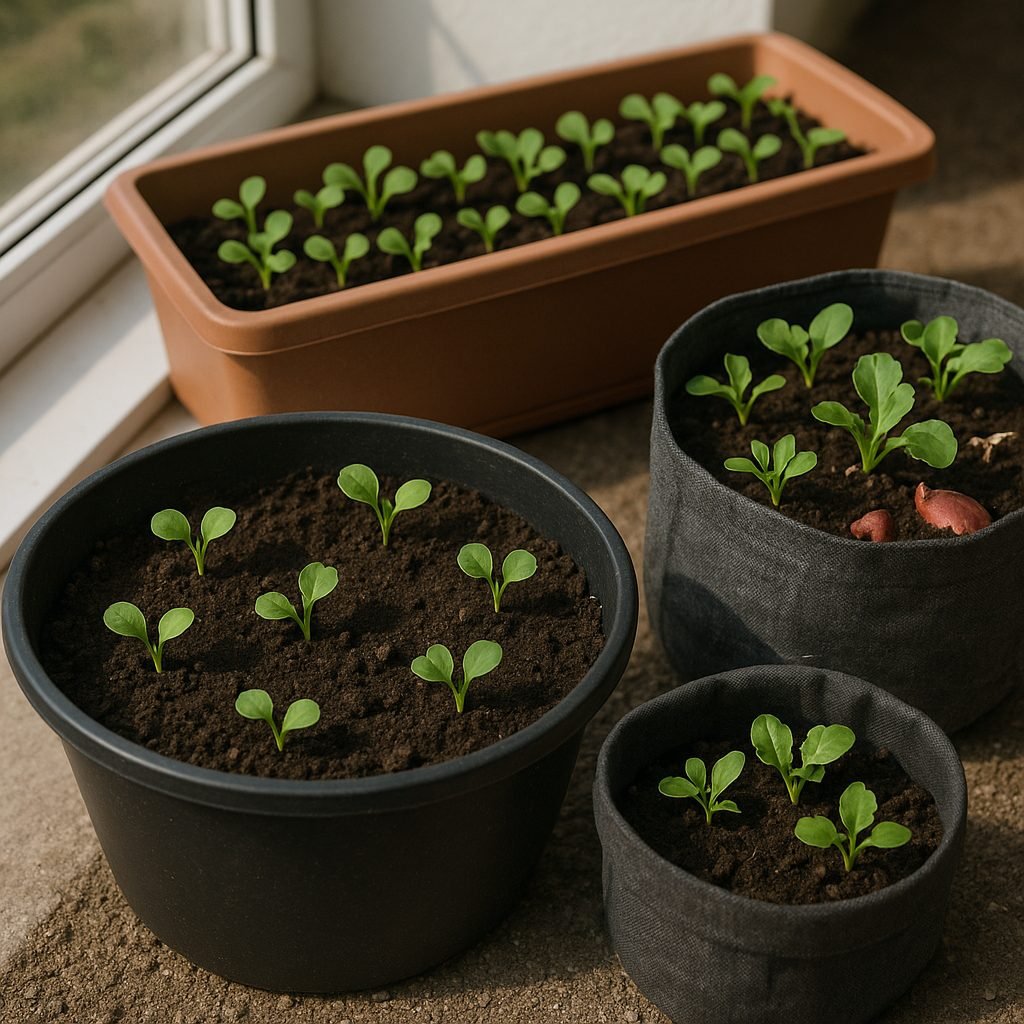
When growing Cherry Belle radishes, picking the right pot size makes all the difference. Ideally, choose a container that’s at least 6 inches deep to give the roots enough room to develop without restriction. For diameter, a 10- to 12-inch-wide pot works well for small batches, fitting about 8-10 radishes spaced an inch or two apart in all directions.
Crowded roots can cause radishes to stay small, become misshapen, or develop a woody texture, and they may taste more bitter than sweet. Radishes packed too tightly also compete for water and nutrients, slowing growth and making harvest less predictable.
For windowsills, opt for rectangular trough-style pots that maximize surface area in limited space—just make sure there are drainage holes. On balconies, lightweight plastic or fabric grow bags are easy to move and can handle a dozen radishes per 12-inch bag, while still providing root depth.
If you’re planting outdoors in a garden bed, use the same spacing but enjoy the freedom to grow as many as you like in long rows or raised beds. Regardless of the setup, always check that your chosen pot drains well to avoid soggy roots, and consider multi-level shelves by sunny windows or railings if you need to save floor space.
Proper spacing and pot size not only ensure healthier radishes but also make tending and harvesting much simpler—so a little planning goes a long way.
Best Pot Materials and Drainage
When choosing a pot for growing radishes, the material matters more than you might think. Plastic pots are lightweight, affordable, and retain moisture well—perfect for busy gardeners—but they can cause problems if overwatered since they don’t “breathe” like other options.
Terracotta pots offer breathability because they’re porous, allowing excess moisture to evaporate, which helps prevent radish roots from rotting. However, they dry out faster, so you’ll need to water more often.
Ceramic pots can be decorative and sturdy. If they’re glazed, they behave much like plastic in terms of air and moisture retention; unglazed ceramic pots provide benefits similar to terracotta.
No matter the material, good drainage is essential because radishes are prone to root rot in soggy soil. Always pick pots with drainage holes at the bottom. If your container lacks holes, you can drill your own or use it as a decorative outer “cachepot” and place your radish pot inside.
To further improve drainage, add a layer of gravel or broken pottery shards at the bottom, and use a well-draining soil mix designed for vegetables. With the right setup, your radishes will stay happy and healthy.
Soil Preparation and Placement
Choosing the right soil is essential for healthy container plants. Opt for a light, loamy potting mix that drains well and holds just enough moisture—avoid heavy garden soil that can suffocate roots or cause waterlogging. Look for mixes labeled “potting mix” rather than “potting soil” for the best moisture management, and consider options with added perlite or coconut coir for improved water retention without making the soil soggy.
The pot size matters, too: larger pots hold more soil, which means more consistent moisture, while smaller pots may dry out quickly and need more frequent watering. When filling your container, add a layer of soil at the bottom, position your plant, then fill in around the roots, leaving about an inch of space below the rim for easy watering.
Gently pat down the soil to eliminate air pockets but avoid compacting it too much. Place your pots where they’ll get the right amount of light—most vegetables and flowers need 6-8 hours of sun. Make sure there’s good airflow around your containers to prevent disease, and consider mobility: use lightweight pots or ones with rollers if you’ll need to move them to chase the sun or shelter from storms.
How to Plant and Space Cherry Belle Radishes
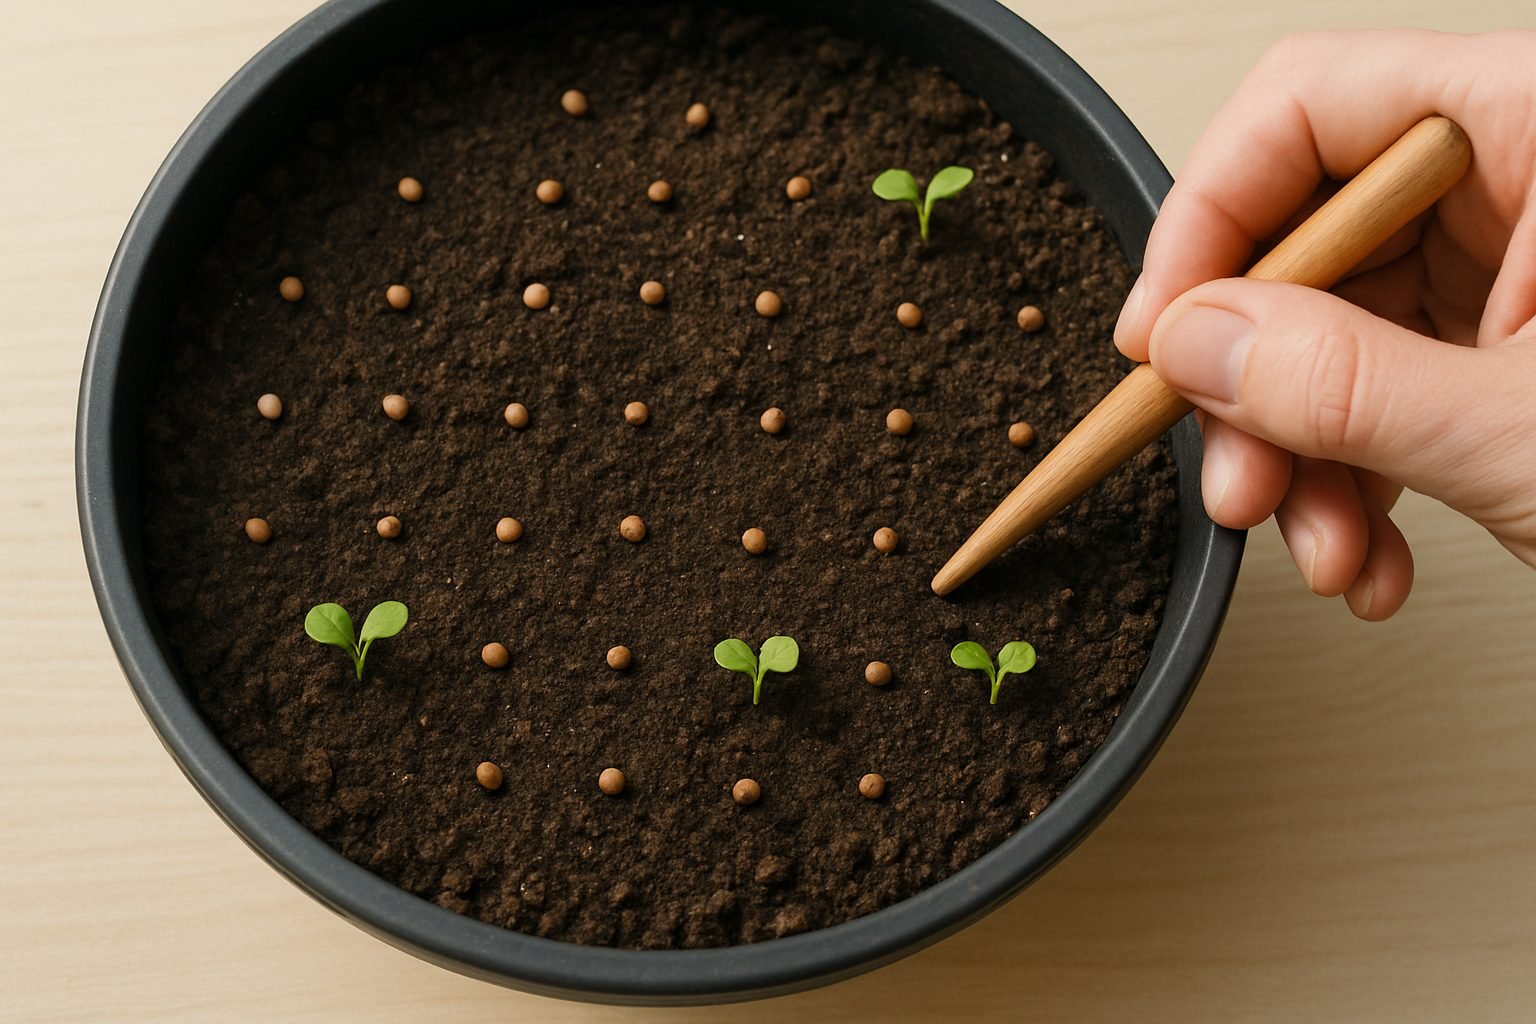
To plant Cherry Belle radishes in pots, start by choosing a container at least 6 inches deep with good drainage holes. A 12-inch-wide pot comfortably fits about 9 to 12 radishes. Fill your pot with loose, well-draining potting mix, then gently press the soil so it’s level but not compacted.
Sow your radish seeds about ½ inch deep and 1 inch apart in rows or a grid pattern across the surface—this spacing is key for those signature round roots. Cover the seeds lightly with soil and water gently but thoroughly. Within 4–6 days, you’ll see sprouts begin to emerge.
Once the seedlings are about an inch tall, thin them so each remaining plant has at least 2 inches of space on all sides. This prevents your radishes from competing for room, which can lead to smaller or misshapen roots.
If you’re using a window box (approximately 24 inches long), you can fit up to 24 radishes—just keep up the 2-inch spacing. Remember to keep the soil consistently moist but not soggy, and ensure your container gets at least 6 hours of sunlight daily for the best harvest.
By following these steps, you’ll give your Cherry Belle radishes the space they need to grow crisp and round every time.
Watering and Fertilizing in Containers
Container size plays a big role in how often you need to water your radishes; smaller pots dry out more quickly than larger ones. You may need to water daily in warm weather, while bigger containers might only need a soak every couple of days. Always check the soil with your finger—if the top inch feels dry, it’s time to water thoroughly until you see a bit running from the drainage holes.
Watch for drooping leaves or wilted seedlings, which often mean your radishes need more water. But be careful: yellowing leaves and soggy soil are classic signs of over-watering.
For fertilizing, radishes in containers do best with a light hand—too much fertilizer makes for lots of leaves without those crisp roots. Mix a balanced, slow-release granular fertilizer (like 10-10-10) into the potting mix before planting. Once the seedlings emerge, you can give a half-strength liquid fertilizer every couple of weeks, but stop as soon as the radishes start developing bulbs. This keeps the focus on root growth, so you’ll get tender, flavorful radishes right from your pot.
Common Problems When Growing in Small Pots (and Solutions)
Growing plants in small pots can lead to several frustrating problems, but understanding the causes helps you solve them quickly. If your plants start bolting—sending up flowers too soon—it’s often a sign they’re stressed from cramped roots or inconsistent soil moisture.
Stunted roots are another common issue in undersized containers. When roots don’t have room to spread, plant growth slows down, and the leaves may turn yellow or look weak. Root cracking can occur as roots hit the pot walls and circle around, eventually splitting or tangling. This further limits nutrient uptake and can attract fungi.
Poor yields are almost guaranteed if your plants are root-bound since they can’t absorb enough water or nutrients. Simple fixes include repotting into a bigger container before the roots fill up the pot, using high-quality potting soil with good drainage, and keeping the soil moist but not soggy.
Be on the lookout for pests like aphids and spider mites, which thrive in the warm, sheltered conditions of pots. Also, watch for fungal diseases caused by poor airflow or overly wet soil. Regular checks and prompt action are key to keeping your container plants healthy and productive.
Harvesting and Beyond
Cherry Belle radishes are ready to harvest in containers about 22 to 30 days after planting, when the roots are roughly the size of a marble or about one inch across. Check by gently brushing away a bit of soil around the base of the greens—if you see a bright red top peeking out and the root feels firm, it’s time to pull.
For a steady supply, try sowing new seeds every two weeks and rotate your pots between sunny spots to keep growth even. After harvesting, sift through the used soil, remove any leftover roots or debris, and refresh with a little compost before replanting—radishes don’t mind a second round in the same pot.
Enjoy your crop sliced into salads, pickled for a tangy snack, or layered onto toast with butter and salt for an easy treat. Radish greens are edible too—toss them into stir-fries or pesto to cut down on waste.
Conclusion
Choosing the right pot size plays a huge role in the health and yield of your Cherry Belle radishes. Don’t be afraid to try different containers to see what works best for your space.
Have questions or tips of your own? Share them in the comments below!