Why Grow Heirloom Radishes?
Heirloom radish varieties aren’t just pretty additions to your garden—they’re a gateway to flavors, colors, and shapes you won’t find in grocery store produce aisles. Heirloom radishes are non-hybrid cultivars that have been carefully passed down through generations, valued for their consistent quality and unique characteristics.
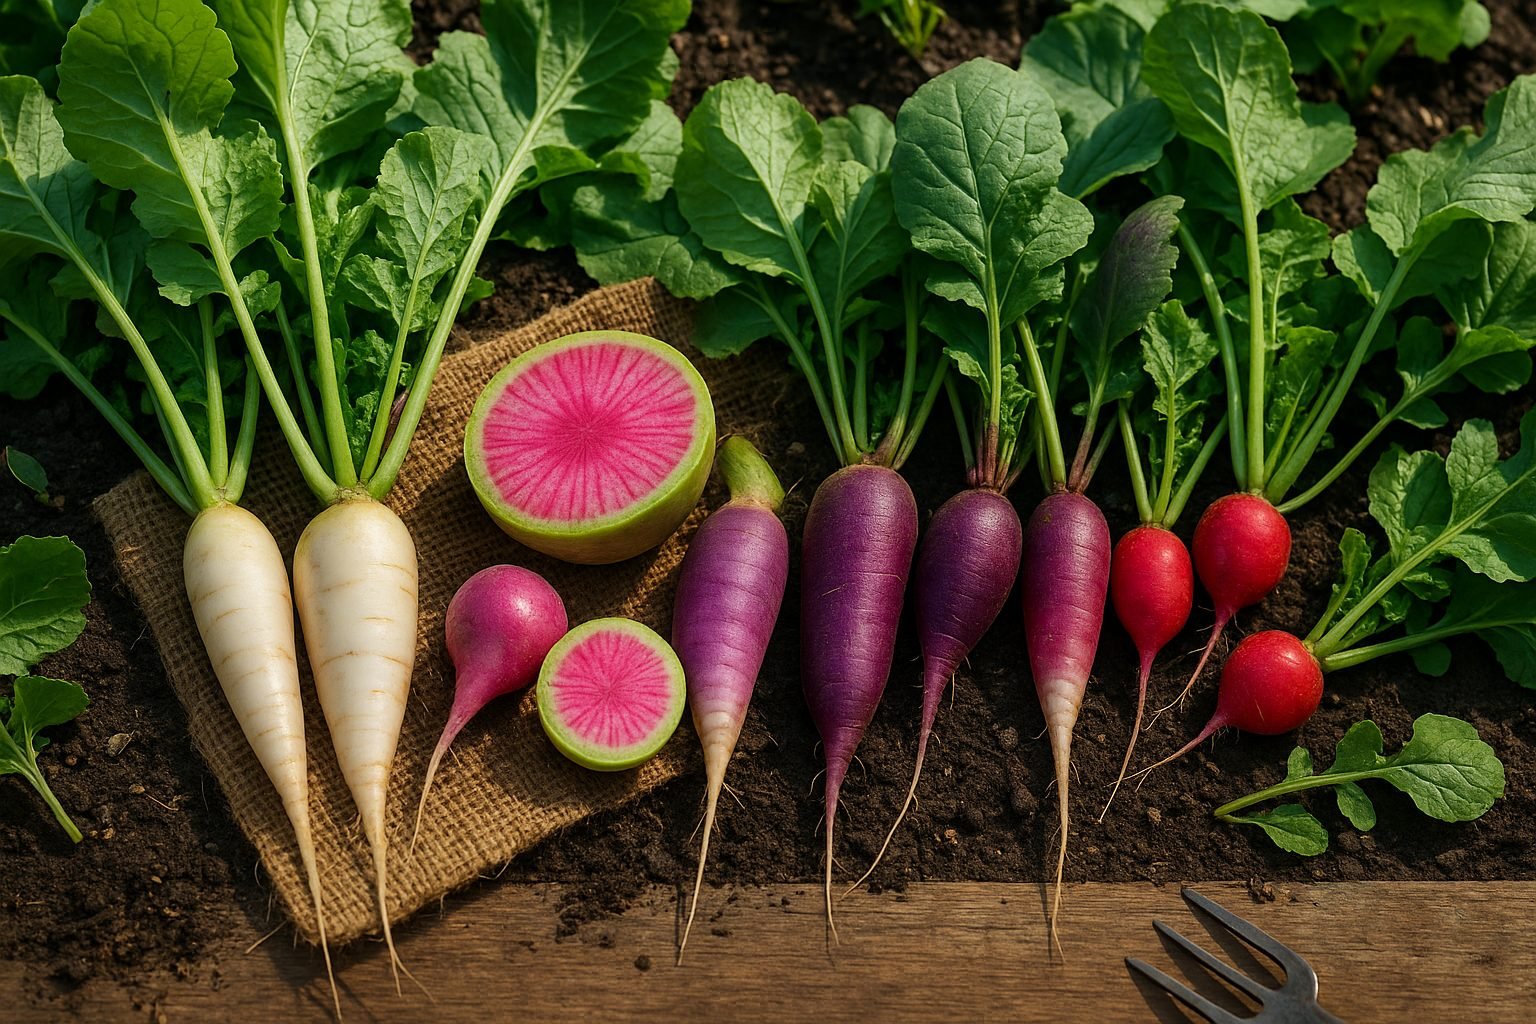
Unlike the uniform red globes of most supermarket radishes, heirloom varieties offer a spectrum: think elongated white icicles, vibrant purple shades, or even watermelon-pink centers hiding beneath green skins. This diversity means more than good looks; each variety brings its own flavor profile, from crisp and peppery to mild and sweet, making salads and snacks come alive.
For gardeners, the true charm lies in adaptability—heirloom radishes often thrive in a wider range of soils and climates, and are typically less reliant on chemical inputs. By growing them from seed at home, you ensure unbeatable freshness and can share the joy of discovering new favorites with friends and family.
Plus, saving seeds from your best performers means contributing to the preservation of rare genetics, ensuring these tastes and colors endure for future generations. If you crave variety, resilience, and authentic flavor, trying a few heirloom radish varieties is a refreshing start.
How to Choose the Right Heirloom Radish Seeds
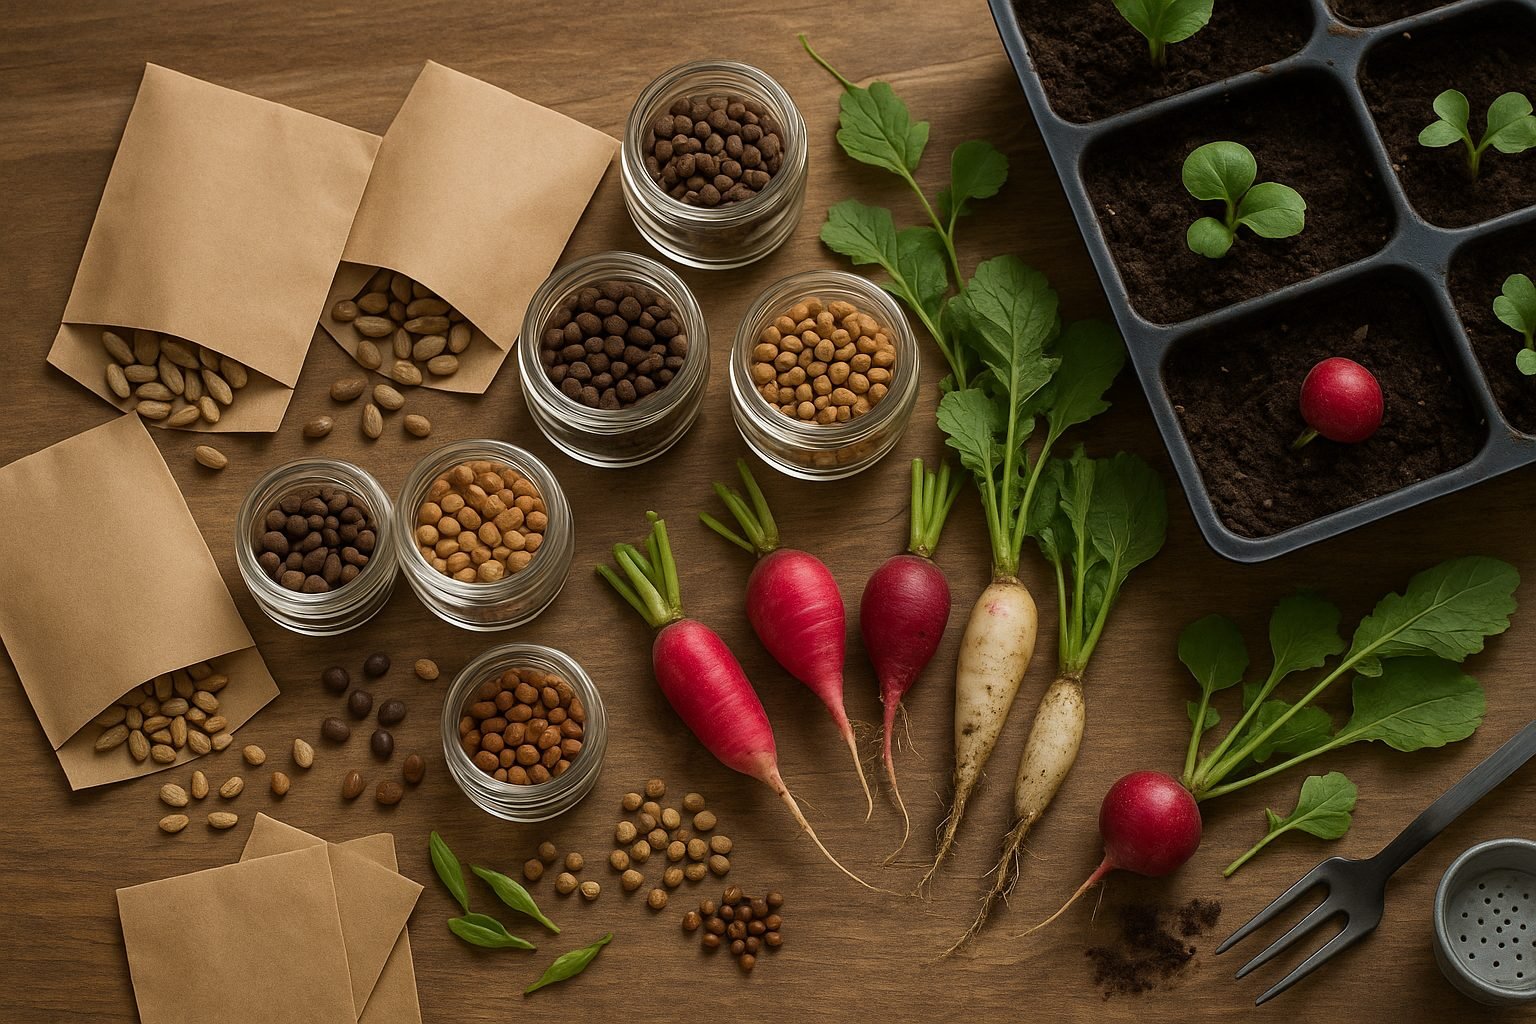
When choosing heirloom radish seeds, consider both your taste preferences and growing conditions to ensure a great harvest. Classic varieties like ‘French Breakfast’ offer a mild, crisp flavor and their pink-and-white elongated shape brightens any salad.
For a striking appearance and sweet, juicy flesh, ‘Watermelon’ radishes have a vibrant pink interior and are perfect for fresh eating or colorful platters. ‘White Icicle’ radishes, known for their spicy bite and slender roots, do well in cooler climates and mature quickly.
When picking a variety, think about your culinary goals: do you want mild, snappy radishes for snacking, or bold, peppery ones for pickling? Check local growing recommendations; for example, ‘French Breakfast’ thrives in spring and fall, while ‘Watermelon’ radishes need a bit more growing time and warm soil.
Purchase seeds from reputable sellers like Seed Savers Exchange, Baker Creek Heirloom Seeds, or local nurseries with good reviews. Always read seed packets closely; check for organic or non-GMO status, high germination rates (look for 85% or above), and days to maturity to align with your region’s season length.
Starting with fresh, quality seeds ensures a healthy, tasty crop that showcases the best of heirloom diversity.
Preparing Your Garden for Radish Seeds
Radishes are one of the easiest root vegetables to grow, but setting the stage for a healthy crop starts with the right soil and setup. Radishes thrive in well-drained, loose, and fertile soil—think crumbly, not compacted—so amend your garden bed by mixing in compost or well-rotted manure to boost nutrients and improve drainage.
Avoid heavy clay and rocky soils, which can cause roots to be misshapen. For containers, use a high-quality vegetable potting mix and make sure your pots are at least 6 inches deep with adequate drainage holes.
Radishes need full sun, so pick a spot that gets at least six hours of direct sunlight a day. To prep your plot, remove any weeds, work the soil to a depth of at least 8 inches, and rake it smooth.
It’s also smart to practice crop rotation—don’t plant radishes in the same spot where you grew other root crops the previous year; this helps prevent soil-borne diseases.
Companion Planting
Companion planting can make a real difference, too. Growing radishes alongside carrots, beans, or lettuce can help deter pests like flea beetles, while steering clear of planting near brassicas can minimize competition and disease.
With the right prep, your radish seeds will have the best possible start.
Planting and Growing Heirloom Radish Seeds
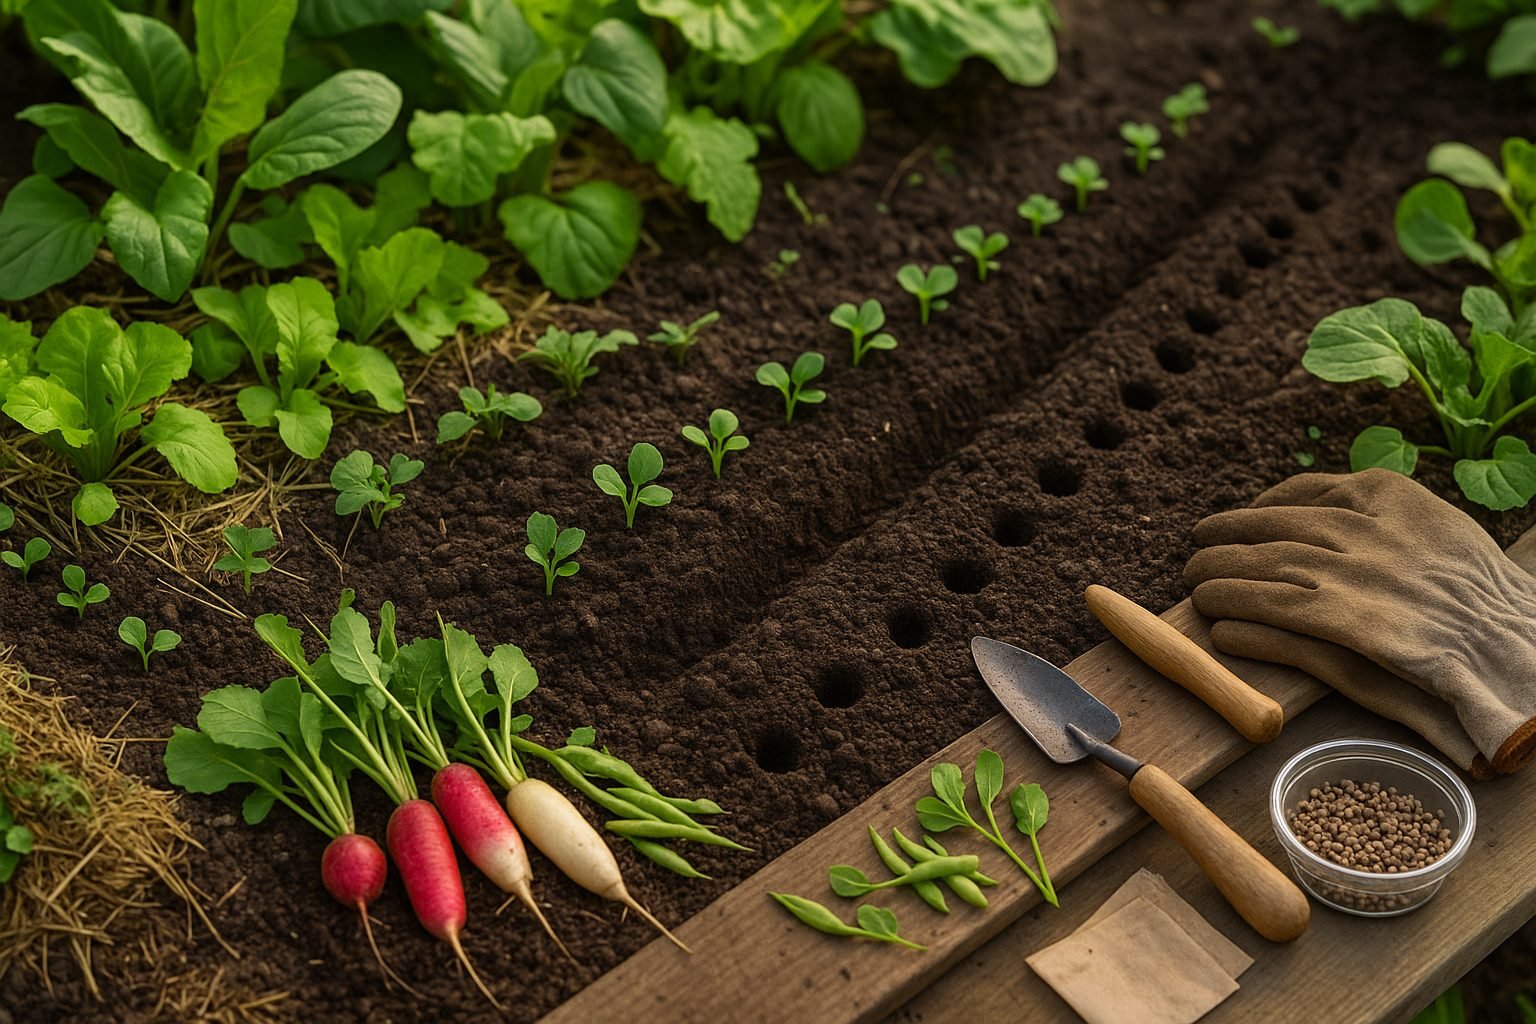
Growing heirloom radishes is simple and rewarding, especially when you start with quality seeds. Begin by sowing your radish seeds directly into well-drained soil, planting each seed about half an inch deep and spacing them one inch apart in rows that are 12 inches apart—this gives your radishes room to grow those signature round roots.
Water gently after planting to moisten the soil and help seeds sprout. For the crispest, tender radishes, plant in early spring as soon as the soil can be worked, or again in late summer for a fall harvest. Radishes thrive in cooler weather and mature quickly, often in less than a month.
To enjoy a continuous supply, try succession planting—sow new rows every 7–10 days while the weather stays cool. As your seedlings emerge, thin them to 2 inches apart so each has ample space, snipping extras with scissors to avoid disturbing the roots.
Layering mulch around seedlings helps keep soil moist and reduces weeds, but avoid piling it too close to the stems. Water consistently, providing about an inch of moisture per week, and check soil regularly—dry soil leads to woody, spicy roots, while soggy conditions can cause rot.
To fend off common pests like flea beetles or root maggots, use lightweight row covers early on and inspect plants often. Remove any yellowing leaves to limit disease, and ensure good airflow by not crowding your crops.
With these easy steps, you’ll be harvesting crisp, colorful heirloom radishes in no time.
Harvesting and Enjoying Heirloom Radishes
Knowing when to harvest heirloom radishes can make all the difference in taste and texture. Look for radishes that have formed round, firm roots about one inch across—any larger, and they may become woody or too spicy.
Gently loosen the soil and pull the radishes out by grasping the leaves close to the root; this helps prevent breakage. To keep them fresh, trim off the leafy tops right away, as they draw moisture from the roots. Store unwashed radishes in a perforated plastic bag in the refrigerator, where they’ll stay crisp for up to two weeks.
Heirloom radishes are a delight in more than just salads—slice them thin for a peppery crunch, pickle them for a tangy snack, or roast them with olive oil to bring out their natural sweetness. Experimenting with these different preparations helps you enjoy every part of your radish crop to the fullest.
Extra Tips: Microgreens and Health Benefits
Growing heirloom radish microgreens is an easy way to add a nutritious boost to your meals. Start by sprinkling organic radish seeds onto a tray filled with moist potting mix, gently pressing them in, and keeping the tray slightly covered for a few days. Within just 5-7 days, you’ll have fresh microgreens ready to snip and enjoy.
These tiny greens pack a powerful nutritional punch—their heirloom variety often means richer flavor and a wider range of nutrients. Radish microgreens are loaded with vitamin C to support immune health, vitamin E for skin protection, and essential minerals like potassium. They’re also rich in antioxidants that help fight cell damage and may reduce inflammation. Plus, compounds in radish microgreens can aid digestion by stimulating bile production.
Simply add a handful to salads, sandwiches, or smoothies for a delicious way to incorporate these health benefits into your everyday diet.