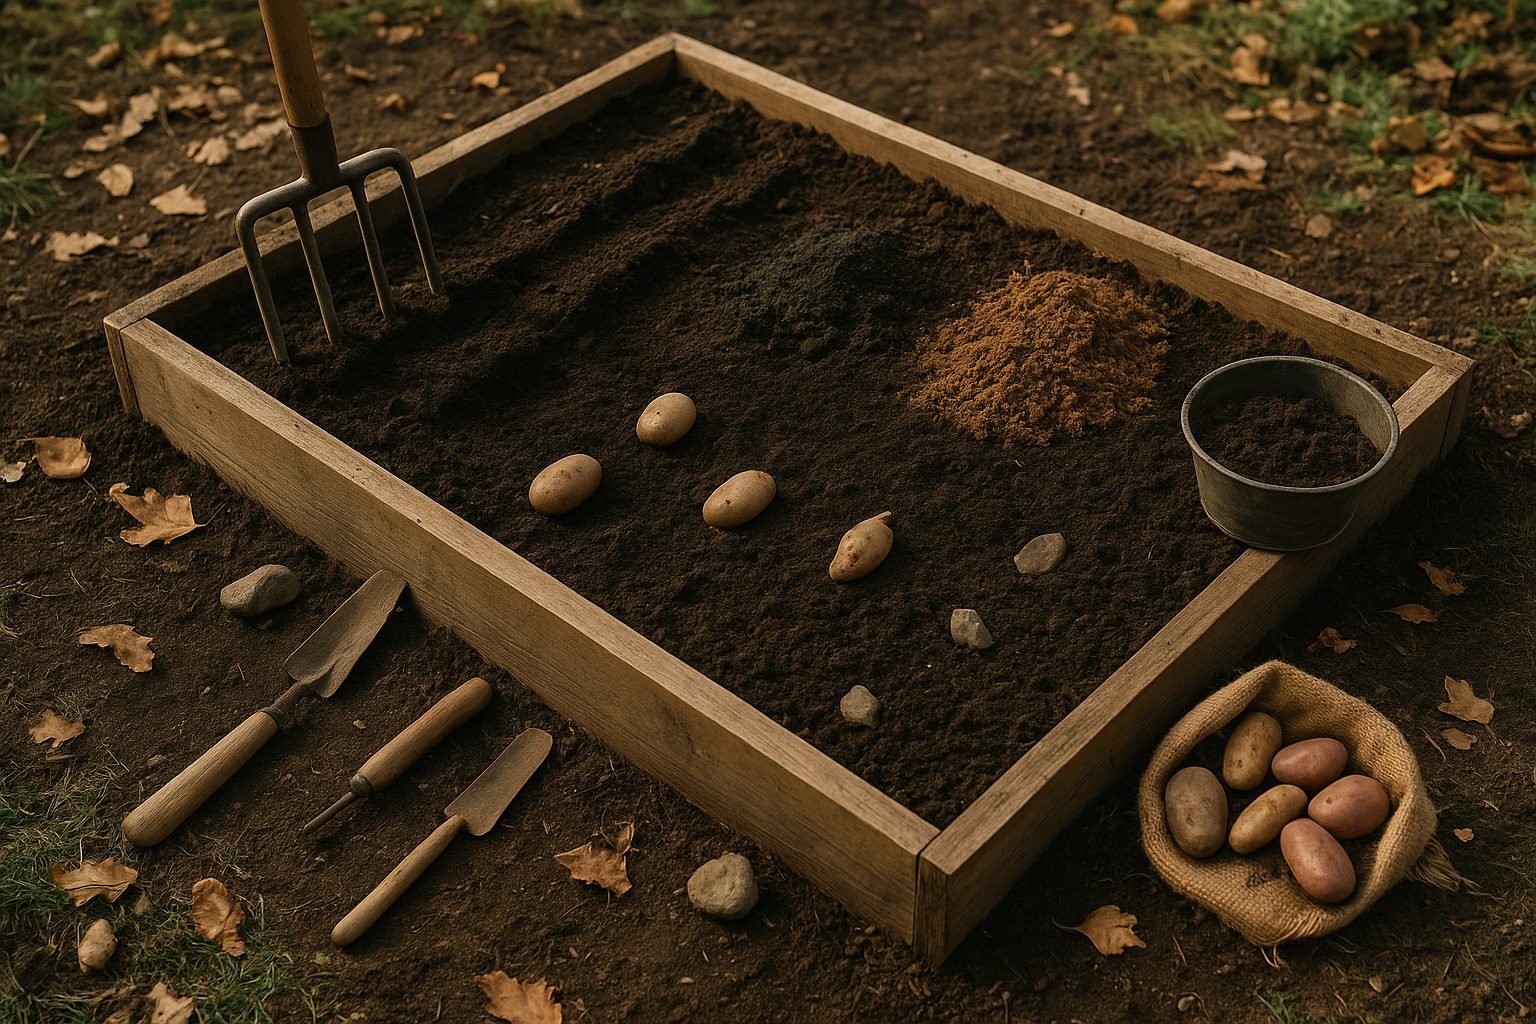
Preparing Your Soil for Potatoes
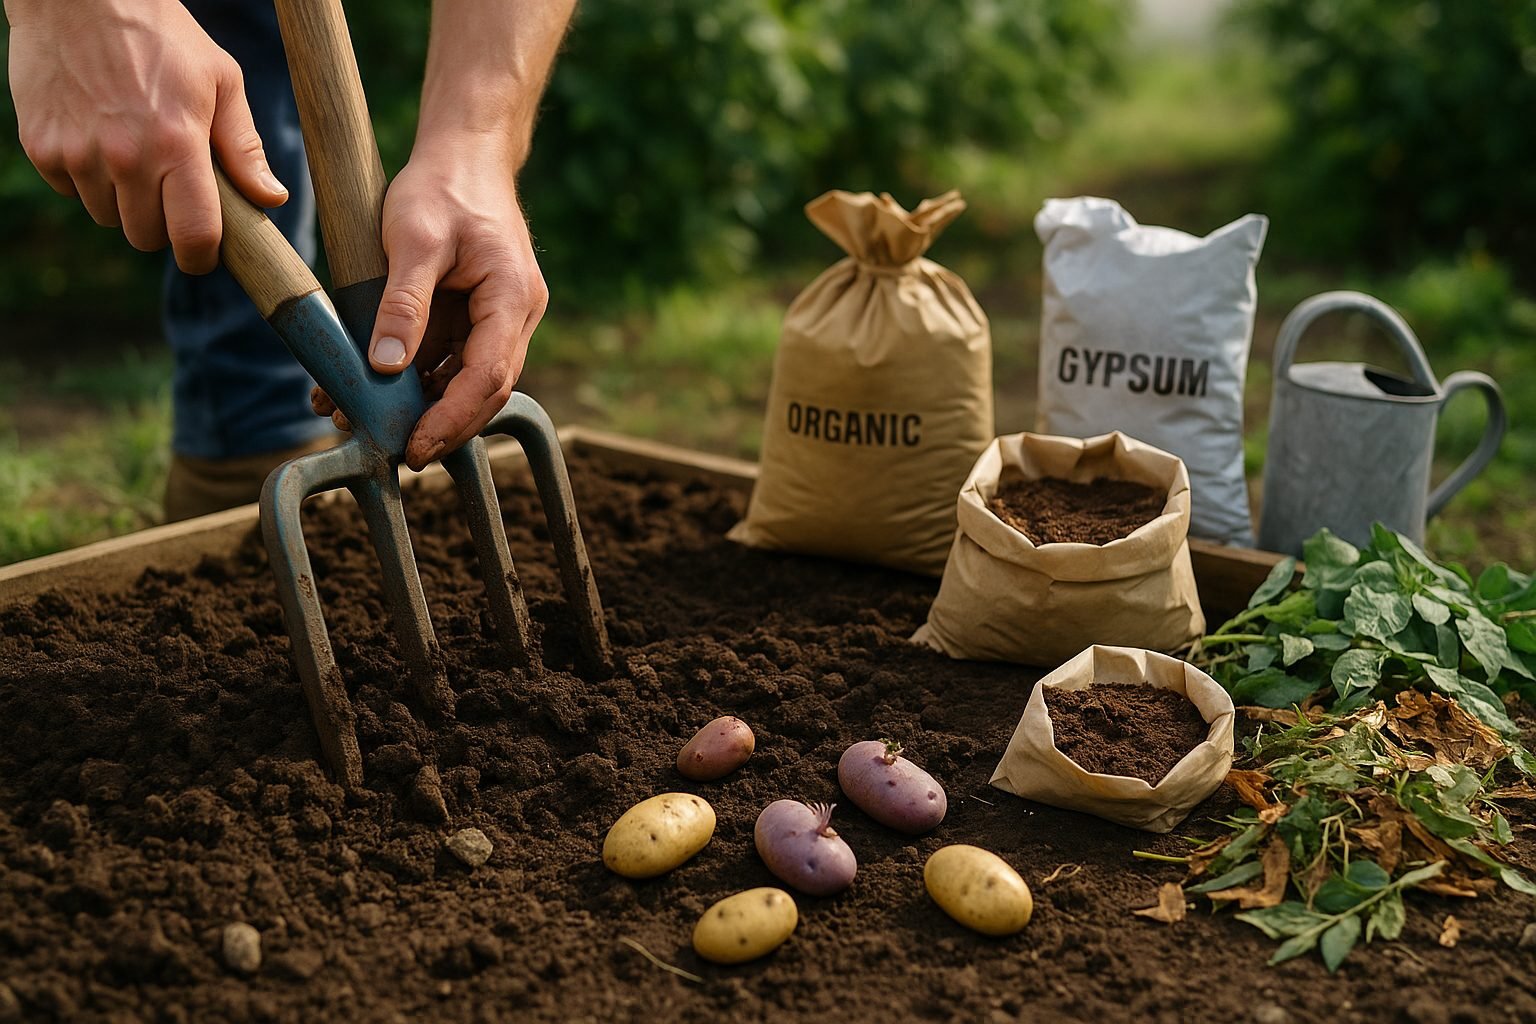
When it comes to successfully growing straw mulch potatoes, preparing your soil takes center stage. Healthy potato growth doesn’t happen by accident—think of your soil as the bedrock that determines your harvest’s size and quality. Potatoes need specific conditions to thrive, and getting the groundwork right before you even lay down a single layer of straw is a game changer.
Potatoes perform best in soil that is loose, well-drained, and slightly acidic—ideally with a pH between 5.0 and 6.5. Hard, compacted earth or waterlogged areas can easily lead to stunted plants and a poor crop, so breaking up the soil is a must. Use a garden fork or broadfork to loosen the soil at least 8 to 12 inches deep, removing rocks and debris that would hinder tuber development. Pay attention to your site, too: choose a spot that gets at least 6 hours of sun each day and avoid areas where potatoes or related crops (tomatoes, peppers, eggplants) grew in the past two years to minimize disease risk.
If your garden soil is heavy or lacks fertility, don’t worry—organic amendments can turn things around. Mix in well-rotted compost or aged manure to boost both structure and nutrient content. Leaf mold or coconut coir can lighten dense clay, while gypsum helps break up compaction. Adding a layer of chopped leaves or grass clippings can further enhance drainage and add nutrients as they decompose. If acidity is an issue, working in some elemental sulfur can gently reduce pH, while agricultural lime can raise it if needed. Above all, avoid fresh manure, which can promote scab—an unsightly potato disease.
Before placing your seed potatoes and building your straw mulch layer, take a moment to gently rake the surface smooth and moist. This not only fosters even root growth but also ensures your straw mulch potatoes get the strong, healthy start they need—all without digging trenches or back-breaking tilling. With just a little prep, your potatoes will reward you with a bountiful, easy-to-harvest crop straight from the straw.
Chitting and Choosing Seed Potatoes
Chitting is a simple yet effective method to encourage seed potatoes to sprout before planting, giving them a healthy head start in your garden. By allowing potatoes to grow strong, short shoots—often called “chits”—you boost their chances for rapid growth once in the soil, leading to earlier harvests and potentially larger yields.
Begin with certified disease-free seed potatoes, which might cost a bit more but greatly reduce the risk of introducing problems into your garden. Look for tubers that are firm, blemish-free, and roughly egg-sized; avoid any with soft spots, mould, or green patches.
To start chitting at home, set your chosen potatoes in egg cartons or trays, placing the end with the most “eyes” (the little dimpled buds) facing up. Keep them in a cool, bright space away from direct sunlight—think an unheated porch or windowsill—at around 10°C (50°F).
Over two to four weeks, you’ll notice sturdy shoots developing; aim for each tuber to have three or four healthy shoots. Gently rub off excess smaller sprouts if needed, as too many can weaken the plant.
When your chits reach about an inch long and are dark and stubby (not pale and wispy), your potatoes are ready for planting. This little bit of planning can make a big difference, setting you up for a more successful, productive potato patch.
Easy No-Till and Mulching Planting Methods
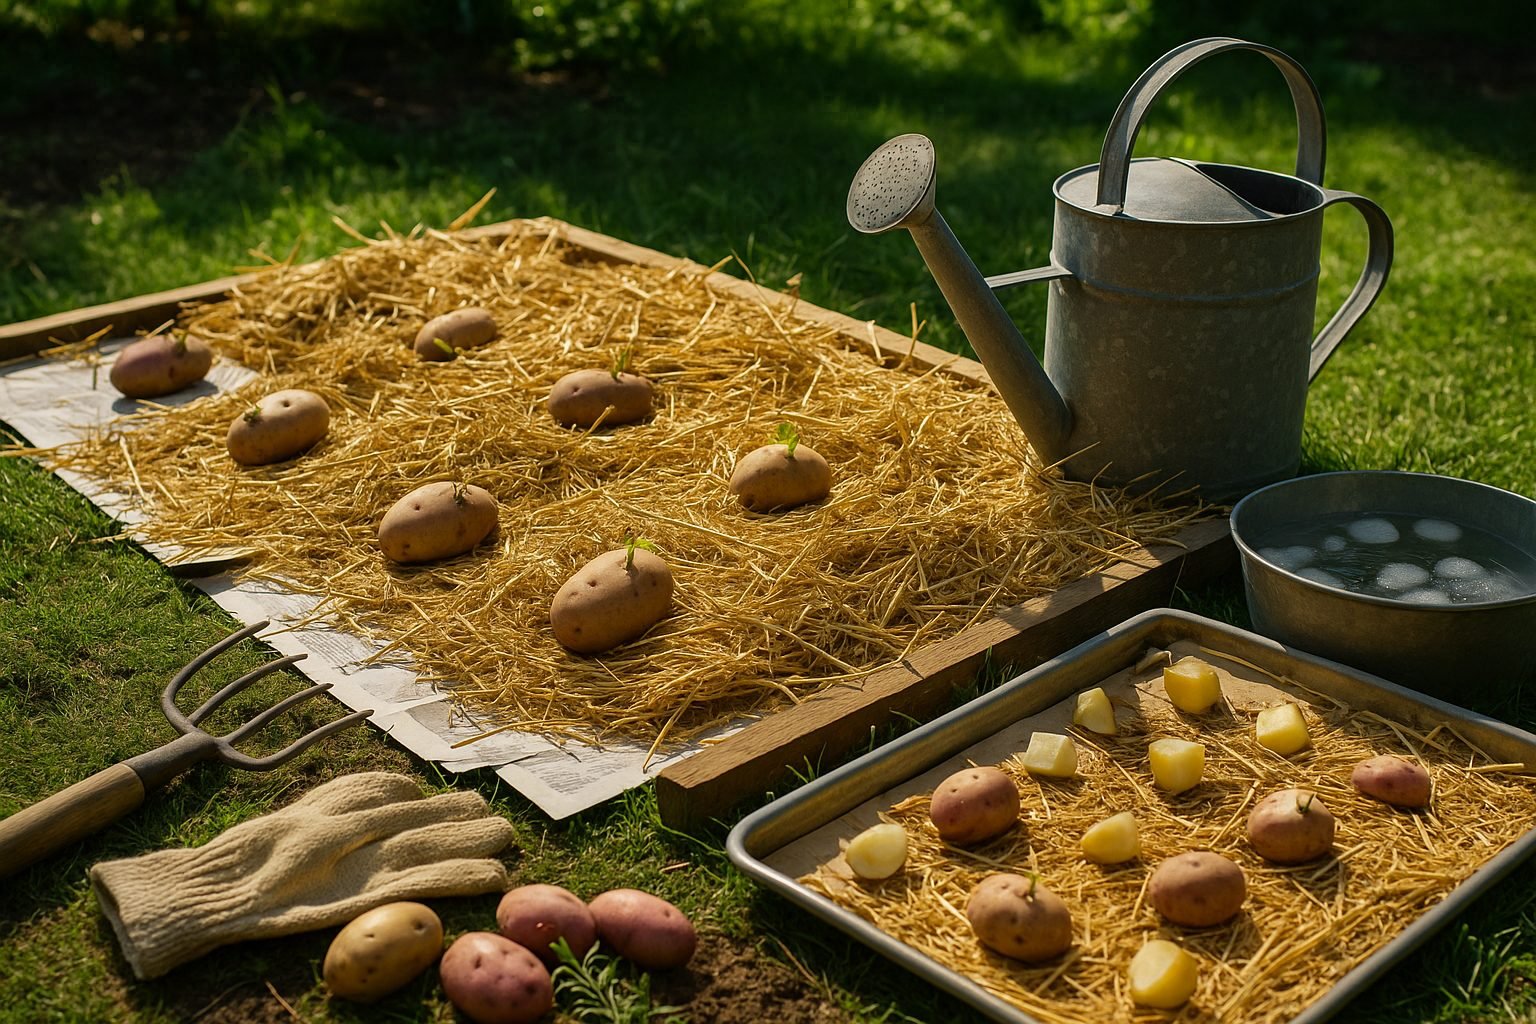
No-till planting is an effortless, eco-friendly gardening method that skips the back-breaking digging and preserves the natural structure and health of your soil. When growing potatoes, no-till methods offer huge benefits—less soil erosion, more earthworms and beneficial microbes, and fewer weeds.
To get started, pick a sunny patch and lay down cardboard or several layers of newspaper right on top of the grass or soil. Place your seed potatoes directly onto this surface, spacing them about 12 inches apart. Then, cover everything with a thick blanket of straw, hay, or other organic mulch—about 8 to 12 inches deep.
As the potatoes sprout and grow, simply add more mulch to “hill” your plants; this keeps sunlight off the tubers, preventing them from turning green, and encourages bigger harvests. The heavy mulch also acts as a powerful weed barrier, so you’ll spend less time weeding and more time enjoying your garden.
This layer further conserves soil moisture, so potatoes require less frequent watering—even during hot spells, the soil stays soft and cool underneath. Just check under the mulch occasionally to ensure it remains moist and add more straw if needed.
At harvest time, you’ll find that lifting the mulch reveals clean, easily dug potatoes—no shoveling required and minimal soil disturbance. Not only is this method kind to your back, but it also lets nature do much of the hard work for you, creating healthy soil and happy spud plants with minimal effort.
Harvesting Potatoes Grown in Straw or Mulch
Knowing when to harvest potatoes grown in straw or mulch can make all the difference in the final quality of your crop. The main sign that potatoes are ready is when the plants’ foliage turns yellow and begins to die back, usually a few weeks after they’ve flowered.
To check readiness, gently push aside some mulch and feel for tubers—if they’re firm and the skin doesn’t easily rub off, they’re mature and good to harvest.
For a no-till or mulched bed, harvesting is refreshingly simple: put on gloves and lift away the straw or mulch layer by hand. Carefully reach in and pull the potatoes from the loose soil or surface, working slowly to avoid nicking the skins. Unlike traditional digging, you won’t need a spade, which means a lower risk of accidental cuts.
As you gather the potatoes, set them in a single layer in a shaded area, away from direct sunlight, which can turn their skins green and toxic. Handle each tuber as gently as possible to prevent bruising—never toss them into buckets or bins. Brushing off excess soil is fine, but avoid washing until you’re ready to use them, as moisture can lead to rot in storage.
Let your freshly harvested potatoes cure in a cool, dark, well-ventilated place for one to two weeks; this thickens their skins and prepares them for longer storage. With this careful approach, you’ll enjoy a flavorful, damage-free harvest from your straw or mulch potato bed.
Storing Your Potato Harvest for Maximum Freshness
To keep your potato harvest fresh well into the colder months, start by curing freshly dug potatoes. Lay them out in a single layer in a dark, well-ventilated area at around 60°F (15°C) for about two weeks. This allows their skins to toughen up, helping prevent bruising and rot during storage.
Once cured, gently brush off any excess dirt (don’t wash them) and move your potatoes to a cool, dark, and humid place—ideally between 40-45°F (4-7°C) with 85-90% humidity. Basements, root cellars, or insulated garages often work well. Avoid the fridge, as temperatures below 40°F cause starches to turn into sugar, resulting in a sweet, gritty taste.
Keep potatoes away from onions and apples, which emit gases that speed sprouting. Use breathable containers like burlap sacks or slatted crates to prevent moisture buildup and allow for air circulation.
Check your potatoes regularly—about once every week or two—for signs of spoilage or sprouting. Remove any affected potatoes immediately, as rot can spread quickly to healthy ones.
If humidity is low, place a damp (not wet) cloth nearby to help maintain moisture. If humidity is too high, ensure adequate airflow by spacing out containers.
By following these steps, you can enjoy homegrown potatoes with great flavor and texture for months after harvest.
Troubleshooting Common Potato Growing Problems
Potato growers often face challenges like late blight, scab, and hungry pests, but quick action and organic solutions can help you stay on track for a healthy harvest.
Late Blight
Late blight is recognizable by dark, water-soaked spots on leaves and thrives in humid conditions. Prevent it by spacing your plants for good airflow, watering at the base instead of overhead, and promptly removing and destroying infected foliage.
Potato Scab
Potato scab causes rough, corky patches on tubers and can often be controlled by keeping soil slightly acidic (aim for a pH of 5.2–5.5) and rotating crops every year.
Common Pests
Flea beetles and Colorado potato beetles are among the most common pests. Handpick beetles when you spot them, place row covers early in the season, and attract natural predators like ladybugs and birds to your garden.
Additional Tips
- Remove diseased plants immediately.
- Use organic sprays like neem oil or copper-based fungicides according to label instructions.
- Continue to monitor your potato patch closely.
- Mulch with straw to help ward off soil-borne diseases and keep weeds down.
- Always clean your tools to prevent spreading disease.
- Avoid planting potatoes in the same spot year after year to reduce the risk of recurring diseases.
With a watchful eye and a few simple practices, you can overcome most potato-growing issues and look forward to a productive season.
Planning for Next Year’s Potato Success
When planning for next year’s potato crop, start by rotating your planting area—try not to grow potatoes in the same spot each year to prevent soil-borne diseases and pest build-up. After harvesting, replenish your soil by adding compost or planting cover crops like clover or rye to restore nutrients and improve soil structure.
To stay organized, consider using a garden planning app or a simple garden journal. These tools let you track where you’ve planted each crop, making rotation much easier and helping you remember which varieties performed best.
Don’t be afraid to experiment—switch up your potato varieties to see which thrive in your climate and taste best on your table. Try different growing methods like raised beds, containers, or even grow-bags if you’re short on space.
Jot down your experiences and observations throughout the season so you can fine-tune your approach year after year, leading to healthier soil and bigger, better harvests. Consistent record-keeping and a willingness to try new things are the keys to ongoing potato success.