Getting Started with Kale
Starting kale seeds is one of the smartest ways to kick off your garden, especially if you want a leafy green that’s big on nutrition and versatility. Kale, a member of the brassica family, is famous for its earthy flavor and superfood status—packed with vitamin K, vitamin C, fiber, and antioxidants. It’s no wonder kale has become a staple in everything from smoothies to salads. In recent years, this humble green has surged in popularity among home gardeners and culinary enthusiasts alike, thanks to its ability to thrive in various conditions and its impressive health perks.
Kale Varieties to Suit Every Taste
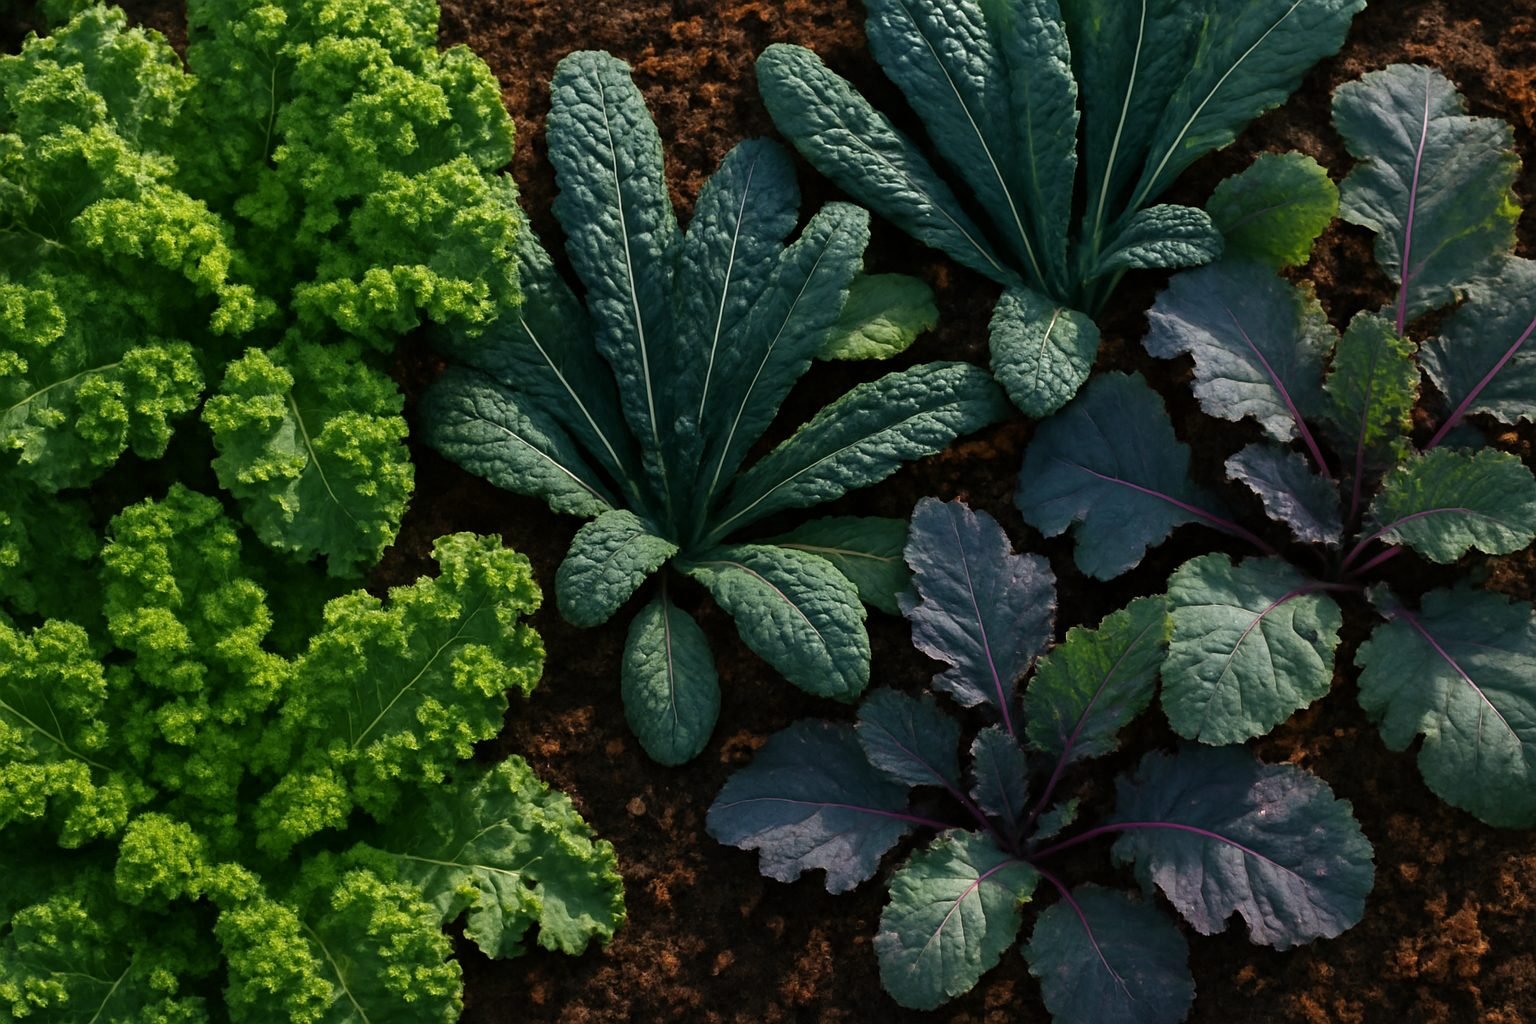
There’s a kale variety suited to nearly every taste and space. The classic curly kale is what you’ll often find at grocery stores—its ruffled leaves provide a satisfying, hearty texture in dishes and make great crispy kale chips. If you’re after something milder and a bit sweeter, lacinato kale (sometimes called Dinosaur or Tuscan kale) offers dark, bumpy leaves that work beautifully in sautés and soups. Red Russian kale stands out with its flat, purple-tinged leaves and tender bite, ideal for salads or quick stir-fries. Each of these varieties can be started from seed, letting you select what best suits your palate and plans.
Growing Kale: Options and Tips
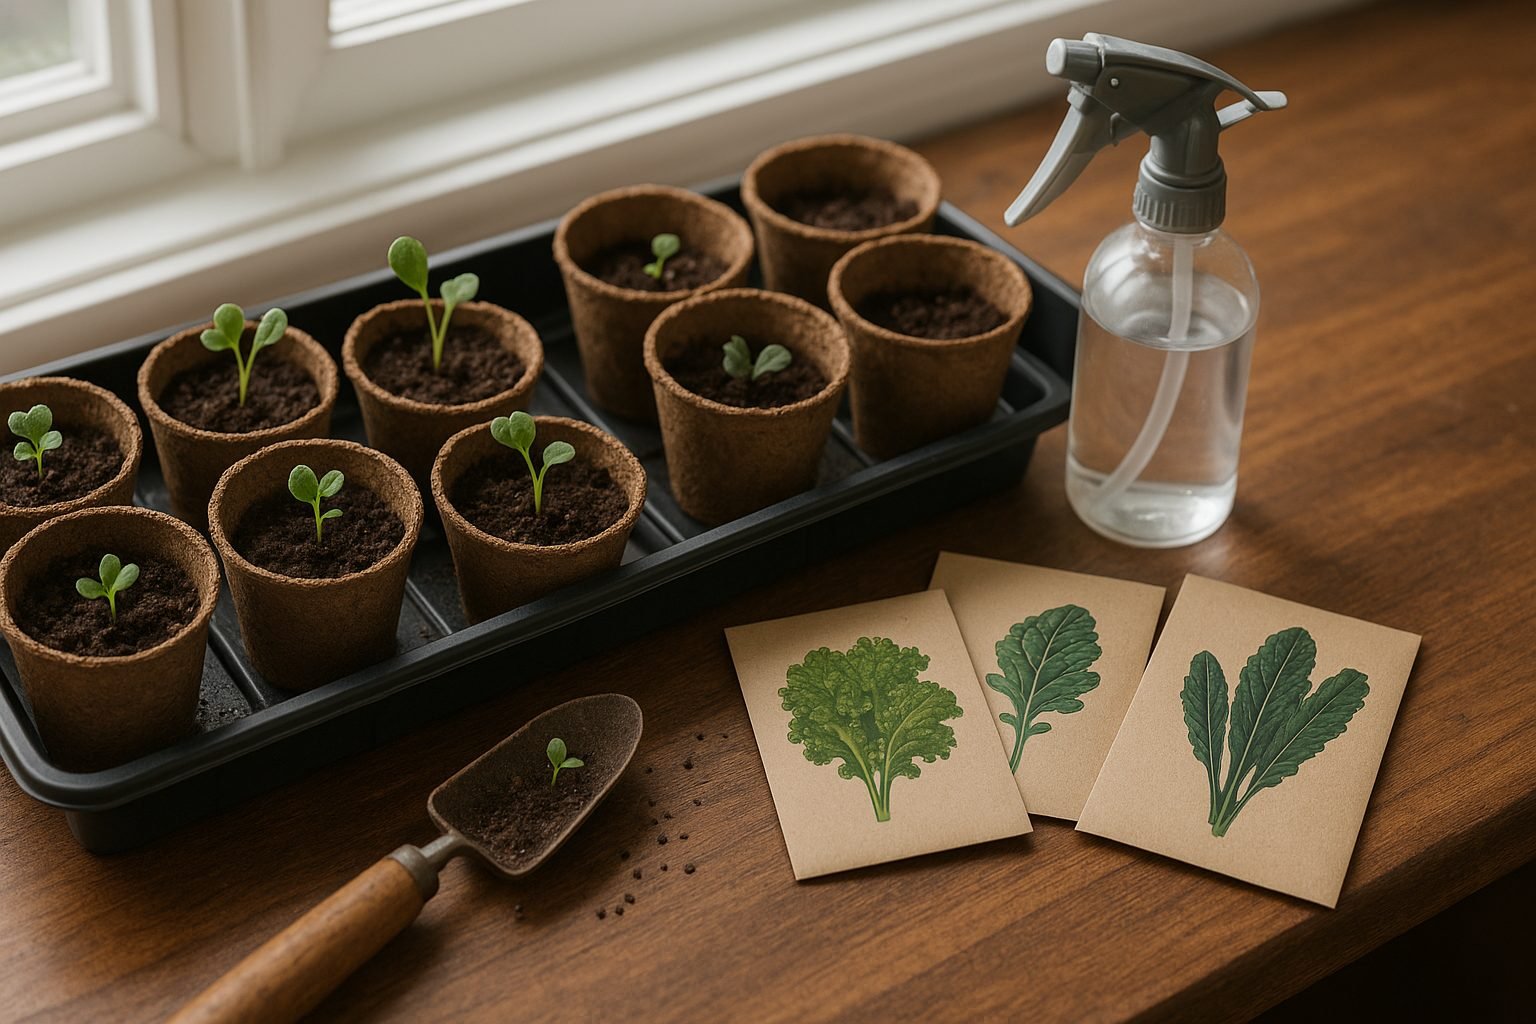
When it comes to growing options, starting kale seeds indoors gives you a head start, especially if spring weather is still unpredictable in your area. Kale is remarkably adaptable:
- You can plant it directly in the ground if you’ve got the backyard space.
- Raised beds allow you to manage soil quality more closely.
- For those with limited space or urban settings, kale thrives in containers on patios, balconies, or sunny windowsills.
All you need is a pot at least 8 inches deep and a spot that catches a few hours of direct sunlight. Don’t be surprised if you spot kale sprouting on apartment balconies or compact garden boxes—its resilience makes it a favorite for beginners and seasoned growers alike. With the right steps, anyone can enjoy fresh, homegrown kale no matter where they live.
Choosing and Sowing Kale Seeds
When it comes to growing kale, timing is everything—you’ll want to match your sowing schedule to your local climate for the best results. In colder regions with short summers, start seeds indoors 6-8 weeks before your last expected frost date. This gives seedlings a head start and strengthens them for transplanting outdoors.
If you’re in a milder zone or have long springs and falls, direct sowing outside is simple: plant seeds 2-4 weeks before the last frost for a spring crop, or anytime from midsummer to early fall for a fall harvest, since kale thrives in cool weather.
No matter where you live, seed-starting success hinges on a few basics:
- Keep the soil moist but not soggy.
- Aim for a temperature around 60-75°F—that’s the sweet spot for sprouting.
- Choose a light, well-draining potting mix for indoor starts.
- Ensure your containers have drainage holes.
For both indoor and outdoor sowings, seeds need light to germinate, so cover them lightly with soil—about a quarter inch is enough. If you’re starting seeds inside, a south-facing window or grow lights will give seedlings the bright light they crave. Leggy, pale plants usually need more light.
As for buying seeds, look for reputable suppliers known for strong germination rates and disease-free stock. Companies like Johnny’s Selected Seeds, Baker Creek Heirloom Seeds, and Seed Savers Exchange offer a wide variety of kale—from classic curly ‘Winterbor’ to tender ‘Lacinato’ (aka Dinosaur kale) and colorful Red Russian. These suppliers often provide helpful growing tips and detailed descriptions, making it easier to pick the best type for your kitchen and climate.
Investing in quality seed sets your kale crop up for a healthy start, higher yields, and fewer frustrations along the way.
Preparing the Soil and Planting
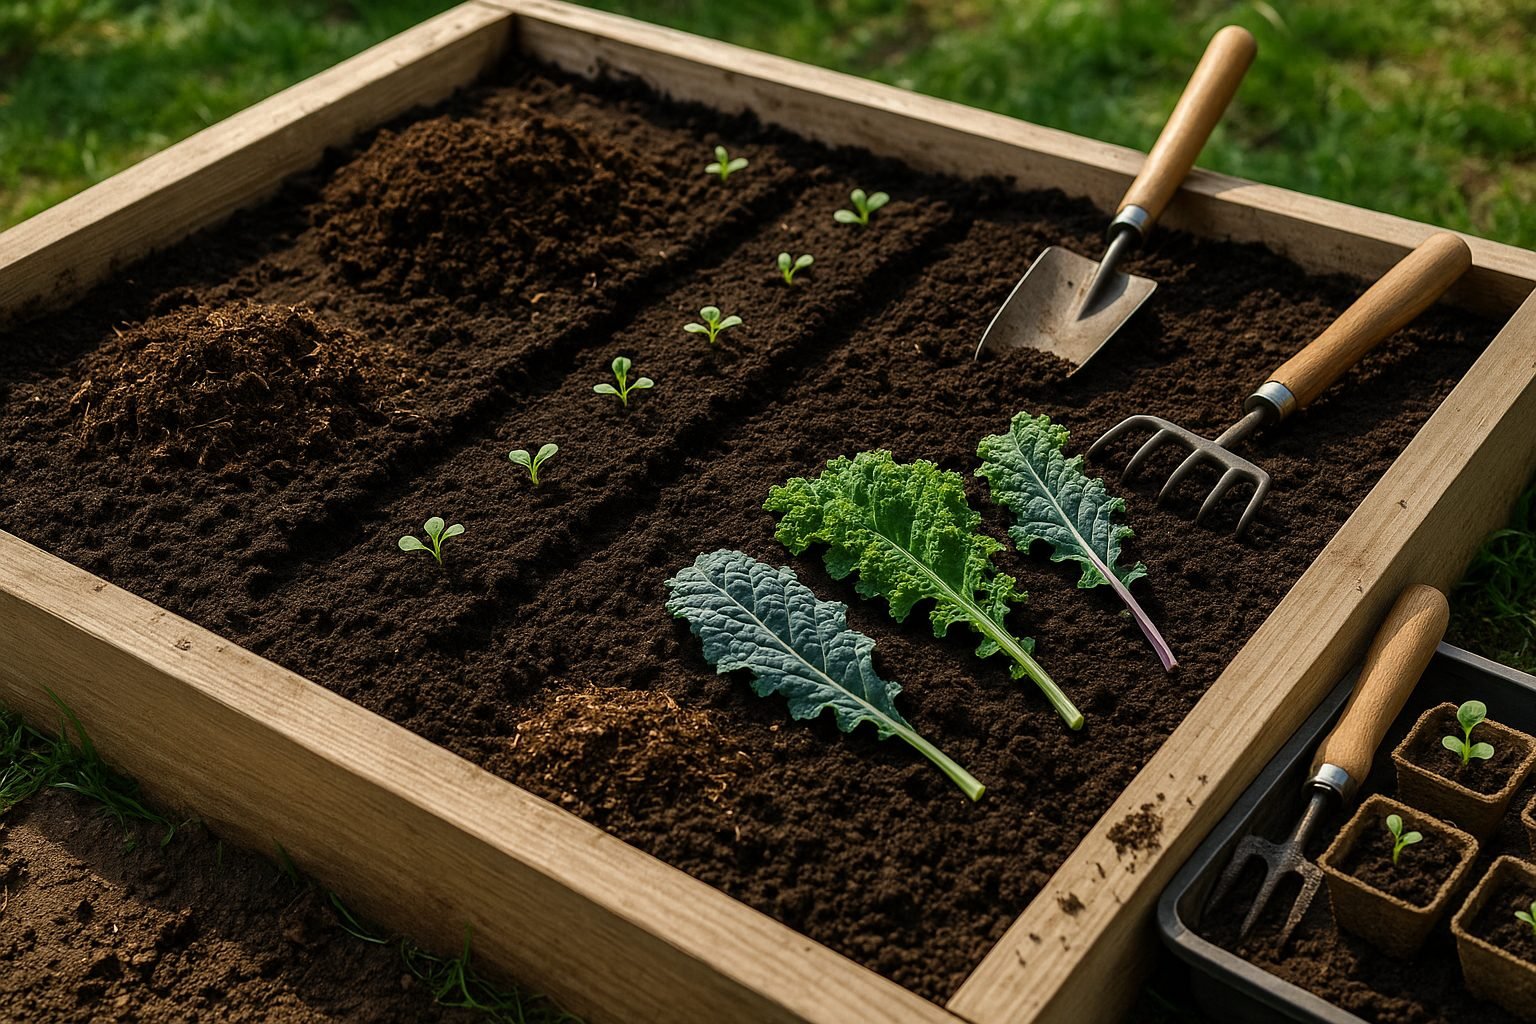
Getting your soil ready is the most important first step for a healthy kale harvest. Whether you’re planting in garden beds or containers, start by loosening the soil to a depth of at least 12 inches and removing any rocks or old roots. Kale thrives in well-drained, fertile soil that’s slightly acidic—aim for a pH between 6.0 and 7.0, which you can check with an inexpensive soil test kit from the garden center.
Work in 2-3 inches of compost or well-rotted manure to enrich the soil. If your soil is heavy clay or sandy, mix in some peat moss or coconut coir for better texture and drainage. Make sure your garden beds get at least 6 hours of sunlight per day, or pick a large container (at least 12 inches deep and wide) with good drainage holes if you’re short on space or growing on a balcony.
When it comes to planting, space is key to healthy, productive kale. Direct sow seeds outdoors by planting them a quarter-inch deep, with about 1 inch between seeds. Once seedlings have a couple of true leaves, thin them out to leave 12-18 inches between plants—this gives them plenty of room to grow and allows air to flow, which helps prevent disease.
For transplanting seedlings, dig holes deep enough so the bottom leaves are just above the soil surface, again leaving 12-18 inches between each plant. Gently firm the soil around the roots and water well to help them settle in. A real-world tip: if you’re starting seeds indoors to get a jump on the season, harden them off by gradually exposing them to outdoor conditions for a week before transplanting.
Mulch around your plants with straw or shredded leaves to help keep the soil cool and moist, and you’ll soon be harvesting tender, flavorful kale right from your backyard or patio.
Caring for Kale Plants
Caring for kale plants is surprisingly straightforward, making them a great choice for both novice and experienced gardeners. Start by keeping the soil consistently moist; kale prefers about 1 to 1.5 inches of water per week, so check the soil often and water at the base to avoid wetting the leaves, which can invite disease.
Mulching with straw, shredded leaves, or compost helps retain moisture, suppress weeds, and keep the roots cool as temperatures rise. Feed your kale with a balanced, organic fertilizer or compost every 4-6 weeks—this boosts leaf production and overall plant health.
Pests like aphids, cabbage worms, and even hungry pigeons can pose problems. For aphids, try blasting them off with a gentle spray of water or introducing beneficial insects such as ladybugs. Handpick cabbage worms or use organic controls like Bacillus thuringiensis (Bt) if infestations get heavy. To deter pigeons, drape bird netting over your crop or use fluttering tape to scare them away.
Thinning is another important step—when seedlings have two sets of true leaves and are about 4 inches tall, thin them to 12-18 inches apart to ensure each plant has room to grow robustly without competition. Regularly snip off any yellowing or damaged lower leaves with sharp scissors to keep plants tidy and productive; this light pruning also allows better airflow, helping to prevent disease.
By staying attentive to watering, mulching, and organic pest control—and keeping your plants pruned and well-spaced—you’ll be rewarded with lush, flavorful kale all season long.
Harvesting and Using Kale
For the best taste and plant longevity, harvest kale when the leaves are about the size of your hand and have a rich, deep color—typically 2-3 months after planting. Always pick the outer leaves first, leaving the younger, inner leaves to keep growing. This method not only prolongs the plant’s life but also ensures a continuous supply throughout the season.
Use clean scissors or your fingers to snip leaves near the stem without damaging the central bud. To encourage continual harvesting, avoid cutting more than one-third of the plant at a time. Regularly remove any yellowing or damaged leaves to help redirect energy into healthy growth.
After harvesting, kale can be stored in the crisper drawer of your refrigerator inside a perforated plastic bag, where it should stay fresh for up to a week. If you have a bumper crop, freezing is a great option—just blanch the leaves in boiling water for a couple of minutes, cool them quickly in ice water, drain, and pack them into freezer bags.
When it comes to using kale in the kitchen, the options are nearly endless:
- Toss raw leaves into salads for a nutritional punch
- Blend them into smoothies
- Sauté with garlic as a savory side
- Bake with olive oil and sea salt to create irresistibly crispy kale chips
With these simple strategies, you’ll enjoy a steady, delicious supply of kale all season long, whether you’re a first-time gardener or a seasoned pro.
Tips for Growing Kale Year-Round
Growing kale year-round is easier than you might think, thanks to a few smart strategies that maximize your harvest in every season.
To stretch the growing season, consider using row covers or cold frames in your garden. These simple barriers shield plants from frost, wind, and pests, keeping kale thriving even as temperatures dip.
For indoor growing, try starting kale seeds in containers under grow lights—a sunny windowsill works too—which lets you enjoy fresh, tender greens even when outdoor beds are frozen.
To keep a continual supply, succession planting is key: sow new kale seeds every three to four weeks, staggering plantings so that as one crop matures, another is just starting. This method works equally well outdoors and in containers, ensuring there’s always a new batch coming up.
For hardy gardeners aiming to overwinter kale, mulch plants heavily with straw or leaves to insulate roots, and use hoop houses or frost blankets for extra protection. Some kale varieties, like ‘Winterbor’ or ‘Red Russian’, are especially cold-tolerant and can survive into the depths of winter—just harvest outer leaves as needed rather than pulling entire plants. You’ll be rewarded with sweet, crisp greens even after a snow.
By combining these techniques, you can keep your kitchen stocked with homegrown kale all year, while also saving on grocery trips and enjoying better-tasting, more nutritious greens.
Common Kale Problems and Troubleshooting
Kale is a tough, rewarding crop, but it isn’t immune to problems. Common pests like aphids and cabbage worms can quickly leave holes in the leaves. To keep them at bay, inspect your plants regularly and handpick any invaders. Spraying a mild solution of water and neem oil also deters pests without harming beneficial insects.
Diseases such as downy mildew and clubroot may strike in wet conditions. Improve airflow by spacing plants widely and watering early in the day so leaves can dry off. If you spot yellow or wilted foliage, trim it promptly to prevent the illness from spreading.
Another challenge is bolting, when kale sends up flower stalks and the leaves turn bitter. This usually happens in hot weather or after a cold snap. You can delay bolting by planting kale early in spring or late in summer for a fall crop, when temperatures are mild.
Crop rotation is also essential—don’t plant kale in the same spot each year, as pests and diseases can linger in the soil. Give your kale patch a break by rotating with non-brassica crops like beans or carrots.
If you want a continuous supply, start a new batch of seeds indoors every few weeks and transplant as space opens up. With these organic solutions and some planning, you’ll enjoy healthier kale and fewer headaches throughout the growing season.