Introduction to Preserving Hot Peppers
Preserving hot peppers is a popular tradition among home cooks and garden enthusiasts alike. It’s not just about extending their shelf life but also about maintaining their bold flavors and adding versatility to your kitchen year-round. From fiery jalapeños to robust cayenne and vibrant habanero varieties, hot peppers come in all shapes and spice levels—many of which are perfect candidates for preservation. Having a stash of preserved hot peppers on hand lets you enjoy their heat and flavor in everything from salsas to stir-fries long after the harvest season is over.
People choose to preserve hot peppers for many reasons: it prevents waste when your garden is overflowing, locks in their distinctive taste, and opens the door to new recipes. Imagine sprinkling your own dried chili flakes over pizza, tossing frozen peppers into chili, or serving up tangy pickled slices with tacos—preservation makes all this possible.
In this post, we’ll guide you through the most effective methods for preserving hot peppers: drying them for long-term storage, freezing to keep their shape and freshness, and pickling for tangy, ready-to-eat treats. With practical tips and easy-to-follow steps, you’ll have all you need to keep your favorite hot peppers within reach no matter the season.
Pickling Hot Peppers: Brine and Vinegar Methods

Pickling hot peppers at home is easier than it sounds, and you have two main methods to choose from: quick-pickling in brine or cold vinegar preservation.
Brine Method
For quick-pickling, you’ll combine water, salt, and sometimes a bit of sugar to create a simple brine; then heat it and pour it over sliced peppers in sterilized jars. The key ingredients here are fresh hot peppers, non-iodized pickling salt (to avoid cloudiness), and any spices you enjoy—think garlic, peppercorns, or mustard seeds.
Cold Vinegar Pickling
Cold vinegar pickling skips the cooking step; you pack raw peppers into jars and cover them directly with vinegar (usually white or apple cider), seasoned with salt and optional spices.
Flavor and Texture Differences
The biggest perk of the brine method is that it slightly softens the peppers, mellowing their sharp heat and bringing out tangy, nuanced flavors. Vinegar pickling keeps peppers crisper with a fresh, punchy taste and a stronger vinegar bite.
Tips for Safe and Tasty Pickling
- Always use clean, fresh produce and sterilized jars to prevent spoilage.
- Make sure peppers are fully submerged in liquid to keep mold at bay.
- Store finished jars in the refrigerator if you’re not canning them for shelf stability.
- If you’re new to pickling, wear gloves when handling hot peppers to avoid skin irritation.
- Don’t substitute table salt for pickling salt to prevent off-flavors.
- Label your jars with the date and use them within a few months for best results.
Whether you like mellow, tangy slices or a crisp vinegary crunch, quick-pickling and cold vinegar preservation are both quick, rewarding ways to preserve your hot pepper harvest.
Freezing Hot Peppers: Keeping It Simple
Freezing hot peppers is a quick and practical way to preserve their flavor and heat long after summer harvests end. Start by washing your peppers thoroughly and patting them dry; any extra moisture can cause freezer burn.
Next, decide if you want to freeze them whole or sliced—removing seeds and stems makes them easier to use later but isn’t required. If slicing, consider wearing gloves to avoid lingering spiciness on your hands.
Spread the peppers in a single layer on a baking sheet and freeze for about an hour before transferring them to airtight freezer bags or containers. This “flash-freezing” step prevents clumping, so you can pull out exactly what you need.
Label with the date, as frozen peppers are best used within six months for peak quality.
When ready to use, you typically don’t need to thaw them unless your recipe calls for a softer texture, such as for quick sautés or sauces; otherwise, toss them straight into stews, chilis, or stir-fries. Freezing doesn’t noticeably mellow their heat, so expect the same level of spice as you had fresh.
Practical Uses for Frozen Peppers
- Add them directly to omelets, pizzas, or casseroles.
- Use as a spicy topping for tacos and nachos.
Their slightly softer texture after thawing makes them less ideal for raw uses like salads, but perfect for cooked dishes where their bold flavor can really shine.
With these simple steps, preserving your chili harvest is fast, mess-free, and keeps your kitchen stocked with flavorful heat year-round.
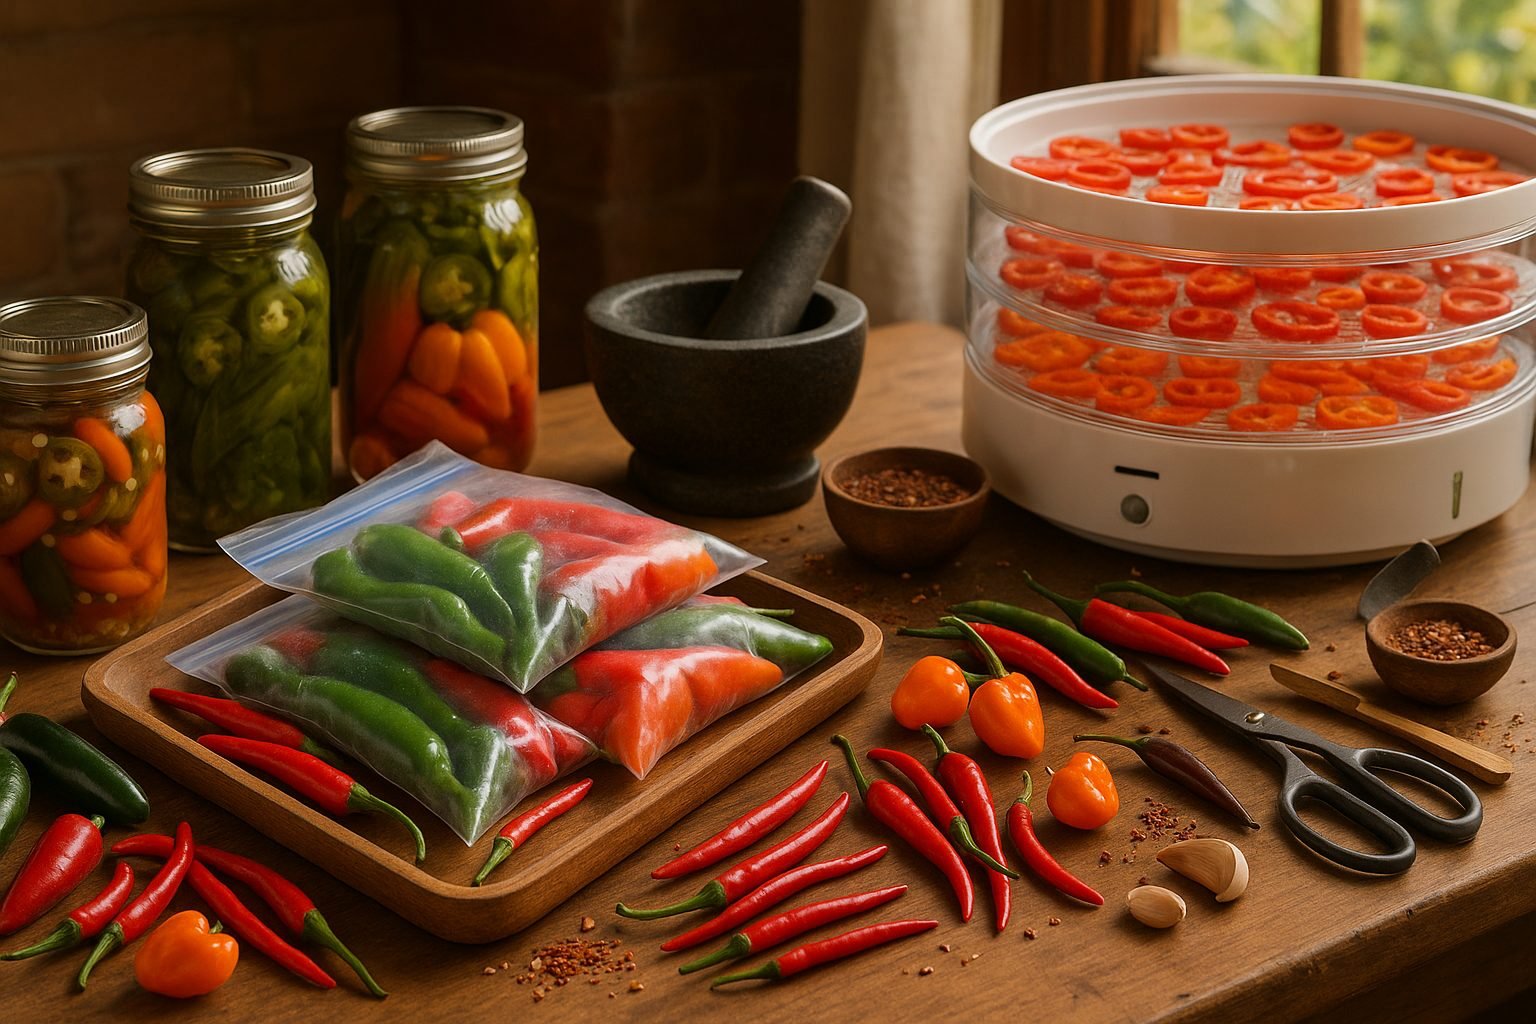
Dehydrating and Drying: From Whole Peppers to Hot Pepper Flakes
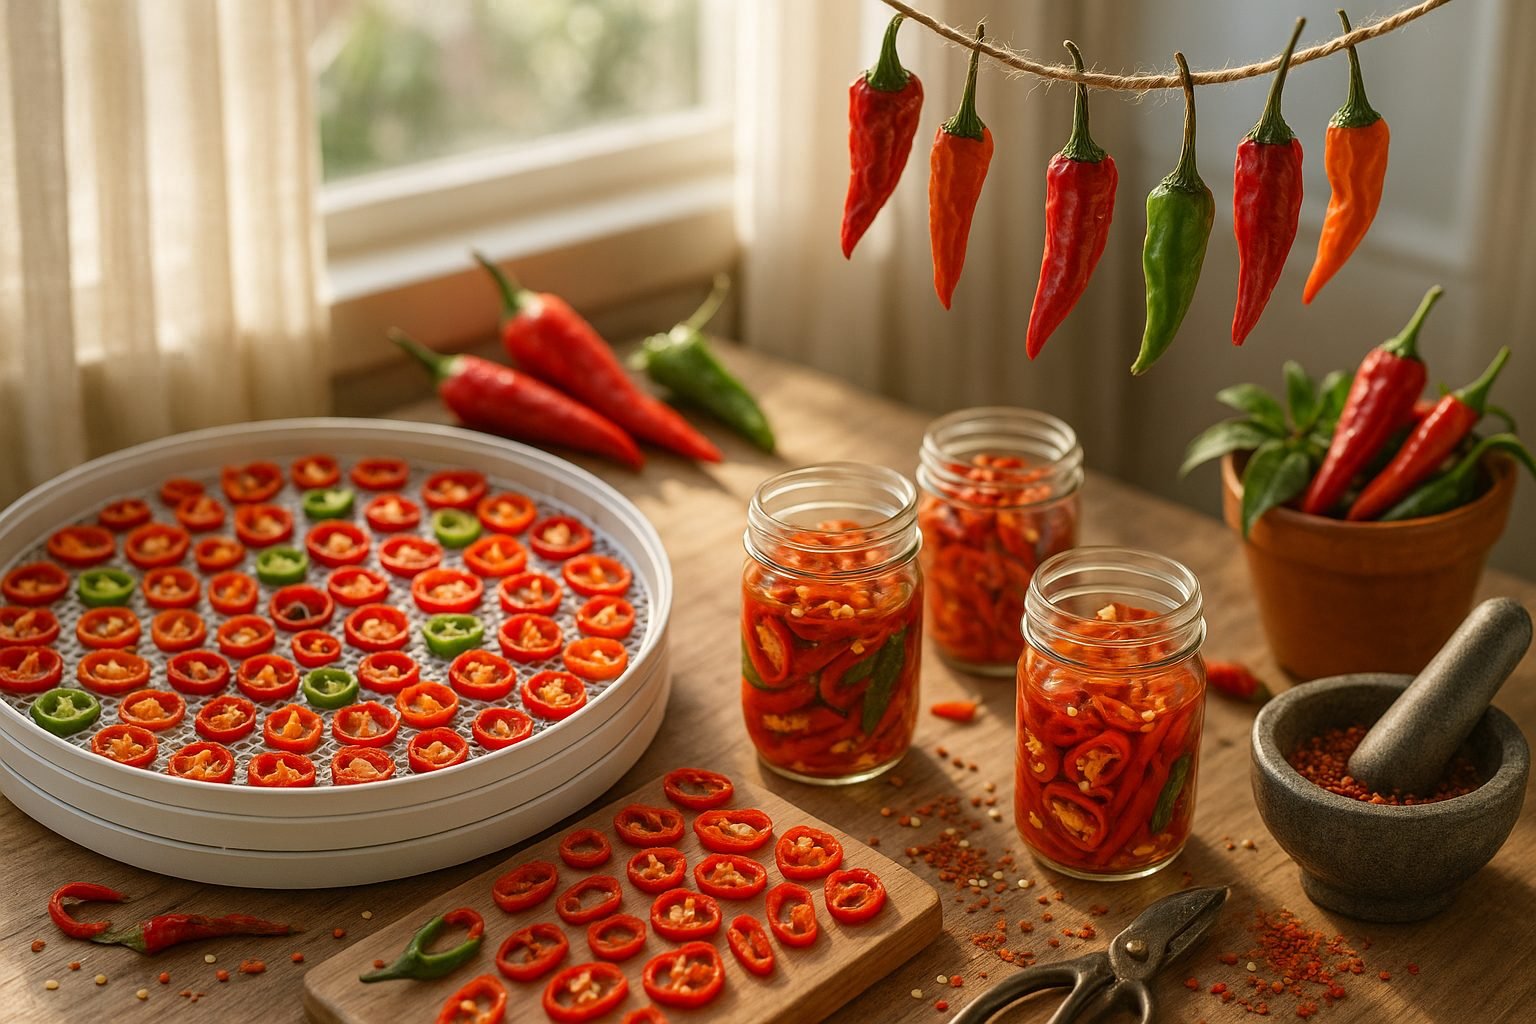
Dehydrating hot peppers is a simple way to extend their shelf life and enjoy their kick year-round. If you don’t have special equipment, air-drying works well: just string whole, ripe peppers through their stems and hang them in a dry, well-ventilated spot away from direct sunlight. This method is ideal for thin-walled varieties like cayenne or Thai chilis. Make sure the peppers don’t touch each other to prevent mold.
For a faster and more foolproof method, a food dehydrator is your best friend. Simply wash and slice the peppers (remove seeds and stems as desired), arrange them in a single layer on dehydrator trays, and dry at about 125°F (52°C) until crisp. This usually takes 6–12 hours, so check periodically.
Once your peppers are fully dry and brittle, you can easily turn them into homemade crushed red pepper flakes using a food processor or by pounding them in a mortar and pestle. For a finer texture, blend the dried peppers into chili powder—consider adding dried garlic or smoked paprika for a flavor upgrade.
Always wear gloves when handling hot peppers to avoid skin irritation, and be cautious of airborne chili dust while grinding. Store your finished flakes or powders in airtight glass jars, away from heat and sunlight to keep the flavors fresh. Properly dried and stored, they can last up to a year without losing much potency.
Label your jars with the date so you know when to refresh your supply—homemade chili flakes tend to have a bolder, fresher flavor than store-bought, plus you’ll know exactly what’s in your spice jar.
Other Creative Preservation Techniques (Jelly, Oil, and More)
Beyond traditional pickling and drying, peppers can be preserved in creative ways that add exciting flavors to your kitchen. Hot pepper jelly is a sweet-and-spicy spread that’s perfect served with cheese or as a glaze on meats—simply cook chopped peppers with sugar, vinegar, and pectin, then pour into sterilized jars.
Another popular method is making infused oils by steeping dried peppers in olive oil; these add instant heat to pizzas or salads. For safety, always use thoroughly dried ingredients, as moisture can encourage harmful bacteria like botulism. Infused oils should be stored in the fridge and used within a week, or you can strain out solids and freeze the oil for longer storage.
Hot sauces are another fun option—use a blend of preserved peppers, vinegar, garlic, and spices, then puree until smooth. Fermenting the mixture for a few days before blending can develop more complex flavors, but fresh versions are just as tasty.
No matter which method you try, always use clean jars, utensils, and hands, and label your creations with the date to guarantee both safety and delicious results.
Storage Tips for Maximum Freshness
To keep your peppers tasting great and safe to eat, it’s essential to store them properly based on their preservation method.
Pickled Peppers
Use clean, airtight glass jars and store them in the refrigerator after opening. They can last up to two months, but if you notice any changes in smell, color, or texture, it’s time to toss them.
Frozen Peppers
Keep frozen peppers in airtight freezer bags or containers with as much air removed as possible. Label each bag with the date and store them in the back of your freezer (not the door) to avoid temperature swings. They’ll stay flavorful for up to eight months.
Dried Peppers
Store dried peppers in labeled, airtight containers like glass jars or vacuum-sealed bags, and keep them in a cool, dark pantry. They generally maintain their quality for 6 to 12 months.
General Tips
- Always check for signs of spoilage, such as mold, off-smells, or softness (for dried peppers), and discard anything suspicious.
- Label each container with the preservation date—this simple habit ensures you’ll use your peppers at their peak and helps avoid unpleasant surprises when you’re ready to cook.
Delicious Ways to Use Preserved Hot Peppers
Preserved hot peppers are the secret weapon your kitchen needs, transforming everyday meals with a punch of heat and tang. Try slicing them thinly and layering them into sandwiches or burgers for a zesty crunch, or scatter diced peppers on breakfast tacos and scrambled eggs to kickstart your morning.
In stir-fries, toss in a few chopped preserved peppers near the end of cooking—they’ll infuse your veggies and proteins with bold flavor. For homemade sauces, blend preserved peppers with olive oil, garlic, and a pinch of salt to make a spicy drizzle perfect for roasted vegetables, grilled meats, or even fresh salads.
If you’re worried about too much heat, simply remove the seeds before using or add a touch of sugar or honey to mellow the intensity. Mixing preserved hot peppers with milder ingredients like cream cheese, yogurt, or avocado creates crowd-pleasing dips or spreads that balance spicy and creamy flavors.
For a fun entertaining twist, arrange preserved peppers on a charcuterie board alongside cheeses, olives, and cured meats, letting guests build bites to match their spice tolerance. They also make an excellent foodie gift—pack your homemade preserved peppers into decorative jars, tie with a ribbon, and share with friends or neighbors who love a culinary adventure.
With options for every palate, preserved peppers can turn any meal, snack, or party platter into a memorable, flavor-packed experience.
Expert Tips and Troubleshooting
Preserving hot peppers can be rewarding, but a few common mistakes might ruin your hard work. One frequent issue is using underripe or bruised peppers, which can lead to mushy textures after pickling or fermenting. Always inspect your peppers and choose the freshest ones for the best results.
If your preserved peppers turn out mushy, it might be due to overcooking or not using enough salt or vinegar—both of which help maintain crunchiness. Another problem you may encounter is cloudy brine; this is often harmless and simply means lactic acid bacteria are doing their job during fermentation. However, if you see mold, foul smells, or sliminess, discard the batch immediately, as it’s a sign of spoilage.
Sterilizing your jars and keeping everything clean is the best way to prevent contamination. For those seeking expert advice and new recipes, check out resources like the National Center for Home Food Preservation or trusted creators like The Fermentation Association and Ball Canning.
Experiment with different brines, spices, and techniques to find what works for you, and don’t hesitate to ask questions in online forums or cooking groups if you get stuck. Your spicy creations will only get better with practice and curiosity!