When to Harvest Garlic
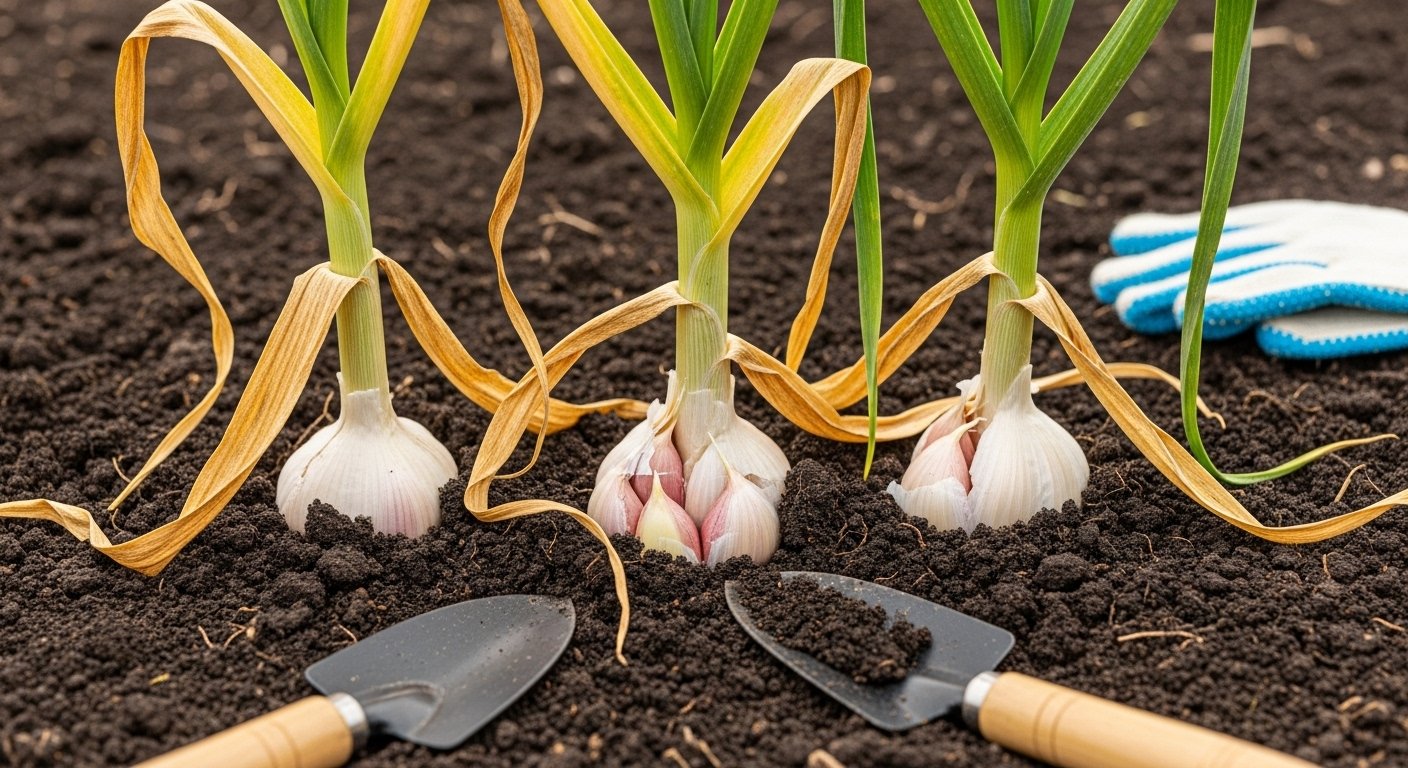
If you’ve been tending your garden for months, you’re probably eager to master the art of harvesting garlic. Knowing exactly when to harvest without damaging the bulbs can make all the difference between plump, flavorful cloves and disappointing yields. Luckily, nature provides clear visual clues: as garlic matures, the lower leaves turn yellow or brown while the upper leaves stay green. This leaf color change is your first signal that harvest time is approaching.
Bulb size also matters—gently scrape away a bit of soil around one or two plants to check that the bulbs have formed well-developed, plump cloves rather than small or misshapen ones.
Timing Your Harvest
Garlic is generally ready to harvest about 7 to 9 months after planting, which for most regions means July or early August. However, weather and soil conditions can slightly shift this window.
Look for:
- Softneck garlic: When five to six green leaves remain, as each leaf represents a protective papery layer on the bulb.
- Hardneck garlic: When the flower stalk (scape) begins to curl and the bottom three or four leaves start to die back.
Why Timing Matters
Harvesting garlic too early can leave you with undersized bulbs that lack full flavor and don’t store well—think tiny cloves and papery wrappers that peel off too easily.
On the flip side, waiting too long means the bulbs might over-mature, causing the cloves to split apart in the ground. This exposes the cloves to soil-borne diseases and drastically shortens their shelf life, leaving you with garlic that spoils before you can enjoy it.
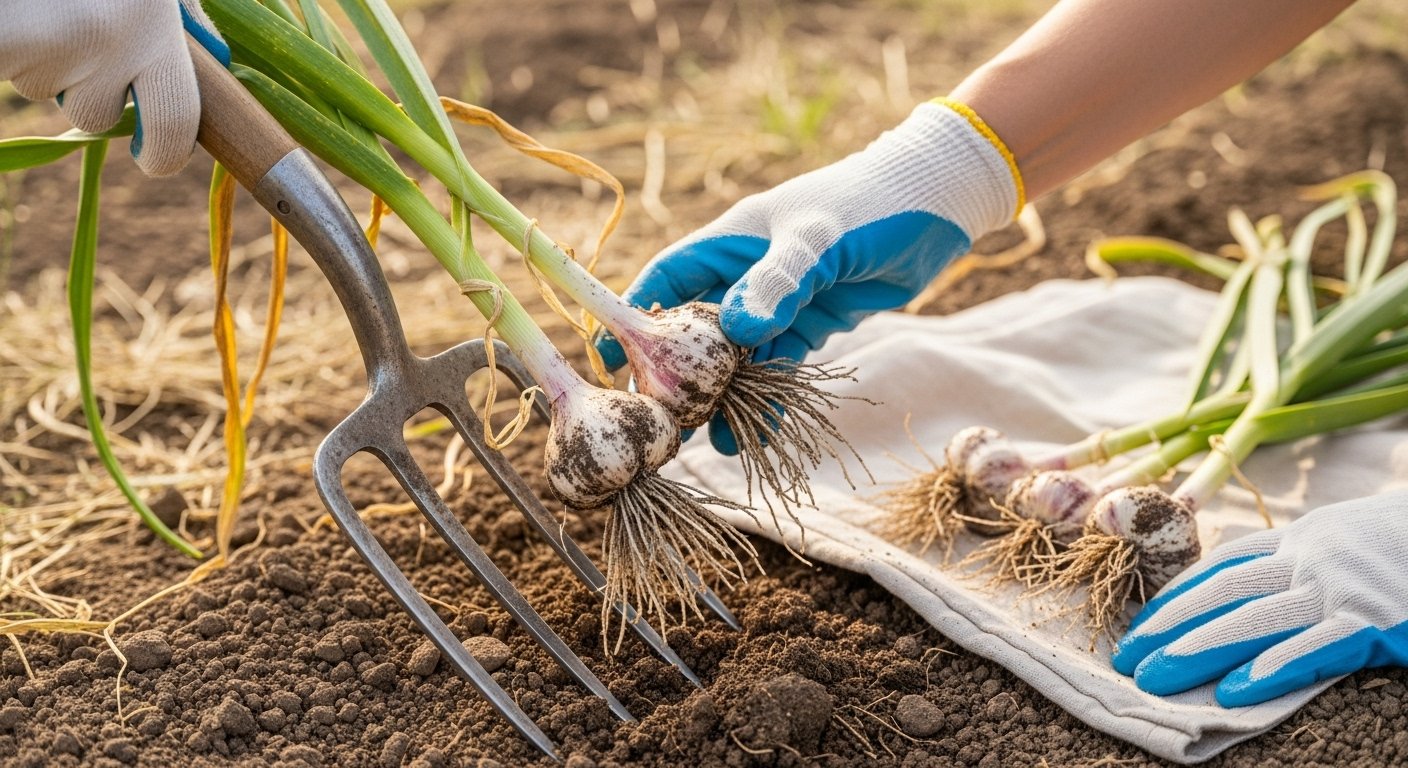
So, watch your plants closely and dig carefully with a garden fork to ensure each harvested bulb is at its peak—full of flavor, easy to store, and perfect for your kitchen creations.
Pre-Harvest Preparation
Knowing when to stop watering your crops before harvest is a small but crucial step that can make a big difference in the quality and storability of your produce. Generally, for most vegetables and fruits, it’s best to stop watering about 3–7 days before your anticipated harvest date. Cutting off water helps concentrate flavors in fruits like tomatoes or melons and reduces excess moisture that can cause rot or mold in storage.
However, the exact timing depends on your specific crop—check recommendations for your variety. The soil should be just moist enough to allow easy digging or pulling, but not so wet that it clings in heavy clumps or damages delicate root structures. Overly wet soil can cause bruising or make handling messy, while soil that’s bone-dry can stress plants and make harvesting more difficult.
On harvest day, aim for slightly damp soil; you can test this by squeezing a bit of earth in your hand—it should gently hold its shape but crumble easily.
To set yourself up for a smooth harvest, gather supplies ahead of time. Essentials typically include:
- Sharp, sanitized pruning shears or harvest knives
- Sturdy gloves to protect your hands
- Large baskets or bins to collect produce
- A clean tarp or cloth for piling root crops
- Labeled buckets for separating different varieties
Having a wheelbarrow or garden cart nearby can help transport heavier loads with less effort. For ease and efficiency, keep a spray bottle of water and a soft brush handy to gently clean off excessive dirt before storing or prepping your harvest.
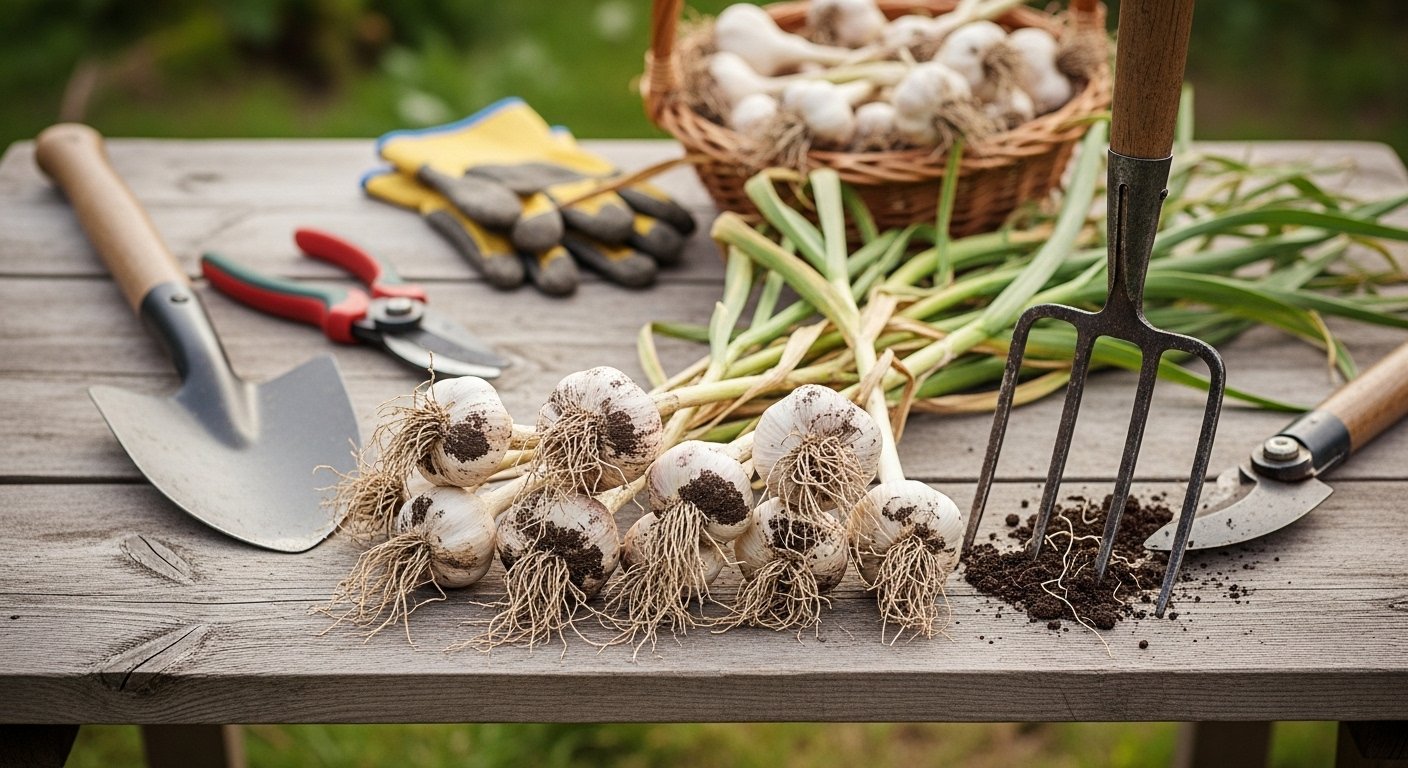
How to Harvest Garlic
Harvesting garlic at the right time is key to enjoying plump, flavorful bulbs, and a gentle touch makes all the difference. Begin by checking if the lower leaves have turned yellow and dry while the upper ones are still green—a signal that the bulbs are ready.
Choose a dry day, then grab a garden fork or spade and carefully loosen the soil about 4-6 inches away from the stalks to avoid piercing the bulbs. Gently rock the tool back and forth to lift the clump of soil; avoid yanking the garlic by the stems since this can bruise or snap the bulbs.
With gloved hands, wiggle and ease each bulb out, lifting it intact and brushing off large clumps of earth without rubbing or knocking the delicate outer skin. Keep bulbs shaded and out of direct sunlight as you work to prevent sunscald.
Don’t wash the garlic at this stage; instead, gently remove excess dirt by hand and leave the greens attached. The greens can act as a handle for moving the bulbs, further reducing the chance of damage.
Lay the harvested garlic in a single layer on a dry, airy surface—such as a shaded porch or ventilated shed—to cure. By handling your harvest with care from the outset, you’ll preserve the bulbs’ protective skins and ensure longer storage life.
Curing and Drying Garlic
Curing garlic is a crucial step if you want it to last for months without sprouting or going bad. Right after harvesting, garlic is still full of moisture, which can lead to mold, rot, or loss of flavor if not properly dried.
The best environment for curing is a shady, dry spot with good air circulation and moderate temperatures—ideally between 60-75°F (15-24°C). Too much sun can over-dry the outer layers or even cook the bulbs, while damp or stuffy spaces encourage fungal growth.
A practical way to cure garlic is to gently brush off excess dirt without washing, then either hang bunches of garlic bulbs by their stems in a well-ventilated shed or lay them out in single layers on mesh racks or screens. Ensure the bulbs aren’t touching to promote airflow around each head.
The whole process usually takes between two to four weeks, depending on humidity and temperature. You’ll know the garlic is fully cured when the outer skins are papery and the necks are completely dry.
Watch for signs of trouble like soft spots, visible mold, or a musty smell—these are all indicators of poor curing. To avoid these problems, make sure to keep your curing garlic out of rain and check regularly for any damp bulbs, removing them promptly before the problem spreads.
With some simple attention to the curing process, you’ll enjoy garlic that’s flavorful and shelf-stable all winter long.
Storing and Preserving Garlic
Keeping garlic fresh and flavorful starts with proper storage. For short-term use, store whole bulbs in a cool, dry place with good air circulation—think pantry shelves, mesh bags, or a wire basket. The ideal environment is between 60-65°F (15-18°C) with moderate humidity around 60%, as too much moisture can cause mold and too little can dry the cloves out. Avoid the fridge for whole bulbs since cold temperatures encourage sprouting.
For even longer storage, try traditional braiding—tie the stalks together and hang them in a well-ventilated spot. This method works great for softneck garlic. If you want to preserve garlic beyond several months, peel and freeze the cloves in airtight containers, or blend them with a little oil and freeze the mixture in ice cube trays for easy portioning.
Another option is making homemade garlic powder: slice cloves thinly, dry them in a low oven or dehydrator until crisp, then blitz into powder and store in an airtight jar.
Periodically check your stored garlic by gently squeezing the bulbs—they should feel firm, not soft or hollow. Remove any bulbs with discoloration, mold, or a strong off odor to prevent spoilage from spreading. Spotting early signs like shriveling, green shoots, or black spots means it’s time to use those up quickly.
With these simple tips, you can keep your garlic tasting its best for months, minimize waste, and always have your favorite flavor booster on hand.
Troubleshooting Common Issues
Growing garlic can be tricky, but knowing how to tackle common problems will boost your chances of success.
One frequent mistake is harvesting too early or too late—wait for about two-thirds of the leaves to turn brown before pulling up your bulbs. Too early and they’ll be small; too late and the skins can split, making storage harder.
Pests like onion maggots or nematodes may show up as wilting plants or mushy cloves. Keeping your beds weed-free, rotating crops, and avoiding planting garlic near onions can deter these bugs. If you spot serious infestations, remove affected plants and consider using floating row covers next year.
Disease issues, like white rot or mildew, often stem from poor soil drainage or contaminated seed garlic. Plant only disease-free cloves, space them well for air circulation, and avoid replanting in the same spot for at least four years.
If your garlic bulbs turn out small or misshapen, the cause might be too much shade, not enough water during bulb formation, or over-fertilizing with nitrogen. Aim for six hours of sun, consistent moisture, and consider fertilizing once early in the season.
If despite your best efforts things still go wrong, don’t be discouraged—it may just be a tough season or specific local conditions. Sometimes, trying again with new seed garlic or seeking advice from your local extension service can lead to a much more rewarding harvest next year.
Frequently Asked Questions
Beginner gardeners often worry about missing the right harvesting window for garlic, but don’t stress—your plants will let you know when they’re ready. Watch for the leaves: when the bottom half turn brown but the top is still green, it’s time to pull them up.
If you miss it slightly and the bulbs have split open in the ground, they’re still usable; just eat those sooner, as their storage life drops.
Wondering if you can eat green or undersized garlic bulbs? Absolutely! Young garlic, also called “green garlic,” tastes mild and fresh—perfect for soups, stir-fries, or salads. Don’t toss those smaller cloves; they pack plenty of flavor and nutrition.
Saving garlic for next year’s planting is simple, too. Choose your largest, healthiest bulbs and store them in a cool, dry spot with good airflow—braided and hung in a pantry is a classic method. Come fall, break the bulbs into cloves just before planting.
Gardening is full of learning experiences, so don’t worry if your first harvest isn’t perfect. Every season, you’ll get more confident—and taste the rewards along the way!