Introduction
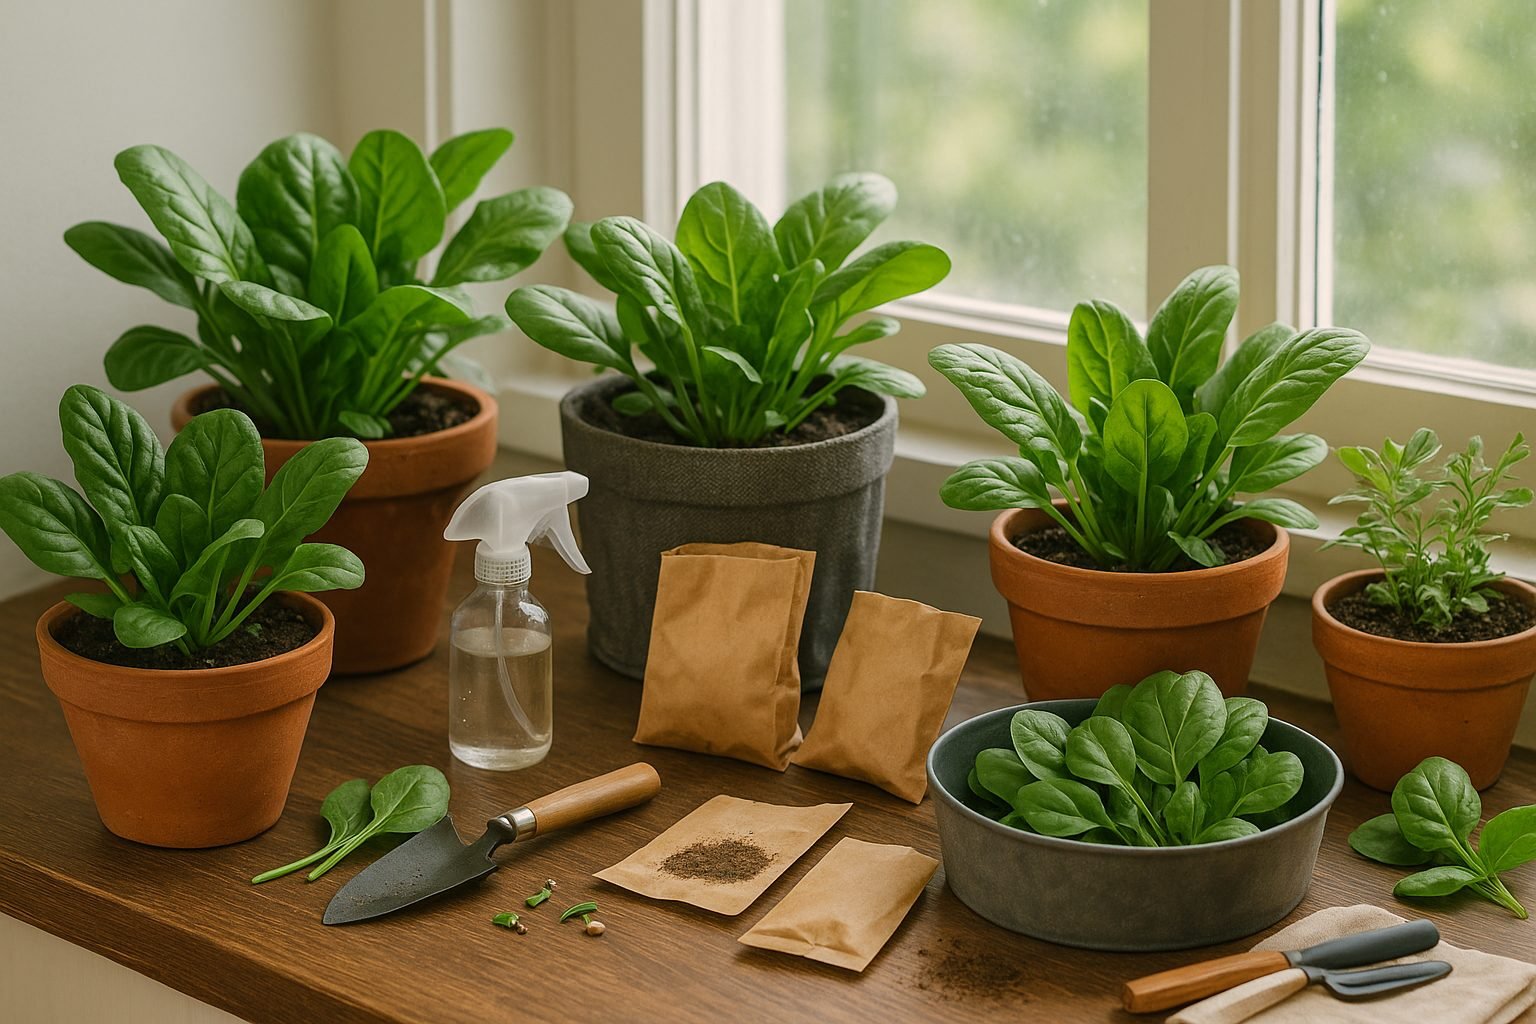
Growing spinach indoors is a great solution for anyone with limited outdoor space or unpredictable weather. Imagine enjoying fresh, crisp spinach leaves year-round—even when snow blankets your backyard or your apartment doesn’t have a garden. But is growing spinach indoors under lights really practical and effective? Many home gardeners wonder if it’s possible to harvest a steady supply of this nutritious green without natural sunlight or a large plot of land.
In this blog post, we’ll answer that question and guide you through the essentials of indoor spinach gardening. We’ll cover how to set up the ideal grow light system, share tips for caring for your spinach from seed to harvest, and show you how to troubleshoot common problems like leggy seedlings or yellowing leaves. Whether you’re an experienced indoor gardener or just starting out, you’ll find practical advice to help you succeed and bring homegrown spinach right to your kitchen table—no matter what Mother Nature has in store outside.
Benefits of Growing Spinach Indoors
Growing spinach indoors offers a variety of benefits that make it an attractive choice for home gardeners. One of the biggest advantages is the ability to enjoy fresh, nutritious spinach year-round, no matter the season. Unlike outdoor gardens that depend on unpredictable weather, indoor growing lets you bypass temperature fluctuations, frost, and heat waves. This means you don’t have to wait for the perfect planting season or worry about spring freezes harming your seedlings.
Another major perk is the reduced risk of pests and diseases. Indoor spinach is largely protected from common garden pests like aphids, leaf miners, and slugs, which means less need for pesticides and safer greens to eat. Convenience is also a big plus. Using a small hydroponic setup or containers with grow lights, you can harvest tender spinach leaves just steps from your kitchen—making healthy eating more practical and accessible.
Plus, controlling the growing environment lets you fine-tune temperature, humidity, and light exposure. This often results in faster growth, higher yields, and better-quality leaves, especially when using energy-efficient LED grow lights designed for leafy greens. With these advantages, you can consistently grow lush, flavorful spinach right in your own home.
Choosing the Right Grow Lights for Spinach
When it comes to growing spinach indoors, selecting the right grow lights makes a huge difference in plant health and productivity. Both LED and fluorescent lights are excellent choices for home gardeners. LEDs are popular because they’re energy-efficient, have a long lifespan, and let you tailor the light spectrum to the specific needs of spinach, which thrives under a mix of cool (blue) and warm (red) wavelengths. Many full-spectrum LED panels are now designed specifically for leafy greens.
Fluorescent lights, such as T5 or CFL bulbs, are another budget-friendly and effective option. They emit plenty of blue light, encouraging leafy growth and compact plants. Whichever type you choose, understanding the importance of light spectrum, intensity, and duration is key. Spinach benefits most from full-spectrum lights with higher intensities (measured in lumens or PAR) that mimic spring sunlight. Aim for light intensity around 150–250 µmol/m²/s at the leaf level for strong, healthy growth.
Keep the lights about 6–12 inches above the spinach canopy, adjusting as the plants grow to prevent scorching or stretching. If you’re using fluorescent tubes, keep them closer (around 4–6 inches) since they run cooler, while LEDs may need a bit more distance depending on their intensity. Provide your spinach with 12–16 hours of light per day, ideally using a timer for consistency, followed by 8–12 hours of darkness to let the plants “rest” and respire.
For those on a tight budget, affordable options like LED shop lights or plug-in full-spectrum grow bulbs are widely available online and in garden centers. Even basic T5 fluorescent fixtures can deliver excellent results without breaking the bank. Remember, good lighting not only boosts spinach yields but also prevents leggy, pale, or weak growth, making your indoor gardening efforts far more rewarding.
Setting Up an Indoor Spinach Growing Area
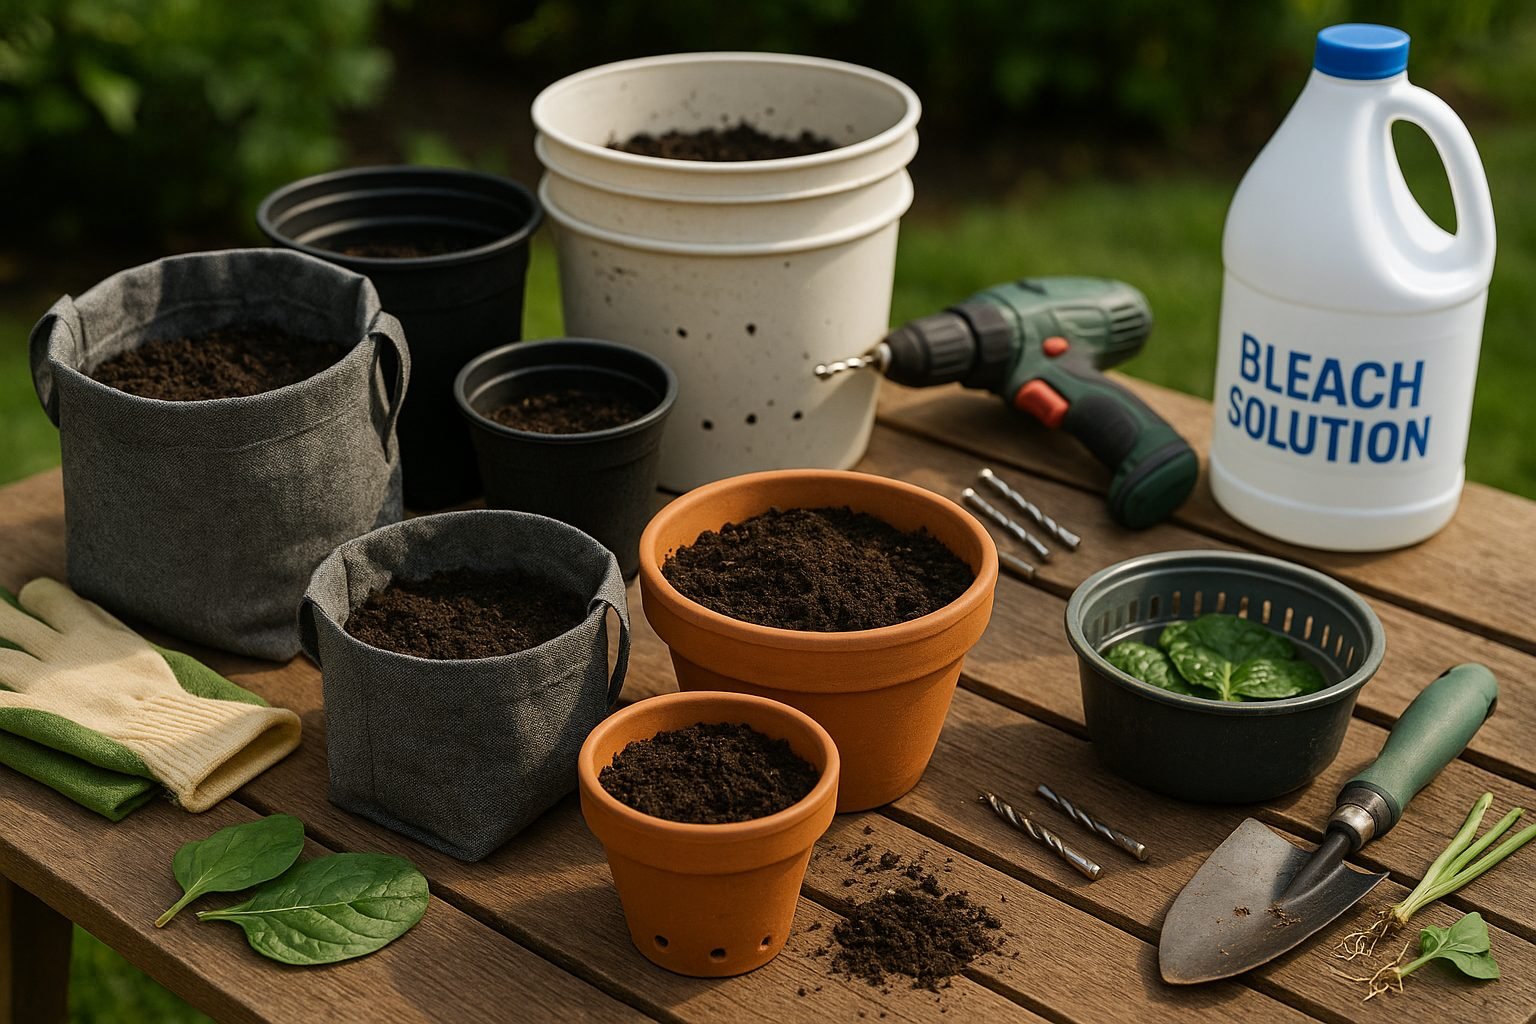
To create an effective space for growing spinach indoors, start by choosing the right containers—look for pots or trays that are at least 6-8 inches deep with good drainage holes to prevent soggy roots. You can use standard plastic pots, long planter boxes for shelves, or repurposed food containers, as long as they allow excess water to drain.
Fill these containers with a loose, high-quality potting mix rich in organic matter. Avoid using garden soil, as it compacts easily and may harbor pests. A blend formulated for vegetables or herbs will give young spinach roots the moisture and nutrients they need to thrive indoors.
When arranging your containers, leave at least 3 inches between each plant to ensure adequate airflow—this helps reduce the risk of fungal diseases and allows leaves to grow bigger and greener. Place smaller pots on windowsills with southern exposure, or set up shelves lined with containers below grow lights.
If space is limited, vertical shelving units with adjustable heights make it easy to keep light sources close to the spinach as it grows. For optimal results, suspend LED or fluorescent grow lights 4-6 inches above the plants and keep them on for about 12-14 hours per day. Adjust the height as seedlings mature so all leaves receive bright, even light.
In dedicated spaces like grow tents, position containers in a single layer and use a small fan on a low setting to gently circulate air—this mimics the outdoor breeze and encourages sturdy stems. With these simple setups, you can enjoy fresh spinach yields year-round, no matter how much outdoor space you have.
Planting and Caring for Indoor Spinach
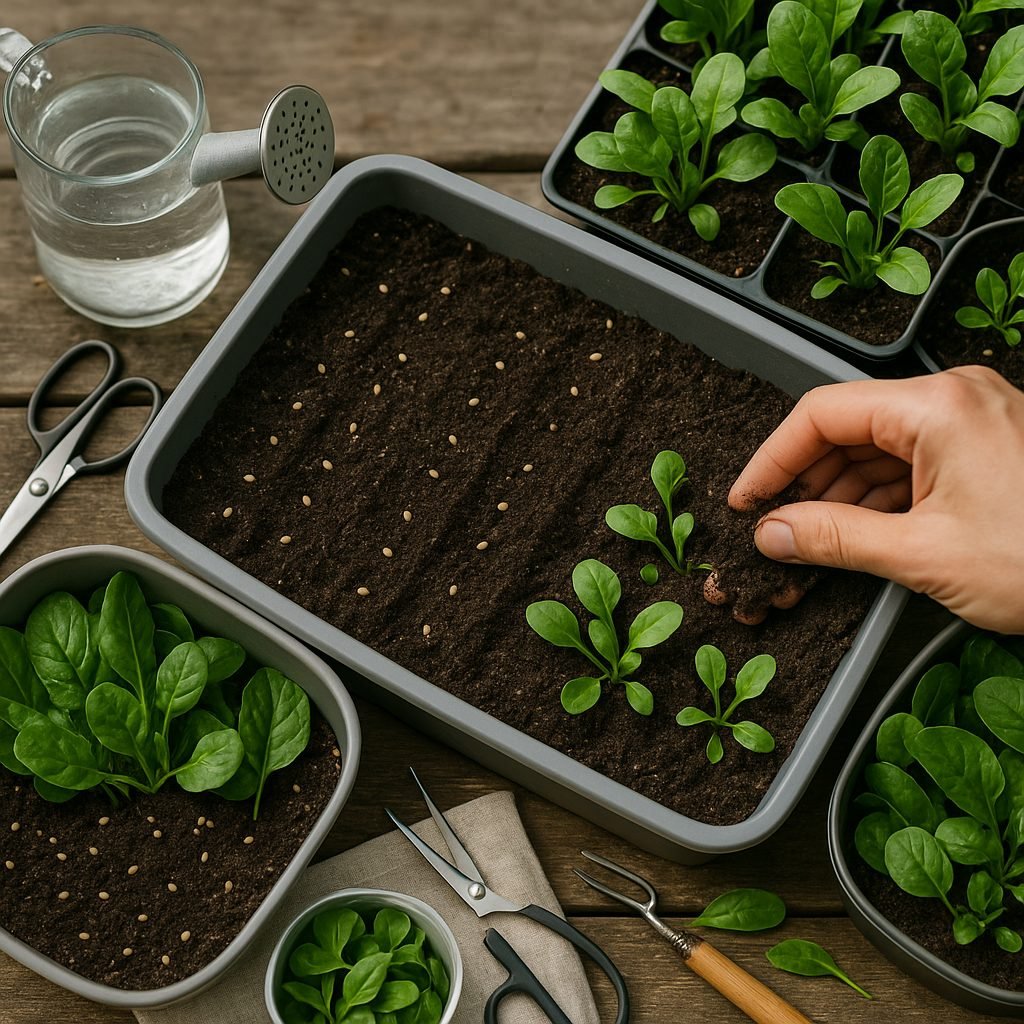
When growing spinach indoors, start by choosing a high-quality potting mix—loose, well-draining soil helps prevent the root rot that spinach is prone to. Sow seeds about a quarter to half an inch deep, placing one or two seeds every two inches in containers or seed trays. Once the seedlings reach a couple of inches tall, thin them so each plant has at least 3-4 inches of space to mature. This promotes good airflow and reduces competition for nutrients.
Spinach prefers consistently moist soil but not soggy, so water whenever the top inch of soil feels dry. If you’re using grow lights, aim for 12-14 hours of light daily to mimic the spring sun that spinach thrives under. Position the lights just a few inches above the leaves to keep growth compact and healthy. Ideal temperatures range between 60 and 70°F (16-21°C); avoid letting the growing space get too warm, as heat can cause spinach to bolt and produce seeds prematurely.
Humidity levels around 40-50%, typical in most homes, are usually sufficient. If the air is especially dry, a small humidifier nearby can help keep your plants happy. Fertilize lightly with a balanced, water-soluble fertilizer every 2-3 weeks, but avoid overfeeding, which may result in bitter leaves.
Watch for signs of overcrowding or pale, leggy seedlings—these indicate the need for more space or stronger lighting. Snip out the weakest seedlings as needed. Regularly check for pests like aphids, even indoors, and promptly remove any damaged leaves to keep your spinach crop healthy and thriving.
Common Problems and How to Troubleshoot
When growing spinach indoors, you might encounter a few common issues, but the good news is that most are easy to identify and fix with a little care. Leggy growth—where stems stretch tall and leaves appear thin—usually occurs due to insufficient light. If your spinach is reaching or leaning toward the light source, it likely needs more; try moving your grow light closer (about 6–12 inches above the plants) or upgrading to a stronger LED setup.
Yellow leaves are another typical problem, often caused by overwatering, nutrient deficiencies, or cramped roots. Ensure your container has proper drainage, the soil isn’t soggy, and you’re feeding your spinach with a balanced liquid fertilizer every couple of weeks. If you notice yellowing on the lower leaves while new leaves remain green, this is often normal as old foliage cycles out—but keep an eye on any patterns.
A moldy or fuzzy white coating on the soil indicates excess moisture and poor airflow. To fix this, space your plants out, allow the soil to dry slightly between waterings, and use a small fan to improve circulation.
To keep your spinach thriving, regularly check the leaf color and texture as well as the soil moisture. Don’t hesitate to prune damaged leaves and clean your lights or trays if you notice buildup. The key to success when growing spinach indoors is observation: the sooner you address small issues, the healthier—and tastier—your harvest will be.
Harvesting and Enjoying Your Indoor Spinach
Harvesting your indoor spinach is an exciting moment, and knowing when to pick ensures you get the freshest, tastiest leaves. Typically, spinach is ready to harvest about 4 to 6 weeks after planting, when the leaves are 3 to 4 inches long and have a deep green color. Look for mature, firm leaves—these offer the best texture and flavor.
To harvest, use clean scissors or gently pinch individual outer leaves near the base, allowing the inner leaves to continue growing for future harvests. Avoid cutting the entire plant at once so you can enjoy multiple pickings over several weeks.
Freshly picked spinach from your indoor garden is incredibly versatile. Add it raw to salads and wraps for a crisp, earthy taste; blend it into smoothies for a nutrient boost; or toss a handful into omelets, stir-fries, or soups right at the end of cooking for a vibrant green addition.
Growing spinach indoors not only saves trips to the grocery store but also ensures you always have a supply of fresh greens on hand. If you’re looking for a satisfying, low-maintenance crop, give growing spinach indoors a try and enjoy the flavor and nutrition of homegrown produce all year round.