Introduction
Starting spinach seeds is the perfect way to kick off your gardening journey, especially if you’re looking for a leafy green that’s both nutritious and beginner-friendly. Spinach thrives with just a little care and adapts well whether you want to grow it in a sunny window indoors or out in your garden beds.
This versatile vegetable not only packs a powerful punch of vitamins and minerals but also has tender leaves that shine in fresh salads, savory sautés, and vibrant smoothies. If spring weather is unpredictable where you live, don’t worry—starting spinach seeds indoors gives your plants a healthy head start and an earlier harvest.
In this article, you’ll discover simple, proven steps to get your spinach off to the best start: choosing the ideal seeds, selecting the right containers and soil, ensuring proper moisture and warmth, and knowing exactly when to transition your seedlings outdoors. Whether you have a large garden or just a windowsill, these straightforward instructions will help you nurture hardy, delicious spinach all season long.
Let’s dive into the process so you can enjoy fresh, homegrown greens in no time!
“`html
Choosing the Right Spinach Variety & Understanding Climate
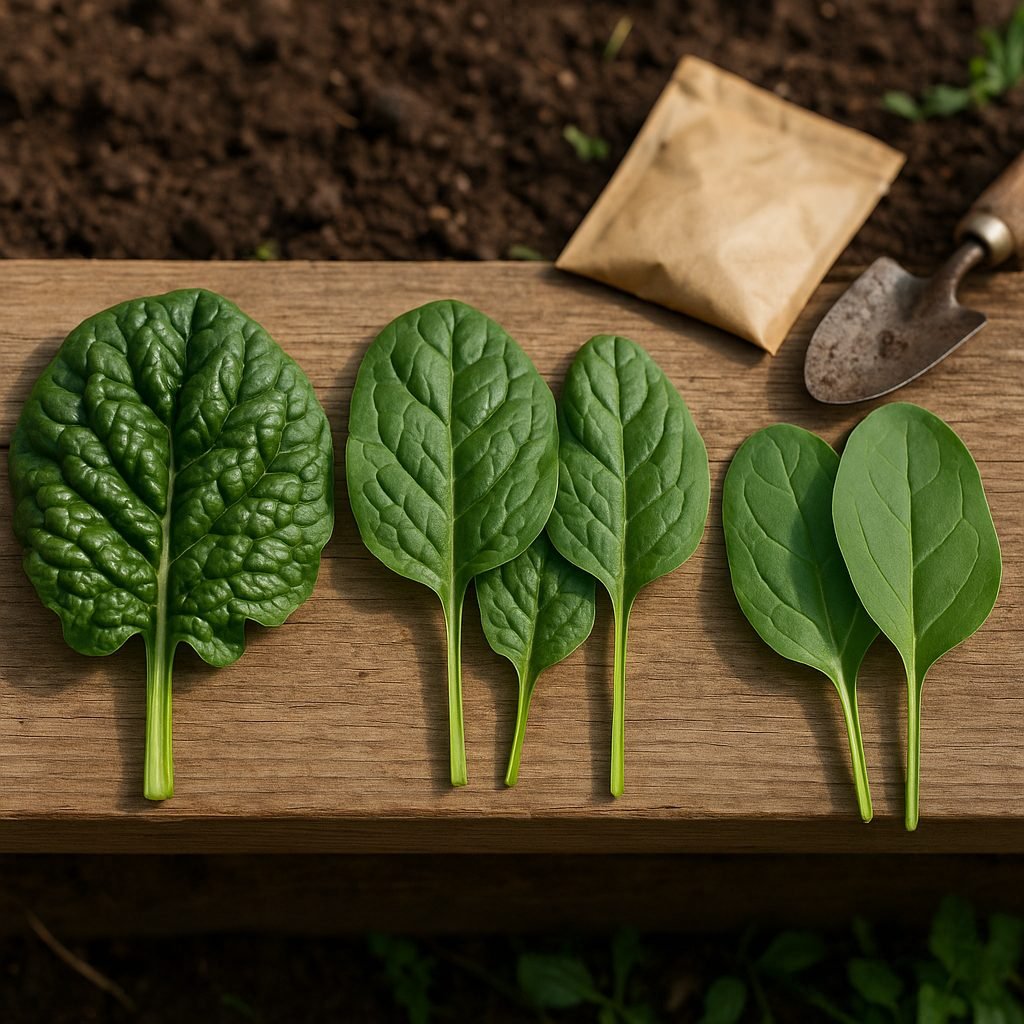
When picking the best spinach for your garden or kitchen, it helps to know there are three main types: savoy, semi-savoy, and flat-leaf.
Savoy spinach has crinkly, dark green leaves and a robust flavor. It’s hardy and resists cold, making it ideal for outdoor gardens and late-season planting. However, the curly leaves can trap dirt, so be sure to rinse them well before using in salads or sautés.
Semi-savoy is a middle ground, offering mildly crinkled leaves that are easier to clean and still sturdy enough for garden beds or containers.
Flat-leaf spinach, also called smooth-leaf, features tender, smooth leaves perfect for quick washing and packing into salads or wraps. If you’re growing indoors or in containers, flat-leaf varieties like ‘Baby Leaf’ are especially convenient.
Beyond leaf style, your local climate matters a lot. Spinach prefers cooler weather, so knowing your USDA Hardiness Zone or local last and first frost dates will help you time plantings for the best growth. Most gardeners sow in early spring or late summer.
In warmer regions, seek bolt-resistant varieties that cope well with heat, like ‘Tyee’ or ‘Bloomsdale.’ For indoor growing, choose compact or fast-maturing types, and for outdoor beds, robust traditional varieties often thrive.
Check the seed packet labels or supplier recommendations for clues on disease resistance and temperature preferences, ensuring the spinach you pick will flourish in your specific conditions.
“`
Preparing Soil and Growing Space
Spinach thrives best in soil that is loose, crumbly, well-draining, and enriched with plenty of organic matter. Aim for a neutral pH between 6.5 and 7.0. To get started, choose a sunny spot for your garden beds, raised beds, or containers, ensuring there’s enough space for good air circulation.
For traditional garden beds, begin by removing weeds and loosening the soil to a depth of at least 12 inches—this helps roots grow strong and prevents waterlogging. Work in 2-3 inches of well-rotted compost or aged manure, which provides nutrients and improves the soil’s moisture retention. If your soil is heavy clay or tends to hold water, mix in a generous amount of coarse sand or perlite to improve drainage, since soggy soil often leads to poor spinach harvests.
Raised beds make these steps even easier. Fill them with a balanced blend of garden soil, compost, and a bit of sand for lightness, ensuring a fluffy, fertile mix. For container growing, select pots at least 8 inches deep and use a high-quality potting mix blended with compost and a handful of perlite or vermiculite—these help roots breathe and prevent water from pooling.
Before planting, test your soil’s pH with an inexpensive kit from the garden center. Add garden lime if it’s too acidic. Remember, healthy spinach starts with healthy soil; by taking time to amend and prepare your growing space, you set your plants up for a productive and disease-resistant season.
Regularly top-dress with compost during the growing season and mulch with straw to keep moisture steady and weeds at bay. These simple steps go a long way toward hassle-free, delicious homegrown spinach.
Sowing & Planting Spinach Seeds
When it comes to growing spinach, timing is everything. In cool climates, sow seeds outdoors as soon as the soil can be worked in early spring. In warmer areas, fall is the best time for a sweeter, bolt-resistant harvest. If you have access to a greenhouse, winter sowing can also provide fresh greens when little else is growing.
For direct sowing outside, scatter seeds about half an inch deep in well-prepared, moist soil. Leave one to two inches of space between each seed—a little elbow room helps young plants thrive. Rows should be about a foot apart to allow easy access as your spinach grows.
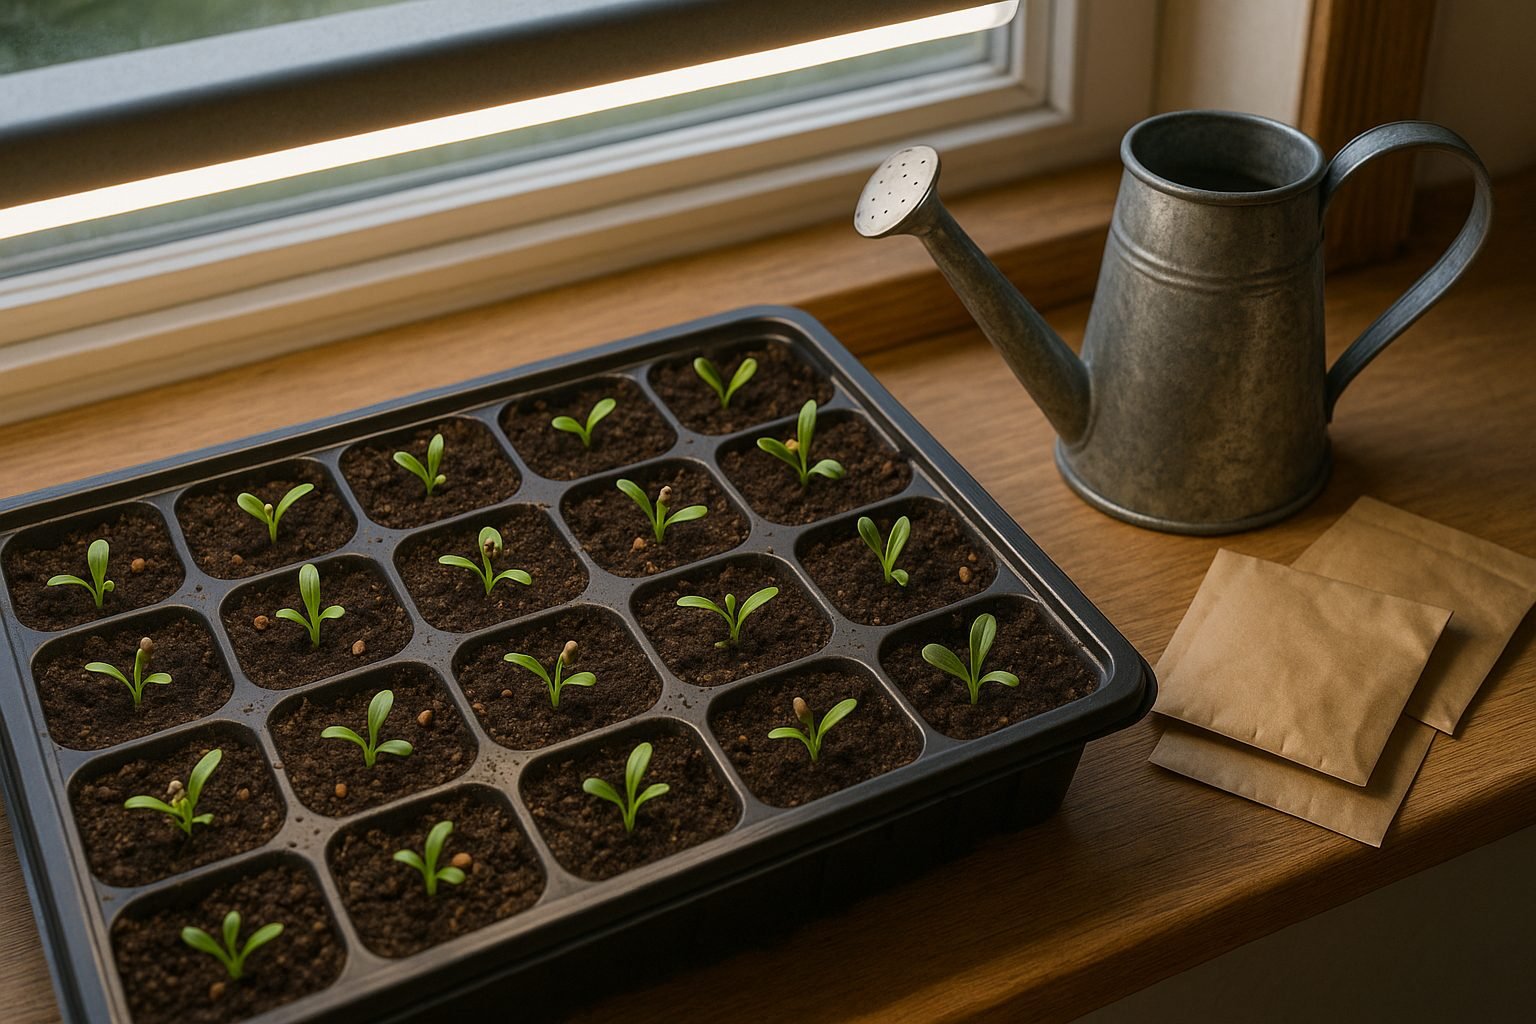
If you’re starting seeds indoors, use a tray or small pots filled with seed-starting mix. Keep them under grow lights or in a sunny window. Once seedlings reach a couple of inches, thin them to prevent overcrowding and transplant outside after hardening off.
Stagger your plantings every two weeks to maintain a steady supply of tender leaves throughout the season.
To maximize garden space and reduce pest issues, try companion planting. Growing spinach near garlic or chives not only saves room but can also deter harmful insects naturally, giving your spinach a healthy head start.
Caring for Spinach Plants
Caring for spinach plants isn’t complicated, but a few simple techniques can help you grow a lush, healthy crop. Spinach loves consistent moisture, so water the soil whenever the top inch feels dry—usually a light watering two to three times a week, depending on your climate.
Be careful not to flood your beds; soggy roots can cause wilting and disease, so make sure your soil drains well. For better nutrition, opt for organic fertilizers like compost or well-rotted manure, which enrich the soil without chemicals. Sprinkle a handful of organic fertilizer around your plants every three to four weeks, and water it in gently.
Layering organic mulch, such as straw or shredded leaves, over the soil can help retain moisture, block weeds, and regulate temperature, making your spinach less prone to bolting during surprise heat waves.
When your seedlings are a couple of inches tall, thin them to about four inches apart so each plant has room to grow—overcrowding reduces airflow and invites disease. Regular weeding is key since spinach doesn’t like competition, and weeds can also attract pests.
Protect your spinach from cold snaps or blazing sun by using row covers or mesh tunnels, which you can prop up with simple hoops made from wire or PVC. These covers help buffer swings in temperature and keep curious critters at bay.
With just a bit of care—smart watering, organic feeding, regular weeding, and some protective measures—you’ll enjoy a thriving, productive spinach patch throughout the growing season.
Harvesting Spinach
Harvesting spinach at the right time ensures you get the freshest, most flavorful leaves. For baby spinach, start picking leaves when they’re about 2-3 inches long—they’re tender and perfect for salads. Gently pinch or snip the outer leaves, leaving the center rosette intact to encourage continued growth.
Mature spinach can be harvested when leaves reach about 6 inches. Use sharp scissors to cut off the larger outer leaves, taking care not to cut the plant’s main growing point. The cut-and-come-again method works well for maximizing yield; by taking just the outer leaves and leaving the central cluster, you allow the plant to keep producing new foliage for several weeks.
To extend your harvest season, pick early in the day when leaves are at their crispest, and make it a habit to harvest regularly before the weather turns too hot. Spinach tends to bolt when temperatures climb. Bolting—when the plant sends up a flower stalk—is a sign that your spinach is about to stop producing tasty leaves. Look for leaves that become longer, narrower, and tougher.
Once you see these changes, harvest all usable leaves immediately, as quality declines quickly after bolting begins. To store your harvest, gently wash the leaves and dry them well using a salad spinner or towel. Keep them loosely packed in a sealed container with a paper towel to absorb excess moisture in the fridge; this keeps spinach fresh for up to a week.
By timing your harvests and using these techniques, you’ll enjoy an extended supply of garden-fresh spinach all season long.
Troubleshooting Common Spinach Growing Problems
Growing spinach can be rewarding, but it does come with its fair share of challenges. Two of the most common pests you’ll encounter are leaf miners, which leave winding, pale squiggles inside the leaves, and aphids, tiny green or black insects that cluster on new growth and suck plant juices.
To stop leaf miners, cover young spinach plants with floating row covers so adult flies can’t lay eggs, and remove and destroy any damaged leaves promptly. For aphids, try blasting them off with a strong spray of water or introduce natural predators like ladybugs. If necessary, use an organic insecticidal soap—just be sure to hit the undersides of leaves.
Spinach is also prone to downy mildew, especially in damp or humid conditions. This fungal disease shows up as yellow spots on the upper side and fuzzy gray or purple mold underneath. Encourage airflow by spacing plants well, always water at the base in the morning, and choose mildew-resistant spinach varieties when possible. If disease hits, remove infected leaves to slow the spread.
Apart from pests and diseases, spinach can struggle with environmental stress. Early bolting—when the plant flowers and goes to seed rapidly—usually happens in hot weather or when daylight hours increase. To prevent this, plant spinach in early spring or late summer, and provide partial shade if temperatures climb.
If you notice poor growth or yellowing leaves, your soil may be lacking nutrients or draining poorly. Amend soil with compost, and ensure it is moist but not waterlogged. Regularly feeding with a diluted organic fertilizer can also help keep plants healthy and thriving.
With a little observation and timely care, most spinach problems can be caught early and managed naturally, leading to a healthy, abundant harvest.
Conclusion & Next Steps
Growing spinach at home is more than just a rewarding hobby—it’s a simple path to fresher, healthier meals and a deeper connection with nature. With just a small patch of soil or a few containers, you can enjoy crisp leaves packed with nutrients while saving money and reducing your grocery trips. Plus, there’s an undeniable sense of pride when you harvest homegrown greens for a salad or smoothie.
If you’re hesitant to start, remember that spinach is wonderfully beginner-friendly; it grows quickly, tolerates a bit of neglect, and can thrive in both full gardens and compact balconies.
To help you keep the momentum, try joining online gardening forums like Reddit’s r/gardening or the GardenWeb community, where you can ask questions and share progress. Many local libraries and extension services also offer free workshops and downloadable guides. Dive into YouTube tutorials for step-by-step planting demos, or follow seasoned gardeners on Instagram for daily inspiration and troubleshooting tips.
Whether you have a spacious yard or just a sunny windowsill, there’s never been a better time to plant a few spinach seeds and start reaping the tasty, healthy rewards—one salad at a time.