Introduction to Growing Spinach
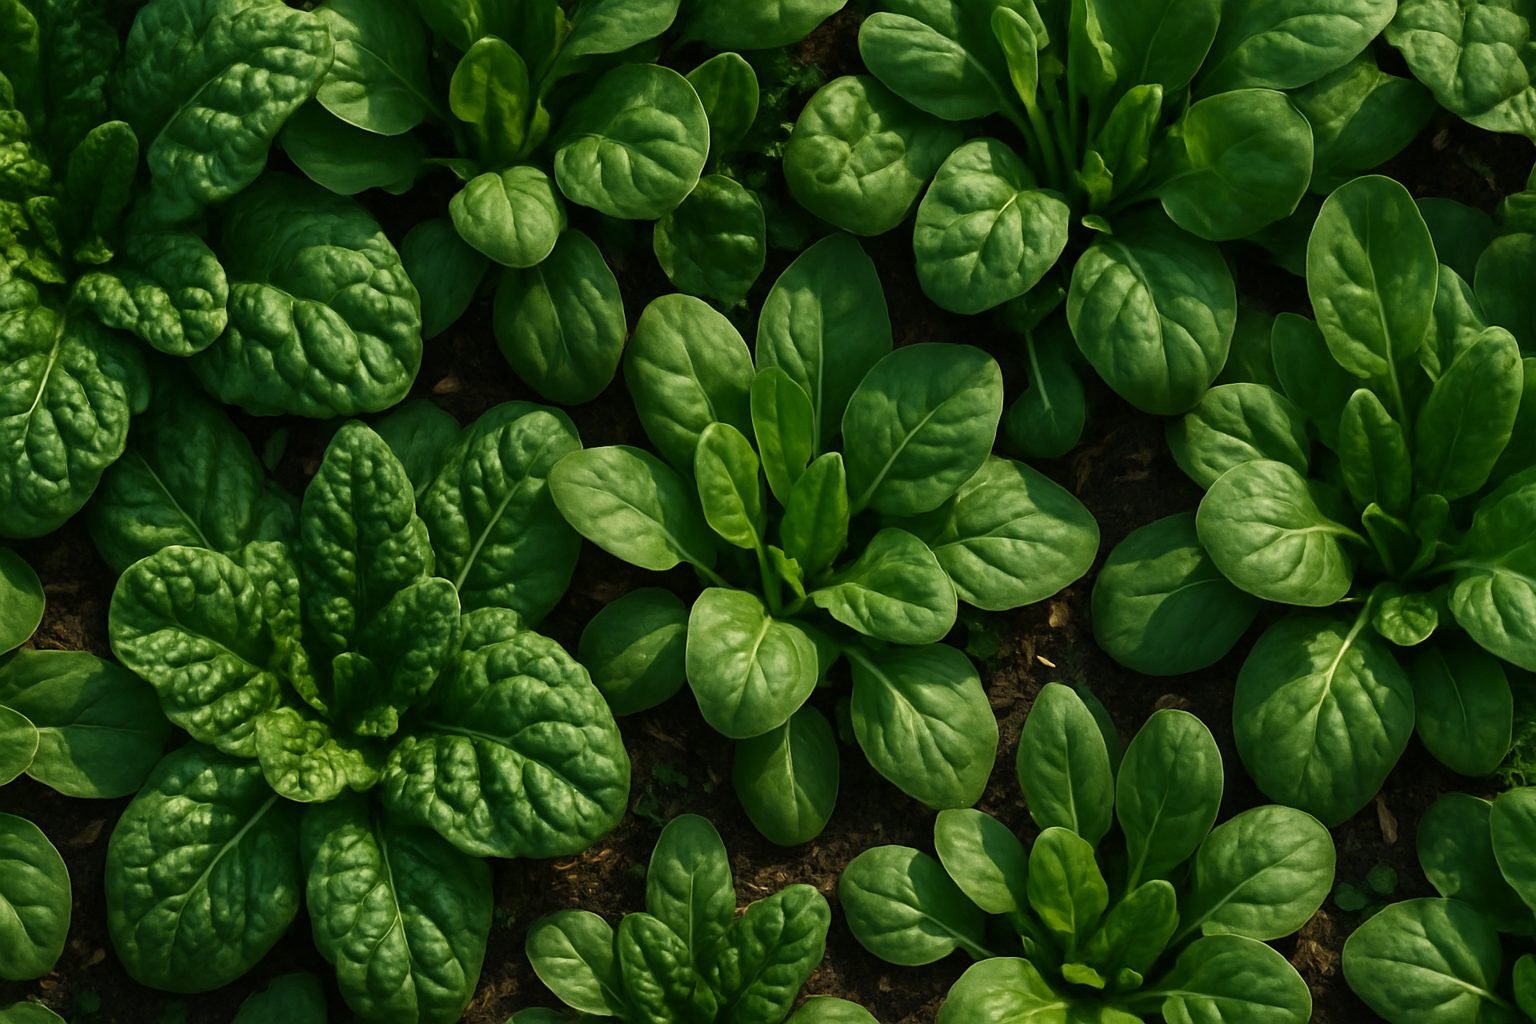
If you’ve been wondering how to grow spinach at home, you’re not alone—spinach has become a go-to green for anyone looking to add more nutrition and fresh flavor to their meals. This leafy powerhouse is packed with vitamins, iron, and antioxidants, making it a favorite of health-conscious cooks and gardeners alike. Growing spinach isn’t just about cutting costs at the grocery store; it’s also about having a steady supply of tender, pesticide-free greens right outside your door. Best of all, spinach thrives in small spaces, which means you don’t need a big backyard—balconies, patios, and even sunny windowsills can become fertile ground for your own spinach patch.
One key benefit of growing spinach at home is the flexibility it offers. You can snip just what you need for salads, smoothies, or sautés, ensuring your harvest is as fresh as it gets. Plus, with quick-growing varieties, you could be enjoying your first tender leaves just weeks after planting. This beginner’s guide covers everything you need to know about how to grow spinach: from choosing the right seeds and preparing your soil, to watering, sunlight needs, and tackling common pests. We’ll also share practical tips on harvesting and maximizing your crop, so you can enjoy homegrown spinach throughout the season. Get ready to roll up your sleeves—your journey to abundant, nutrient-rich spinach starts here!
Choosing the Right Spinach Varieties
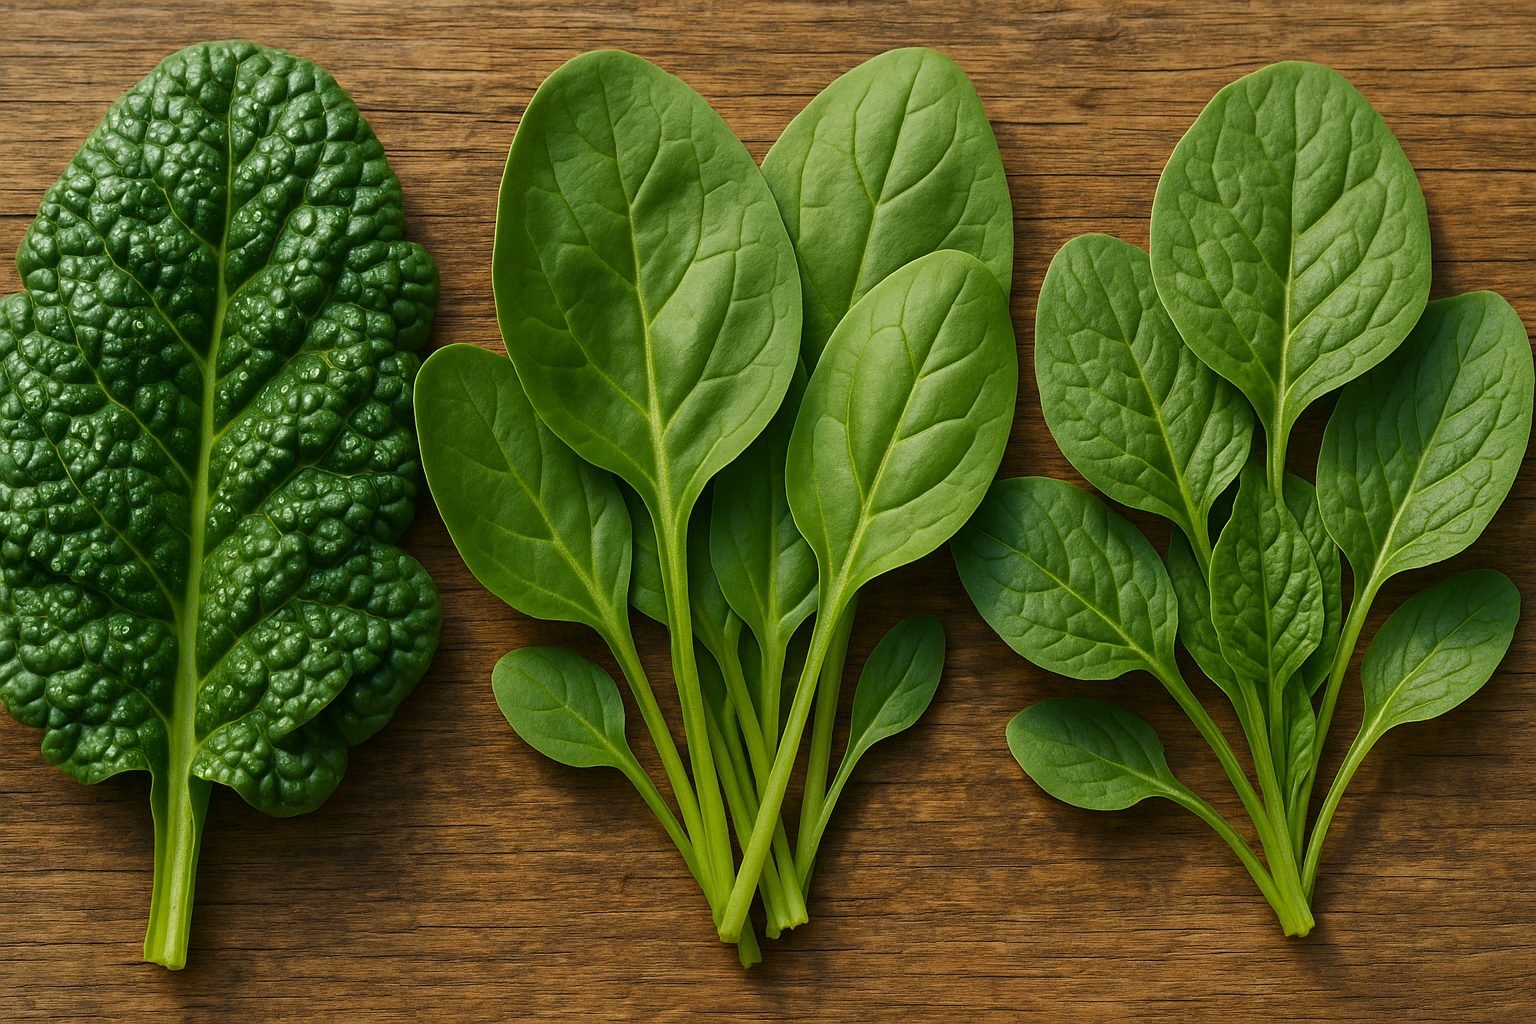
When selecting the best spinach for your garden, start by understanding the three main types: savoy, flat-leaf, and semi-savoy.
Savoy spinach is known for its curly, crinkled deep green leaves and stands out for its excellent flavor and resilience in cooler months, though it can be a bit trickier to clean. Popular savoy varieties like ‘Bloomsdale Long Standing’ are ideal for spring and fall gardens in temperate climates.
Flat-leaf spinach—such as the easy-to-wash ‘Space’ or ‘Red Cardinal’—has broad, smooth leaves perfect for salads and baby greens. These types usually grow quickly and are well-suited for home gardeners needing a fast turnaround.
Semi-savoy combines the best of both worlds with slightly wrinkled leaves that are easier to wash, plus good bolt resistance. Varieties like ‘Tyee’ and ‘Indian Summer’ are reliable choices that thrive in a range of climates.
If you live in a warm region or want to grow spinach in the summer, look for heat-tolerant or “summer spinach” hybrids like ‘Malabar’ (which isn’t a true spinach but a tasty, vining alternative) or ‘New Zealand spinach.’ These options don’t bolt as quickly when temperatures rise and provide continuous harvests through the hotter months.
When deciding which spinach seeds to buy, consider your available garden space—compact, fast-maturing types are best for small or container gardens—along with disease resistance to common issues like downy mildew, especially in humid regions. Taste is also important: some varieties are sweeter or more tender, while others offer a slightly earthy flavor. Trying a mix can help you discover your favorites.
Ultimately, matching the right spinach type to your space, climate, and taste preferences ensures a more abundant and satisfying harvest.
Preparing the Soil and Planting Site
Spinach thrives best in rich, well-draining soil with a neutral to slightly alkaline pH between 6.5 and 7.5. It loves a sunny spot that gets at least 6 hours of direct sunlight per day, though it can tolerate light shade, especially in warmer climates.
To prepare the ideal planting site, start by loosening the soil with a garden fork or tiller to a depth of 8-12 inches; this helps spinach develop deep roots and improves drainage. Next, mix in organic matter like compost or well-rotted manure to add nutrients and retain moisture—about one to two inches worked into the top layer is perfect.
For a boost, sprinkle a balanced fertilizer (such as 10-10-10) over the soil according to package instructions, especially if your soil is sandy or low in natural fertility.
Whether you choose to plant spinach in traditional garden beds, raised beds, or large containers, make sure the soil is prepared thoroughly to encourage robust growth. Raised beds can warm up quickly for early spring planting, while containers (at least 6-8 inches deep) are great for smaller spaces or for easy moves out of harsh weather.
Rotate your crops each year by avoiding planting spinach or other leafy greens in the same spot to minimize pest and disease risks.
Consider companion planting: spinach pairs well with strawberries, radishes, and peas, which can help maximize limited space and even offer some natural pest control.
By carefully preparing your soil and picking the best site, you set the stage for a healthy, productive spinach crop.
Sowing Spinach Seeds and Planting Techniques
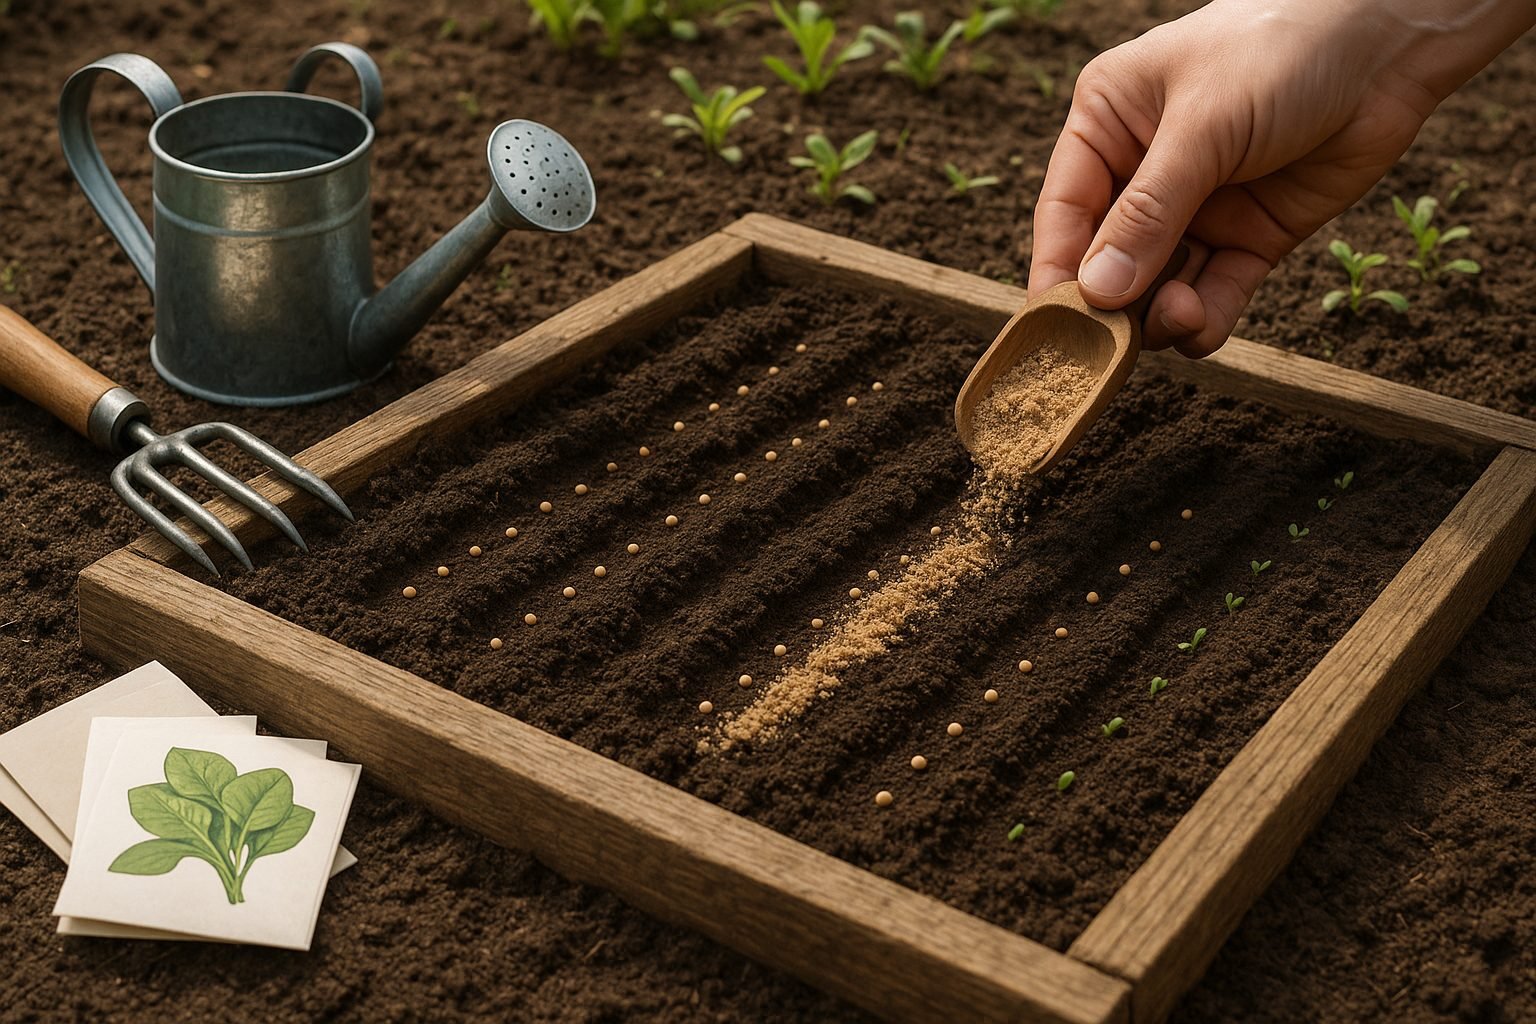
For the best results, timing is key when planting spinach—it thrives in cool weather. Aim to sow seeds in early spring as soon as the soil is workable, or again in late summer for a fall harvest.
Spinach seeds should be sown about half an inch deep and spaced 2 inches apart in rows 12 to 18 inches apart. This spacing gives each plant enough room to grow without crowding, which helps prevent disease.
If you want an earlier start, you can plant seeds indoors about four weeks before the last expected frost; just remember to harden them off before transplanting outside.
For direct sowing in the garden, sprinkle seeds evenly and cover them lightly with soil. Keep the soil consistently moist during germination, as spinach seeds need steady moisture. Using a gentle spray avoids washing seeds away, while early seedlings also benefit from regular, light watering to keep young roots from drying out.
To enjoy a continuous harvest, try succession planting: sow a new batch of seeds every 10 to 14 days through early summer and again in late summer. This staggered approach means you’ll always have fresh leaves to pick, rather than dealing with a glut or a gap in your spinach supply.
Whether you have a small raised bed or a sunny patch in the backyard, following these simple techniques can yield lush, healthy spinach all season long.
Spinach Plant Care Throughout the Season
Caring for spinach plants throughout the season is surprisingly straightforward, but maintaining a consistent routine makes all the difference. Aim to water your spinach regularly, keeping soil moisture even—about one to one-and-a-half inches of water per week is ideal, especially during warm, dry spells. Early morning is the best time for watering, as the leaves have time to dry and are less susceptible to disease.
Laying down a layer of organic mulch (like straw or grass clippings) helps retain moisture and keeps soil temperatures cool, which spinach loves. This mulch also acts as a natural weed barrier, but be sure to hand-pull any weeds that break through, since they compete with young spinach for nutrients and space.
Once your seedlings are about two inches tall, thin them to about three inches apart. Overcrowded plants are more prone to disease and stunted growth, so don’t skip this step!
When it comes to feeding your spinach, side-dress with a balanced, nitrogen-rich fertilizer after thinning. Organic options like compost or fish emulsion work well and support lush, leafy growth.
Be mindful of bolting, which happens when spinach plants flower early due to heat or stress. Once spinach bolts, the leaves turn bitter. To prevent this, plant spinach early in the season, provide some afternoon shade if temperatures rise, and keep the soil consistently moist. Opt for bolt-resistant varieties if you live in a warmer region.
By following these real-world care tips and keeping an eye on your plants, you’ll harvest tender, tasty spinach from spring through early summer.
Managing Pests and Common Problems
Spinach is a delicious, nutritious crop, but even the healthiest plants can sometimes fall victim to pests and diseases. Three of the most common issues gardeners face are aphids, leaf miners, and downy mildew.
Aphids are tiny, sap-sucking insects that cluster on the undersides of leaves. You’ll notice sticky residue and curled or yellowing leaves if they’re around. To control them, spray the plants with a hard jet of water, introduce ladybugs, or use diluted neem oil for an organic approach.
Leaf miners tunnel through leaves, leaving winding, pale trails behind. Remove and destroy affected leaves as soon as you spot damage to prevent further spread. You can also try floating row covers to keep adult flies away from your crop.
Downy mildew appears as yellow spots on the top of leaves and fuzzy gray mold underneath, usually after humid or wet weather. Keep plants well-spaced for good air circulation, water early in the day, and remove infected foliage promptly.
If spinach leaves start turning yellow or growth seems stunted, the problem could also be a lack of nutrients, overwatering, or crowded roots. Make sure your soil is rich in organic matter, water at the base instead of overhead, and thin seedlings so each plant has room to thrive.
By staying alert to early signs of trouble and using organic methods, you can keep your spinach beds healthy and productive all season.
Harvesting and Storing Spinach for Maximum Freshness
Knowing when to harvest spinach is key for both flavor and ongoing growth. If you prefer tender “baby” spinach, pick the leaves when they are about 2–3 inches long and smooth to the touch—usually 4 to 6 weeks after planting. For fuller, more robust leaves, wait until they reach 4–6 inches for a mature harvest, but do it before the plant starts to bolt (send up a flower stalk), as this can make leaves taste bitter.
To harvest, use clean scissors or pinch leaves off individually, starting from the outer edges and leaving the central cluster intact. This technique lets the plant continue producing new leaves, so you can enjoy multiple harvests throughout the season.
Right after picking, gently rinse the leaves in cool water to remove dirt and any lingering insects. Then spin or pat them dry—excess moisture can lead to sliminess and early spoilage.
For storage, loosely wrap dry leaves in a paper towel and place them in a plastic bag or container in the crisper drawer of your fridge; they’ll stay fresh for up to a week this way. For the ultimate freshness boost, store unwashed leaves and rinse only right before use.
Enjoy your spinach in a quick salad with olive oil, tossed into a smoothie for extra nutrients, or sautéed with garlic for a fast, flavorful side dish. Homegrown spinach, fresh from your garden, adds vibrant color and nutrition to any meal, and by harvesting and storing it right, you’ll make the most of every tender leaf.
Conclusion and Next Steps
Growing spinach at home is a rewarding way to enjoy fresh, nutritious greens while saving money and reducing trips to the store. Even if you have limited space, spinach thrives in containers on balconies or sunny windowsills. By starting your own crop, you gain more control over what you eat, and there’s a special satisfaction in harvesting your own food.
Ready to get your hands dirty? Check out local gardening clubs, beginner gardening books, or online forums for more tips. Don’t forget to share your spinach-growing successes or questions in the comments—let’s grow together!