Introduction
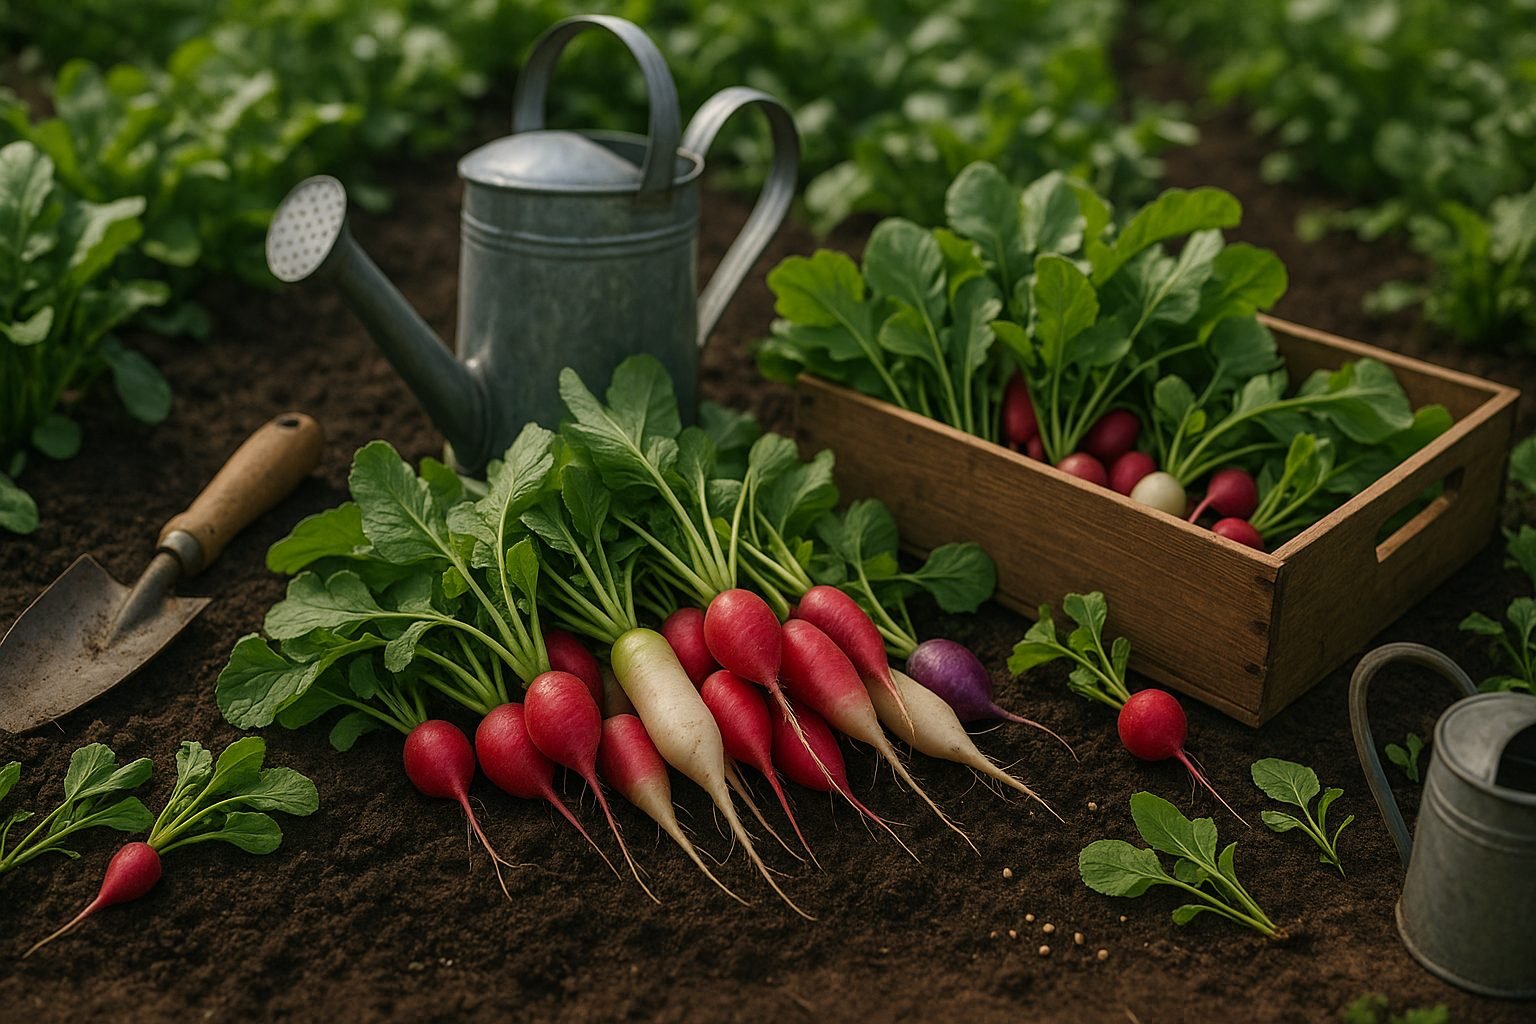
Year-round radish growing is a rewarding pursuit for both new and seasoned home gardeners, thanks to this root vegetable’s popularity, lightning-fast growth, and incredible variety—from spicy reds to mellow whites. Radishes are known for their ability to go from seed to table in just a few weeks, making them a go-to crop for anyone eager to see quick, tangible results from their gardening efforts.
Their adaptability to different soils and conditions means you can enjoy fresh, zesty radishes no matter the season, adding a crispy crunch to your salads and meals throughout the year. In this article, we’ll guide you through practical tips and reliable techniques for successful year-round radish growing—covering everything from selecting the right varieties for each season to creating the ideal growing environment indoors and outdoors.
Get ready to turn your garden, balcony, or windowsill into a steady source of delicious, homegrown radishes.
“`html
Understanding Radish Varieties
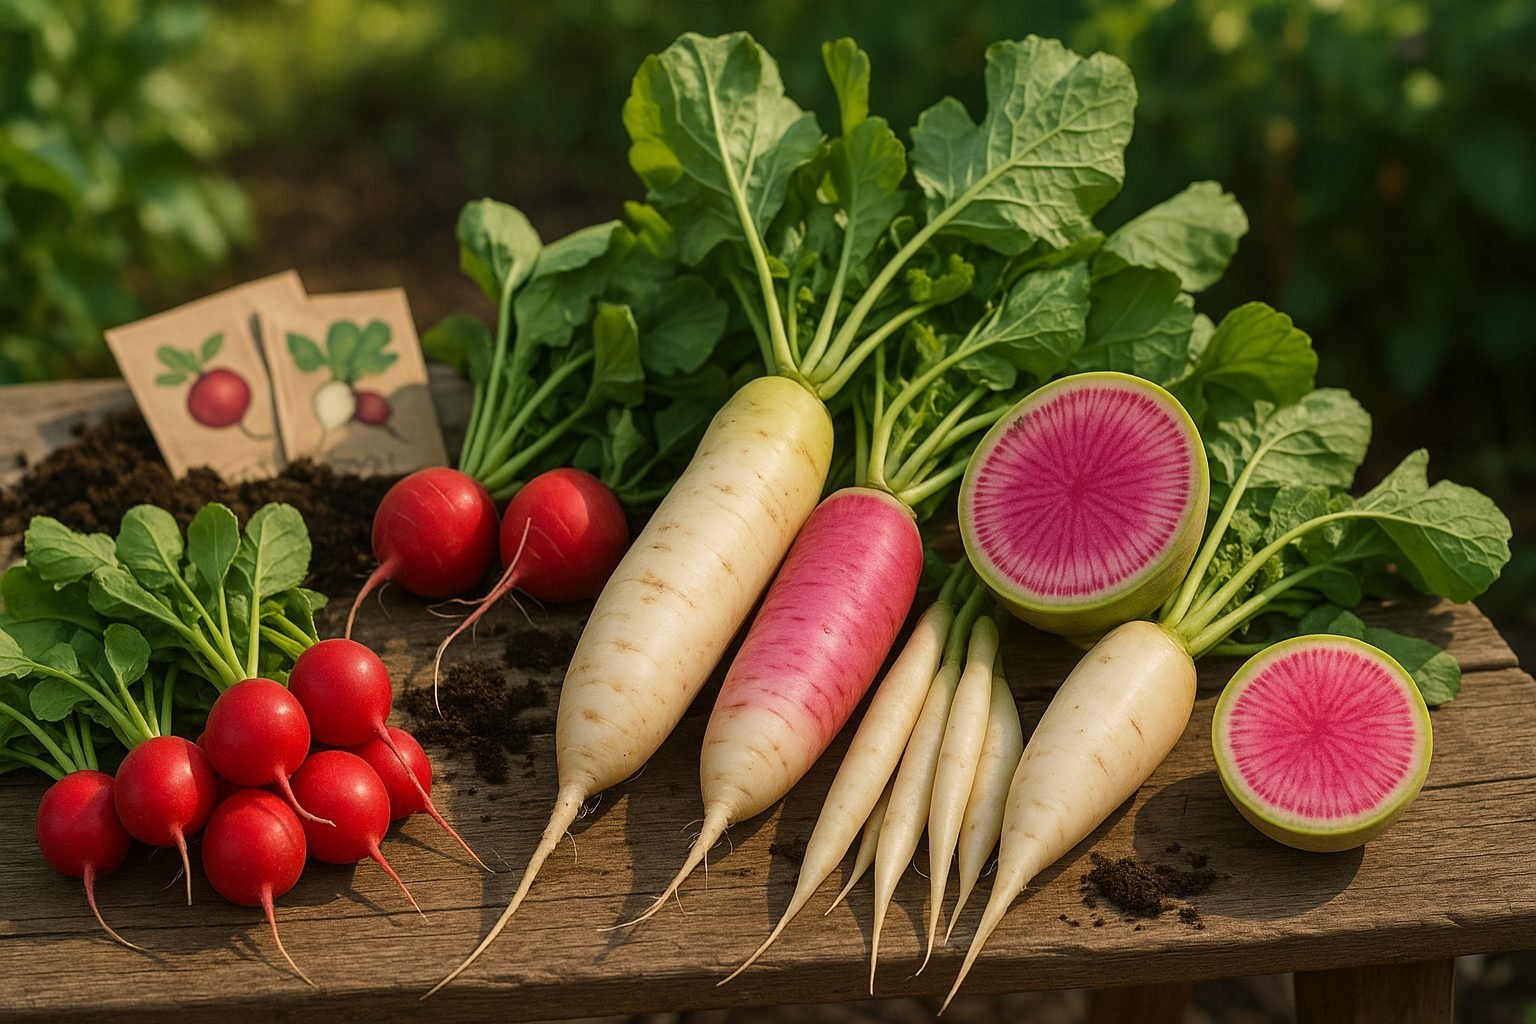
Radishes come in a surprisingly wide range of shapes, sizes, and flavors, making them a fun crop for home gardeners and an adaptable ingredient in the kitchen. Classic garden radishes, like ‘Cherry Belle’ or ‘French Breakfast,’ are small and round or oblong with crisp, peppery flesh and red, pink, or white skins—they thrive in cooler spring and fall weather and add a spicy crunch to salads or snack trays.
Daikon and other Asian varieties, including long white ‘Minowase’ or colorful watermelon radish, tend to be larger and milder, perfect for slicing, stir-frying, or traditional pickling. Daikon also tolerates a wider range of seasons, including mild winters.
If you want a quick harvest and enjoy raw veggies, choose fast-maturing spring types; for making kimchi or fermented pickles, opt for robust winter or daikon types. In hotter climates, seek out heat-tolerant varieties like ‘White Icicle.’
When planning your garden, think about how you like to eat radishes and your local climate: smaller globe types for immediate snacks and salads, or larger Asian varieties for recipes and storage. Always read seed packets for recommended seasons and flavor notes to get the best fit for your taste and space.
“`
Preparing to Plant
Before you start planting, it’s crucial to choose a location that offers the right mix of sunlight, good soil, and proper drainage. Most vegetables and flowers thrive in spots that receive at least six hours of direct sunlight each day, so take the time to observe your yard for sunny areas.
When it comes to soil, aim for well-draining, loamy earth rich in organic matter; heavy clay or sandy soils can be improved by mixing in compost or well-rotted manure. Test your soil’s fertility with an at-home kit to understand which nutrients might be lacking. If water tends to pool after heavy rain, consider using raised beds or choosing a different area to prevent soggy roots.
Gather basic tools before you begin—such as a rake for leveling, a shovel or hand trowel for digging, gloves for protection, and a hose or watering can for keeping soil moist.
Planting time matters:
- Cool-season crops like lettuce and peas do best when sown in early spring or late summer.
- Heat-loving varieties like tomatoes need soil and air temperatures to warm up, typically a couple of weeks after the last spring frost.
- In many regions, fall can be a great time for planting perennials or overwintering garlic and onions, as cooler temperatures and increased rainfall help young roots get established.
Always check seed packets or local garden center advice for specific timing and variety recommendations—success starts with matching the right plant to the right season and conditions.
Sowing and Germination Tips
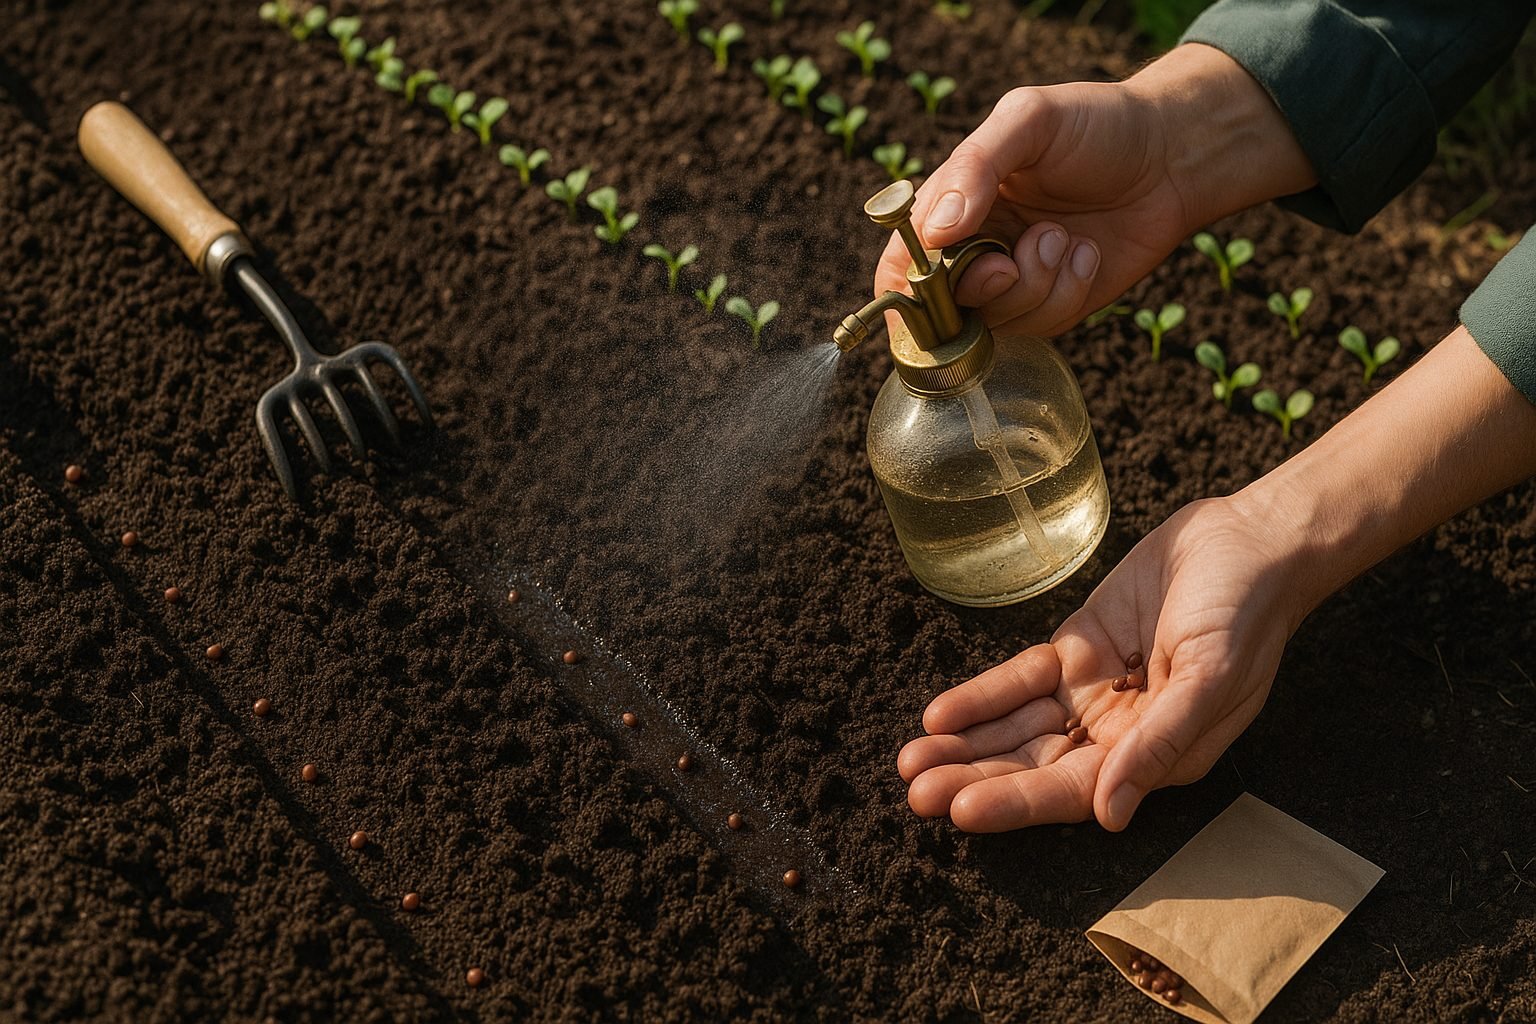
Getting your seeds off to a strong start is all about creating the right conditions—think of it as laying a solid foundation for your garden. When sowing, always check the seed packet for depth and spacing guidelines; planting too deep can prevent sprouts from reaching the surface, while crowding can stunt growth.
As a rule of thumb, plant seeds at a depth about two to three times their diameter and keep rows spaced for good airflow—usually 6 to 12 inches apart for smaller crops like lettuce, and more for larger veggies. For continuous harvests, try succession planting: sow a few seeds every couple of weeks instead of all at once, which keeps your kitchen stocked and prevents overwhelming gluts.
Temperature plays a crucial role—warm-season seeds like tomatoes need soil at least 60°F (16°C), while cool-season crops such as spinach can start at 40°F (4°C). Keep the soil consistently moist (but not soggy); using a fine mist or a humidity dome can help prevent seeds from drying out or washing away.
Once seedlings emerge, thin them out gently so each plant has space to thrive—this minimizes competition and disease. Deciding whether to start seeds indoors or outdoors depends on your climate and the crop’s preference; starting indoors can give heat-loving plants a head start, but always provide plenty of light and gradually acclimate them to outdoor conditions before transplanting.
With a bit of planning and care, you’ll set the stage for healthy, productive plants all season long.
Caring for Growing Radishes
When caring for growing radishes, prioritize consistent moisture—radishes thrive when their soil is kept evenly damp but not waterlogged. Water regularly, especially during dry spells, aiming for about an inch of water per week. This helps keep the roots tender and prevents them from becoming woody or splitting.
Weeding is equally important since radishes compete poorly with weeds. Gently hand-pull weeds to protect the delicate roots. Mulching with a thin layer of straw or compost helps retain moisture and suppress new weed growth, making upkeep easier.
For fertilizing, radishes are light feeders—use a balanced, slow-release fertilizer or incorporate some well-rotted compost before planting. Avoid high-nitrogen fertilizers, which encourage leaf growth over root development.
Splitting is often caused by inconsistent watering or letting radishes mature too long, so check your crop every few days and harvest promptly as soon as the roots reach a usable size.
Growing Radishes in Limited Space
If you have limited outdoor space or less-than-ideal soil, try growing radishes in containers, window boxes, or small raised beds using loose, well-draining potting mix. Quick-growing varieties like ‘French Breakfast’ perform well this way.
Season Extension and Crop Rotation
Polytunnels can be used to extend your growing season—just watch humidity levels and ventilate as needed to avoid fungal issues. Rotate radishes with other crops such as beans or lettuce each year, and avoid planting them where other brassicas have recently grown to minimize soil-borne diseases and pests.
With these simple practices, fresh, crisp radishes are within reach in gardens of any size.
Preventing & Managing Common Problems
Keeping your vegetable garden healthy means staying ahead of common pests and diseases. Flea beetles, for example, are tiny insects that leave pinhole-sized damage on leafy greens; floating row covers can keep them at bay without chemicals.
To deter aphids, try spraying plants with a gentle blast of water or invite beneficial insects like ladybugs by planting flowers such as marigolds or nasturtiums nearby.
Fungal diseases like powdery mildew and root rot often thrive in damp, crowded conditions, so plant with enough space for airflow and water early in the day so leaves dry before nightfall. Rotate your crops each year to reduce the buildup of soil-borne pathogens.
Keep an eye out for disorders like bolting, where plants suddenly send up flower stalks—usually triggered by hot weather or inconsistent watering. Provide shade cloth during heatwaves and keep the soil evenly moist.
Woody roots and splitting often result from drought followed by heavy watering; prevent this by mulching to retain soil moisture and harvesting crops promptly when they reach mature size.
Regularly inspecting your garden helps you catch issues early: misshapen roots, yellowing leaves, or white powdery spots are all good clues to act fast.
With a watchful eye and these organic strategies, you can keep your garden thriving naturally.
Harvesting and Using Your Radishes
Knowing when to harvest your radishes is key to enjoying their best flavor and crunch. Most radish varieties mature in just 3–5 weeks after planting; check the packet instructions for specifics. Gently brush aside the soil to see if the shoulders are about an inch wide.
For a crisp texture, harvest when the roots are still small and round, before they turn woody—don’t wait for them to split or flower. Use a gentle tug at the base of the greens to pull up the whole plant.
If you plan to eat your radishes soon, trim the leafy tops (which can draw moisture from the roots) and store the bulbs in a plastic bag or container in the refrigerator for up to two weeks.
Storage and Preservation
For longer storage, try quick pickling:
- Slice radishes
- Immerse them in a mixture of vinegar, water, sugar, and spices
Fermenting is another tasty option—combine sliced radishes with salt and let nature do the rest for a tangy, probiotic-rich treat.
Using the Greens
Don’t toss the greens! Sauté them with garlic for a savory side, add them to omelets, or blend into pesto for a peppery twist.
Fresh or preserved, radishes add vibrant color and zing to salads, tacos, sandwiches, and more.
Conclusion
Growing radishes is a simple and rewarding gardening project—just remember to choose a sunny spot, plant seeds in loose, well-drained soil, and keep them consistently watered. Watch for rapid growth and harvest when the roots reach the right size for a crisp, sweet flavor.
Radishes mature quickly, so you’ll see results in just a few weeks, making them perfect for new gardeners. Give it a try—plant a few rows, enjoy fresh radishes, and watch your gardening confidence grow.
Have tips, questions, or fun radish stories to share? Drop them in the comments below and connect with fellow veggie enthusiasts!