Understanding Radish Types and Varieties
When starting with a radish raised bed, understanding the different radish types and varieties can make all the difference in your harvest. Radishes come in several popular forms, each suited to specific tastes and seasons.
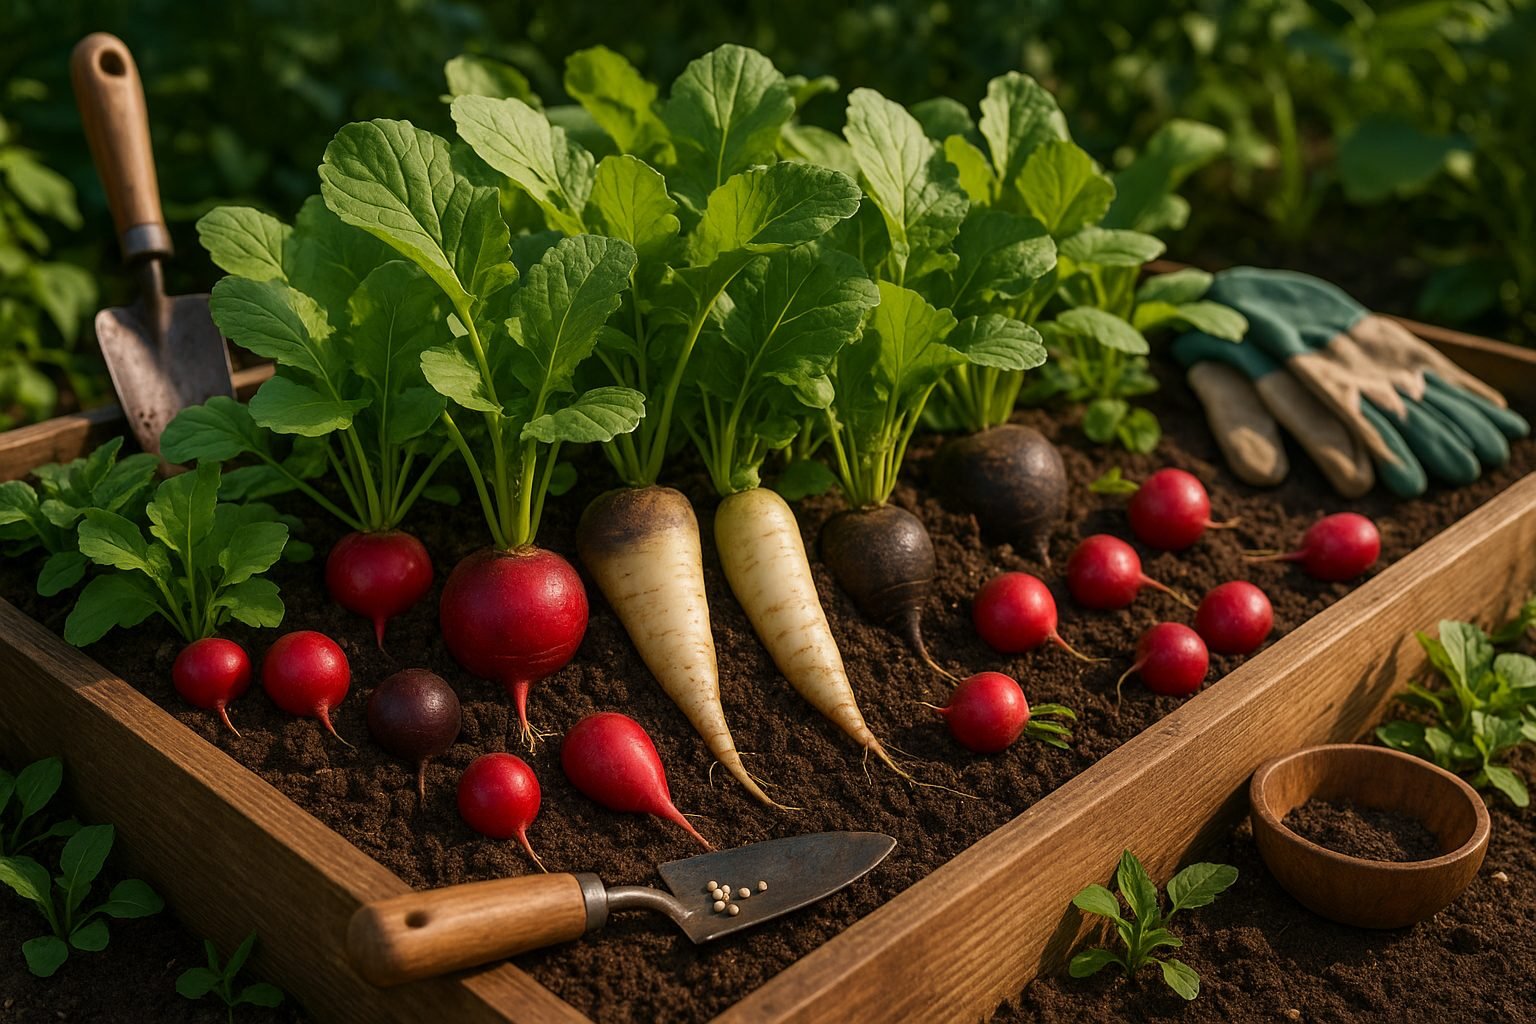
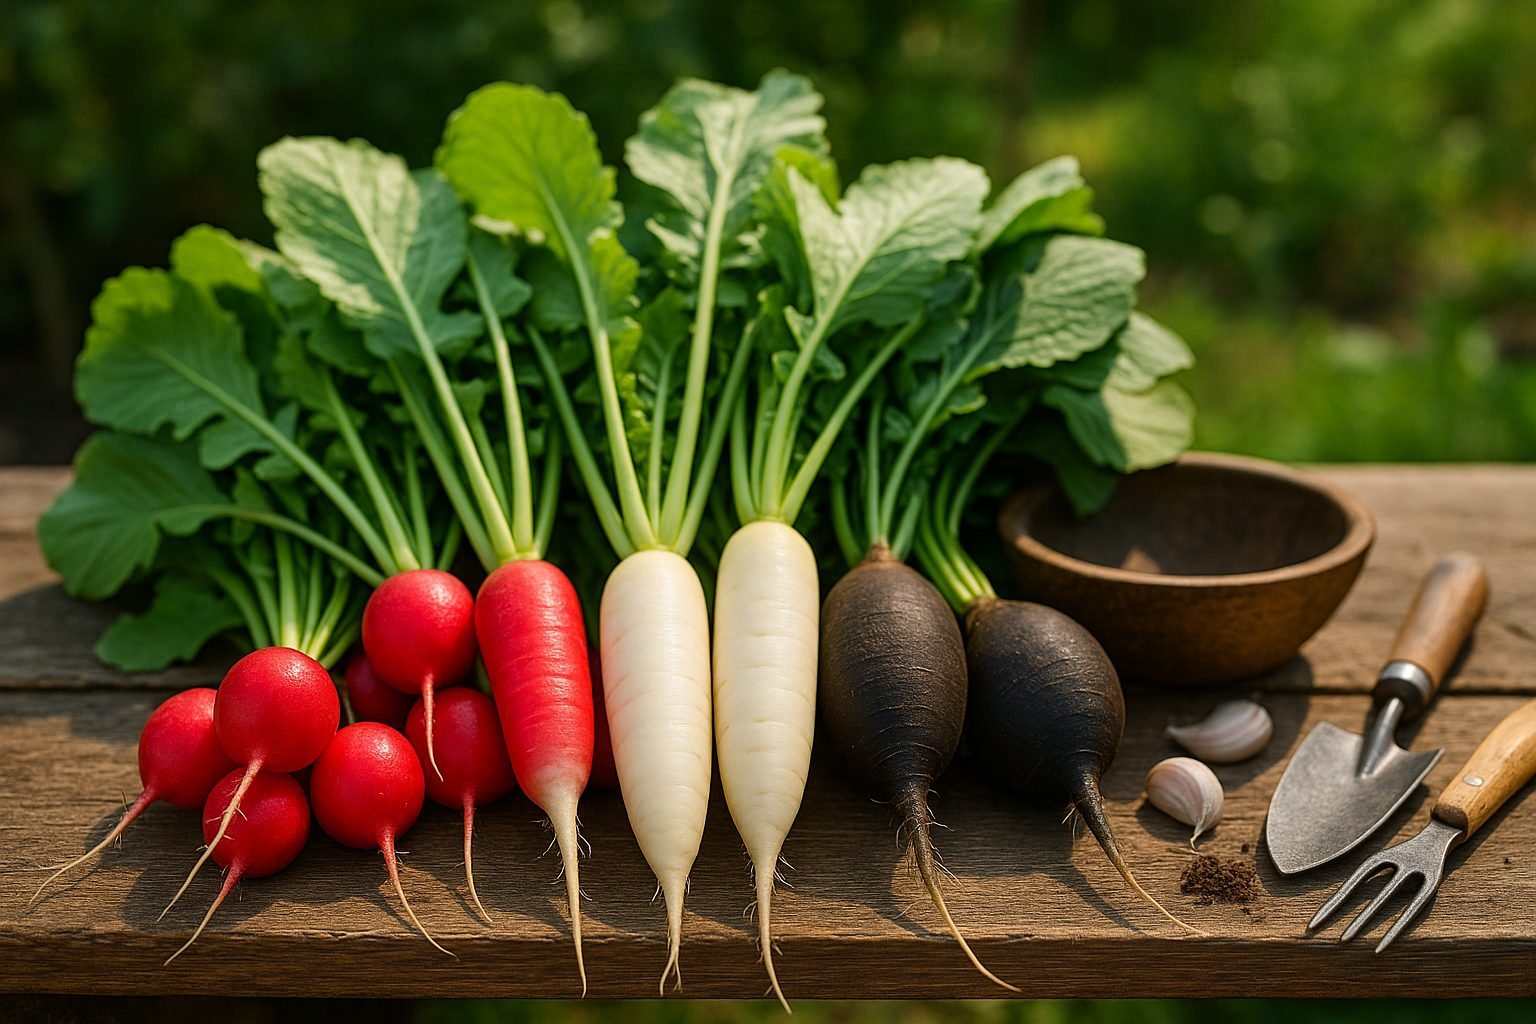
The classic garden radish, often recognized by its small, round, red roots, matures quickly—sometimes in as little as three weeks—and offers a zesty, peppery flavor, perfect for tossing into salads. Daikon radishes, with their long, white roots, are milder and grow larger, making them a staple in Asian cuisine and ideal for pickling or grating into dishes. Summer radishes, generally smaller and fast-growing, are best for fresh eating, while winter radishes—like the robust Black Spanish radish—take longer to mature but can be stored for months and have a stronger flavor profile.
Each type varies not just in taste, but also in texture and how much space they’ll need in your radish raised bed. For example, if you have limited space or want speedy results, opt for a quick-maturing garden or summer radish. Gardeners in warm climates can harvest daikon and winter radishes over fall and winter, while cooler regions should stick to summer varieties that thrive in the spring.
Think about your favorite dishes, too; if you love Asian soups, daikons are the way to go, while salad lovers might prefer bright Cherry Belles. By matching variety to climate and culinary plans, you’ll enjoy better success and more delicious meals from your raised bed garden.
When and Where to Plant Radishes
Radishes are versatile, quick-growing vegetables that thrive when planted at the right time and place. For classic spring and summer radishes—like Cherry Belle or French Breakfast—sow seeds directly outdoors as soon as the soil can be worked, typically 4-6 weeks before your last expected frost. These types do best in cooler weather; hot temperatures may make them woody or spicy.
Winter radishes, such as Daikon or Black Spanish, need a longer growing season and should be sown in midsummer for a late fall harvest. No matter the type, radishes prefer loose, well-drained soil with plenty of organic matter to support rapid root development—avoid heavy clay or compacted soils.
Aim for a sunny spot that gets at least six hours of daylight; partial shade works but may slow growth. Raised beds and containers are also excellent choices, especially if your garden soil is less than ideal—just ensure your container is at least six inches deep.
To keep fresh radishes coming all season, practice succession planting: sow small batches of seeds every 10-14 days rather than planting your whole packet at once. This way, you’ll avoid having all your radishes mature at the same time and can enjoy a steady harvest for salads, sandwiches, and snacks well into fall.
How to Sow and Care for Radishes
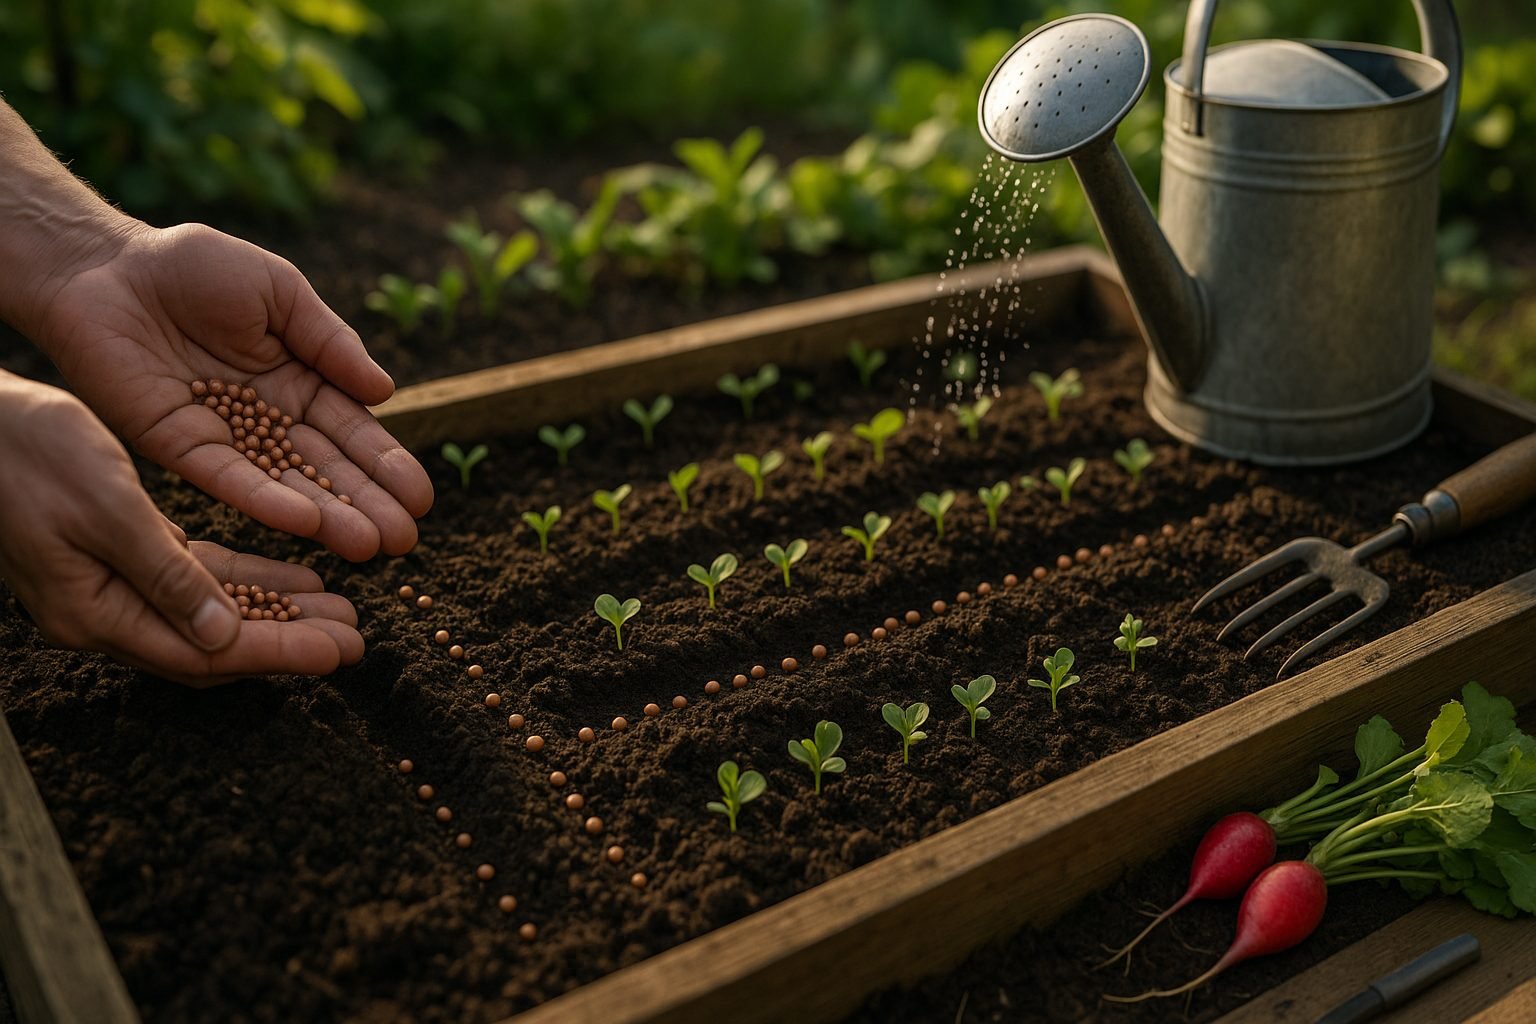
Sowing radish seeds is refreshingly simple, making them ideal for beginner gardeners or anyone craving quick results. Start by choosing a sunny spot in your garden, raised bed, or even a wide container—radishes aren’t fussy as long as they get at least 6 hours of sunlight.
Prepare the soil by loosening it to about 6 inches deep and mixing in some compost for best results. Plant seeds half an inch deep and about one inch apart in rows, leaving around 6–12 inches of space between each row. As soon as sprouts are a couple of inches tall, thin the seedlings so there’s 2 inches between plants; this gives roots space to swell without crowding.
Keep the soil evenly moist but not soggy—radishes grow fast, and inconsistent watering can cause them to split or turn woody. Water lightly every day or two, especially during dry spells. Radishes generally don’t need much fertilizer; a little compost at planting time is usually enough, but you can offer a balanced, diluted fertilizer every couple of weeks if your plants look sluggish.
Common Problems
Watch out for common problems:
- If your radishes flower before forming bulbs (bolting), it often means the weather’s too warm. Try planting earlier in spring or later in fall.
- Misshapen or pithy roots often come from overcrowding or stony soil—make sure to thin promptly and break up the earth before sowing.
Harvesting
Harvest once roots are about one inch in diameter by gently pulling them from the soil—leaving them in too long makes them spongy and bitter. With just a little attention, you’ll be rewarded with crisp, peppery radishes, perfect for snacking or salads.
Managing Pests and Common Problems
Radishes can fall victim to several pests and diseases, but with a few proactive steps, you can keep your crop thriving. Flea beetles and root maggots are two of the most common pests—covering young plants with lightweight row covers and keeping the garden bed clear of debris can help protect your seedlings.
Watch for yellowing leaves or rotting roots, which are signs of fungal diseases like downy mildew or root rot. You can prevent these by watering at the soil level and ensuring good drainage.
Crop rotation is a simple yet powerful way to disrupt pest life cycles—don’t plant radishes or other root veggies in the same spot every season.
Pairing radishes with companions such as lettuce or spinach can deter pests naturally while also making the most of your growing space.
For an organic approach to pest control, try neem oil or insecticidal soap, and pick off visible insects by hand.
Healthy radish plants need consistent moisture, rich, well-draining soil, and adequate sunlight. By keeping weeds at bay and fertilizing lightly with compost, you’ll create an environment where radishes can flourish, making your harvest both abundant and flavorful.
Remember, a little observation goes a long way—catching problems early is the key to a successful growing season.
Harvesting and Storing Radishes
Harvesting radishes at the right moment is key to enjoying their crisp texture and tangy flavor. Start checking your radishes about three to four weeks after planting, when the roots are about one inch in diameter—bigger radishes may turn woody or spicy. Gently brush back some soil to gauge their size before pulling.
When harvesting, grip the base of the leaves and give a gentle, steady tug to lift the root cleanly from the ground. If you want to enjoy radish greens, snip them off with scissors, leaving about an inch of stem attached to the roots to keep them from drying out.
To store freshly harvested radishes for a few days, trim off the greens (which can steal moisture), rinse the roots, and store them in a breathable bag in the refrigerator’s crisper drawer. For longer storage, place cleaned, dry roots in a container of damp sand or sawdust in a cool basement or root cellar—they can last several weeks this way.
Radish greens taste best when eaten right away but can be wrapped in a damp paper towel and kept in the fridge for a couple of days. Remember, fresher radishes make for crunchier salads and zippier snacks, so try to harvest frequently for the best results.
Creative Uses and Enjoyment
Radishes are incredibly versatile and can be enjoyed in several delicious ways. For a crisp, peppery addition, slice raw radishes thin and toss them into salads or layer them onto sandwiches for a refreshing crunch—simply sprinkle with a pinch of sea salt and a squeeze of lemon for an easy snack.
Cooking mellows their bite; try roasting radishes with olive oil and herbs in the oven until tender, or sauté them quickly in a stir-fry for a colorful veggie boost. Pickling is another favorite—just combine sliced radishes with vinegar, sugar, salt, and your choice of spices to create a tangy topping for tacos or grain bowls.
Don’t overlook radish greens; their slightly spicy flavor is great in pesto, added to soups, or sautéed with garlic and olive oil for a fast, nutritious side dish. You can also chop the greens and blend them into smoothies or omelets for extra vitamins.
If you’d like to keep enjoying homegrown radishes, leave a few plants in the ground to flower and set pods—once these dry out, harvest and store the seeds in a cool, dry spot for planting next season. This way, you’ll have a continuous crop and a steady supply of tasty, homegrown radishes and greens.