Introduction
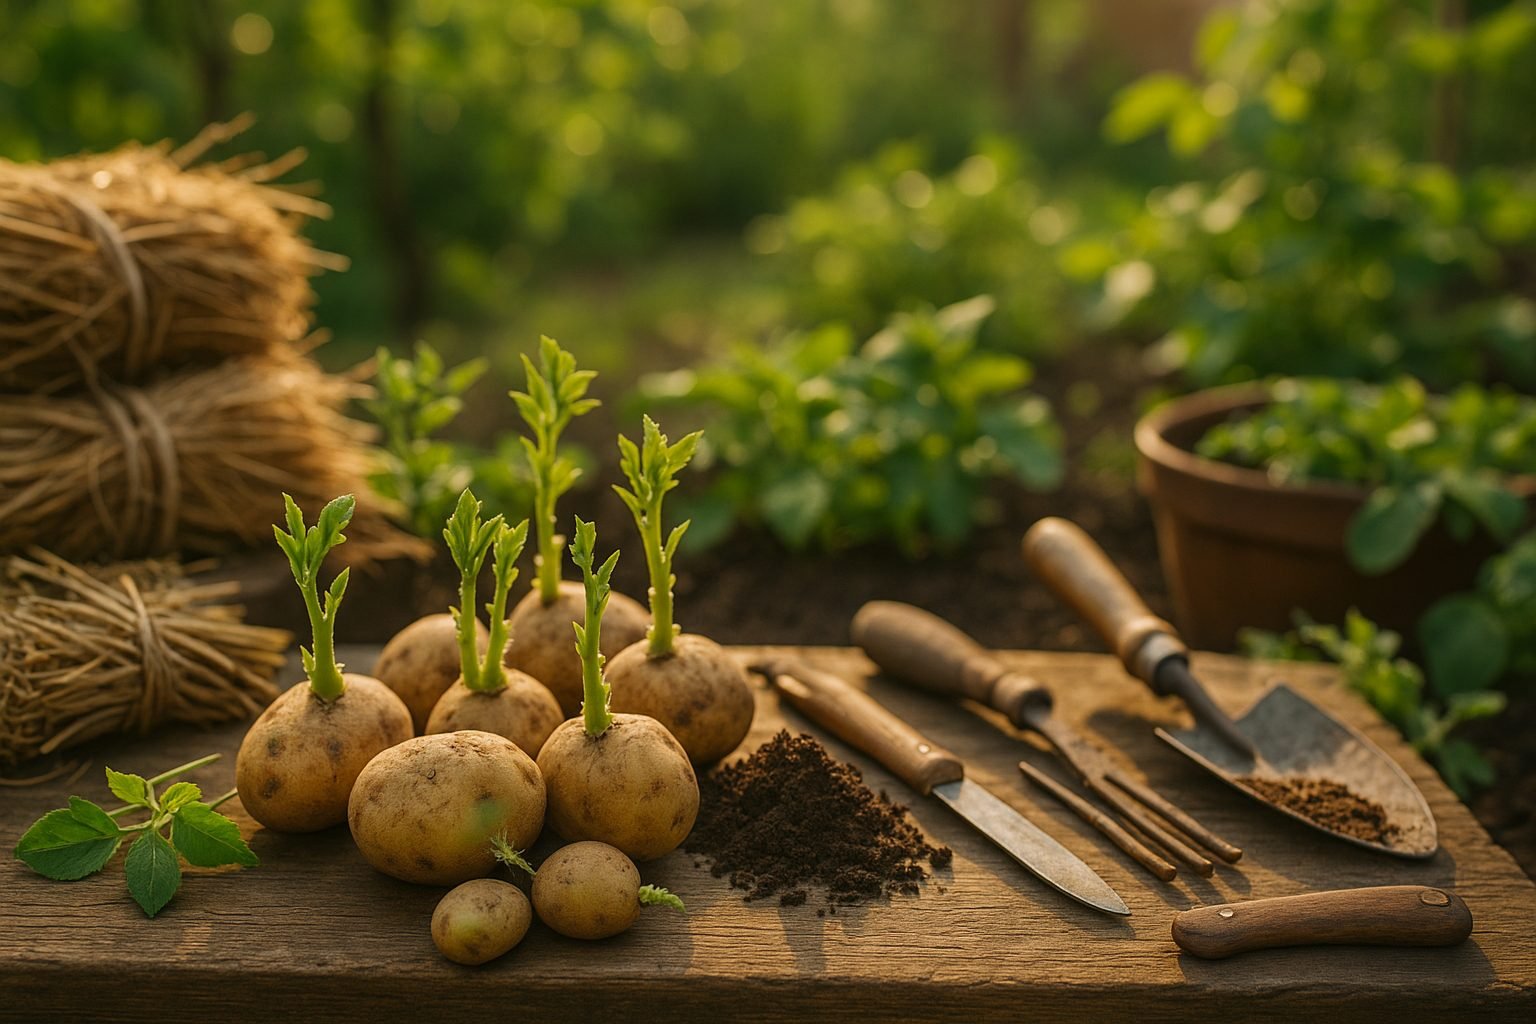
Straw grown potatoes are quickly gaining popularity among gardeners seeking a simpler, more efficient way to grow this beloved staple. Traditional potato patches often involve heavy digging and back-breaking labor, but more people are turning to alternative methods—like growing potatoes in straw or hay—to make the process easier and the harvest cleaner. The appeal lies in its straightforward setup: simply layer seed potatoes under straw or hay, water them, and watch them grow, almost eliminating the need for heavy soil work.
This method not only reduces mess at harvest time but also helps control weeds and saves your back from hours spent bent over a spade. In this article, we’ll cover everything you need to know to try this technique successfully, including step-by-step tips and a rundown of its potential advantages and drawbacks. Whether you’re planting your very first potato crop or you’re a seasoned gardener looking for a more convenient approach, growing potatoes in straw or hay offers an accessible and rewarding alternative that’s well worth considering.
Why Grow Potatoes in Straw or Hay?
Growing straw grown potatoes offers several advantages over traditional in-ground or raised bed methods. First, layering straw or hay over seed potatoes helps minimize soil compaction—an issue that can limit root development and tuber growth in dense garden beds. The straw acts as a light, airy mulch, encouraging loose, healthy soil beneath and making it easier for potatoes to expand.
Weed suppression is another major benefit. The thick straw layer blocks sunlight from reaching most weeds, saving gardeners time and reducing the need for herbicides or constant hand-weeding. Plus, straw grown potatoes come out cleaner at harvest since they’re not buried deep in sticky soil; simply lift away the straw and your potatoes are ready to rinse. Harvesting is also exceptionally easy—no need for digging with a fork or shovel that might accidentally damage the tubers. Just peel back the straw, gather your crop, and you’re done.
Compared to traditional planting, using straw or hay reduces the heavy labor of soil preparation and digging. While raised beds offer some similar benefits like improved soil control, they still require a substantial investment in soil and materials. That said, straw growing isn’t without its challenges. Maintaining consistent moisture is crucial, as straw can dry out quickly—especially in hot weather; regular checks and deep watering are essential. Pest management can also be trickier since rodents may find straw layers inviting, and slugs might hide underneath. Vigilant monitoring and integrated pest control strategies go a long way.
Overall, using straw or hay for potatoes is a fantastic way to lighten the workload and produce a bountiful, clean harvest with just a little mindful attention.
Choosing the Right Potato Varieties for Straw Grown Potatoes
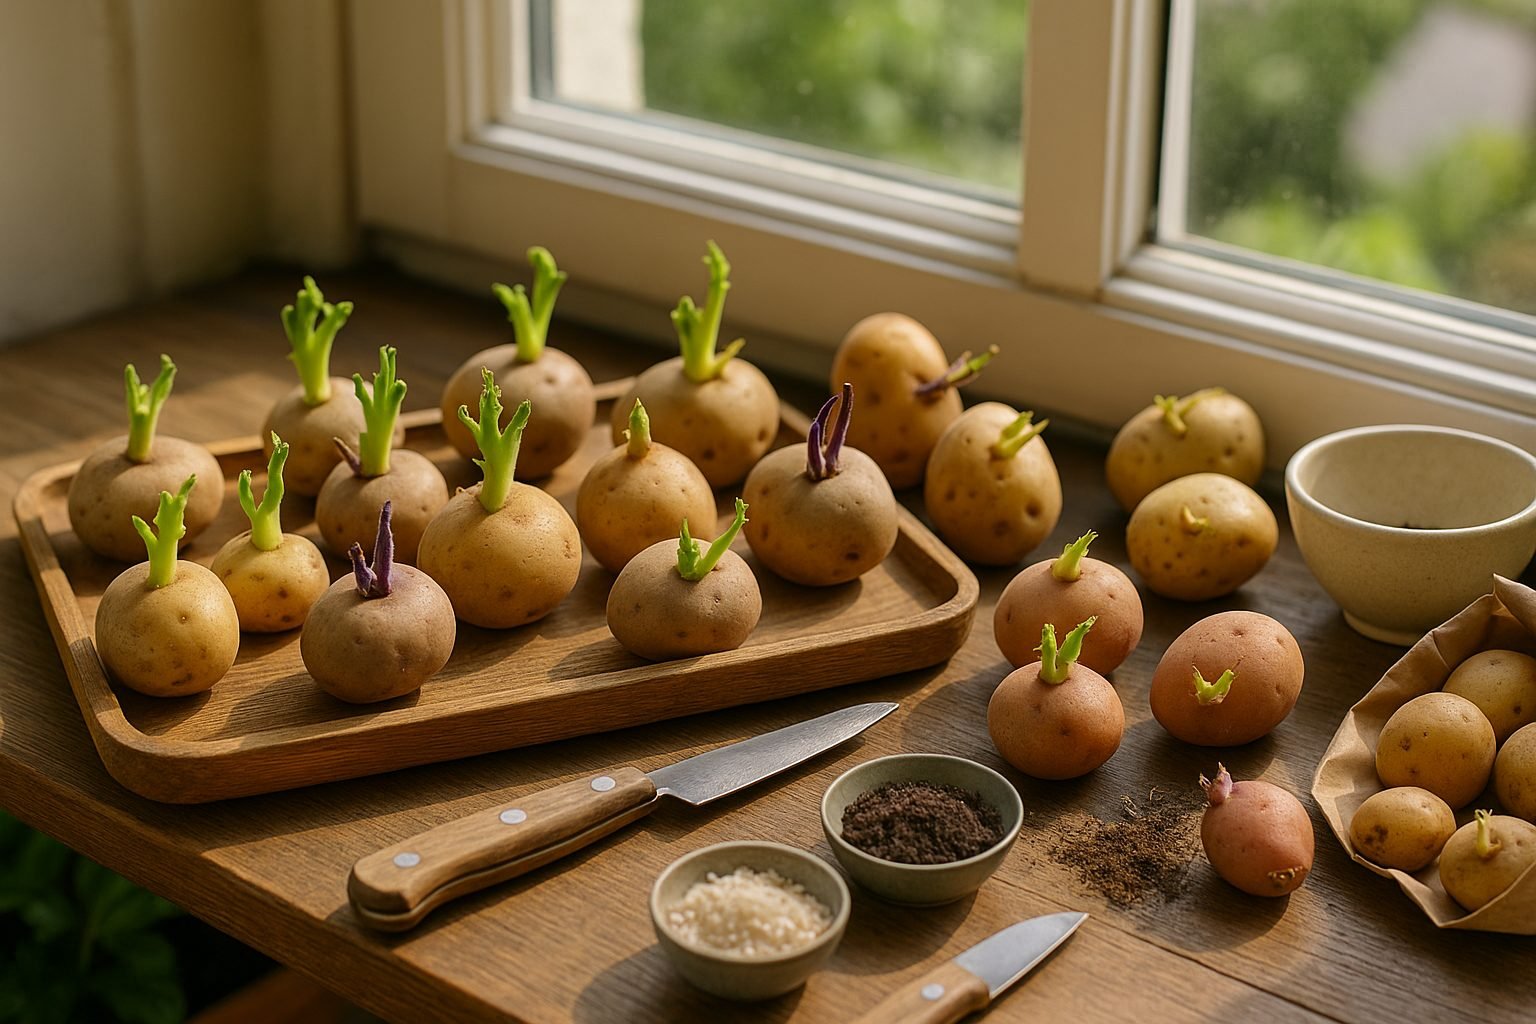
Selecting the right potato variety is key to success with straw grown potatoes. Early and mid-season varieties are often the best choice for straw or hay growing methods because they mature quickly—usually within 70-100 days—allowing you to avoid late-season pests and diseases that can affect longer-maturing crops.
Waxy potatoes like ‘Red Pontiac’ and ‘Yukon Gold’ are especially popular for this method, as their moist texture holds up well during harvesting and cooking. ‘Yukon Gold’ offers excellent flavor and good yields, while ‘Red Pontiac’ is valued for its reliability in diverse climates. However, if you prefer baking or fluffy mashed potatoes, starchy varieties like ‘Russet’ can also work, though they generally require more careful moisture management since they can be prone to irregular growth in straw beds.
Whatever variety you choose, always use certified seed potatoes instead of grocery store spuds. Certified seeds are carefully monitored for diseases such as late blight and scab, helping ensure a healthy crop. Some gardeners also swear by ‘Norland’ for early yields and ‘Kennebec’ for its great storage qualities and adaptability.
Trying out a couple of different varieties in your first year can help you discover which ones thrive best under your specific growing conditions.
Preparing Your Planting Site for Straw Grown Potatoes
Choosing the right spot is key to successful straw grown potatoes. Look for a location that receives at least six to eight hours of direct sunlight daily, as potatoes thrive in full sun and need plenty of light to produce robust tubers. Avoid low-lying or boggy areas where water can settle, since potatoes require well-draining conditions to prevent rot.
Even though you won’t be planting potatoes directly into the ground, it’s important to prep the soil beneath your straw or hay bed. Start by removing any weeds and loosening the top few inches of soil with a garden fork—this helps roots penetrate easily and improves drainage. Spread a 1- to 2-inch layer of finished compost over the soil to enrich the base with slow-release nutrients.
For added benefit, you can mix in an all-purpose organic fertilizer (following the label’s recommended amounts, typically about 2-3 pounds per 100 square feet), especially if your soil is thin or poor. Next, create a loose base layer about 4 inches deep using clean straw or hay.
If you’re sourcing straw or hay, opt for organic materials whenever possible to avoid pesticide residues. Check with local farms or garden centers, and always ask if the material is free of weed seeds—seed-free straw is ideal to prevent unwanted plants from popping up in your potato bed. Some gardeners also join local gardening groups online to find trusted suppliers.
Putting in a little effort to prepare your planting site will pay off with healthier, more productive straw grown potatoes.
Step-by-Step Planting Guide for Straw Grown Potatoes
To start growing straw grown potatoes, choose a sunny spot with well-drained soil. Loosen the soil surface, but there’s no need to dig deep trenches—straw or hay will do most of the work. Place your seed potatoes directly on the soil, spacing them about 12 inches apart to give the tubers plenty of room to grow. Make sure any sprouts or “eyes” are facing upward when you arrange the potatoes.
Next, cover the seed potatoes with a 4-6 inch layer of clean straw or hay. This bedding insulates the developing tubers and helps protect them from soil-borne diseases. When shoots begin to emerge (usually in 2-3 weeks), add another 3-4 inches of straw or hay to keep the developing potatoes shaded from sunlight—a crucial step to prevent them from turning green and toxic.
Continue adding layers throughout the growing season, maintaining an 8-12 inch deep cover as the plants mature. This process mimics traditional earthing-up but requires much less heavy lifting. Weed control is easier with straw, but watch out for any persistent weeds poking through and remove them by hand.
Watering is simple: keep the straw consistently moist, but not soggy. Use a gentle spray or drip hose to avoid disturbing the straw layers. A key tip for success is to make sure your potatoes stay well covered—if any peek through the straw, they risk exposure to light and pests. Add more straw as needed, especially after heavy rain or strong winds.
Be careful not to overwater since straw retains moisture well, and too much water can lead to rot. Occasionally check the soil beneath the straw with your finger—it should feel damp, not wet. Following these steps will help you grow a lush, low-maintenance bed of straw grown potatoes that are easy to care for and harvest.
Caring for Your Straw Grown Potatoes
Caring for your straw grown potatoes requires consistent attention to moisture, mulch, and plant health. Since straw and hay retain moisture differently than soil, it’s important to check beneath the top layer regularly. If it feels dry an inch down, it’s time to water deeply, especially during warm spells. Be careful not to overwater, as too much moisture can cause rot—aim for moist, not soggy.
As your potato plants grow, inspect the leaves often for signs of pests like Colorado potato beetles and aphids. Handpicking beetles works well, and a gentle spray of neem oil or a dish soap and water mixture can naturally deter smaller pests. Watch for yellowing leaves or brown spots, which might indicate fungal problems; removing affected leaves promptly helps prevent spread.
Maintaining a thick mulch layer is essential. As the straw or hay breaks down or compacts, add fresh material to keep at least six inches of coverage. This protects the tubers from sunlight (which causes greening) and suppresses weeds. When adding new mulch, do so gently around the stems using your hands—avoid stepping into the bed to prevent compacting the fluffy layer, which can restrict moisture movement and tuber growth.
When the plants reach about a foot tall, gently pull the mulch closer to the stems in a process called “hilling.” This supports upright growth and gives your spuds room to develop. With a little vigilance and timely care, your straw grown potatoes will thrive with minimal fuss and a bountiful harvest.
Harvesting and Storing Your Straw Grown Potatoes
You’ll know your straw grown potatoes are ready to harvest when the plants’ foliage turns yellow and starts to dry out, usually a few weeks after flowering. To check if the tubers have matured, gently move aside the straw or hay and feel for firm potatoes—ready-to-harvest potatoes have skins that don’t easily rub off.
When it’s time to dig in, use your hands instead of a shovel or fork to avoid bruising or damaging the delicate skins. Simply pull back the straw, lift out the potatoes, and brush off any clinging debris.
After harvesting, lay your potatoes in a single layer in a cool, dark, well-ventilated area for 1 to 2 weeks to cure. This toughens their skins and helps extend their storage life. Avoid washing them until you’re ready to eat; just brush off loose dirt to prevent early rotting.
For storage, keep your cured potatoes in a breathable container like a cardboard box or mesh bag, stored in a cool (40–50°F), dark, and humid spot.
Don’t throw out leftover straw or hay! Compost it, use it as mulch in your garden beds, or add it to pathways to suppress weeds and nourish the soil as it breaks down.
Conclusion and Extra Tips
Straw grown potatoes offer numerous benefits, from easier harvesting and reduced back strain to cleaner, less blemished tubers that need minimal washing. This low-maintenance method naturally suppresses weeds and retains soil moisture, making it ideal for gardeners looking for efficient, eco-friendly results.
If you encounter issues like pest infestations or slow growth, try rotating your potato patch each year and maintaining a thick layer of straw—about 4 to 6 inches—to block light and keep weeds at bay. For small or urban spaces, consider using a large container, old laundry basket, or even a sturdy burlap sack filled with straw to adapt this technique for patios or balconies.
Be sure to water consistently and check beneath the straw regularly so you can catch any problems early. Don’t hesitate to experiment by mixing in compost or trying different potato varieties. Every garden is unique—customize your setup and enjoy the satisfying experience of harvesting fresh, soil-free potatoes from a soft, golden bed of straw.