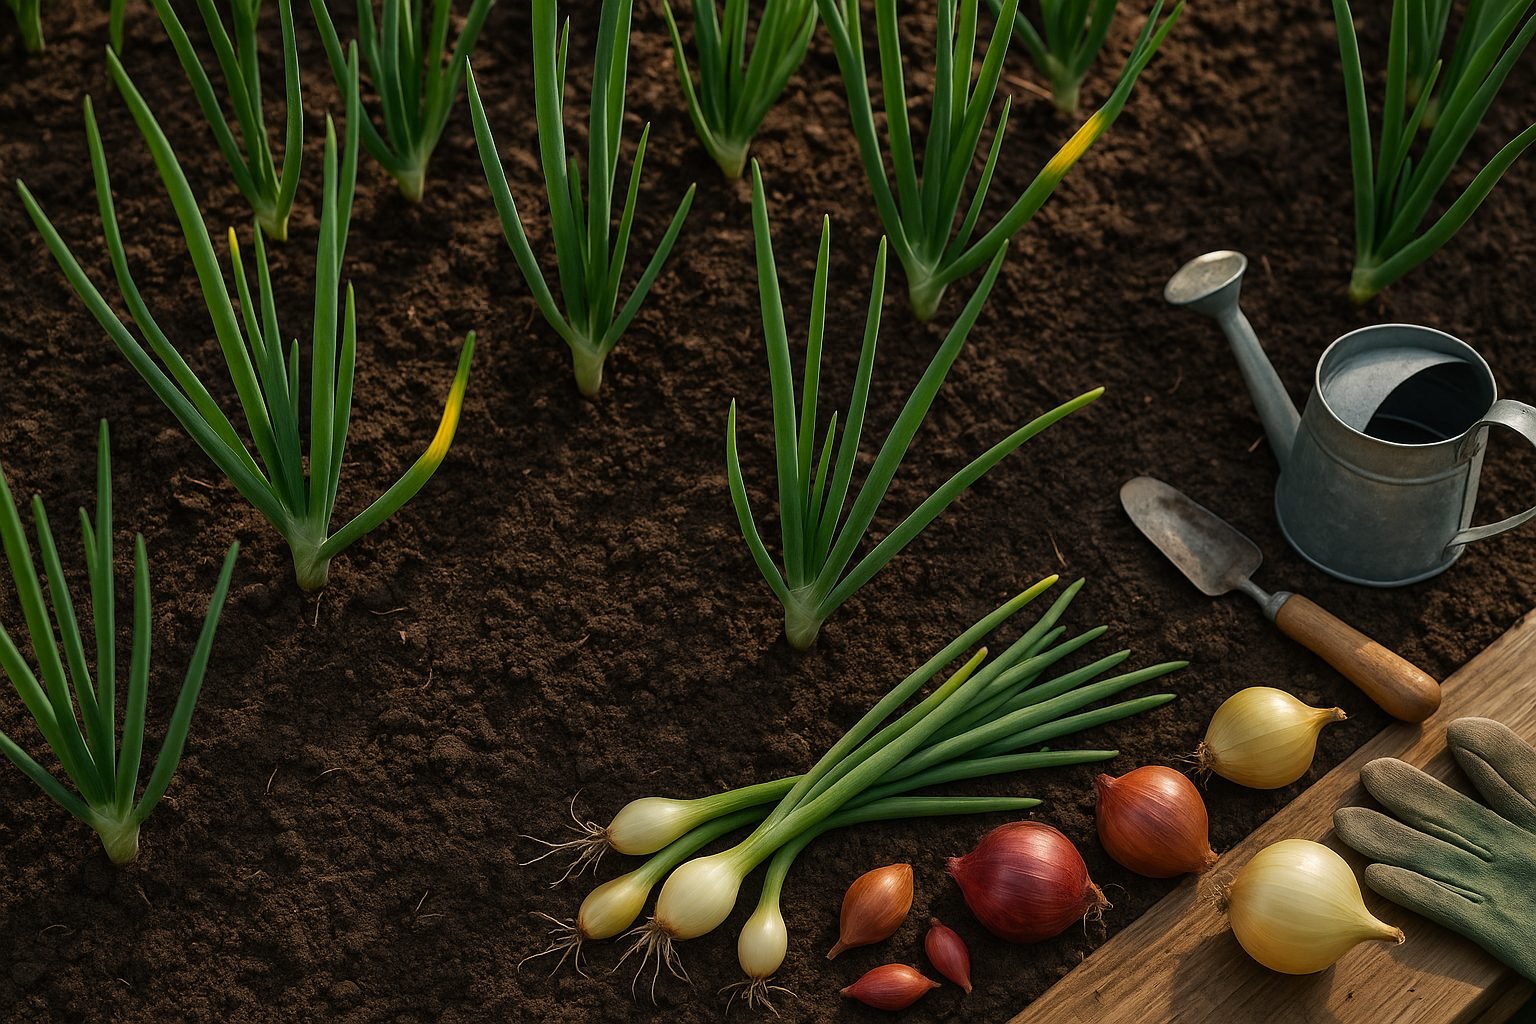
Spotting the Problem Early – Identifying Yellow Leaves
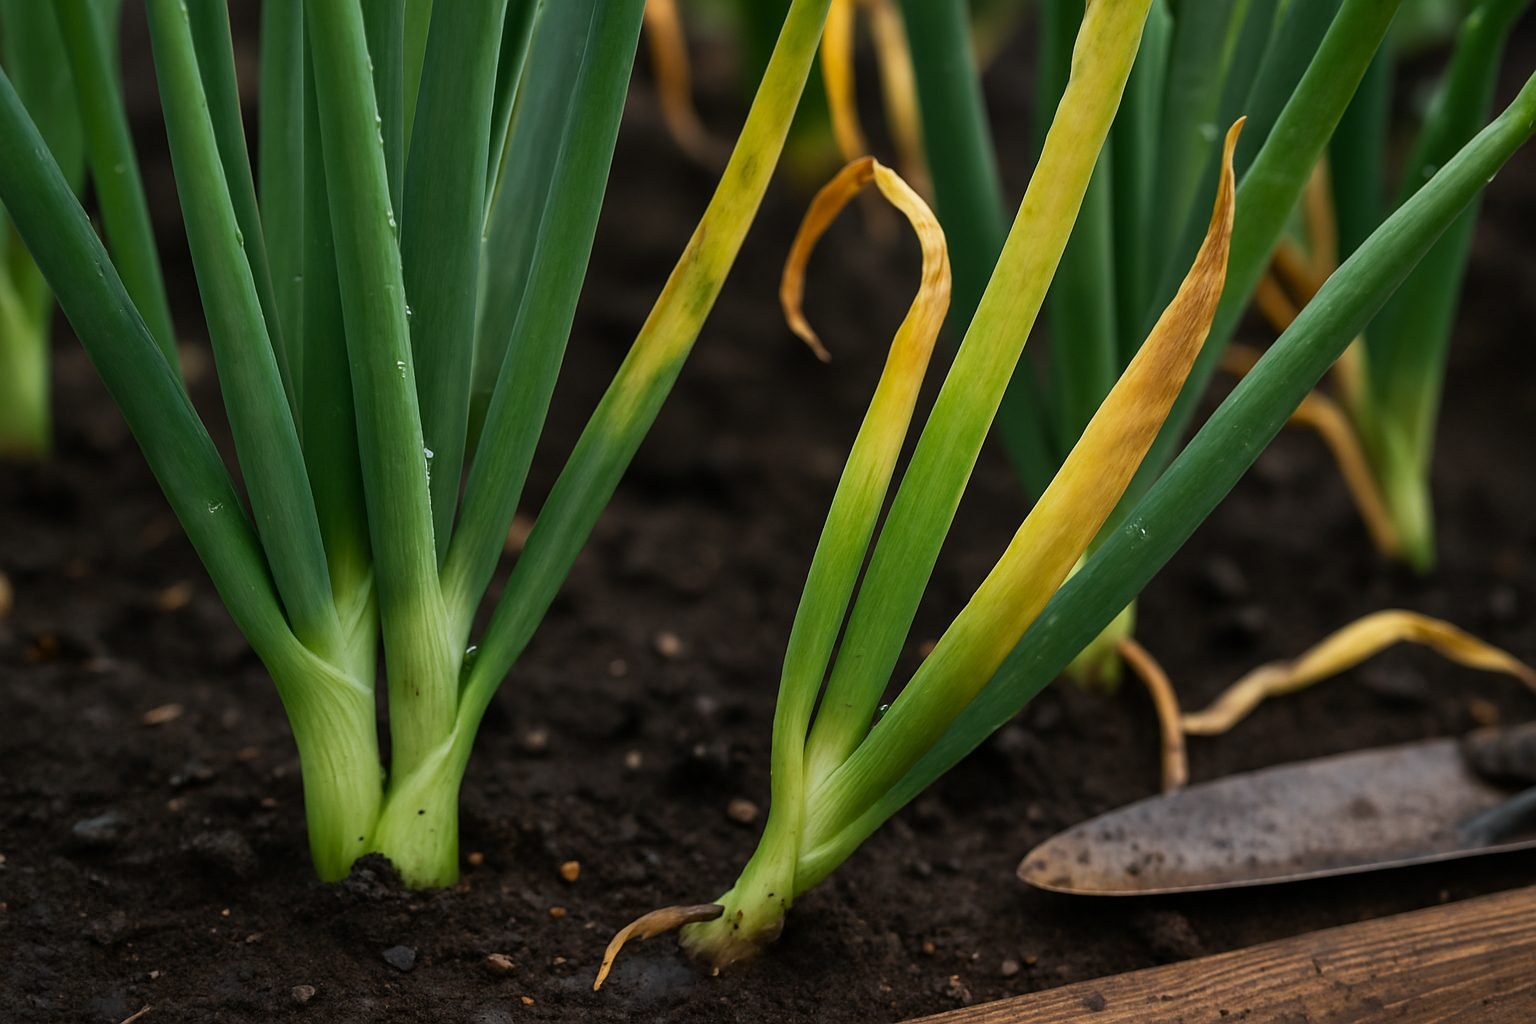
Noticing yellow onion leaves in your garden can be concerning, especially when they stand out against the usual healthy green. These yellow patches often appear first at the tips of green onion leaves, gradually moving down toward the base. Sometimes, the entire leaf may take on a pale, sickly hue rather than just one section. The change isn’t just about color; you’ll also notice differences in texture. Leaves that were once firm and crisp might become limp, papery, or even start curling. Look out for streaks, blotches, and any general droopiness, which can signal more than just normal aging.
Early detection of these yellowing symptoms is crucial. If you catch the problem while it’s limited to just the leaf tips, you often have a better chance to intervene and correct whatever’s causing the discoloration—be it watering issues, nutrient deficiencies, disease, or pests. Waiting until entire leaves turn yellow could mean the underlying problem has already spread, making recovery tougher for your onions.
One of the best defenses against worsening plant issues is regular monitoring. Take a moment every few days to scan your onion patch, looking specifically for color changes, subtle texture shifts, or unusual patterns. Some gardeners find it helpful to snap a quick photo each week so they can track changes over time. By making it a habit to check on your plants, you’ll spot yellow onion leaves early—and can act swiftly to protect your growing harvest.
Common Causes of Yellowing Green Onion Leaves
Yellowing green onion leaves can be traced back to a handful of common issues, with nutrient deficiencies topping the list. Nitrogen is especially important for lush, green growth, so when it’s lacking, leaves often fade to a pale yellow and grow weak. Potassium shortages can also contribute, causing the tips and edges of leaves to discolor or even die back.
Beyond nutrients, watering habits play a big role; overwatering suffocates roots and leads to soggy soil, while underwatering stresses the plant, causing leaves to yellow and wilt. A good tip is to keep the soil consistently moist but never saturated—let the top inch dry out before watering again.
Adequate light is crucial too; green onions need at least six hours of sun. Too little light can weaken leaves and dull their color, so consider relocating your plants if they look pale or leggy.
Soil health is another piece of the puzzle; compacted soil or pH imbalances can block nutrient uptake even if fertilizers are used. Aim for a slightly acidic to neutral pH (about 6.0 to 7.0) and mix in organic matter to boost drainage and nutrient content.
Environmental stress, like sudden temperature swings or transplant shock, can also cause temporary yellowing as the plant adapts. To minimize these issues, avoid moving plants on hot days, provide some shade if temperatures spike, and gently acclimate seedlings to outdoor conditions before transplanting.
By paying attention to these factors and making small adjustments, you’ll help your green onions stay healthy and vibrant all season long.
Pests and Diseases That Cause Yellow Leaves
Yellow leaves are often a plant’s cry for help, signaling pest attacks or diseases lurking beneath the surface. Common pests like thrips and onion maggots leave clear signs of trouble: thrips are tiny, slender insects that suck sap from leaves, causing streaks, silvery patches, and eventually yellowing or curling. Onion maggots, meanwhile, tunnel through roots and bulbs, leaving yellow, wilting leaves above ground and mushy, damaged tissue below.
Diseases are another key culprit. Downy mildew appears as fuzzy gray or purple patches on the undersides of leaves, alongside yellow spots on top, while fungal infections (like Fusarium or Botrytis) often start as small yellow or brown spots that rapidly spread and can cause leaves to die off entirely. Bacterial diseases might leave water-soaked, yellowed areas that spread irregularly.
To catch these problems early, get into the habit of inspecting your plants regularly. Look on leaf undersides and at the base of stems for insects or frass (insect droppings), and check roots for soft, decaying sections if you notice wilting or stunted growth. Use a magnifying glass to spot tiny pests, and look for sticky residue or mottled patterns.
When yellowing is suspected, pull up a plant and sniff for unpleasant odors (a sign of rot), and isolate affected plants to prevent outbreaks. Fast action—like removing damaged leaves, improving airflow, and applying appropriate treatments—can keep your garden green and healthy.
Restoring Health – How to Fix Yellowing in Green Onions
Yellowing in green onions usually signals that something isn’t quite right. But with a careful, targeted approach, you can quickly bring them back to health.
Start by checking your watering habits: green onions like their soil moist but not soggy. Overwatering can cause root rot, while underwatering leads to stress. An easy test is to stick your finger into the soil—if the top inch feels dry, it’s time to water.
Next, assess the light conditions. Green onions thrive best with at least 6 hours of direct sunlight daily. If they’re indoors, move them to your brightest windowsill.
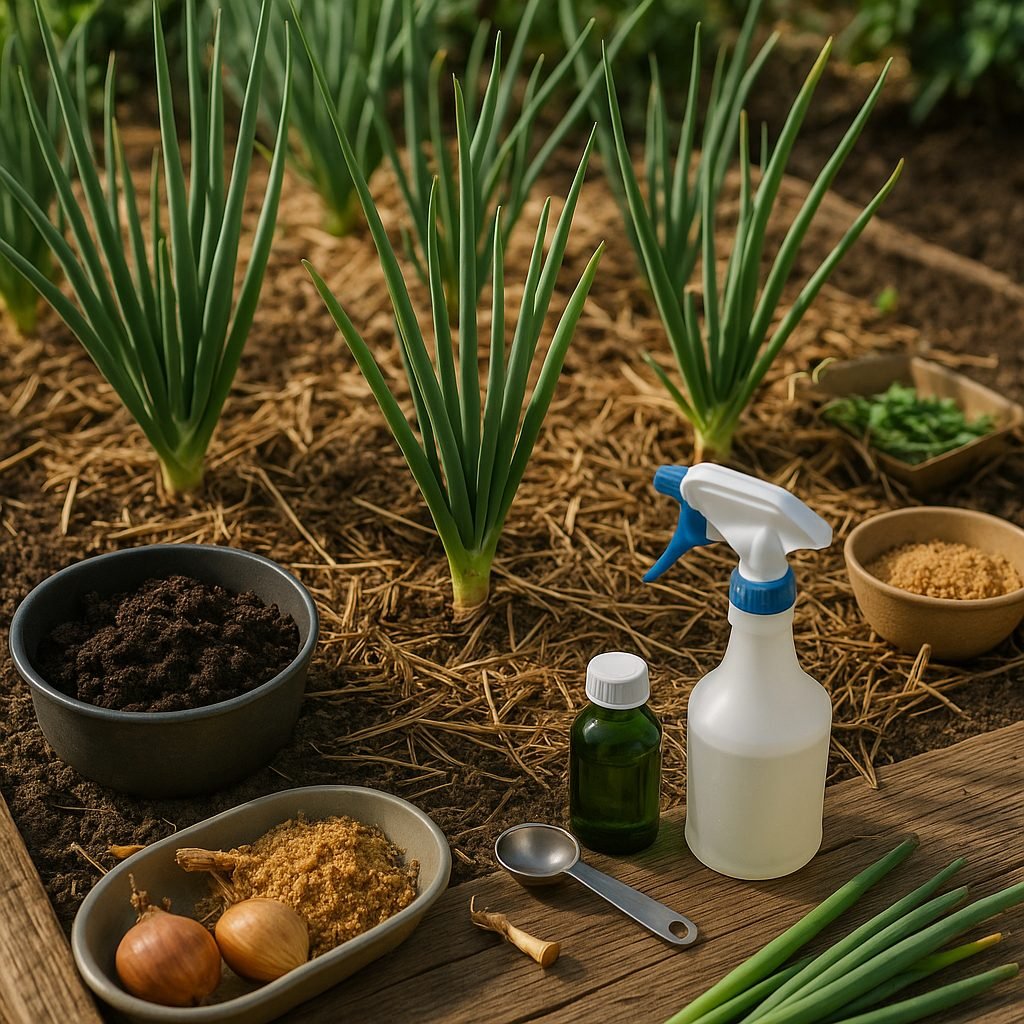
For soil nutrition, yellowing can indicate a lack of nitrogen or other key nutrients. Mix in organic amendments like well-rotted compost or a balanced, slow-release organic fertilizer (look for one labeled 10-10-10 or similar) to rejuvenate your soil.
If you notice pests like aphids or thrips hiding in the leaves, gently rinse them off with a strong spray of water or apply a homemade solution of diluted neem oil. Neem oil is nontoxic to humans but effective against common pests.
Fungal diseases can also cause yellow spots. Remove and dispose of affected leaves, and avoid overhead watering to minimize spread.
After treating these issues, mulch around your green onions with straw or shredded leaves. This helps maintain consistent soil moisture and suppresses weeds, which can add extra stress to your plants.
Always introduce changes gradually and observe your plants’ response over the next week or two. With a little routine care—proper watering, balanced nutrients, adequate light, and regular pest and disease checks—your green onions should regain their vibrant color and continue producing fresh, healthy shoots.
Prevention Tips for Vibrant Green Onion Growth
Keeping your green onions healthy and vibrant starts with a few important prevention habits. Start by testing your soil each season to ensure it’s well-drained and rich in nutrients—this helps avoid root problems that can lead to yellowing.
Plant green onions with enough space between each one, allowing air to circulate and reducing disease risk; about 2–3 inches apart is a good rule of thumb. Rotate your onion crops yearly so pests and diseases don’t build up in the soil—avoid planting members of the allium family in the same spot for at least two years.
Be consistent with watering, making sure the soil stays evenly moist but not soggy; drip irrigation or a soaker hose can help prevent overwatering. Mulch around the base of plants to retain moisture, suppress weeds, and keep soil temperatures steady.
Check your plants frequently for early signs of trouble like yellow tips, spots, or wilting, so you can address issues before they spread. Feed your green onions with a balanced fertilizer or add well-rotted compost every few weeks to keep nutrients steady—organic options like fish emulsion or compost tea provide extra support without burning delicate roots.
Lastly, keep your garden tidy by removing weeds, fallen leaves, or any diseased plant material, as clutter can harbor pests and fungi. By weaving these routines into your garden care, you’ll set your green onions up for lush, healthy growth all season long.
When to Worry – Recognizing Irreversible Damage and Starting Anew
Not all plant problems can be fixed, and knowing when damage is irreversible can save you time and headaches. Watch for warning signs like roots that are brown, mushy, or foul-smelling—true indicators of root rot that rarely resolve. Persistent yellowing or wilting leaves, blackened stems, or stunted growth, even after attempts to treat pests or disease, also suggest there’s little hope for recovery.
If you notice any of these signs, it’s best to act quickly:
- Gently remove the affected plant, taking care not to shake loose contaminated soil.
- Wrap the plant and its surrounding soil in a plastic bag, then dispose of it in the trash (never compost diseased material, as it can spread problems further).
- Once the space is clear, improve drainage or change the soil, and clean your tools with a bleach solution to prevent reinfection.
Use this setback as a chance to start fresh—select disease-resistant varieties, space new plants for better airflow, and stay vigilant about watering routines. With these steps, you’ll set the stage for healthier, more resilient growth next time.