How Onions Grow
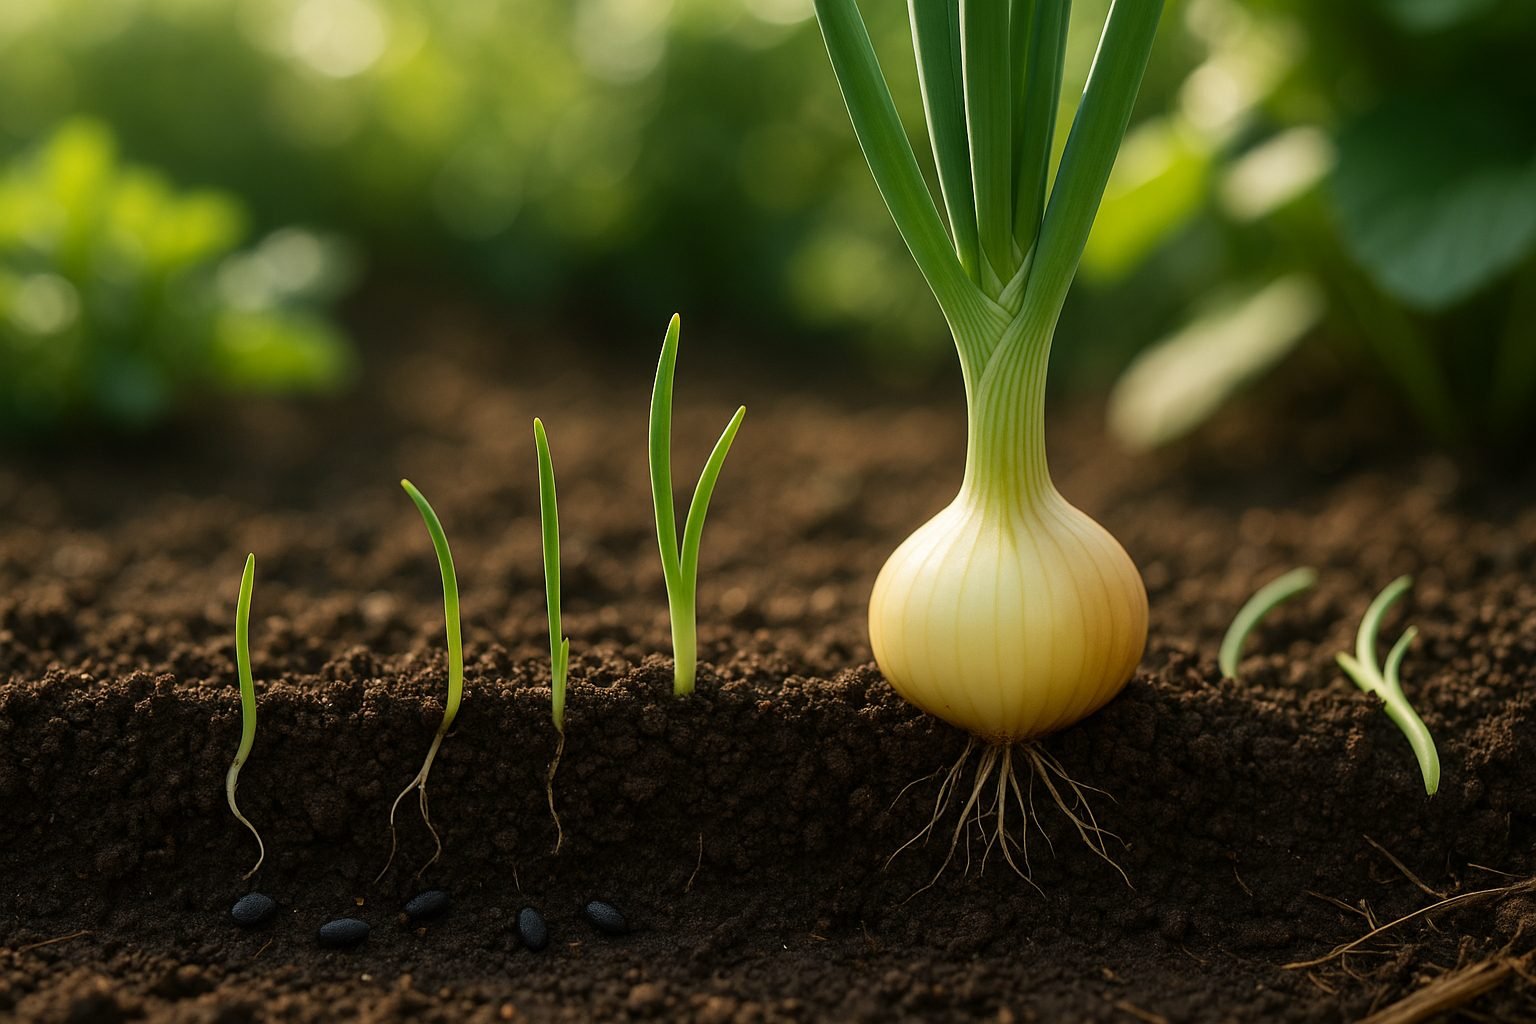
When choosing between long day and short day onions, understanding how onions grow from seed to harvest makes all the difference in your garden’s success. Onions begin life as tiny seeds, requiring loose, fertile soil and consistent moisture to trigger germination—a process that usually takes 7–14 days in well-prepared beds.
Seedlings develop slender, grass-like shoots, drawing energy from bright sunlight and steady hydration. As onions mature, they enter the bulb formation stage, which is triggered by the amount of daylight they receive—this is where the difference between long day and short day onions matters most.
Short day varieties start swelling bulbs when day length reaches about 10–12 hours, thriving in southern climates with mild winters, while long day onions need up to 14–16 hours of daylight and are better suited for northern regions with longer summer days.
During this crucial time, onions require consistent moisture, but soggy soil can cause rot—watering at the base, rather than over the leaves, is best. Rich, well-drained soil packed with organic matter helps bulbs plump up quickly.
As onions reach maturity, their tops yellow and flop over, signaling that harvest is near. Carefully pull the bulbs, let them dry in a sunny, breezy spot for proper curing, and you’ll be rewarded with sweet, flavorful onions ready for storage or the kitchen.
By matching the right onion type to your climate and following these growth basics, any gardener can enjoy a bountiful crop season after season.
Types of Onions & Their Features
Understanding onion types is key to getting the right flavor and yield in your cooking or garden. Onions are grouped by how much daylight they need to form bulbs: short-day, intermediate-day, and long-day varieties.
Short-day onions, like Texas Early Grano and Vidalia, start forming bulbs when days reach 10–12 hours of light. These onions thrive in southern regions with mild winters, producing sweet, soft bulbs perfect for eating raw in salads and sandwiches. They’re usually a bit larger and juicier but don’t store as long as other types.
Intermediate-day onions, such as Candy or Red Candy Apple, require 12–14 hours of daylight and are an ideal choice for gardeners in the country’s middle zones. These onions balance sweetness and pungency, offering a crisp texture and moderate storage life—great for grilling or sautéing.
Long-day onions, like Walla Walla or Yellow Spanish, need 14–16 hours of daylight, making them perfect for northern climates with long summer days. These bulbs are typically sharper in flavor and denser, storing exceptionally well through winter if cured properly—you’ll want them for stews and hearty dishes.
Day-length sensitivity is crucial because planting the wrong type for your region can lead to stunted size or poor bulb formation. For example, growing long-day onions in a southern garden will likely result in small, underdeveloped bulbs since the daylight span isn’t long enough to trigger proper bulb growth.
Choose the right onion type for your local climate, and you’ll enjoy better harvests and flavors fit for your favorite recipes.
Choosing the Best Onion for Your Garden
Selecting the right onion variety for your garden starts with matching your region’s climate to the onion’s day-length requirements. For example, gardeners in the northern U.S. should look for “long day” onions, which need about 14-16 hours of daylight to bulb, while southern growers should opt for “short day” varieties suited to 10-12 hours of sun. If you live in a middle latitude, “intermediate day” onions are your best bet.
Next, think about how you’ll use your onions. For a sharp flavor that adds crunch to salads, go for red onions like ‘Red Baron’ or ‘Red Burgundy.’ Sweet onions, such as ‘Walla Walla’ or ‘Vidalia,’ are perfect for eating fresh or grilling but don’t store as long. In contrast, pungent yellow varieties like ‘Copra’ or ‘Stuttgarter’ are ideal if you want onions that keep through the winter.
Don’t forget to scan seed packets and catalogs for clues—look for terms like “good keeper,” “bolt resistant” (meaning it resists premature flowering), and “disease resistant,” especially if you’ve struggled with fungal issues like downy mildew or pink root. Disease-resistant onions save time and headaches in the long run.
Storage potential is also crucial; storage varieties are bred for thicker skins and lower water content, letting them last months in a cool, dry pantry. Taking the time to read labels closely and match onion types to your climate and kitchen needs will lead to a more successful harvest and fewer losses after picking.
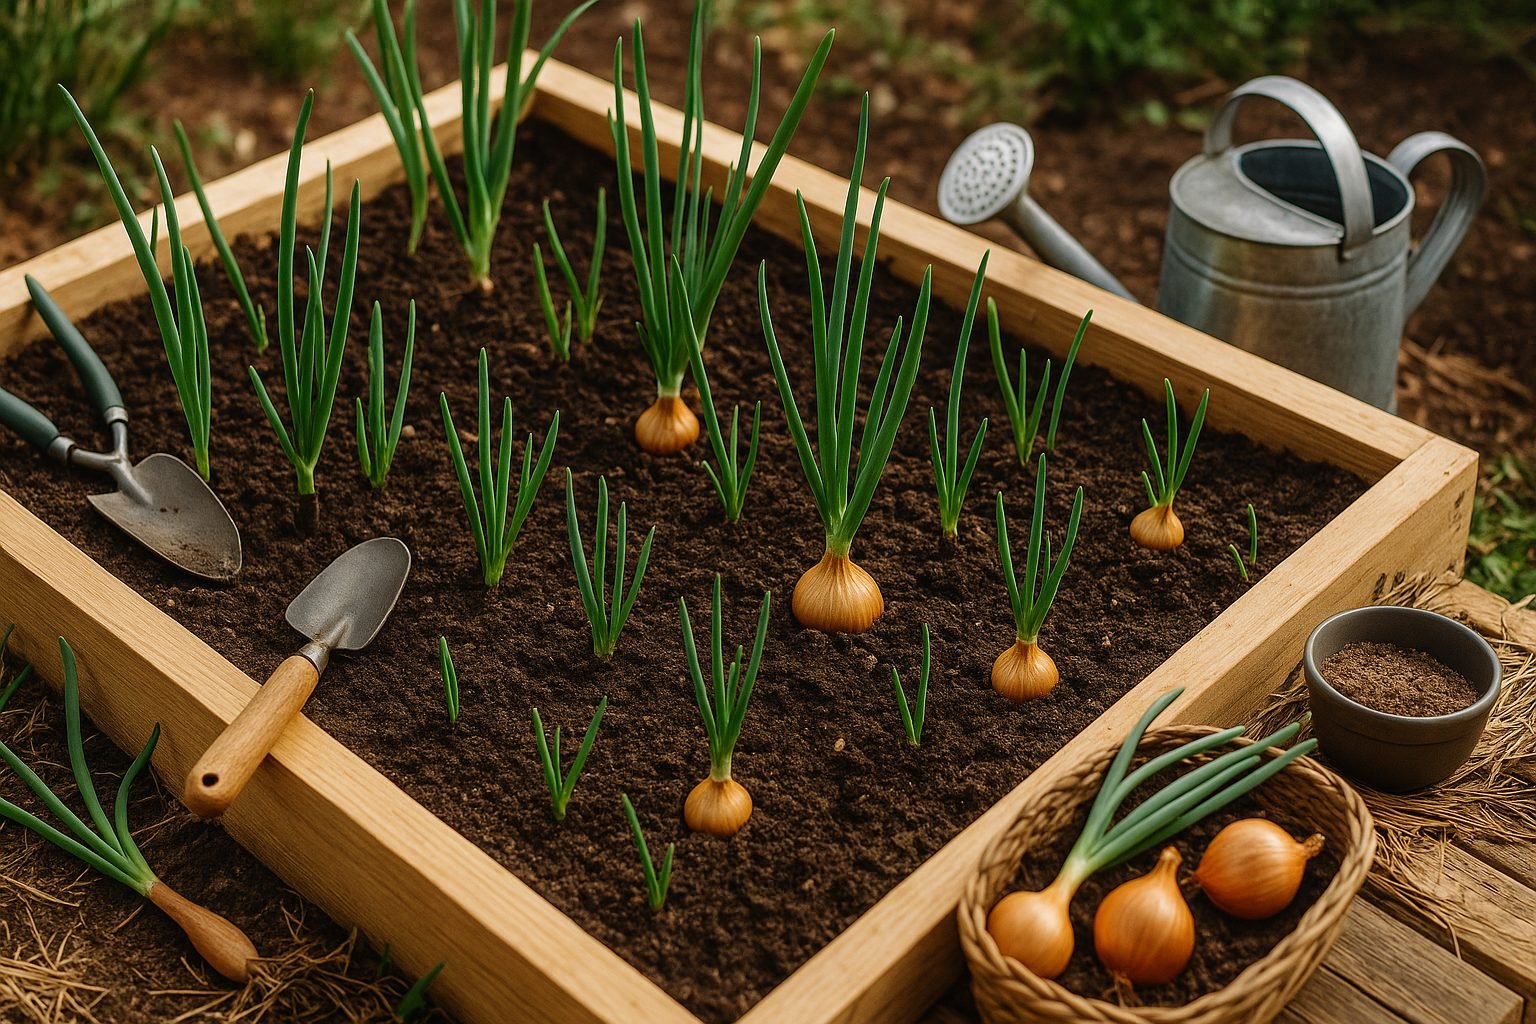
When & How to Plant Onions
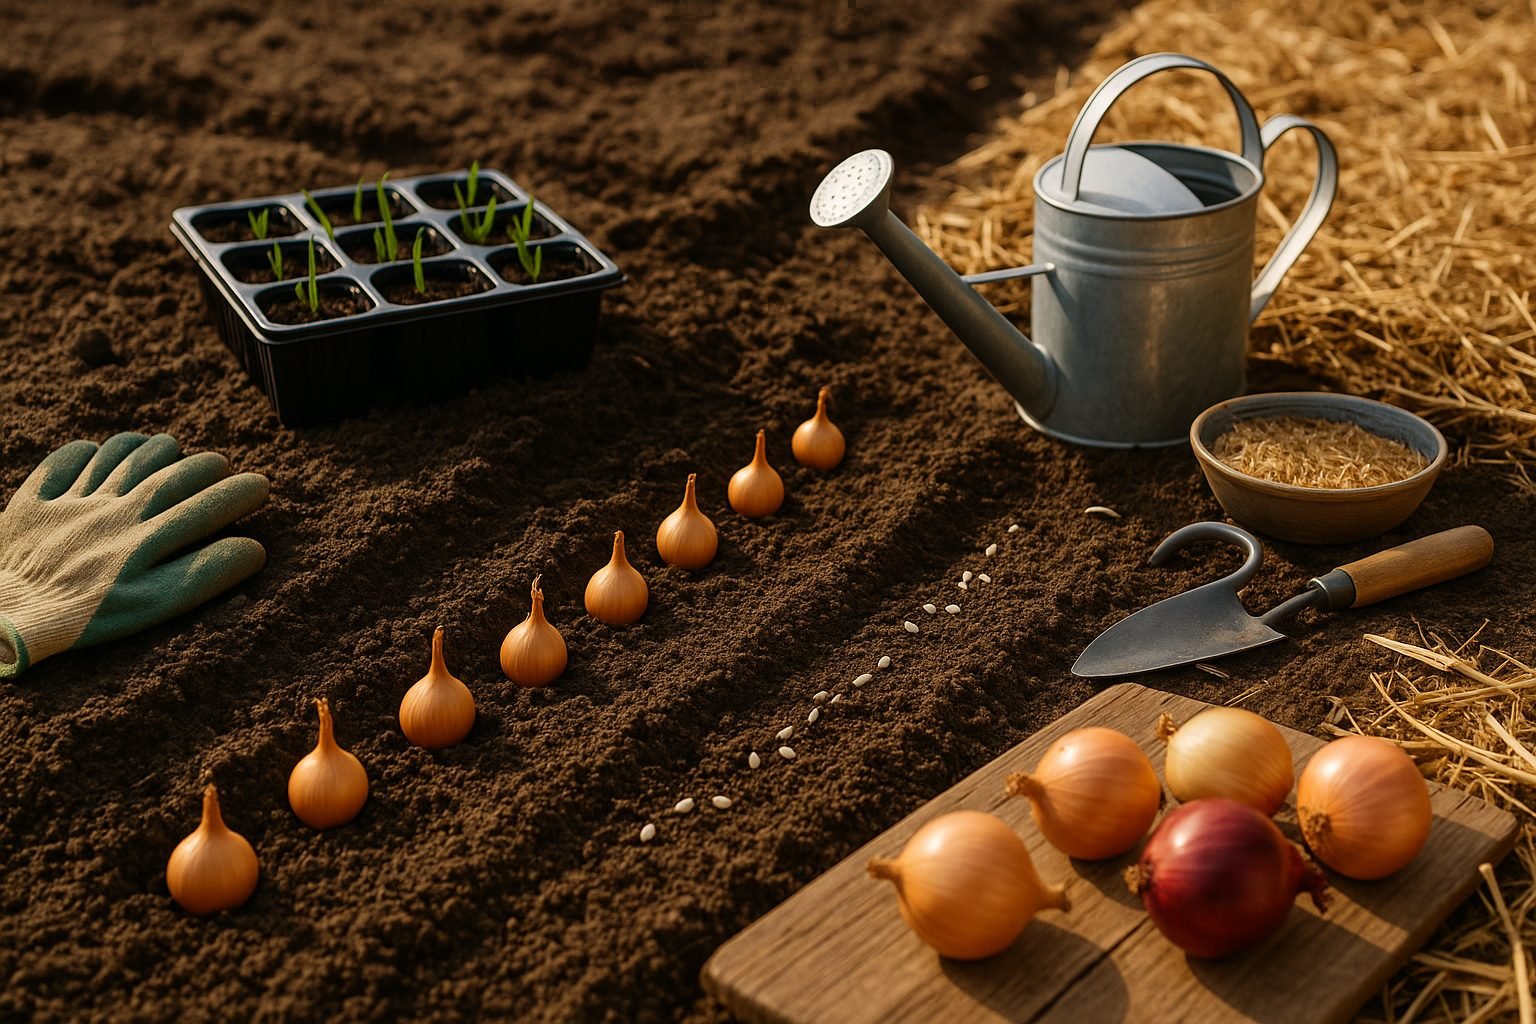
Knowing when to plant onions depends on your region and the type of onion you’re growing. In warmer climates—like the southern U.S.—onion sets or transplants can be planted as early as late fall or winter. These onions thrive in cool weather and can handle light frosts. For cooler northern regions, plant onion sets or start seeds indoors about 6-8 weeks before the last expected spring frost, then move them outside as soon as the soil can be worked.
When it comes to planting methods, sets (small, dormant bulbs) are easy for beginners: just press them root-down into prepared soil, spacing them about 4 inches apart in rows 12-18 inches apart, and cover with 1 inch of soil. Onion seeds are more cost-effective but require more patience—sow them ¼ inch deep in seed trays, then transplant seedlings at the same spacing as sets.
Onions need consistently moist, well-drained soil, so water them well after planting and keep the beds evenly damp, especially during dry spells. For best results, enrich your soil with a balanced fertilizer high in phosphorus at planting time to encourage root growth, and side-dress with nitrogen fertilizer as the bulbs develop.
Applying a layer of straw mulch helps retain moisture and prevent weeds, but keep the mulch a little away from the onion necks to avoid rot. Watch out for common onion pests like thrips or onion maggots, which can be managed by rotating crops, removing debris, or using row covers.
With the right preparation and care, your onion crop will take off—and with a little patience, you’ll be rewarded with fresh, flavorful bulbs straight from your garden.
Harvesting & Storing Your Onions
Knowing when to harvest your onions is key to getting the best flavor and longest storage life. Look for the telltale sign that they’re ready: the green tops will flop over and start turning yellow or brown, usually about four months after planting.
Stop watering and let your onions sit in the soil for a week or two—this helps the bulbs mature and the skins set. On a dry, sunny day, gently loosen the soil with a garden fork and lift the bulbs out carefully to avoid bruising.
Lay the onions out in a single layer in a well-ventilated, shaded spot for curing; a garage, shed, or covered porch works well. Let them cure for two to three weeks until the necks are dry and the outer skins are papery.
Trim the roots and cut tops to one inch, or braid the tops together if you prefer.
For storage, choose only firm, damage-free onions and keep them in a cool, dry, dark place with good airflow—mesh bags, crates, or pantyhose work great.
Check periodically and remove any soft or sprouting bulbs to prevent rot from spreading. Avoid storing onions near potatoes, as this can shorten their shelf life due to moisture and gas transfer.
With these steps, your homegrown onions can last for several months, ensuring you always have a flavorful addition ready for your kitchen.