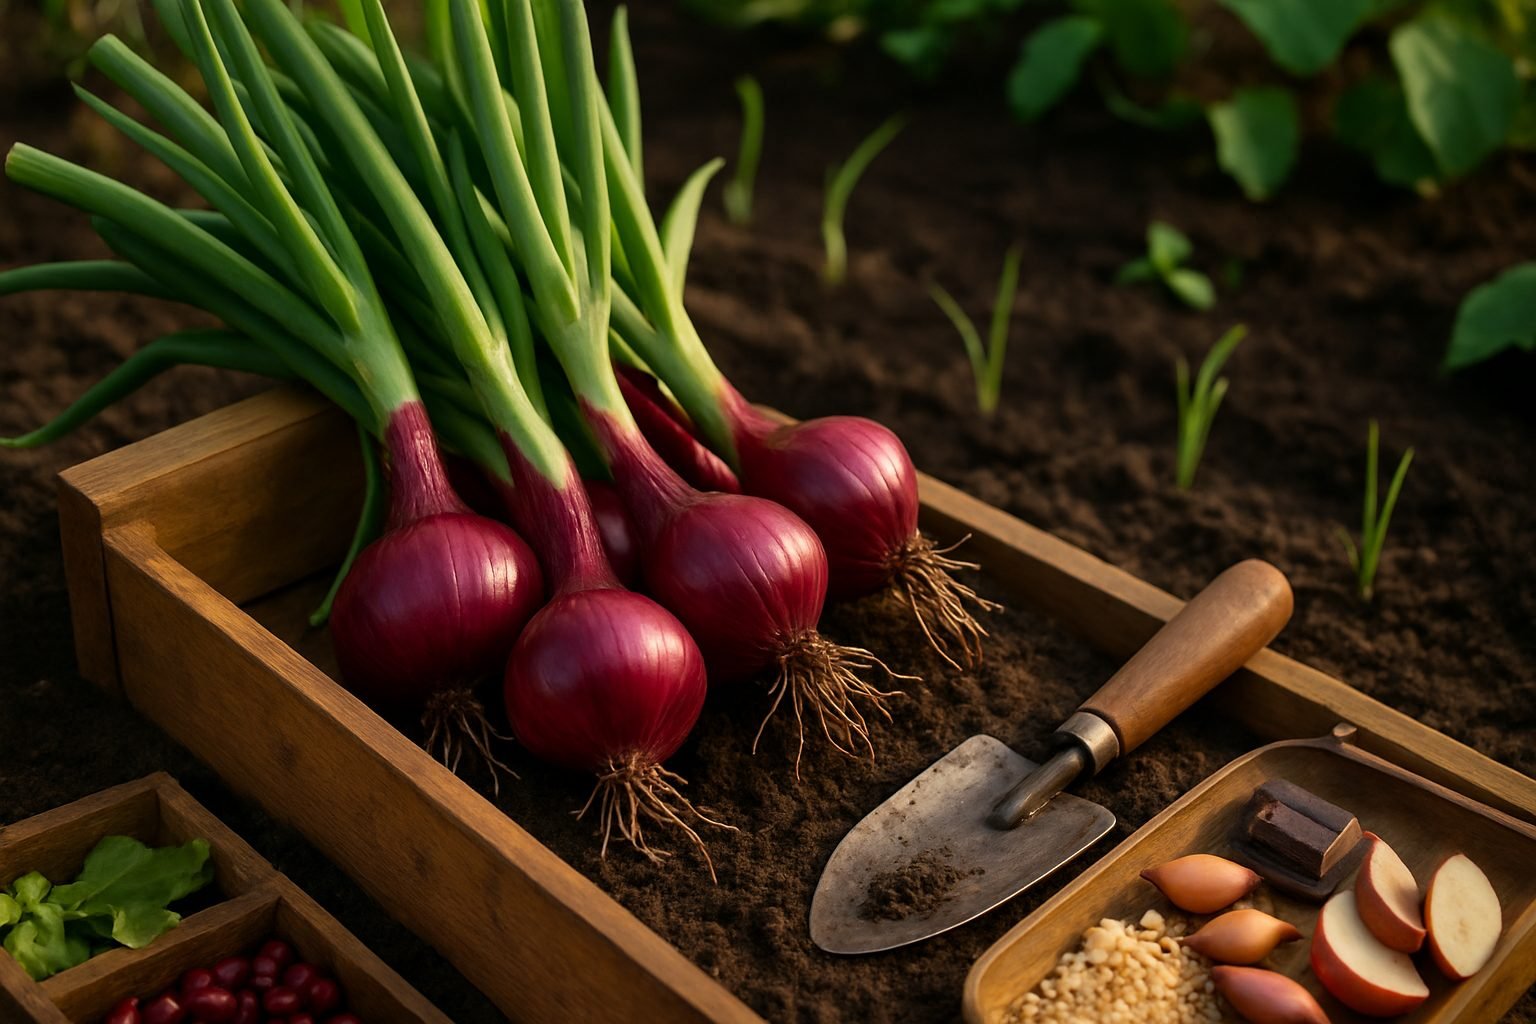
Getting Started with Red Onions
If you’ve ever wanted to add a burst of color and flavor to your meals, learning how to grow red onions is a rewarding place to start. Red onions are beloved for their crisp texture and mild, slightly sweet flavor, making them the perfect addition to salads, burgers, relishes, or even as a vibrant topping on grilled dishes. Unlike their yellow or white counterparts, red onions offer a striking hue and subtle tang that can elevate everyday recipes, from tacos to homemade pickles.
For home gardeners, red onions are a favorite because they’re both attractive in the garden and incredibly versatile in the kitchen. Their eye-catching purple skin and robust growth habits make them a satisfying crop for anyone eager to grow their own food. Beyond aesthetics, these onions store well and can be harvested at various stages—either as juicy spring onions or mature storage bulbs—which adds to their popularity.
How to Grow Red Onions
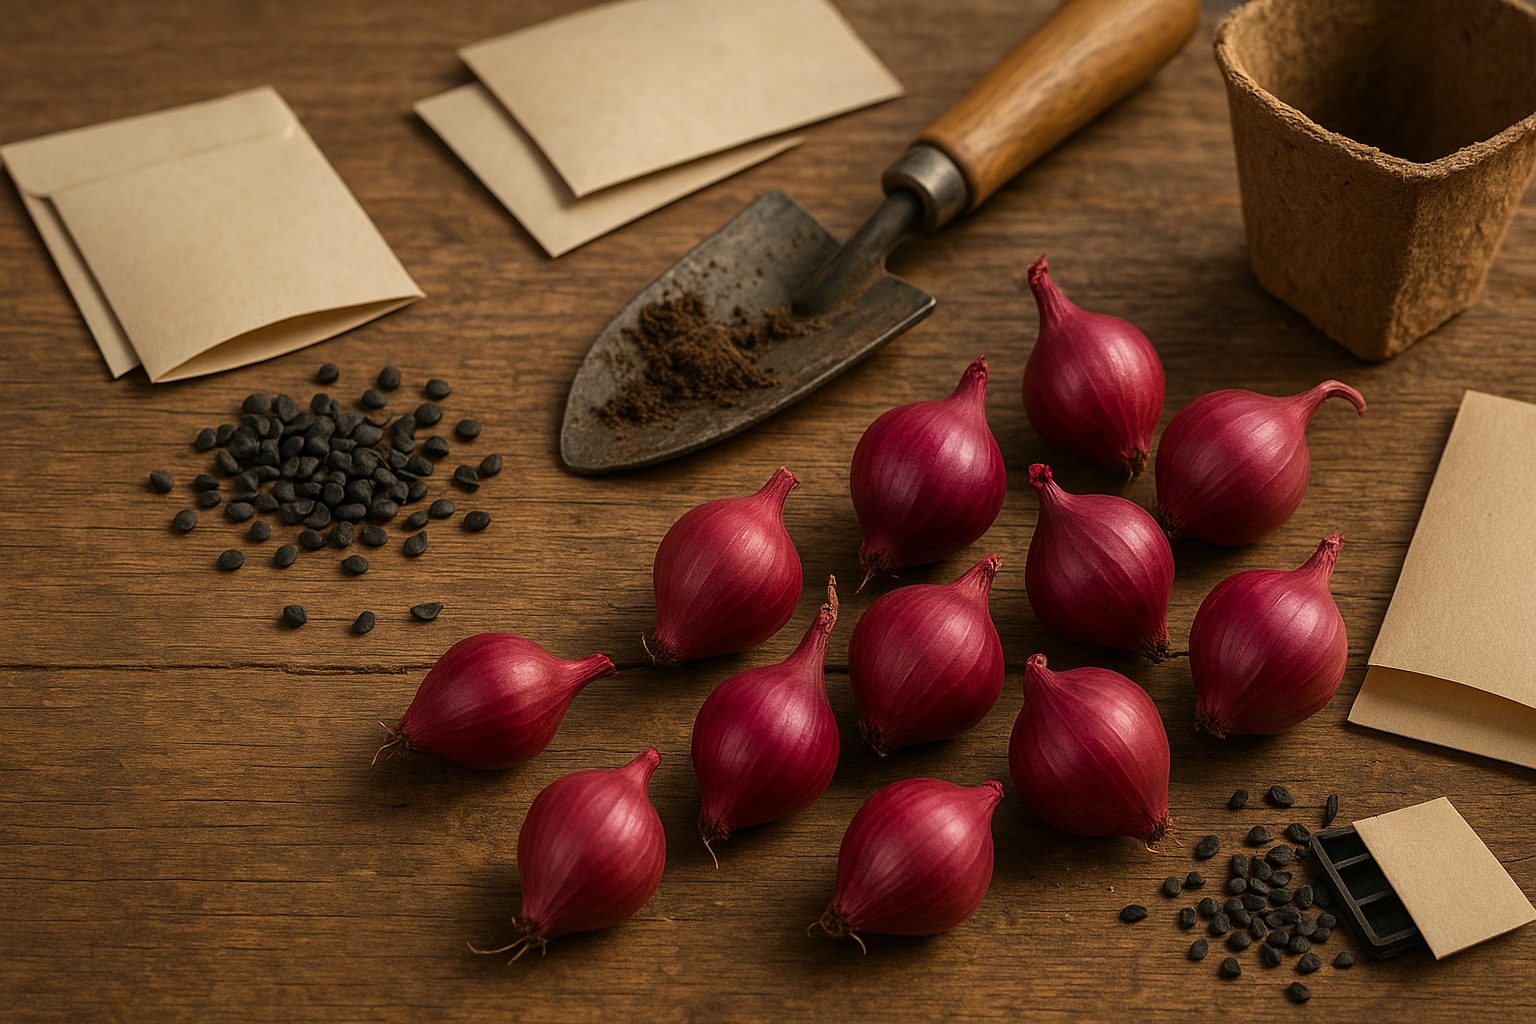
When it comes to growing red onions, you’ll find there are three main methods: seeds, sets, and transplants. Starting from seeds allows you to choose from a wider variety of red onion types, but this option takes the longest, often requiring an early indoor start. Sets, which are small, immature bulbs, are the most common choice for beginners—they’re simple to plant directly into the soil and usually yield reliable results. Transplants are young plants that give you a head start on the growing season and are a good middle ground, but they require a bit more attention when handling.
Tips for Successful Growth
Most gardeners will find growing red onions relatively easy, especially when starting with sets. They don’t need as much maintenance as some other vegetables, just well-draining soil, sunlight, and the right watering routine. Even if you’re new to gardening, you’re likely to have success—and a delicious harvest—by following a few simple steps.
Choosing the Right Variety & Planting Method
When it comes to growing red onions, selecting the right variety and planting method makes a big difference. Popular varieties like Red Baron and Red Creole are well-loved for their vibrant color and mild, slightly sweet taste, making them great for salads and sandwiches. Red Baron bulbs are medium to large and mature quickly, while Red Creole is more adaptable to warmer climates and stores well after harvest. For shorter seasons, consider Red Burgundy, which matures in about 100 days and produces medium-sized, flavorful bulbs.
Once you’ve chosen your variety, think about your local climate and planting schedule to decide between seeds, sets, or transplants.
- Seeds are budget-friendly and give you access to more varieties, but they require an early start indoors—perfect if you have a long growing season and patience.
- Onion sets (small bulbs) are the easiest way for beginners to get started; they’re simple to plant directly in the ground and give you a head start in cooler spring soils, but your choice of variety is often limited.
- Transplants, which are seedlings started earlier and then moved to your garden, strike a balance: they mature faster than seeds and come in more varieties than sets. However, they can be pricier and more delicate during handling.
For most home gardeners, sets are the most hassle-free, while seeds and transplants allow for more customization and potentially larger yields if you have the time and space to nurture them from the start. Try a couple of methods to see what works best in your garden and climate, and keep notes for next season’s success.
Preparing Your Soil & Planting Red Onions
To get the best harvest from your red onions, start by choosing a sunny spot that gets at least six hours of direct sunlight daily—onions thrive in full sun. The ideal soil is loose, well-draining, and rich in organic matter, with a pH between 6.0 and 7.0. Avoid heavy clay or compacted soils, as these can lead to soggy roots and disease.
If your soil needs a boost, work in plenty of compost or well-rotted manure before planting, and test the pH with a simple kit from your local garden center, adjusting with lime or sulfur as needed. For containers, choose one that’s at least 6 inches deep and wide enough to allow for proper spacing.
Before planting, loosen the soil to about 8 inches deep and break up clumps, removing rocks or debris. Level the surface, then rake in an all-purpose balanced fertilizer.
Planting Onion Seeds
If you’re planting onion seeds, sow them directly into the prepared soil about ¼ inch deep and 1 inch apart in rows, keeping rows at least 12 inches apart to allow for good air circulation. Once seedlings are a few inches tall, thin them so each plant is about 4 inches apart—this gives the bulbs room to swell.
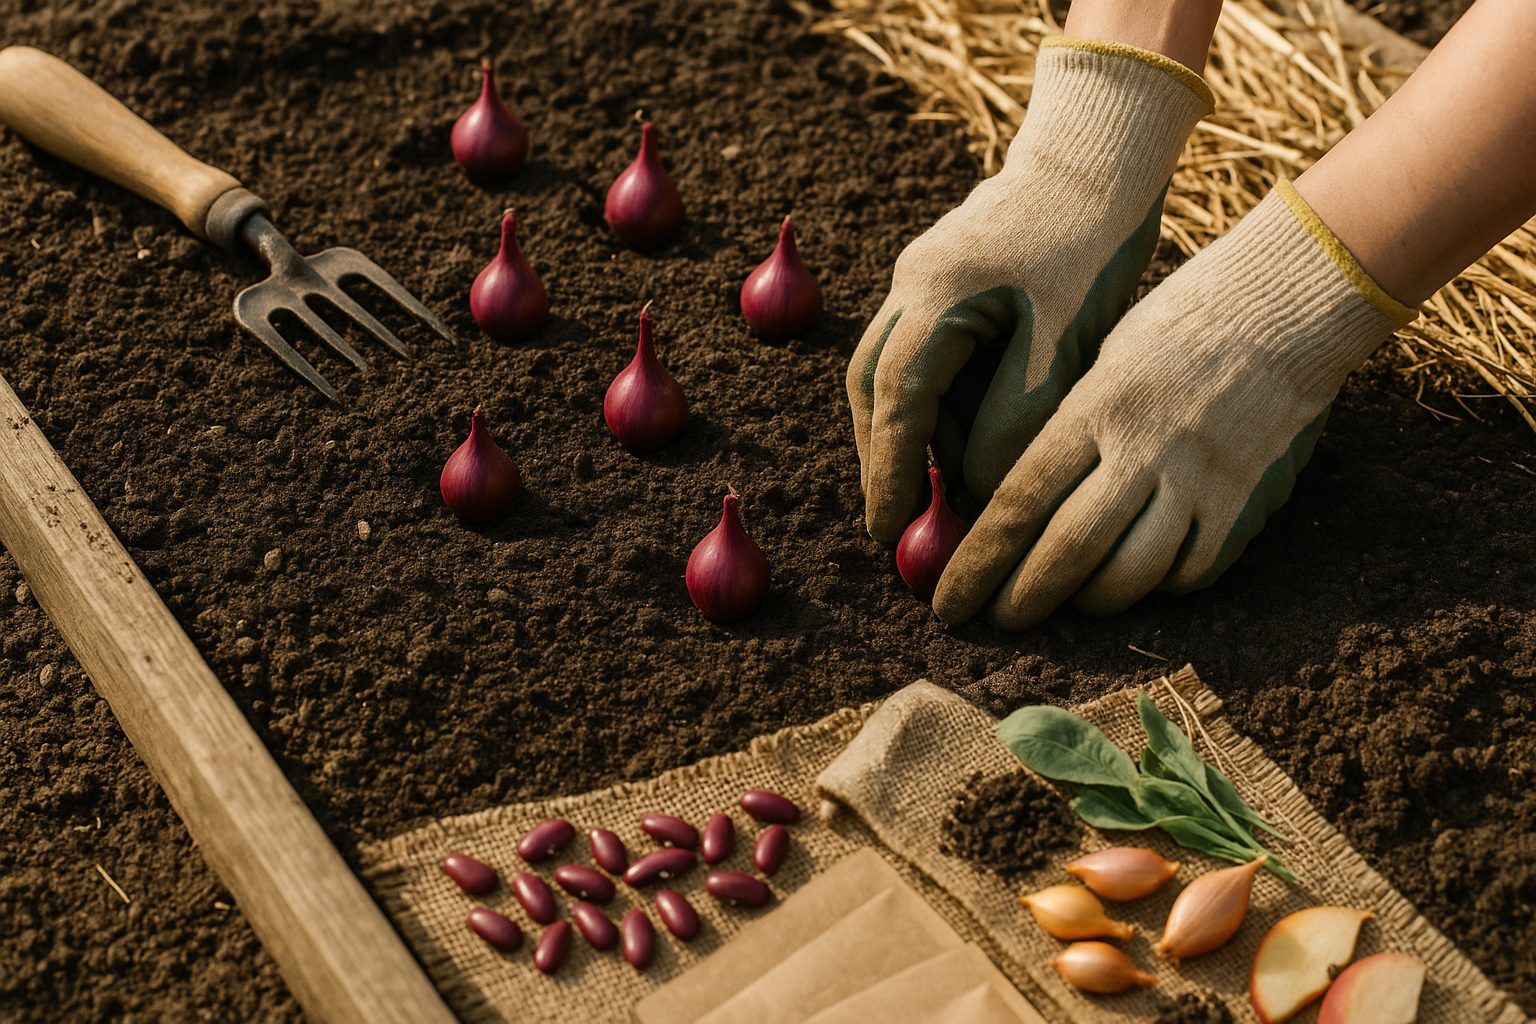
Using Onion Sets
If you’re using onion sets (small, pre-grown bulbs), push each set gently into the soil so the tip just pokes above the surface, spacing them 4 inches apart in rows 12 inches apart.
Water gently but thoroughly after planting, and keep the area weed-free as onions don’t compete well with weeds. Mulching with straw or shredded leaves can help retain moisture and keep weeds down, setting your red onions up for a strong, healthy start.
Red Onion Plant Care Throughout the Season
Caring for red onion plants throughout the growing season involves a few key steps to keep them healthy and productive. Start by watering consistently—red onions prefer moist but not soggy soil, so aim for about an inch of water per week, either from rainfall or supplemental watering. Try to water early in the day to help prevent fungal issues, and focus on the base of the plants to avoid wetting the foliage.
Mulching is another excellent strategy; a two- to three-inch layer of straw or shredded leaves helps retain soil moisture, keeps the ground cool, and suppresses weeds that would compete for nutrients.
When it comes to fertilizing, onions are heavy feeders. About two to three weeks after planting, begin feeding with a balanced fertilizer (such as 10-10-10) every few weeks, switching to a high-phosphorus blend mid-season to encourage strong bulb formation—just avoid too much nitrogen late in the season, or you may get lots of greens but small bulbs.
As growth continues, keep an eye out for common pests like onion maggots and thrips. Maggots cause wilting and yellowing seedlings, while thrip damage appears as silvery patches and curling leaves. Sticky traps or neem oil can help control infestations naturally, while rotating crops each year reduces future problems.
Fungal diseases such as downy mildew or purple blotch show up as spots or fuzzy growth on leaves. To manage these, provide good air circulation, avoid overhead watering, and promptly remove affected plant material.
Healthy onion plants—with the right water, mulch, nutrients, and watchful eyes—reward you with plump, flavorful red bulbs at harvest time.
Harvesting and Storing Red Onions
Knowing exactly when to harvest red onions can make a big difference in their flavor and storage life. As red onions mature, keep an eye out for clear signs: the green tops will start to yellow, bend over, and dry out near the soil. This usually happens somewhere between 90 and 120 days after planting, depending on your variety and garden conditions.
You’ll also notice that the tops will flop over and the outer skin of the bulbs becomes papery and vibrant—a surefire cue they’re ready. When it’s time, harvest on a dry day if possible to minimize excess moisture. Loosen the soil around each bulb gently with a fork or your hands, taking care not to nick or bruise the onions, since any damage can quickly lead to rot during storage.
After lifting, shake off loose dirt but don’t wash the onions; instead, lay them out in a single layer in a warm, airy spot or on a rack out of direct sunlight for two to three weeks. This curing step toughens the skins and seals the necks, making the onions less prone to mold.
Once the skins are crisp and the necks are dry, trim the roots and tops (leave about one inch above the bulb), and check for any soft spots or blemishes.
Storage Tips
For storage, keep red onions in mesh bags or slatted baskets in a cool, dry, and well-ventilated space around 40-55°F—an unheated basement, garage, or shed can work. Avoid plastic bags, which trap moisture and promote spoilage.
Outdoors, you can try storing cured onions in a sheltered area away from rain, using mesh bags hung under an overhang, though very cold winter temperatures may cut storage time.
Proper harvesting and curing mean you’ll savor homegrown red onions in your kitchen for months to come.
Common Red Onion Growing Problems & Solutions
Growing red onions often comes with a few challenges, especially from pests and diseases. One common pest is the onion maggot, whose larvae tunnel into onion bulbs, causing wilting and rot. Prevent these pests by using floating row covers after planting and practicing crop rotation, never growing onions in the same spot year after year.
Downy mildew, a frequent disease, creates fuzzy gray patches on leaves and stunts growth, often due to excess moisture. To reduce risk, space your onions well for good airflow and water at the soil level rather than overhead. Remove and destroy infected plants promptly.
Companion planting with carrots or lettuce can help deter onion pests naturally. If you notice continued yellowing or distorted growth, it may be time to intervene with organic treatments like neem oil sprays or diatomaceous earth around the base of plants. Always spot-treat first and avoid chemical interventions unless absolutely necessary.
Healthy soil, thorough weed control, and careful rotation are the best first lines of defense, keeping your red onions robust all season long.
Bonus Tips for Red Onion Success
For bigger, sweeter red onions, focus on spacing and maintenance—overcrowding leads to smaller bulbs, so thin seedlings to at least 4 inches apart once they reach pencil thickness. Pruning is also key: remove weak or crowded shoots early, and snip any flower stalks that appear to keep the plant’s energy focused on bulb growth.
If you’re short on space, try growing red onions in wide, shallow containers (at least 8–10 inches deep) filled with loose, well-draining potting mix; fabric grow bags and window boxes work especially well for balconies or patios. For proper drainage, use containers with holes and set them in a sunny spot—red onions need 6 hours of light a day.
Keep the soil evenly moist but not soggy, and use a diluted liquid fertilizer every few weeks to boost results. Watch for signs of trouble such as yellowing leaves (a signal of overwatering or nutrient deficiencies) and remove any diseased bulbs quickly to prevent spread.
To enjoy a continuous supply, sow new sets or seeds every few weeks through late spring and early summer, staggering plantings so you always have fresh onions ready to harvest. With a little attention and creativity, even urban gardeners can grow thriving red onions!