Introduction
kale seed depth is one of the most important—yet often overlooked—details when starting your home vegetable garden. Known for its hardy nature and packed with nutrients like vitamin K, vitamin C, and antioxidants, kale has surged in popularity among seasoned gardeners and health-conscious eaters alike. With its ability to withstand colder temperatures and keep producing leafy greens long into the season, it’s a favorite for anyone looking to boost their diet and enjoy garden-to-table freshness.
Growing kale from seed is ideal for home gardeners because it gives you control over the variety, saves on starter plant costs, and ensures robust, healthy growth from the very beginning. Plus, watching those tiny seeds sprout into vibrant, leafy plants is incredibly rewarding!
In this article, we’ll break down exactly how deep to plant kale seeds for optimal success, using clear, step-by-step instructions you can follow even if you’re brand new to gardening. Expect practical tips and real-world advice so you can confidently plant and nurture your own thriving patch of kale—no green thumb required.
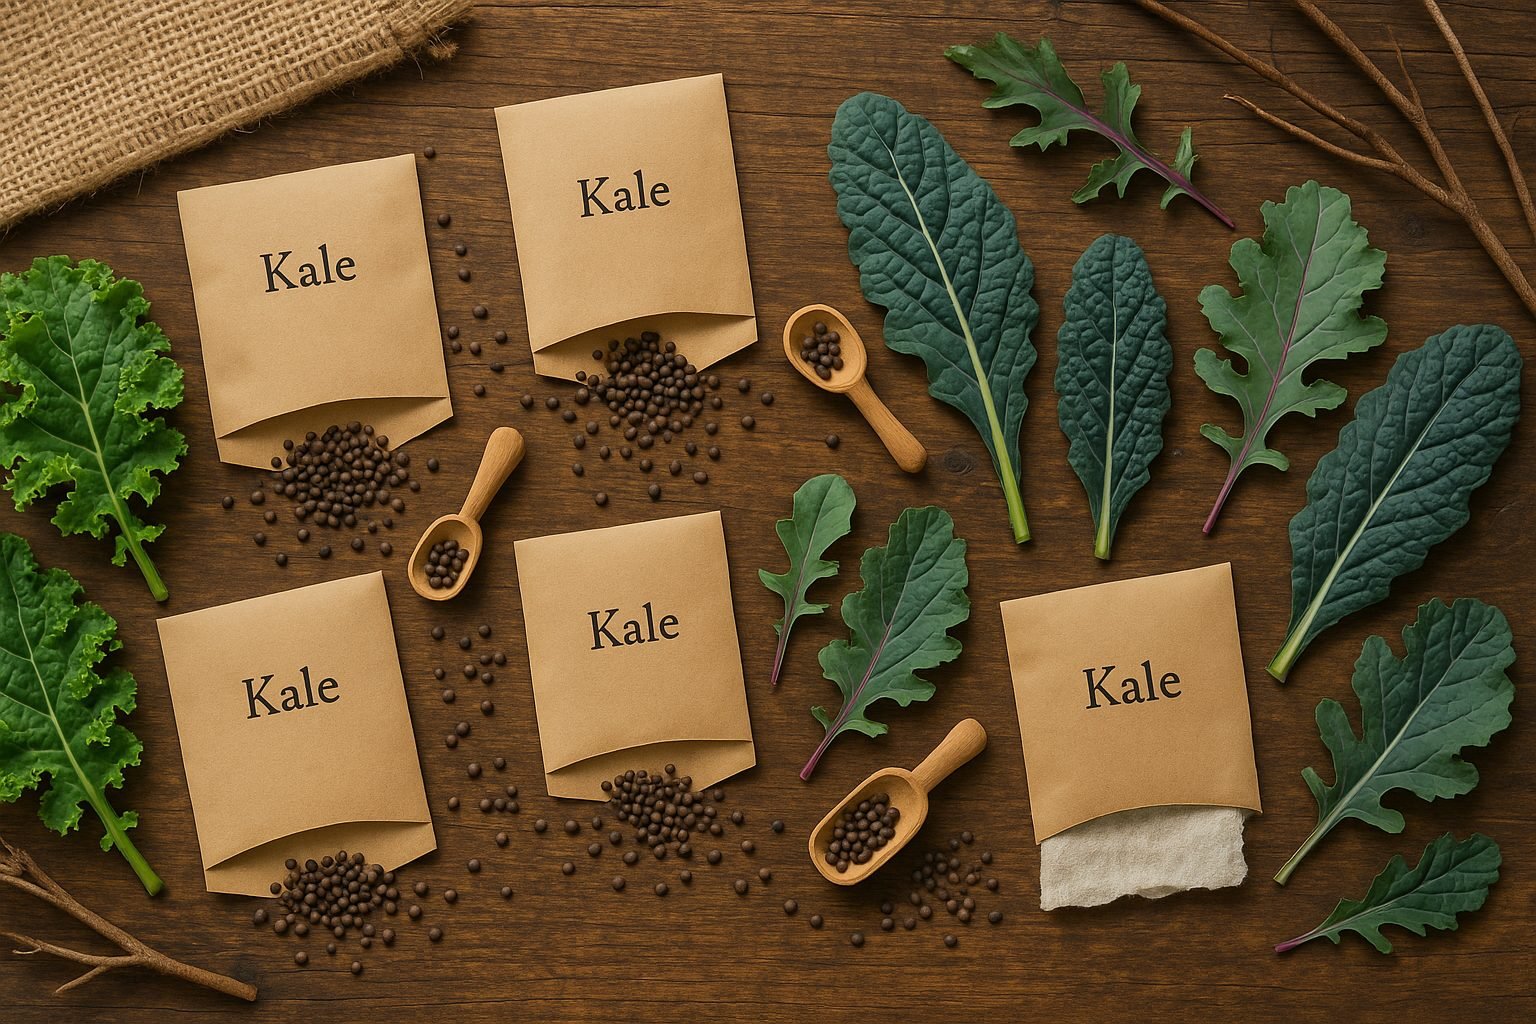
Choosing the Right Kale Variety & Seeds
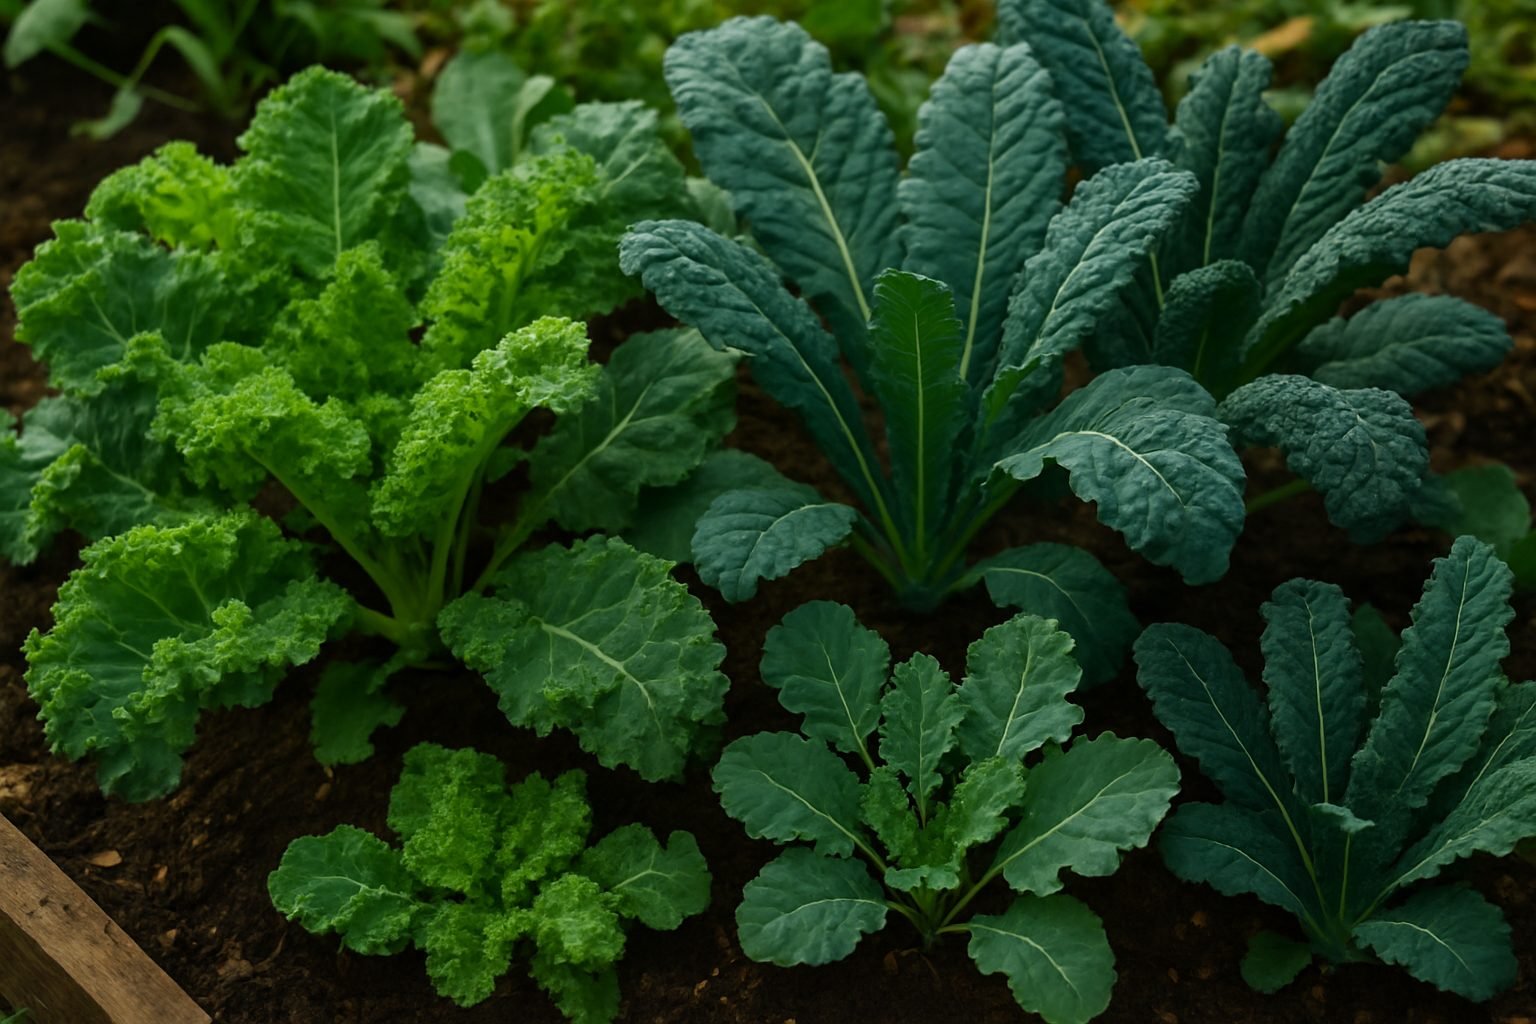
When picking the perfect kale variety for your garden, it helps to know the main types and what makes each special. Curly kale, often seen in supermarkets, features frilly, bright green leaves and a mild, peppery taste—great for salads or chips. Lacinato kale, also called Dinosaur kale, has long, dark blue-green leaves with a bumpy texture. Its richer, slightly earthy flavor holds up well in sautés and soups. Red Russian kale stands out with flat, tender leaves and purple veins; it’s sweeter and softer than most, perfect for raw dishes or quick wilting.
Your climate matters, too: Curly and Lacinato kale are hardy and can tolerate cool temperatures, often surviving light frosts, while Red Russian is especially cold-tolerant but bolts in extreme heat. If you live in a hot area, sow seeds in early spring or fall for best results, and seek heat-tolerant hybrids if summers are intense.
For taste, sample different varieties from local farmers’ markets to see what you like, or experiment with small seed packets. You can source seeds from reputable online stores, which offer a wide range of choices, or check local garden centers for regionally adapted options.
If you want to save seeds or preserve old-fashioned flavors, try heirloom varieties, which breed true and often offer unique tastes and resilience. Hybrids, on the other hand, are bred for specific traits such as disease resistance or faster growth, but their seeds usually won’t produce identical plants. Wherever you buy, always look for fresh, disease-free seeds and check reviews or ratings to avoid disappointment.
By mixing and matching varieties suited to your growing zone and palate, you’ll enjoy vibrant, tasty kale all season long.
Preparing the Soil & Sowing Conditions
Kale thrives best in cool weather, so start by choosing a spot in your garden that gets plenty of sun—at least six hours daily is ideal. If you live in a region with scorching hot summers, some afternoon shade will help prevent the leaves from turning bitter.
The ideal soil for kale is rich, loose, and well-draining, so avoid areas where water tends to puddle after rain. Before planting, test your soil’s pH—a value between 6.0 and 7.0 is best for kale. If your soil is too acidic, mixing in a handful of garden lime can help balance it out.
Work 2–3 inches of compost or well-rotted manure into the top 6 inches of soil to boost fertility and improve texture, especially if your soil is heavy clay or very sandy. Good drainage is crucial, so add extra organic material or plant kale in raised beds if your garden tends to be soggy.
You can sow kale seeds outdoors as soon as the soil is workable in early spring, about 2–4 weeks before the last expected frost. In milder climates, you can direct sow again in late summer for a fall harvest—kale tastes sweeter after a light frost.
If your growing season is short or you want an early start, sow seeds indoors 6–8 weeks before the last spring frost and transplant sturdy seedlings outside once they have two or three sets of true leaves. For gardeners in Zones 8–10, kale can even be grown year-round, sown directly or transplanted any time the temperatures are moderate.
Always keep your future planting site moist—but not soggy—until seeds germinate and young plants get established. With these simple steps, you’ll set up your kale patch for a bounty of nutritious, flavorful leaves.
Sowing & Planting Kale Seeds
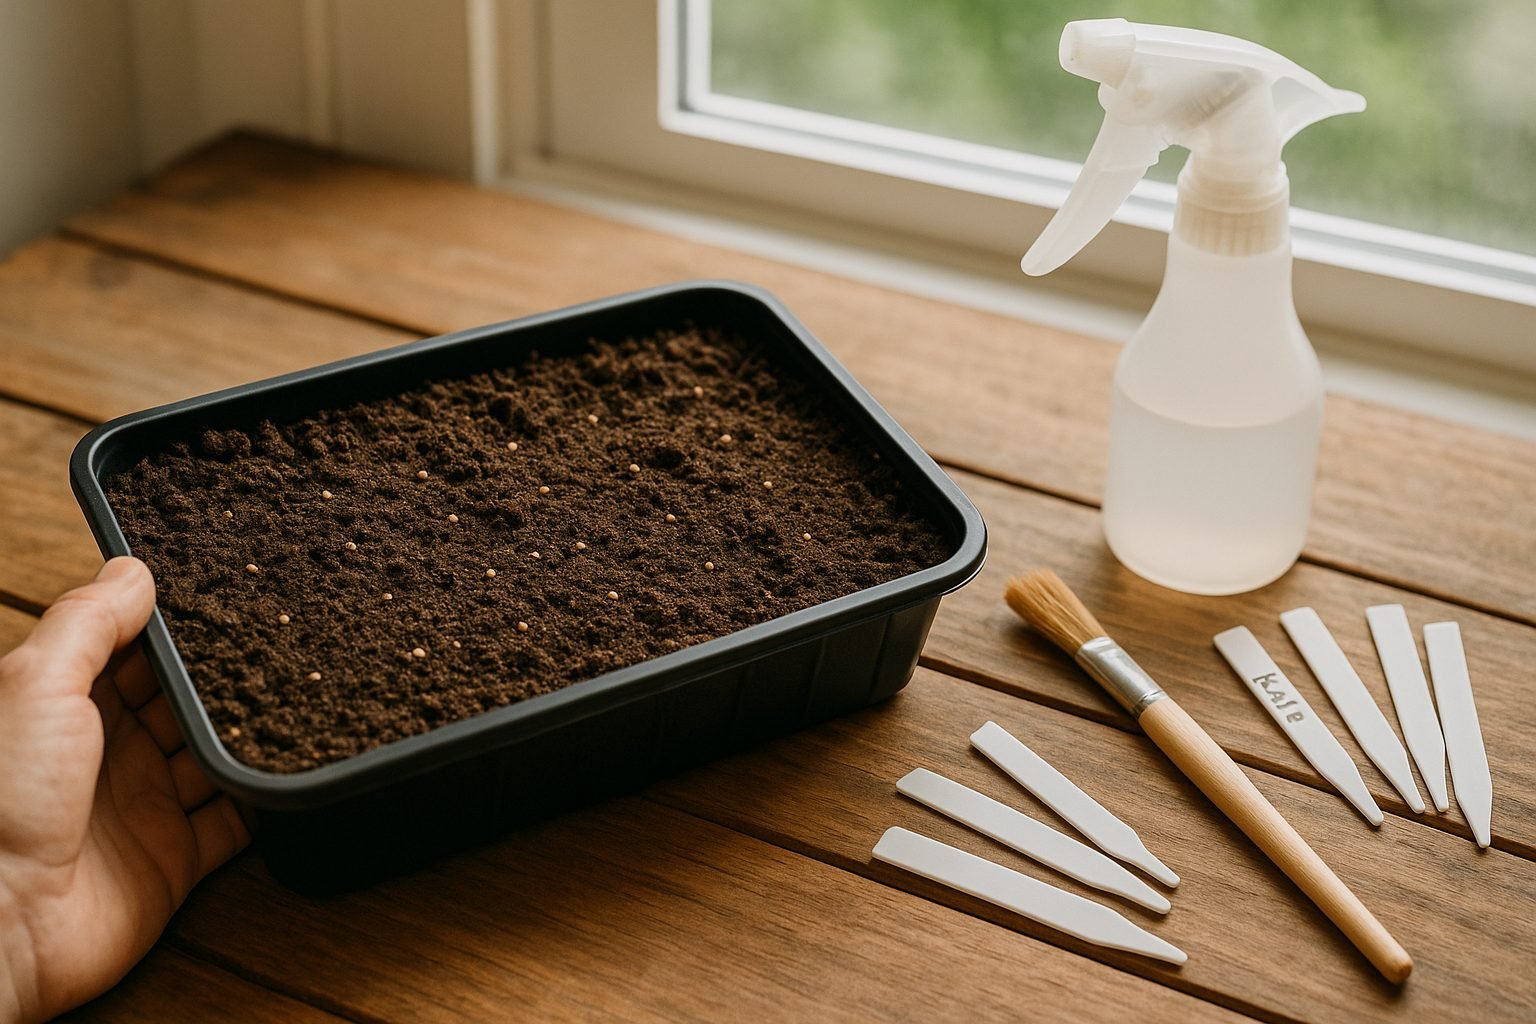
To start kale indoors, fill seed trays or small pots with a quality seed-starting mix, then plant seeds about ¼ inch (0.6 cm) deep. Gently firm the soil and mist with water to keep it consistently moist but not soggy. Space seeds roughly 1 to 2 inches apart to give seedlings some room. Place trays in a bright spot—ideally under grow lights or by a sunny window—keeping temperatures around 65–75°F (18–24°C) for optimal germination, which usually takes 5–10 days.
For direct outdoor sowing, wait until about 2–4 weeks before your last frost date. Plant seeds ¼ inch deep in rows spaced 18–24 inches apart, thinning seedlings to 12–18 inches once they have a few true leaves. Water the soil well after sowing and keep it moist during germination, checking daily—especially in warm or windy weather.
Once indoor seedlings have grown 3–4 true leaves and outdoor conditions have stabilized, gradually harden them off by moving them outside for a few hours each day. Increase the time over a week to help prevent transplant shock. When transplanting, dig a hole big enough for the seedling’s root ball, space them 12–18 inches apart, and water thoroughly. Mulching around the base can help retain moisture and suppress weeds.
Remember, young kale prefers cooler temperatures, so starting early and protecting seedlings from harsh afternoon sun will give your plants the best head start.
Caring for Young Kale Plants
To help young kale plants thrive, start with a consistent watering routine—aim for about one inch of water per week, either from rainfall or supplemental watering. Keep the soil evenly moist but not soggy, and use a gentle spray to avoid disturbing tender roots.
Mulching is a game-changer: layering straw, shredded leaves, or grass clippings around the base of the seedlings helps retain moisture, suppress weeds, and regulate soil temperature, which is especially important for such delicate plants.
As your kale seedlings grow, thin them out so each plant stands 8 to 12 inches apart. Though it may seem harsh to remove healthy sprouts, giving each plant enough space encourages robust leaf growth and better airflow, reducing the risk of disease.
When it comes to feeding, begin with a balanced, organic fertilizer about three weeks after planting. Look for one higher in nitrogen to support leafy growth, and follow product directions to avoid over-fertilizing, which can lead to weak stems or bitter leaves.
To safeguard your seedlings from frost, cover them with row covers, garden fabric, or even upturned plastic containers on chilly nights. For heat stress, provide temporary shade with garden cloths or by planting taller companion crops nearby. Be sure to water deeply in the morning to help the plants withstand mid-day heat.
With these practical steps, your young kale will get a strong start and reward you with a season of crisp, healthy leaves.
Managing Pests & Common Problems
Gardeners often encounter a handful of persistent pests and diseases, like aphids, cabbage worms, downy mildew, and clubroot. Aphids cluster under leaves and suck sap, weakening seedlings; blast them off with a hose or introduce beneficial insects like ladybugs, which feast on them.
For cabbage worms—those green caterpillar pests—regularly inspect leaves for small holes and pick worms by hand, or apply Bacillus thuringiensis (Bt), a natural bacteria safe for other creatures.
Downy mildew shows as yellow spots and fuzzy growth on leaf undersides; prevent it by watering at the base, spacing plants for airflow, and clearing debris.
Clubroot, which causes swollen, deformed roots, is harder to manage—avoid it by rotating crops and raising soil pH with garden lime.
Beyond bugs and diseases, seedlings can also struggle:
- If they are leggy (tall, weak stems), they probably need more light—move them to a sunnier spot or use grow lights closer to the plants.
- Stunted growth could signal overcrowding or poor soil. Thin crowded seedlings early, and enrich soil with compost to boost nutrients.
- Pay attention to watering, too; both overwatering and under-watering can stress young plants.
By observing your plants daily and addressing these common troubles early, you’ll give your vegetable garden the best chance to thrive without relying on harsh chemicals.
Harvesting, Storing, & Using Kale
Knowing when and how to harvest your kale is key to enjoying the freshest, tastiest leaves. Start picking kale when the leaves are about the size of your hand, usually 55 to 75 days after planting. Always cut or pinch the outermost leaves from the bottom up, leaving the central bud untouched so the plant keeps growing. Avoid harvesting yellow or damaged leaves—they’re likely past their prime.
Once you’ve gathered your kale, keep it fresh by rinsing gently and patting dry with a paper towel. Store the leaves in a perforated plastic bag or airtight container in the crisper drawer of your fridge; adding a dry paper towel inside will help absorb moisture and prevent sogginess, which keeps kale fresh for up to a week.
When you’re ready to use kale, there’s no need to get fancy! Massage raw kale with a splash of olive oil and lemon juice to soften it for salads, toss chopped leaves into soups or stir-fries, or simply bake them for homemade kale chips. For a quick nutrient boost, blend a handful into your morning smoothie—you’ll barely taste it, but your body will thank you.
By following these simple steps, you can harvest, store, and enjoy garden-fresh kale in meals all week long.
Conclusion
Growing kale from seed is a simple yet rewarding process that suits both beginner and experienced gardeners. To recap, start by selecting a sunny spot with well-draining soil, and sow your kale seeds either directly outdoors or in seed trays indoors a few weeks before the last frost. Keep the soil consistently moist, and thin seedlings to give them enough space to thrive.
As your plants grow, protect them from pests and regularly harvest outer leaves to encourage continuous growth. With just a bit of care, you’ll enjoy an ongoing supply of fresh, nutrient-packed greens right from your garden. Not only does homegrown kale taste better than store-bought, but it’s also packed with vitamins and can be harvested nearly all year with proper planning.
Plus, growing your own food is a satisfying way to connect with nature and reduce your grocery bill. If you have any questions about getting started or want to share your own kale-growing tips, we’d love to hear from you—leave a comment below and join our community of home gardeners!