Introduction
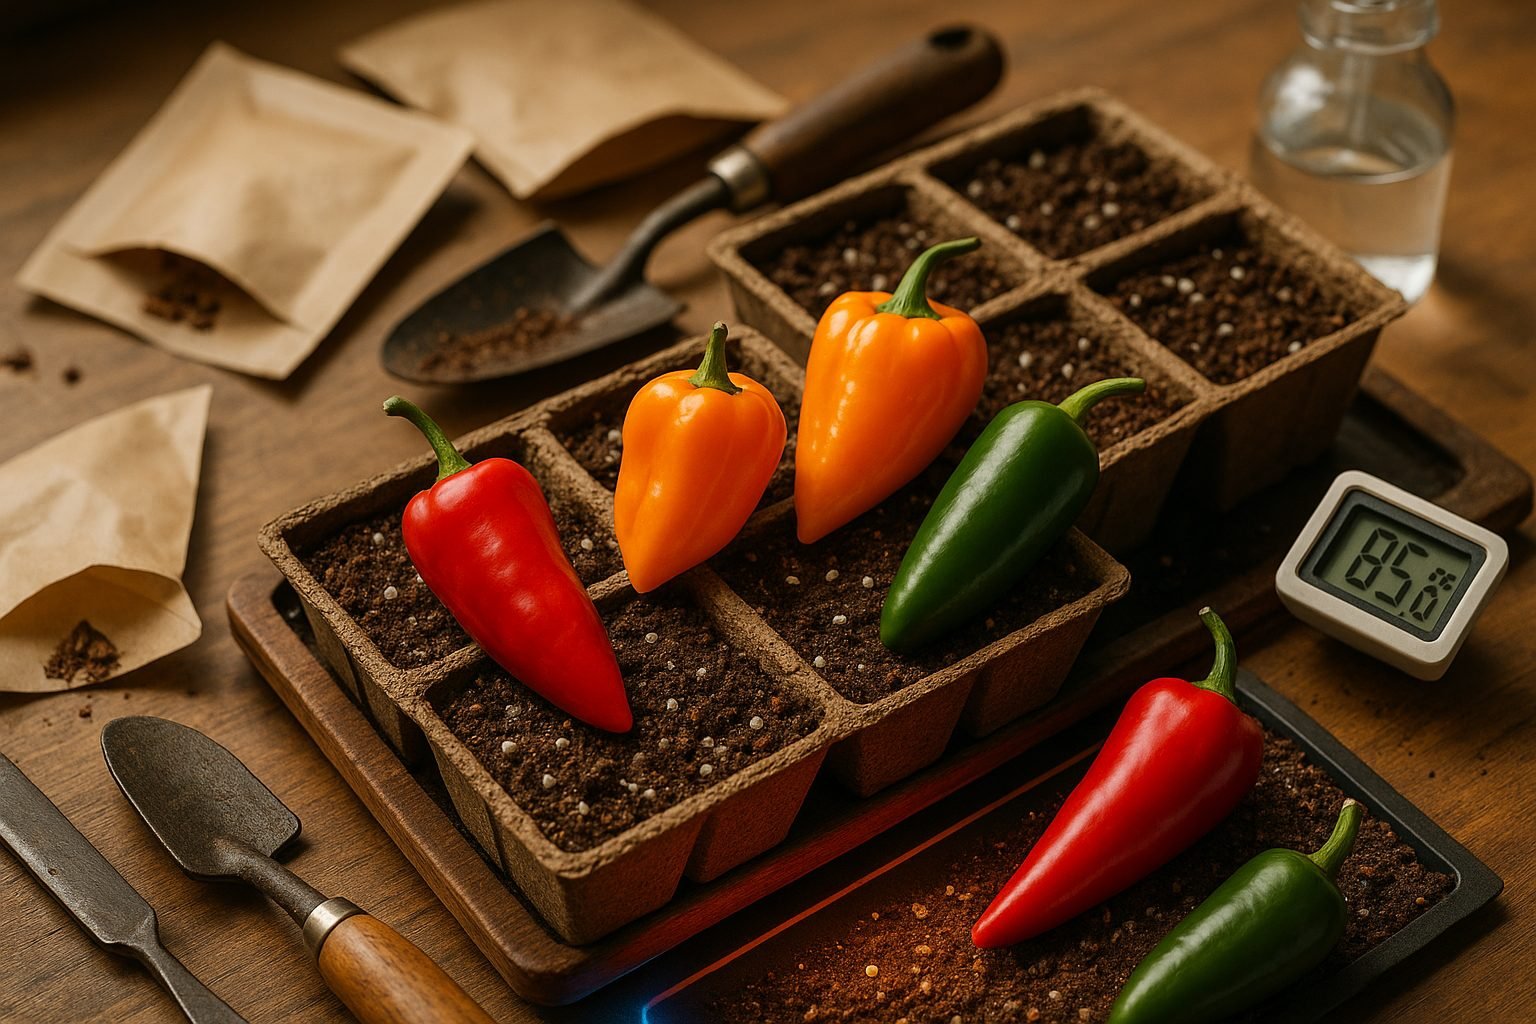
Curious about hot pepper germination time? If you’ve ever wanted to add fiery flavor to your kitchen or garden, growing your own peppers from seed is an exciting and rewarding adventure. Peppers are not only popular for their variety of heat levels and distinct flavors but are also surprisingly versatile—cultivated in pots on apartment balconies, raised beds, or windowsill trays.
Starting peppers from seed gives you more than just bragging rights; it offers access to a wider range of unique cultivars and lets you control each step of the process, from sowing to sprouting. This means you can tailor growing conditions to your specific climate, experiment with rare heirloom varieties, and enjoy a sense of accomplishment as you watch tiny seedlings become productive plants.
But one of the most common questions for beginners is: how long do you really have to wait to see those first sprouts? In this guide, we’ll uncover how long hot pepper germination actually takes, the factors that influence the timeline, and simple strategies to encourage quick, healthy sprouting. By the end, you’ll know exactly what to expect and how to maximize your hot pepper harvest from the very first seed.
Choosing the Right Pepper Varieties
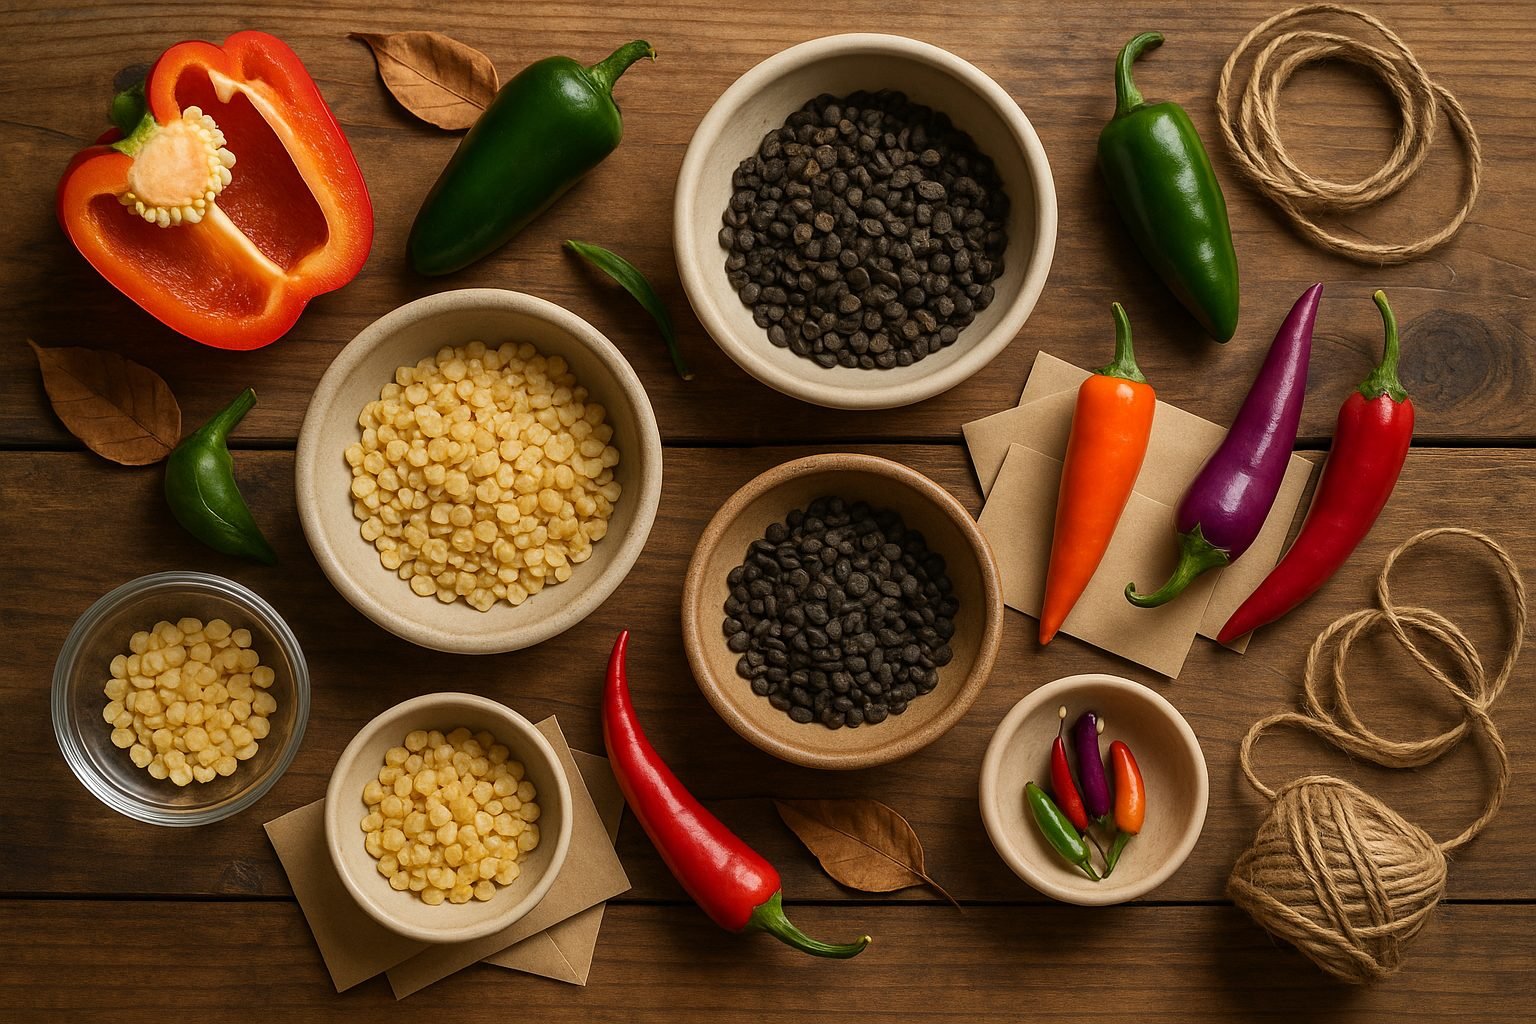
When it comes to choosing the right pepper varieties for your garden, it helps to start by understanding the main categories: sweet, hot, and ornamental. Sweet peppers, like bell peppers and Italian frying peppers, are mild and perfect for salads and stir-fries. Hot peppers include favorites such as jalapeños, cayennes, and habaneros, which add a spicy kick to salsas and sauces. Ornamental peppers, like the colorful ‘Medusa’ or ‘Black Pearl,’ are grown mainly for their striking looks but are sometimes edible too.
Before picking your varieties, think about your local climate—peppers need lots of warmth and sun, so those in cooler climates might prefer early-maturing types, while southern gardeners can try longer-season, heat-loving varieties. Consider how much space you have; compact varieties like ‘Lunchbox’ mini sweets or ‘Patio Fire’ hot peppers are perfect for containers or small gardens.
Your intended use matters, too:
- If you love grilling, go for thick-walled bells.
- For pickling, try ‘Banana’ or ‘Pepperoncini’.
- For drying, ‘Anaheim’ or ‘Thai Bird’ are great choices.
If you’re new to peppers, start with reliable, easy-to-grow varieties such as ‘California Wonder’ for sweet peppers or ‘Jalapeño M’ for mild heat—these are forgiving and produce well in most gardens.
When sourcing seeds, look for reputable suppliers that specialize in heirloom or disease-resistant types. Check reviews and look for certifications like “non-GMO” or “organic” if that’s important to you. Local garden centers, seed exchanges, or trusted online retailers are all good options. High-quality seeds will have high germination rates and produce vigorous plants, so don’t be tempted by unknown ultra-cheap options.
Starting with the right varieties and sources can make all the difference for a productive, fun pepper-growing experience.
When and How to Start Pepper Seeds Indoors
Starting pepper seeds indoors is a rewarding way to get a jump on the growing season, but timing is everything. The best time to sow pepper seeds indoors is 8–10 weeks before your area’s average last frost date—so check your local frost calendar to pinpoint the right window.
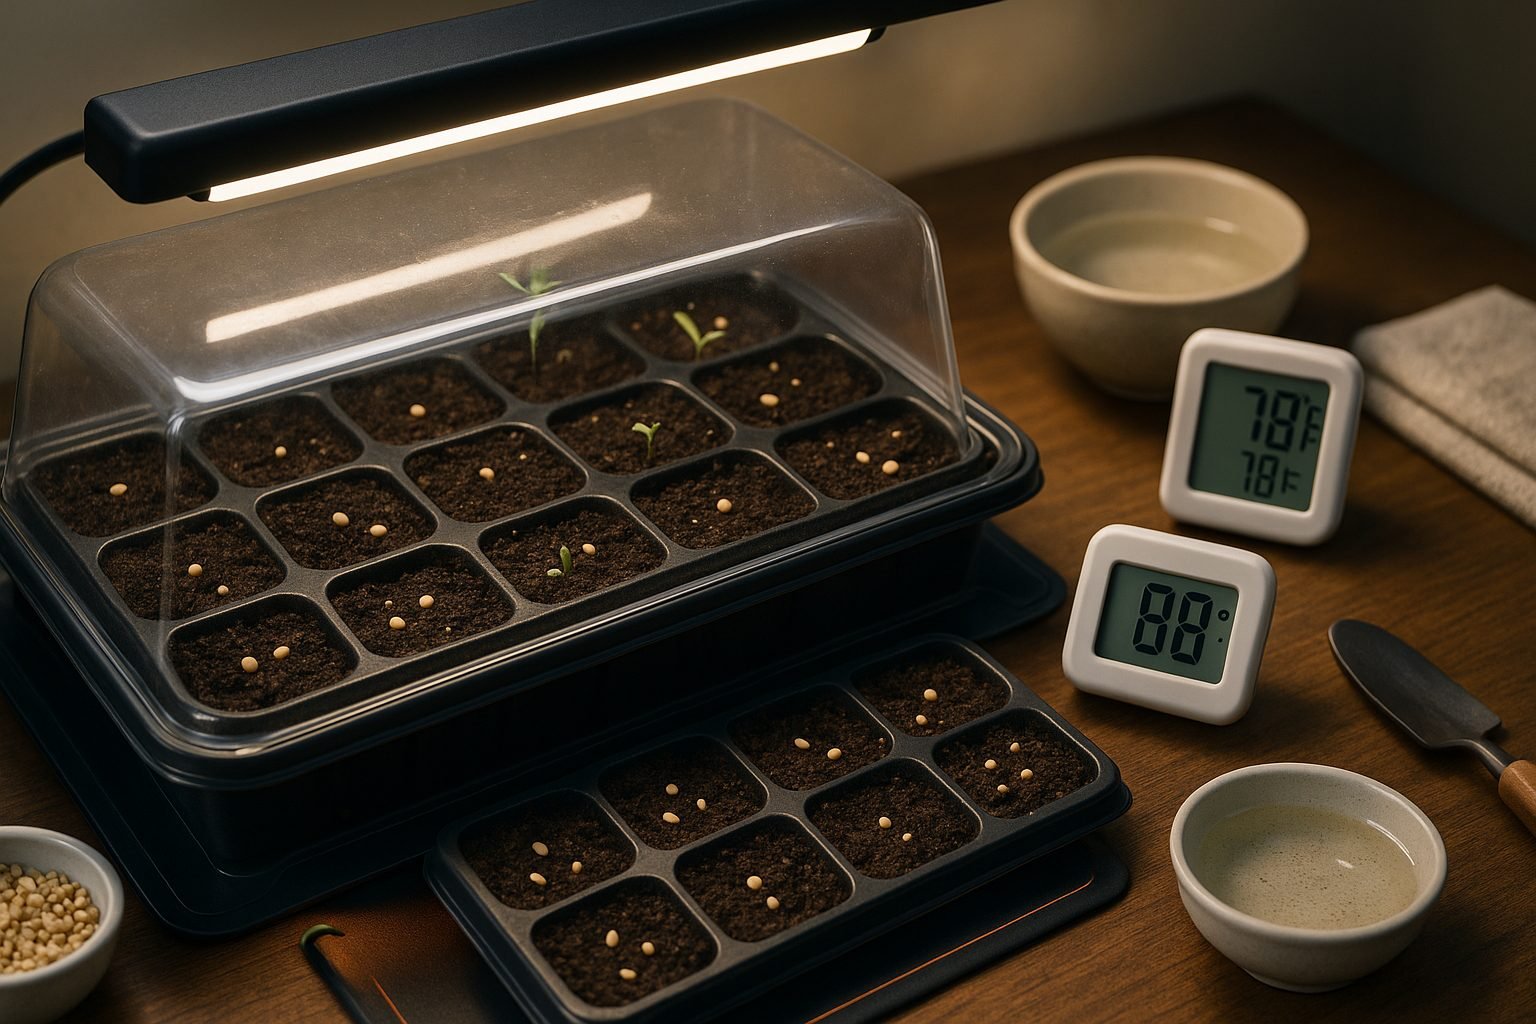
To begin, choose seed-starting trays or small pots with drainage holes and fill them with a sterile seed-starting mix rather than garden soil, which can harbor disease. Plant the seeds about 1/4 inch deep and gently firm the soil over them. Give each seed about 1–2 inches of space to prevent crowding; if using larger trays, sow seeds two inches apart.
Some gardeners like to soak pepper seeds in warm water for 8–12 hours before planting to speed up germination, as pepper seeds have tough outer shells. While this step isn’t strictly necessary, it can help older or slow-to-sprout seeds wake up faster.
Once planted, keep the soil consistently moist but not soggy—covering the trays with a clear lid or plastic wrap helps maintain humidity during the critical germination stage. Peppers are warmth-lovers, so aim to keep the soil temperature between 75–85°F (24–29°C); using a seedling heat mat can make a big difference if your space runs cool.
After seeds sprout—usually in 7–14 days—move them to a bright, warm spot. Pepper seedlings need 12–16 hours of light per day, ideally from a grow light positioned just a few inches above the tops of the plants.
With attention to timing and these simple steps, you’ll be well on your way to healthy pepper plants ready for transplanting when outdoor conditions are right.
Ensuring Successful Germination
Getting seeds to sprout successfully starts with choosing the right soil or growing medium. Aim for a mix that is light, airy, and drains well—think seed-starting mixes made of peat moss, coconut coir, and a bit of perlite. These help seeds breathe and prevent waterlogging. Avoid using regular garden soil, as it’s often too dense and can harbor diseases that harm fragile seedlings.
Warmth is key: most seeds germinate best between 65°F and 75°F (18°C–24°C). You can place trays on a heat mat or near a warm window, but avoid direct, harsh sunlight that dries out the top layer quickly. Keep the soil evenly moist but never soggy. A gentle misting with a spray bottle works well, and covering your tray with a clear plastic lid or wrap can help retain moisture until seeds sprout.
If seeds are slow to germinate, double-check that the temperature is warm enough and that they haven’t dried out—erratic moisture is a common cause of poor results. Mold or a sour smell signals too much water; air things out and reduce watering if needed.
Most seeds take 5–14 days to germinate, though some, like peppers or parsley, can take up to three weeks, so patience is important. During this time, look for tiny green shoots just breaking the soil surface. Once they appear, remove plastic covers to give seedlings fresh air and help prevent damping-off disease.
Don’t get discouraged by a few stragglers—it’s normal for seeds to sprout at slightly different times even in perfect conditions. By paying attention to your growing medium, warmth, and moisture, you’ll give your seeds the best possible start.
Caring for Pepper Seedlings
Once your pepper seeds have sprouted, giving them proper care is key to growing strong, healthy plants. Make sure seedlings get plenty of bright light—ideally 14-16 hours daily from a grow light or a sunny south-facing window—to prevent them from becoming spindly and weak.
If multiple seedlings emerge in one cell or pot, thin them out by snipping the weaker ones at the soil line, leaving only the strongest to continue growing. Improved airflow helps ward off fungal diseases; run a small fan gently nearby or leave some space between seedlings to keep the air moving.
As the seedlings develop two or three sets of true leaves and roots begin to peek out from the drainage holes, it’s time to gently transplant them into bigger pots, such as 3- to 4-inch containers, so they have room to grow. Handle them carefully by the leaves, not the delicate stems, to avoid damage.
Watch out for problems like “damping off” (seedlings suddenly collapsing at the soil line), which can be avoided by using sterile soil and watering from the bottom. Yellowing leaves often signal overwatering, while stretched, pale stems mean they’re not getting enough light.
Once seedlings have grown their first set of true leaves, you can start fertilizing with a half-strength liquid fertilizer every two weeks to encourage strong, steady growth. With these simple steps, your pepper seedlings will be well on their way to producing a fruitful harvest.
Transplanting Outdoors and Ongoing Care
Transplanting your pepper seedlings outdoors is a rewarding step, but timing and preparation are key. Wait until all danger of frost has passed—nighttime temperatures should consistently stay above 55°F (13°C) before moving your plants outside.
About a week before transplanting, begin the hardening off process: each day, place seedlings outdoors in a sheltered spot for a few hours, gradually increasing their time and sunlight exposure. This helps plants adjust to outdoor conditions and reduces shock.
Prepare your garden bed by mixing in compost or aged manure for a nutrient boost, and ensure the soil drains well. When setting out your seedlings, space them about 18-24 inches apart to give each plant ample airflow and room to grow; crowding can promote disease.
Water your transplants thoroughly after planting and maintain a consistent routine, aiming to keep soil consistently moist but not soggy—peppers dislike both drought and waterlogged roots. Laying down a 2-3 inch layer of organic mulch, such as straw or shredded leaves, helps retain soil moisture, suppress weeds, and regulate temperature.
Keep an eye out for pests like aphids, cutworms, or flea beetles; row covers, hand-picking, and neem oil sprays can all help if trouble arises.
As your peppers grow, some taller varieties may need extra support—a simple stake or tomato cage keeps stems upright and prevents branches from breaking under heavy fruit.
With a little diligence, your pepper plants will thrive in their new outdoor home and reward you with an abundant harvest.
Harvesting and Saving Seeds
Harvesting mature peppers is all about timing and careful handling. Peppers are generally ready when they reach their full color—whether red, yellow, or orange—and feel firm to the touch. Use garden snips or scissors to cut them off the plant, leaving a short stem to help prevent damage.
To save seeds, slice the pepper open and gently scrape out the seeds onto a plate. Spread them out in a single layer and let them air dry for about a week, stirring daily to prevent mold. Once dry, store the seeds in a paper envelope or glass jar, label them with the variety and date, and keep them in a cool, dark, dry place like a pantry or closet. Properly stored pepper seeds can remain viable for up to four years.
Homegrown peppers are delicious and versatile—you can add sliced fresh peppers to salads, stuff them with cheese or grains for a hearty meal, or dry and crush them to make homemade chili flakes. If you have extra, freeze chopped peppers for soups and stir-fries throughout the year. With a little planning, you’ll enjoy the flavors of your garden long after the growing season ends.
Conclusion
Growing peppers from seed can feel challenging at first, but patience and a willingness to experiment are key for beginners. Every gardener faces a learning curve, so don’t be discouraged if your first batch isn’t perfect—each season brings new opportunities to refine your process and try different pepper varieties.
The reward of harvesting homegrown peppers, knowing you nurtured them from tiny seeds, is truly satisfying. As you wrap up your current pepper adventure, start thinking about what you’d like to grow next. Planning ahead keeps the excitement alive and helps you build on your experience for even better results.