Introduction
Cold weather cauliflower offers a unique opportunity for gardeners willing to take on a bit of a challenge for a delicious reward. Cauliflower is a cool-season crop celebrated for its crisp texture and versatility, yet it can be notoriously sensitive to temperature changes. Both heat and inconsistent cold can impact head formation and flavor.
The key challenges for successful cold weather cauliflower include choosing the right variety, timing sowing and transplanting perfectly, and giving the plants extra care to withstand colder climates. Frost damage, uneven growth, and pest pressures are common hurdles, but with a thoughtful approach, you can overcome them.
In this guide, we’ll walk you through every stage of the process—from selecting resilient cold weather cauliflower varieties to preparing soil and protecting young seedlings from harsh elements. Our aim is to break down each step to empower you to nurture strong, healthy heads no matter how low the temperature dips.
With a bit of planning and some proven tips for cold-climate success, you’ll transform these gardening challenges into a season of satisfying, homegrown harvests.
Choosing the Right Cauliflower Varieties and When to Plant
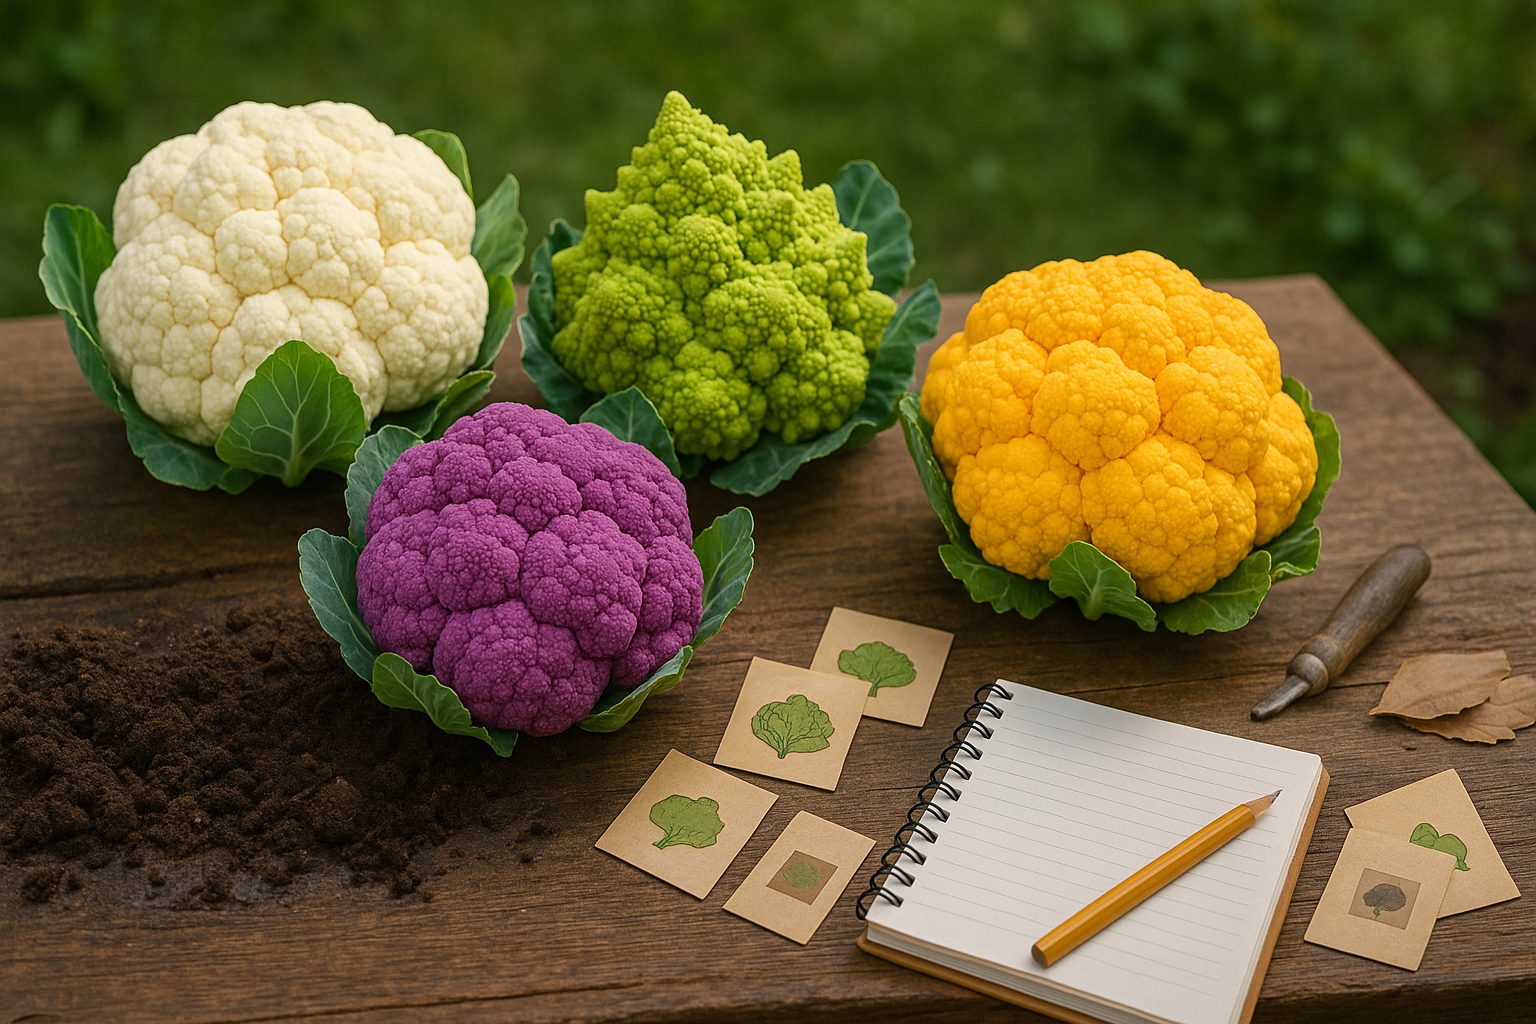
When it comes to growing cauliflower, choosing the right variety and timing your planting can make all the difference in your harvest. Cauliflower mainly comes in four types—white, purple, green (sometimes called Romanesco), and orange—each with its own unique traits.
White cauliflower is the most common, known for its classic, mild flavor and smooth heads. Varieties like ‘Snowball’ and ‘Amazing’ are favorites for home gardens, especially in cooler climates. Purple cauliflower, such as ‘Graffiti,’ stands out with its vibrant color and slightly nuttier taste, and it packs a healthy dose of antioxidants.
Green cauliflower includes stunning varieties like ‘Romanesco,’ which form beautiful spiral heads and thrive in similar conditions as white types. Orange cauliflower, such as ‘Cheddar,’ is noted for its sweeter flavor and higher beta-carotene content.
For those in colder regions, opt for early-maturing types like ‘Snow Crown’ or ‘Self-Blanche,’ as they can withstand spring chills. If you live in a warmer area, look for heat-tolerant varieties, like ‘Veronica’ or ‘Green Macerata,’ which won’t bolt in the heat.
Timing your planting is crucial because cauliflower grows best in cool weather—it needs a long, steady stretch of mild temperatures between 60 and 70°F (15–21°C). For spring harvests, start seeds indoors six to eight weeks before your last frost, then transplant after the danger of frost has passed. In hotter climates, late summer plantings for fall harvest work best because they avoid the summer heat, giving plants time to mature as temperatures drop.
If your summers are short, try fast-maturing varieties so you don’t miss the optimal growing window. No matter your climate, protecting plants from heat spikes and cabbage pests can be the key to a crisp, delicious harvest. If you’re new to cauliflower, experiment with a few types in your first season—it’s the best way to find a variety that thrives in your garden and suits your taste buds.
Preparing Your Garden: Location, Soil, and Sowing
Choosing the right spot for your garden sets the stage for a bountiful harvest. Look for an area that gets at least six hours of sunlight a day—most vegetables thrive in full sun, while leafy greens can handle a bit of shade. Avoid low-lying spots with poor drainage; soggy roots can quickly ruin a crop. It’s wise to plant where buildings, fences, or trees offer some wind protection, but be careful not to create too much shade.
Once you’ve picked your site, it’s all about prepping the soil. Test your soil’s pH with an inexpensive kit from a garden center—most veggies prefer a neutral range around 6.0 to 7.0. If your soil’s too acidic or alkaline, simple amendments like lime or sulfur can get it back on track. Boost fertility by working in plenty of organic matter, such as compost or well-rotted manure, in early spring. This not only feeds your future plants but improves texture and drainage.
When it comes to sowing seeds, you have two main options: starting indoors or direct seeding outdoors. Starting seeds indoors gives heat-loving crops like tomatoes, peppers, and eggplants an early jump—use seed trays placed near a sunny window or under grow lights, and transplant once the weather warms. For crops like beans, carrots, and radishes, direct sowing outdoors is easiest, as these plants dislike being moved after sprouting.
Always check the seed packet for recommended spacing distances—crowded plants compete for light and nutrients, while too much space allows weeds to sneak in. For a handy trick, lay down a string to create straight rows and use a ruler or garden tool to keep seed spacing accurate.
By setting up your garden with careful site selection, well-prepared soil, and thoughtful sowing, you’ll give your plants the best possible start.
Growing Strong Seedlings and Transplanting
Germinating healthy cauliflower seedlings starts with high-quality seeds and clean trays or pots filled with seed-starting mix. Indoors, sow seeds about a quarter-inch deep, mist them with water, and place them somewhere warm (around 70°F/21°C works best) to encourage sprouting. Make sure to keep the soil consistently moist but never soggy, as too much water can lead to damping-off disease.
If you’re starting seeds outdoors, wait until the soil can be worked—typically three to four weeks before your area’s last spring frost. Outdoor sowing works best in well-draining, loose garden soil, but be aware that an unexpected cold snap could affect germination.
Once your seedlings have two or three sets of true leaves and are about 4–6 weeks old, they’re ready for transplanting. Before planting out, you’ll want to harden off your seedlings: gradually expose them to outdoor conditions for about a week by moving them outside for a few hours each day, slowly increasing their exposure to sun and wind. This step is crucial and helps prevent shock that can stunt growth or even kill delicate plants.
When it’s time to transplant—usually when daytime temperatures stay above 50°F (10°C)—pick a cloudy day or late afternoon to minimize stress. Plant each seedling 18–24 inches apart in rows spaced 2–3 feet apart. Make sure to place seedlings at the same depth as they were growing in their containers, and firm the soil gently around the base. Water thoroughly to settle the roots in, and add mulch if possible to keep soil moisture even.
With these careful steps, your cauliflower seedlings will have the best start for strong growth and a plentiful harvest.
Essential Care: Watering, Feeding, and Maintenance
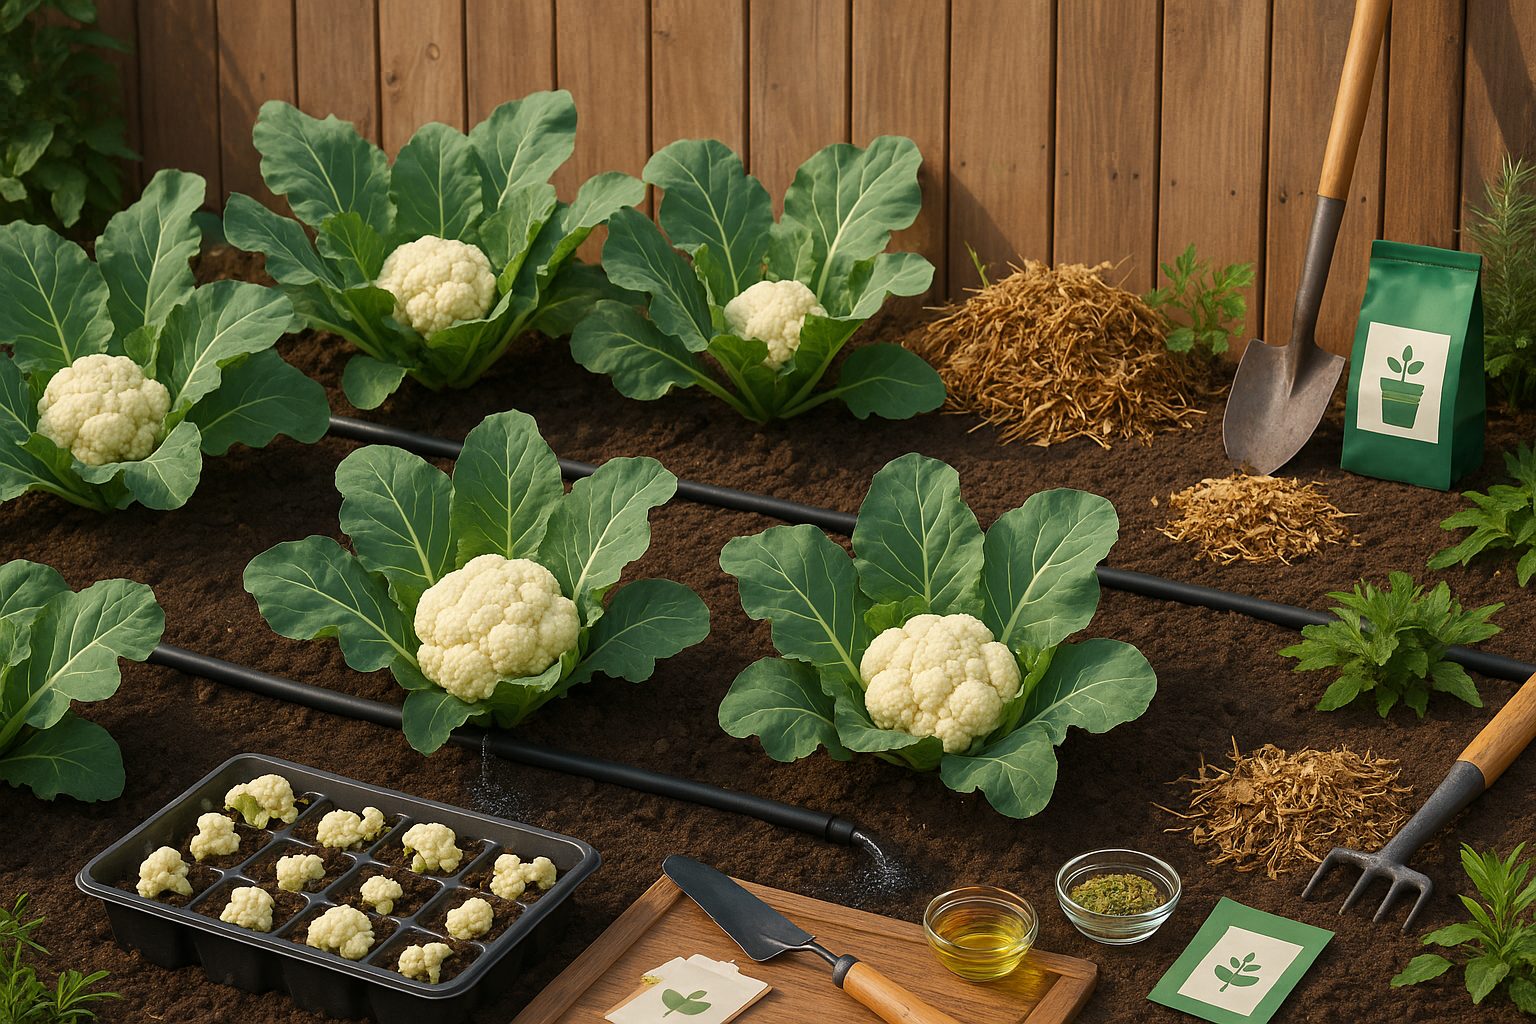
Getting watering right is crucial for healthy cauliflower growth—aim for consistent moisture, but avoid soggy soil. Water deeply once or twice a week, providing about 1 to 1.5 inches of water each time, adjusting based on rainfall and your soil’s drainage. The goal is to keep the soil evenly moist, especially during dry spells or while the heads are forming, to prevent issues like split or bitter-tasting heads. Drip irrigation or a soaker hose works best, delivering moisture directly to roots while minimizing leaf wetness (which can lead to disease).
When it comes to feeding, cauliflower is a heavy feeder that thrives with nutrient-rich soil. Before planting, mix a balanced fertilizer (such as 10-10-10) or well-rotted compost into the soil. After the plants are established and show several true leaves, side-dress with a nitrogen-rich fertilizer like blood meal or a urea solution—this can boost leafy growth and head development. Repeat side-dressing every three to four weeks until harvest, but avoid over-fertilizing, which can cause leafy but poorly formed heads. Apply fertilizer a few inches from the base and gently work it into the topsoil before watering.
In addition to watering and feeding, maintenance practices make a big difference in plant health.
- Apply a two- to three-inch layer of organic mulch (like straw, shredded leaves, or wood chips) around your cauliflower to help conserve moisture, regulate soil temperature, and reduce weed competition. Mulch also breaks down gradually, feeding the soil as it decomposes.
- Stay vigilant with weeding—remove weeds by hand or with a hoe as soon as they appear, especially when plants are young, to prevent competition for water and nutrients. Be gentle around shallow roots to avoid disrupting them.
- Keep an eye out for pests like aphids and cabbage worms, removing them by hand or using row covers if needed.
Consistent care—regular watering, timely feeding, proactive mulching, and attentive weeding—will give you sturdy, vibrant cauliflower that’s ready to harvest and enjoy.
Cauliflower Troubleshooting: Pests, Diseases, and Growing Problems
Growing cauliflower can be incredibly rewarding, but it’s not without its challenges—especially when pests, diseases, or environmental hiccups pop up. Common pests to watch for include cabbage worms, aphids, and root maggots.
Cabbage worms (those green caterpillars you’ll often spot munching holes in leaves) can be hand-picked or deterred with row covers. For a more thorough, organic solution, try applying Bt (Bacillus thuringiensis), a natural bacteria that targets caterpillars but is safe for other insects and humans.
Aphids like to cluster on the undersides of leaves and cause curling or yellowing—blast them off with a strong jet of water or spray plants with a diluted solution of neem oil.
Root maggots, which gnaw at the roots and stunt plant growth, can be deterred by rotating crops each year and applying nematodes to the soil to destroy larvae before they get established.
Dealing with Diseases
Diseases are another hurdle for cauliflower growers, with clubroot, downy mildew, and black rot leading the list.
Clubroot causes swollen, misshapen roots and stunted, wilting plants—if you notice yellowing despite adequate water, gently pull a plant to inspect its roots. Prevent this disease by keeping soil pH above 7 (add lime if needed) and practicing crop rotation.
Downy mildew starts as yellow patches on the upper leaf surfaces, often with white or gray fuzz underneath. Its early spread can be slowed by keeping foliage dry, watering at the base of plants, and spacing them for good airflow.
Black rot appears as yellow V-shaped lesions on leaves that eventually turn brown and die—remove affected plants promptly, avoid overhead watering, and disinfect tools to prevent the spread.
Environmental Challenges
Environmental challenges round out the major issues with cauliflower. Temperature swings, especially hot spells (above 80°F/27°C), can cause ‘buttoning,’ where plants produce tiny, underdeveloped heads instead of large, compact ones. Prevent this by planting early in spring or late summer, so heads mature during cool weather.
Bitterness in cauliflower usually results from drought stress or temperature fluctuations—keep plants evenly watered and mulch around the base to lock in moisture and regulate soil temperature.
Remember, closely monitoring your cauliflower patch and acting early can save your crop from most of these common problems and leave you with heads that are crisp, sweet, and healthy.
Harvesting Cauliflower: When and How for Best Quality
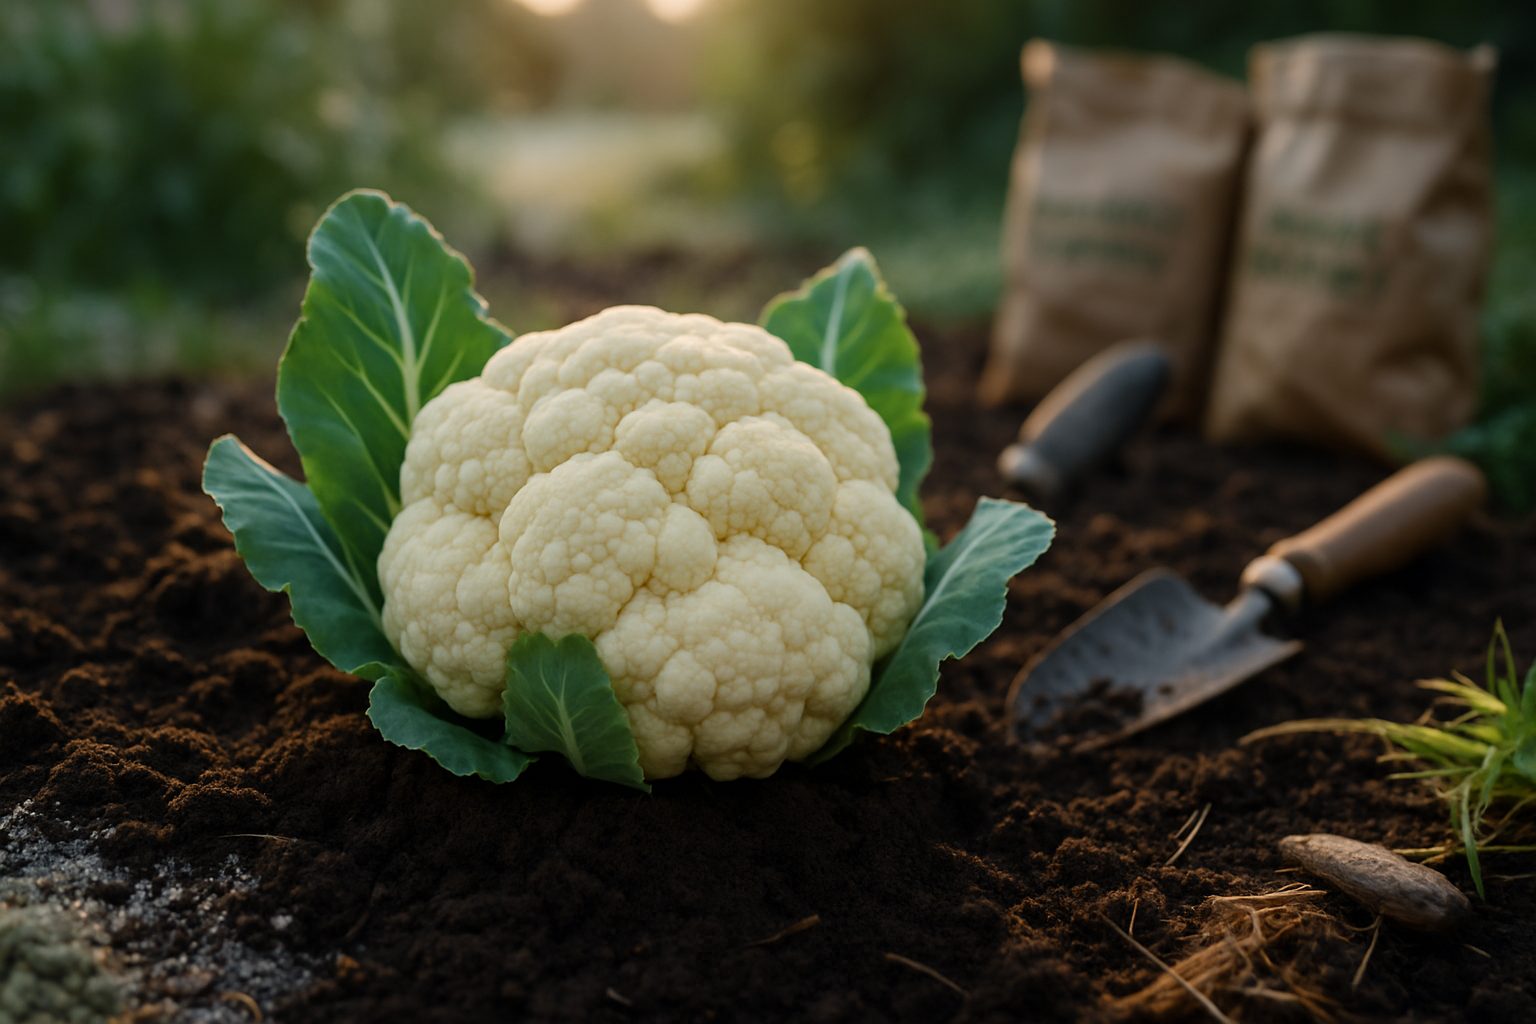
Knowing when to harvest cauliflower is key to getting the best flavor and texture from your crop. The heads, known as “curds,” are ready for picking when they’re compact, firm, and white, typically around 6-8 inches in diameter. You’ll also notice the florets are tightly packed, and the head feels solid when gently squeezed.
Another sign is when the head stops growing noticeably bigger over several days. Don’t wait too long—if you delay harvesting, the heads may begin to open, discolor, or develop a bitter flavor. Oversized or loose curds are clear signs you’ve missed your window.
How to Harvest
To harvest, use a clean, sharp knife to cut the stem about one inch below the head, leaving a few surrounding leaves to help protect the curd during handling. Hold the head gently to avoid bruising, and try to avoid harvesting in the heat of the day to minimize wilting.
After cutting, brush off any dirt and do not wash the curds until you’re ready to use them, as moisture can speed up spoilage.
Storage Tips
For storage, loosely wrap the heads in a paper towel and place them in a perforated plastic bag in the vegetable crisper drawer of your refrigerator. Cauliflower heads keep best at 32-40°F (0-4°C) and can stay fresh for up to two weeks if kept dry and cool.
Regularly check for any soft spots or browning, and remove any leaves or sections that start to go bad. This helps the rest last longer. With these tips, your homegrown cauliflower will stay delicious and crisp until you’re ready to enjoy it.
Tips for Next Level Success & FAQs
Companion planting is a smart, natural way to boost your garden’s productivity and keep pests at bay. For example, planting dill, rosemary, or celery near your main crops can attract beneficial insects that prey on common pests, while marigolds are famous for deterring nematodes and aphids.
Pairing carrots or beets with leafy greens uses space efficiently, as their roots and leaves grow at different soil levels. Another effective method is succession planting — after harvesting early crops like radishes or lettuce, quickly replant the same area with fast-growing vegetables like spinach or bush beans. This keeps your garden working hard all season, ensuring you’re always harvesting something fresh.
Gardeners often wonder why their plant heads turn brown or soft; this usually results from too much moisture, poor air circulation, or direct sun exposure on sensitive varieties. To prevent this, try blanching: gently tie the outer leaves over the heads to shield them from harsh sunlight, which helps preserve their color and tenderness.
For those interested in extending their season, some crops can overwinter if you provide protection with mulch or floating row covers. This works especially well for hardy greens and certain root vegetables, giving you a head start come spring.
By combining these practical approaches, your garden will not only yield more but thrive with less effort.
Conclusion and Encouragement
Starting your own cauliflower garden might seem intimidating at first, especially if you’re new to gardening, but remember that every seasoned grower began right where you are now. Patience is key—cauliflower takes time to mature and won’t always behave as expected, but every season brings new lessons and rewards.
Don’t be discouraged by setbacks like unexpected weather, pests, or heads that don’t form perfectly; these are all part of the journey. Celebrate your progress, even the small wins, like your first seedling sprouting or tasting a homegrown floret.
Experiment with different cauliflower varieties—purple, orange, or the classic white—to find what you enjoy growing and eating the most. Try out new planting or mulching techniques, and don’t shy away from asking questions at your local garden center or looking up tips online.
Gardening is about continuous learning and discovering what works best for you and your space. With a bit of care and curiosity, you’ll soon find the unique satisfaction that comes from harvesting your own fresh cauliflower, right from your backyard or patio.
So dig in, keep growing, and enjoy every step of the process—you’re well on your way to becoming a confident and successful gardener.