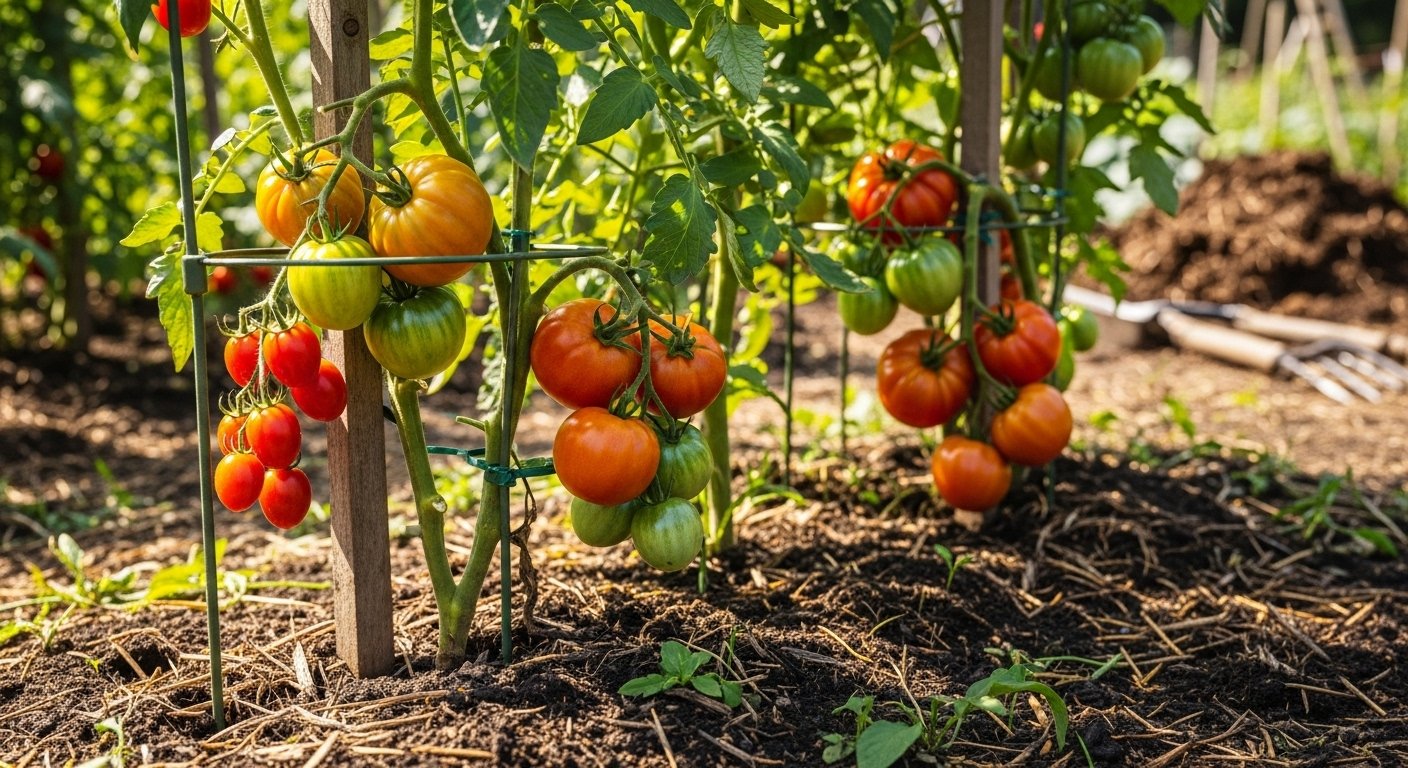
Choosing Your Tomato Variety
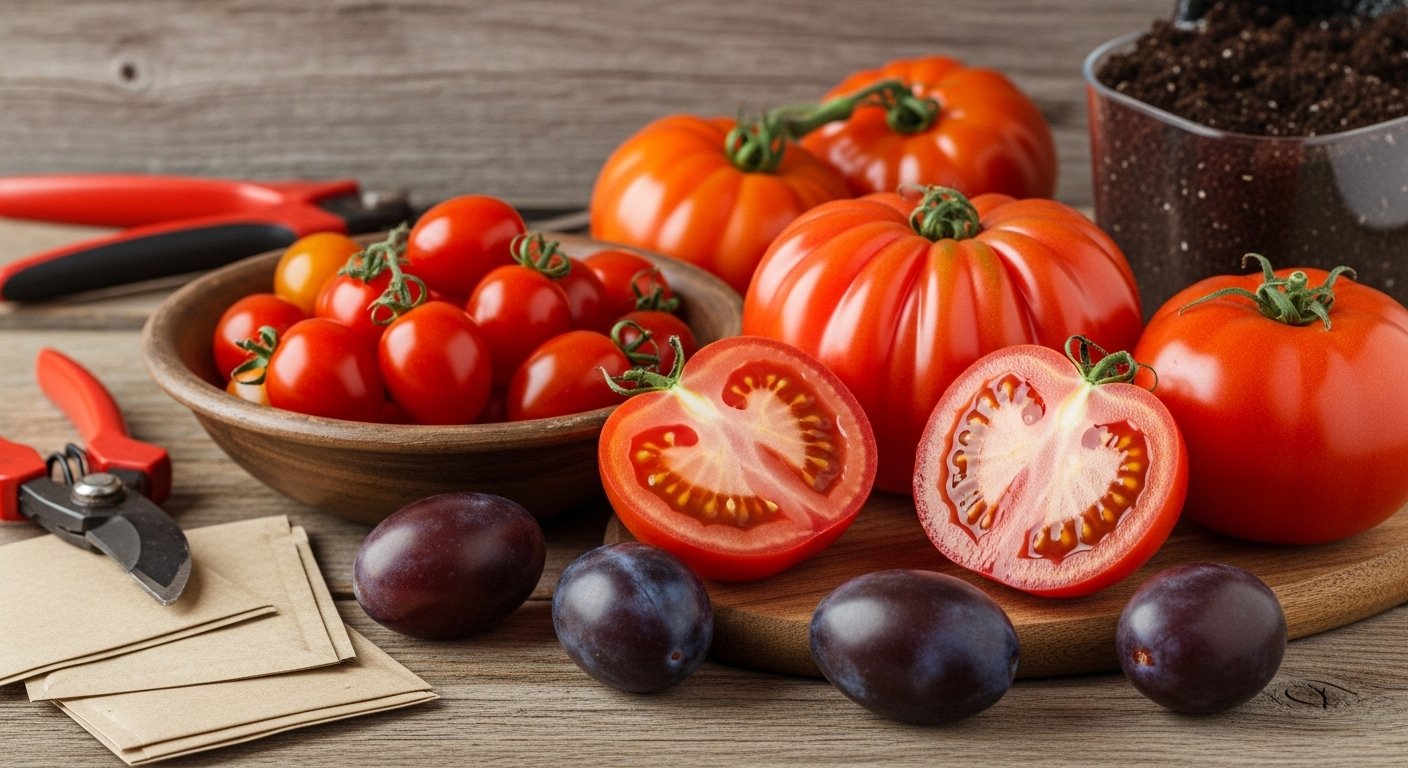
Understanding the different tomato growth stages is key to a successful harvest, but picking the right variety from the start makes all the difference. Tomatoes come in several common types—cherry, beefsteak, and plum—each with its own strengths.
Cherry tomatoes are small, super sweet, and perfect for snacking or salads, while beefsteak tomatoes are large and juicy, making them ideal for slicing on sandwiches. Plum tomatoes, also known as Roma, have firm flesh and fewer seeds, which makes them perfect for sauces and canning.
Beyond type, consider growth habits:
- Determinate varieties grow to a fixed size and produce all their fruit at once—a great choice if you’re short on space or want a quick, predictable harvest.
- Indeterminate types keep growing and flowering all season, offering a steady crop for as long as the weather allows—perfect for gardeners who love fresh tomatoes throughout summer.
Your climate and garden space should guide your selection. Have a shorter growing season or cooler climate? Choose quick-maturing or patio varieties to get ripe fruit before the weather turns. Limited on space? Try compact, determinate plants that flourish in containers or small gardens.
If you love making sauces or canning, go for prolific plum or paste types. For fresh eating, seek out flavorful cherry or heirloom beefsteak options. If you’re a beginner, disease-resistant varieties—look for names like Celebrity, Mountain Magic, or Defiant—can save you frustration and reduce the need for pesticides.
With the right choice tailored to your needs, the tomato growth stages will be smoother and much more rewarding.
Starting Tomatoes: Seeds or Seedlings?
When deciding whether to start your tomatoes from seeds or purchase seedlings, consider your gardening goals, experience, and timing. Starting from seeds lets you choose from countless varieties—think rainbow heirlooms or disease-resistant hybrids—and can be more cost-effective if you plan to grow many plants.
However, seeds require a head start indoors, usually 6–8 weeks before your last expected frost date. That means you’ll need a sunny windowsill or grow lights, plus patience and attention to transplanting fragile seedlings.
On the flip side, buying seedlings from a nursery is convenient and gives you a jump on the season, but options may be limited and plants are often more expensive per pot.
Tips for Starting Seeds Indoors
- Sow seeds in small pots with quality seed-starting mix.
- Keep the soil consistently moist.
- Provide bright light to prevent leggy growth.
Preparing Seedlings for the Garden
Begin hardening off both homegrown and store-bought seedlings by gradually exposing them to outdoor conditions about a week before planting. Always wait until the danger of frost has truly passed and nighttime temperatures stay above 50°F (10°C) before moving tomatoes to the garden. This careful timing gives your plants the strongest start for a bountiful harvest.
Planting Your Tomatoes
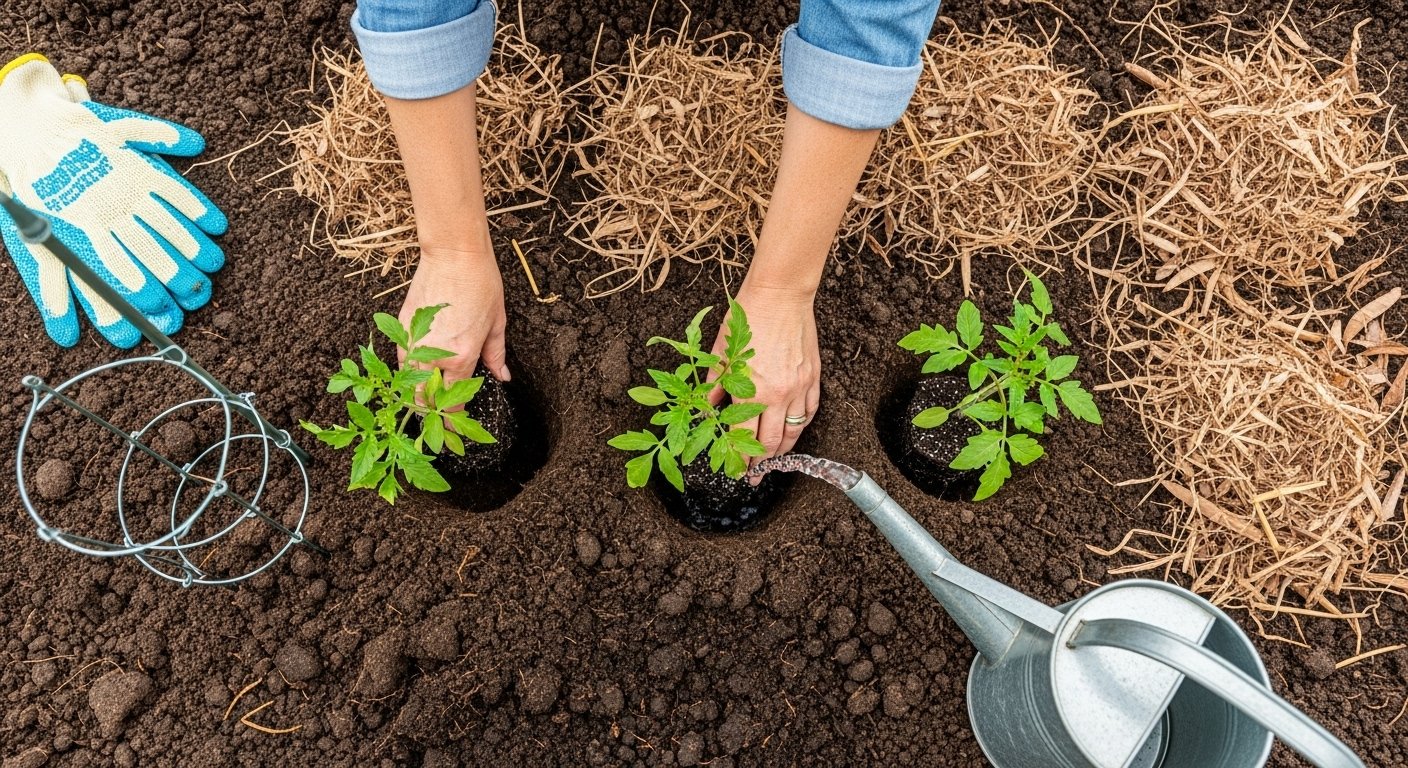
For the best tomato harvest, choose a sunny spot that gets at least 6-8 hours of direct sunlight each day—tomatoes thrive in warmth. They prefer loose, well-draining soil enriched with compost or organic matter, with a slightly acidic to neutral pH (6.2 to 6.8). Avoid low, soggy areas that hold water, as good drainage is key.
Wait to plant outdoors until the danger of frost has passed and nighttime temperatures stay above 50°F (10°C). When you’re ready to plant in either garden beds or containers, dig a hole deep enough to bury two-thirds of the tomato stem (even up to the first set of leaves); this encourages a strong root system. Space plants about 24-36 inches apart in the bed or use a 5-gallon container per plant.
Immediately add a stake or tomato cage for support—it’s easier to install early than after plants sprawl. Water each plant thoroughly to help settle the soil around the roots, but avoid soaking the leaves to prevent disease.
After planting, spread a 2- to 3-inch layer of mulch such as straw or shredded leaves around the base to conserve moisture and keep weeds down. These steps will start your tomatoes off strong, whether you’re growing just a few in pots or filling up a whole garden row.
Tomato Plant Care Basics
Caring for tomato plants doesn’t have to be complicated, but a few basics will really boost your harvest. First, water deeply and consistently, aiming for about 1-2 inches per week—early morning is best to avoid diseases and leaf scorch. Use a soaker hose or drip irrigation if you can, as wet leaves make plants prone to blight.
Fertilize once every 3-4 weeks with a balanced fertilizer, switching to one with more phosphorus once the plants set fruit. Mulching with straw, compost, or grass clippings helps retain moisture, keeps roots cool, and prevents weeds.
Tomato plants need sturdy support—use stakes, cages, or trellises to keep fruits off the ground and avoid rot or pests. Stakes can be simple wooden posts; tie stems loosely using garden tape or old pantyhose. Cages are great for bushy varieties, and trellises work if you want vertical gardens or have limited space.
For indeterminate tomatoes, regular pruning is key: pinch off small shoots, known as suckers, that grow between the main stem and side branches. Removing suckers channels the plant’s energy into making bigger, healthier fruits and also improves airflow, reducing disease risk. Just be careful not to over-prune—leave a few strong branches to support fruit development.
With these foundational steps, even new gardeners can enjoy a bountiful tomato crop.
Dealing with Tomato Pests and Problems
Tomatoes attract pests and diseases, but quick action can keep your plants thriving. Common pests like aphids and tomato hornworms often show up just as your plants are growing strong.
For aphids, try knocking them off stems with a blast of water or introduce ladybugs, their natural enemy. Handpick hornworms in the early morning or use Bacillus thuringiensis (Bt), a natural bacteria that’s safe for tomatoes.
Diseases like early blight cause dark spots on leaves and spread quickly in wet conditions. Prevent this by watering at the base, ensuring good air circulation, and mulching heavily to reduce soil splash.
Blossom end rot happens when the bottom of the fruit turns black. It’s caused by inconsistent watering or calcium deficiency. To fix this, keep soil evenly moist and add crushed eggshells or agricultural lime if needed.
Watch for yellowing leaves or stunted growth, which are signs of nutrient deficiencies:
- Yellow leaves can signal a lack of nitrogen. Top-dress with compost or use a balanced fertilizer.
- Purple leaves or poor fruit set often mean a phosphorus shortage, which can be corrected with bone meal or fish emulsion.
Regularly inspect your plants, remove any damaged foliage, and rotate crops each year to prevent recurring issues. With a little observation and early intervention, you can manage most tomato problems naturally and enjoy a healthy, productive harvest.
From Flowers to Harvest: The Tomato Life Cycle
The tomato’s journey from flower to juicy fruit is a fascinating process that’s easy to follow with a keen eye. It begins when your tomato plants burst into bright yellow flowers—a signal that pollination is near. Most tomatoes are self-pollinating, meaning each flower contains both male and female parts, so a gentle breeze or a light shake can help the pollen reach where it needs to go.
Once pollinated, you’ll spot tiny green tomatoes forming—this is the fruit set stage. As weeks pass, these small orbs grow, gradually shifting in color, signaling the ripening process.
Watch for that telltale shade: when tomatoes have deepened to their variety’s true hue (rich red, golden yellow, or even deep purple) and resist only gently when squeezed, they’re ready for picking. For the best flavor, harvest them in the cool of the morning by gently twisting the fruit until it snaps free, taking care not to damage the vine.
If you must pick tomatoes before they’re fully ripe—perhaps to avoid splitting from heavy rain—let them finish ripening indoors at room temperature, out of direct sunlight. Avoid refrigerating freshly picked tomatoes, as cold can dull their flavor and texture; instead, store them stem side down on a countertop.
With the right timing and a little know-how, you can enjoy tomatoes at their very best—sweet, sun-warmed, and bursting with homegrown flavor.