Introduction to Swiss Chard
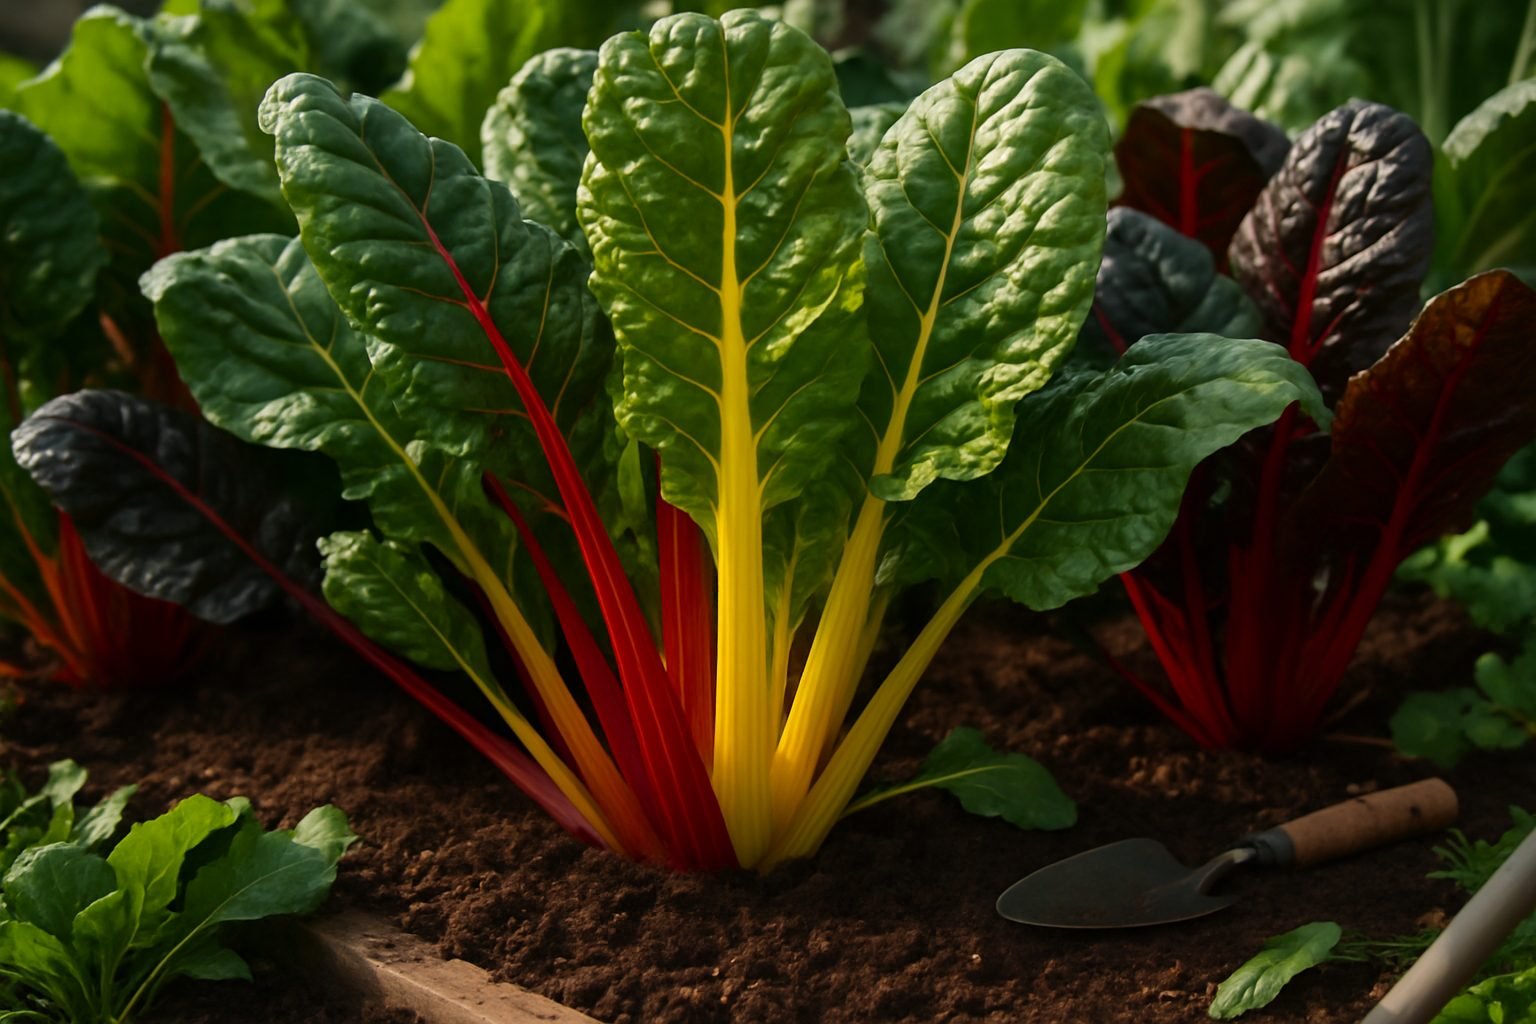
If you’ve found your swiss chard not growing as you hoped, you’re not alone—this vibrant leafy green is a staple for many home gardeners precisely because of its reliability and rewards. Swiss chard, with its lush, glossy leaves and strikingly colorful stems in shades of ruby, gold, and chartreuse, effortlessly elevates both vegetable patches and ornamental beds.
Its beauty isn’t just skin-deep; Swiss chard is packed with vitamins A, C, and K, plus magnesium, potassium, and iron, making it as nutritious as it is eye-catching. Antioxidants like beta-carotene and flavonoids further boost its health profile, supporting everything from vision to heart health.
Beyond its impressive nutritional value, Swiss chard shines in the kitchen. Its tender leaves and crisp stalks adapt well to salads, sautés, soups, and even smoothies. You’ll find it slides seamlessly from a colorful centerpiece in a raw dish to a savory accent in cooked meals—perfect for busy gardeners seeking both convenience and nutrition.
Its adaptability, high yield, and tolerance for a range of growing conditions make Swiss chard a beloved choice for anyone hoping to combine garden aesthetics with a bountiful harvest. Whether you grow it for its leafy beauty or health benefits, Swiss chard is truly a garden MVP—if it’s not thriving, it’s worth investigating why.
Choosing the Right Variety and Preparing for Planting
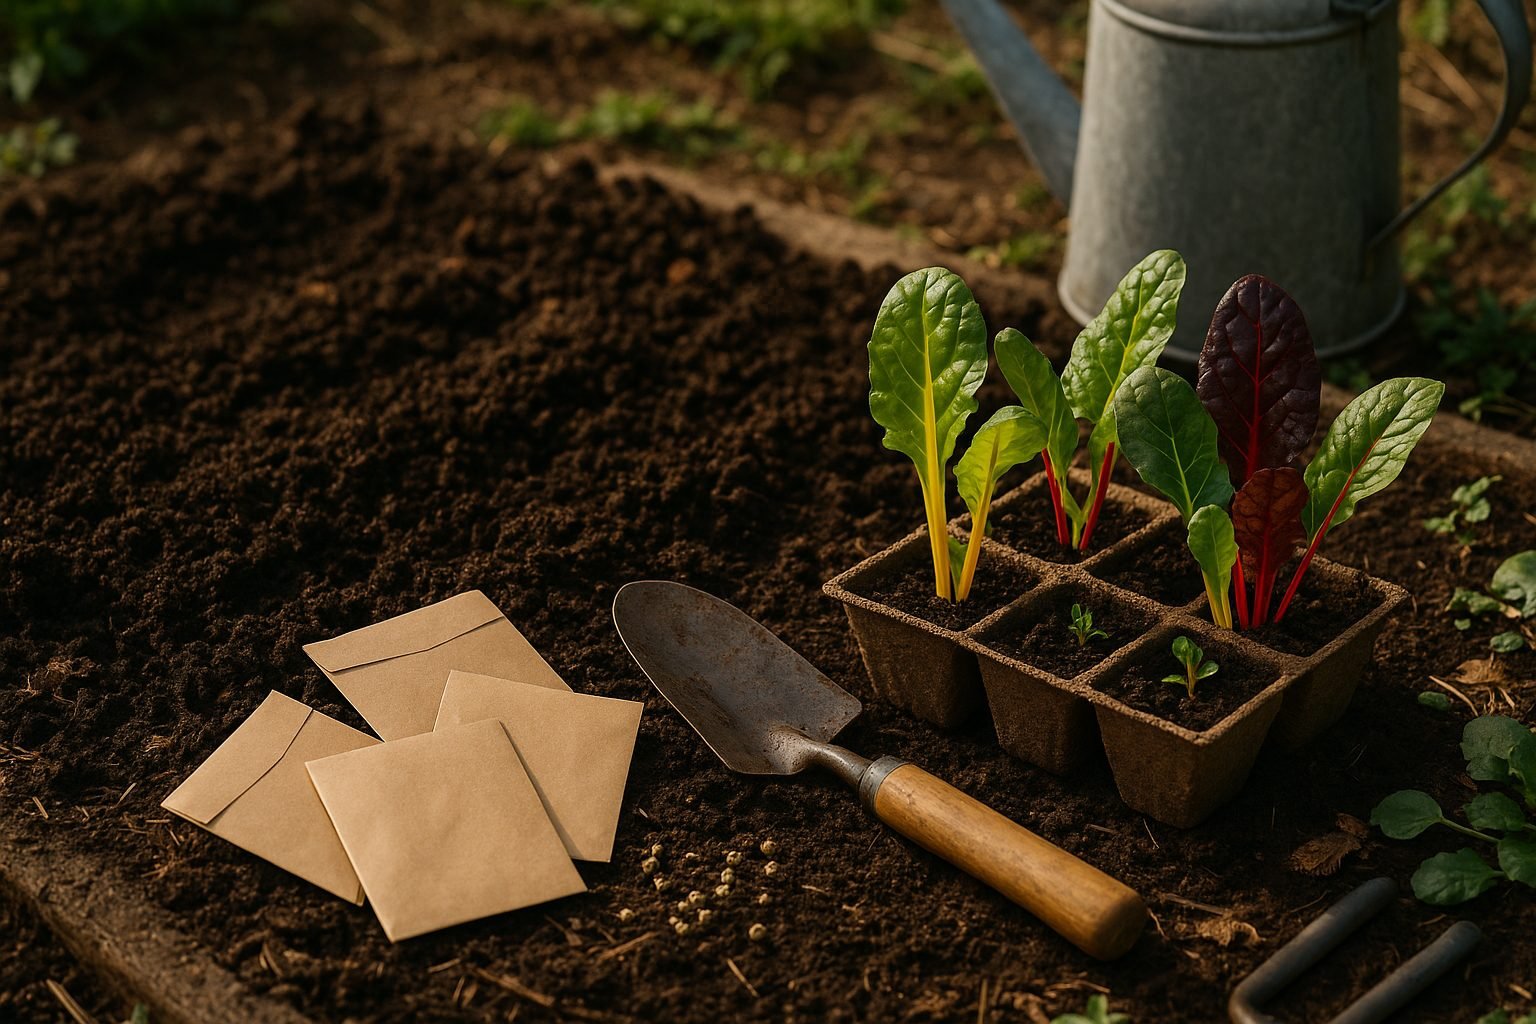
When planning your Swiss chard patch, start by choosing a variety suited to both your taste and garden space. Popular options include Bright Lights, known for its vibrant, multi-colored stems that add visual flair to both gardens and dishes, and Fordhook Giant, favored for its extra-large, tender leaves and robust yields.
Whichever you choose, always look for healthy, fresh seeds or sturdy starter plants—avoid older seeds, as Swiss chard germinates best when sown fresh. Sourcing from reputable garden suppliers or local nurseries helps ensure quality and reduces the risk of disease.
Prepare your planting site by focusing on soil health: Swiss chard thrives in well-draining soil with a pH between 6.0 and 7.0. Enrich your soil a week or two before planting by mixing in compost or well-rotted manure, which boosts fertility and improves moisture retention. Loosen the soil to at least 8-10 inches deep to encourage good root development, and remove rocks or debris.
Timing is crucial—Swiss chard grows best in cool weather, so aim to plant seeds outdoors two to four weeks before your region’s last expected frost in spring, or late summer for a fall harvest. If you live in a mild climate, Swiss chard can even thrive through winter with adequate protection.
By selecting a suitable variety, sourcing quality seeds or plants, and prepping your soil, you set the stage for a healthy, productive Swiss chard crop all season long.
Site Selection, Spacing, and Planting Techniques
Selecting the right spot for your plants sets the stage for a successful garden. Most vegetables and flowers thrive in locations that receive at least six to eight hours of full sunlight daily, ensuring robust growth and high yields. Check your chosen area for good airflow, but try to provide shelter from strong winds—fences, hedges, or the lee of a building can serve as helpful windbreaks.
Ideal soil temperatures for planting usually fall between 50°F and 75°F; cooler or overly hot soil can slow germination or stress young plants. When it comes to spacing your plants, always follow the seed packet or nursery label guidelines rather than crowding them together—this allows each plant enough room for roots to expand, reduces the risk of disease, and improves air circulation.
As a rule of thumb, leafy greens need about 6–12 inches between plants, while larger crops like tomatoes or squash should be spaced 18–36 inches apart.
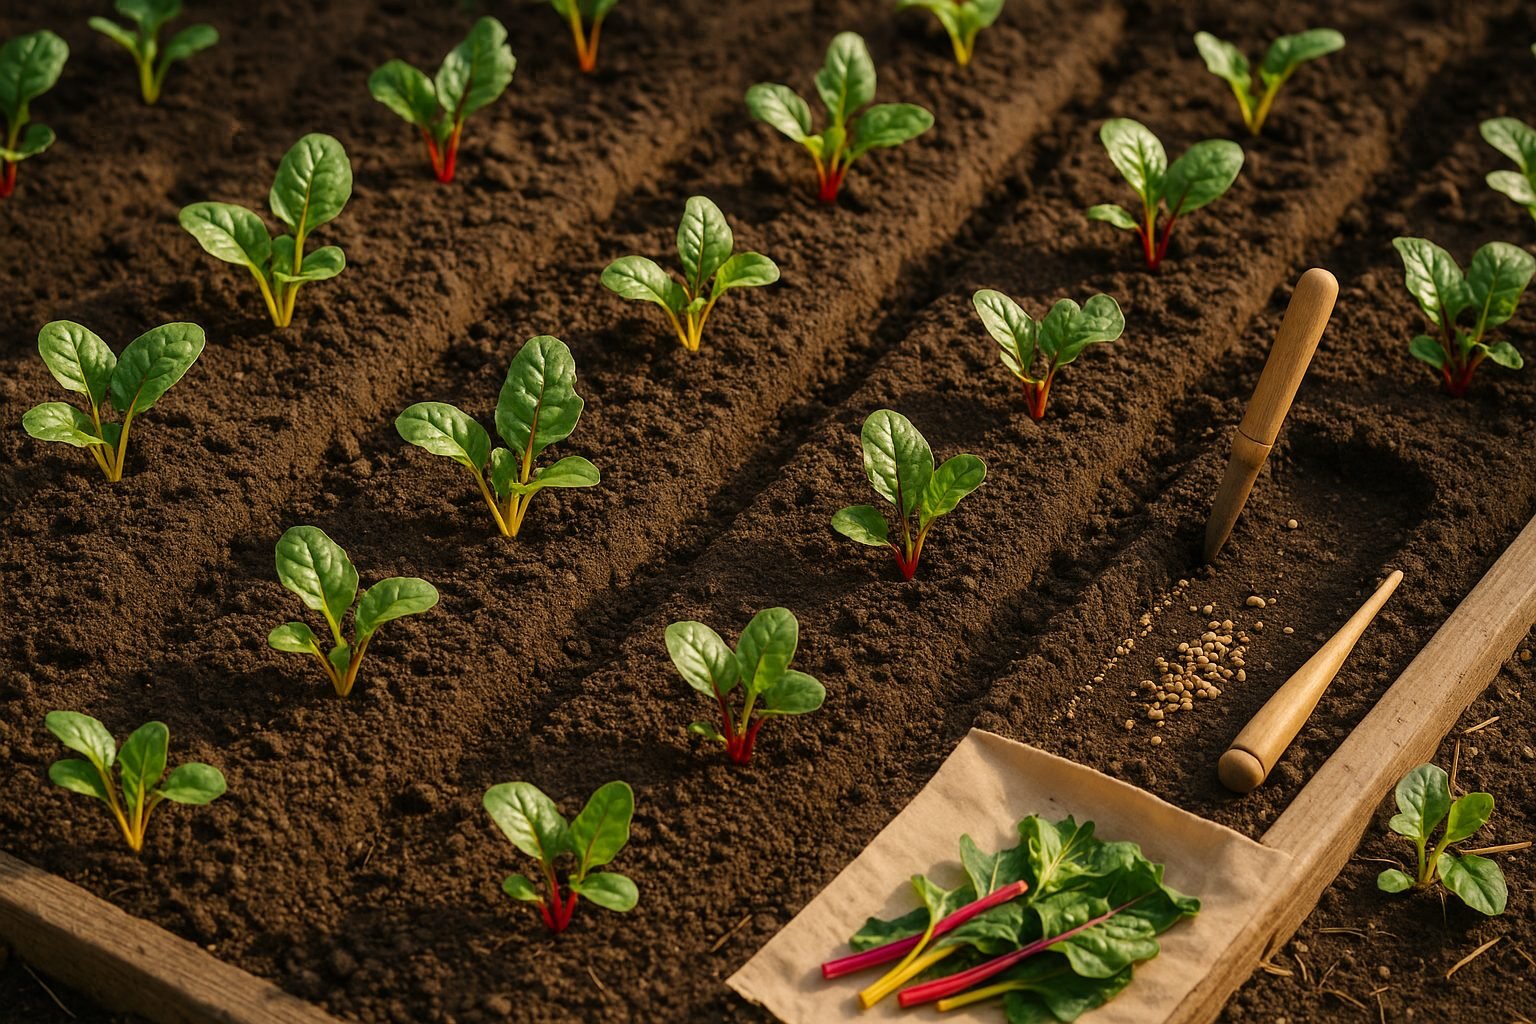
For direct seeding, use a stick or your finger to make furrows according to the suggested depth (often ½ inch to 1 inch), gently place seeds, and lightly cover them with soil before watering in well to settle the soil. If transplanting seedlings, dig a hole slightly bigger than the root ball, nestle the plant in so the base sits at soil level, backfill gently, and give it a thorough drink.
One classic beginner mistake is sowing or transplanting too early in the season, leaving young plants vulnerable to late frosts—always check your local frost dates and soil warmth before planting. Another common error is ignoring spacing advice, leading to stunted growth and increased pest problems. By giving your garden the right start and avoiding these pitfalls, you’ll set yourself up for a thriving, low-maintenance planting season.
Swiss Chard Watering and Ongoing Care
Consistent watering is key to healthy Swiss chard; aim to keep the soil evenly moist without letting it dry out completely or become waterlogged. Sporadic watering—letting the soil repeatedly dry out and then drenching it—can stress the plant, causing limp or yellowing leaves if it’s too dry, or wilting, root rot, and soggy stems if it’s too wet.
To check soil moisture, poke your finger about an inch into the soil. If it feels dry, it’s time to water; if it’s damp, wait another day. Early morning watering is best because it allows leaves to dry quickly and reduces the risk of fungal diseases. Use a soaker hose or water at the base of the plant to avoid wetting the leaves, which can invite mildew.
Swiss chard is a moderate feeder, so applying a balanced fertilizer once a month or mixing compost into the soil at planting will encourage lush growth. Mulching with straw or compost helps retain soil moisture, keeps roots cool, and reduces weeds.
Thin seedlings to 6–12 inches apart once they have a few true leaves. This gives each plant room to grow and improves airflow, which helps prevent disease. Regularly remove yellowed or damaged leaves to keep the plant vigorous.
With these simple routines, your Swiss chard will thrive—and you’ll enjoy a steady harvest all season long.
Keeping Plants Healthy: Managing Pests and Diseases
Maintaining healthy plants means staying vigilant against both pests and diseases, but you don’t need a chemistry set to do it. Common pests like leaf miners (which create squiggly lines inside leaves), aphids (tiny green or black clusters that suck sap), and slugs (the slimy culprits behind ragged holes in leaves) can often be kept in check with a few simple, organic methods.
Try handpicking slugs in the early morning, or setting out shallow dishes of beer to attract and drown them. For aphids, blast them off with a strong stream of water or introduce natural predators like ladybugs and lacewings. Neem oil spray or homemade insecticidal soap can help disrupt both aphids and leaf miners without harming beneficial insects.
On the disease side, issues like powdery mildew (seen as a white powder on leaves) and leaf spots (brown, black, or yellow spots dotted over foliage) often thrive in damp, crowded conditions. To prevent them, water plants in the morning at the soil line, prune for airflow, and promptly remove any infected leaves. Crop rotation and choosing disease-resistant plant varieties also reduce risk.
Ultimately, healthy plants are your best defense. Give them what they need: the right amount of sun, nutrient-rich soil, and regular but not excessive water. Avoid overcrowding, as good spacing allows air to circulate and leaves to dry quickly, making it harder for pests and diseases to gain a foothold.
With a little attention and a gentle approach, you can keep your garden naturally thriving all season long.
Harvesting Swiss Chard for Peak Flavor and Production
To enjoy peak flavor and keep your Swiss chard producing, harvest individual leaves when they’re young and tender—typically when they reach 6 to 8 inches long. The cut-and-come-again method works best: simply snip the outer leaves about an inch above the soil level, leaving the central stalk untouched. This allows the plant to keep growing new foliage all season.
In contrast, full-plant harvesting means removing the entire chard at once, which stops regrowth. This method is best saved for the end of the season or if you need a large batch for freezing.
For steady productivity and crisp flavor, stick to regular picking of outer leaves every week. Don’t overlook the colorful stems—they’re edible and great in sautés or soups.
To store Swiss chard after harvest, don’t wash the leaves until you’re ready to use them. Instead, wrap them loosely in a damp paper towel and refrigerate in a plastic bag for up to a week. If you find yourself with more chard than you can use, try blanching and freezing both leaves and stems for later dishes.
With these simple harvest and storage strategies, you’ll enjoy tasty chard meals throughout the growing season.
Quick Tips & Troubleshooting Common Problems
Many beginners encounter common issues when growing Swiss chard, but a few simple fixes can make all the difference. Keep an eye on your planting time—if you sow seeds too early in cold soil, they may not sprout well, while hot weather can cause premature bolting (going to seed too soon).
Here are some tips to help you grow healthy Swiss chard:
- Spacing: Plant seeds about 6–12 inches apart to avoid overcrowding, which can stunt growth and invite disease.
- Sunlight: Swiss chard needs at least six hours of direct sun daily for healthy leaves.
- Soil Quality: Poor soil can cause slow growth and pale, yellowing leaves—improve your soil with compost or a balanced fertilizer.
- Thinning: Thin your seedlings to the recommended distance so each plant has room to thrive.
If leaves turn yellow, check for water stress or nutrient deficiencies and adjust your care accordingly. Bolting may occur with sudden heat; try shading your plants during hot afternoons when possible. For slow growth, review your watering schedule and soil fertility.
Remember, every garden is a learning process—don’t get discouraged by early setbacks. With patience and a bit of attention, you’ll soon have a lush bed of vibrant, nutritious Swiss chard to enjoy.